Hi Everyone! Today I have the finished project from last week’s accordion fold mini book tutorial. If you miss it, you can find the post here. I have already seen some seriously awesome books you guys have made! Thanks for sharing as I always enjoy seeing what you all create from ideas here.
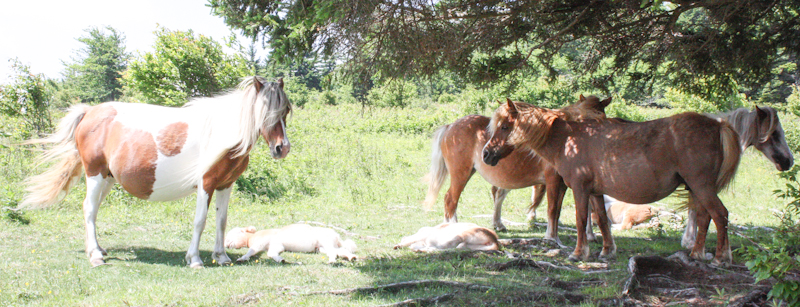
 This is a very special little journal book for me as it showcases some of our adventures on our recent family vacation to Grayson Highlands, one of my favorite scenic destinations. We hiked the Rhododendron Trail to see the wild ponies, one of the most exciting events of the trip for the girls. It is quite an experience to have wild ponies walk right up to you. We were fortunate enough to find a large group of Momma ponies that had just given birth. It was a beautiful moment.
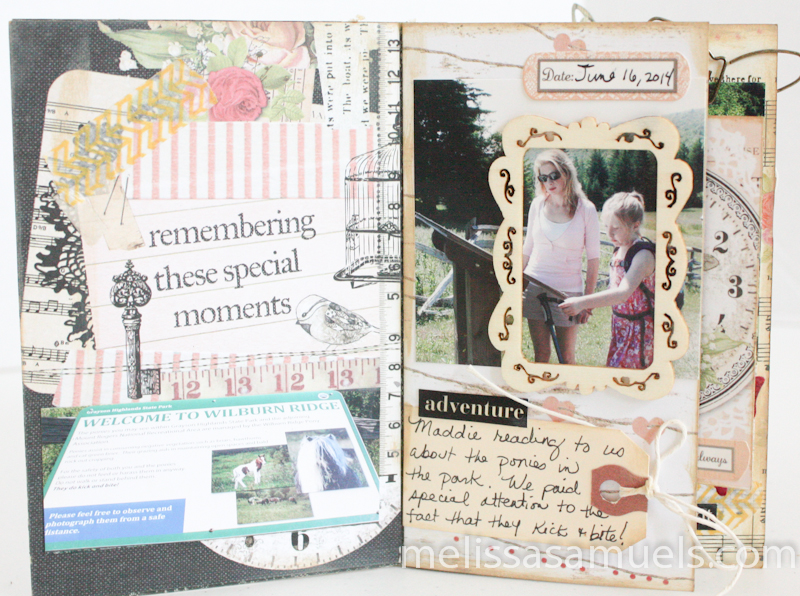 Here is the first set of pages in the book. The page to the right is the small page we scored at 3/4″. I added a wooden frame, and jouraling tag. Oh, and I inked the entire book with Prima Shabby Tote chalk edger.
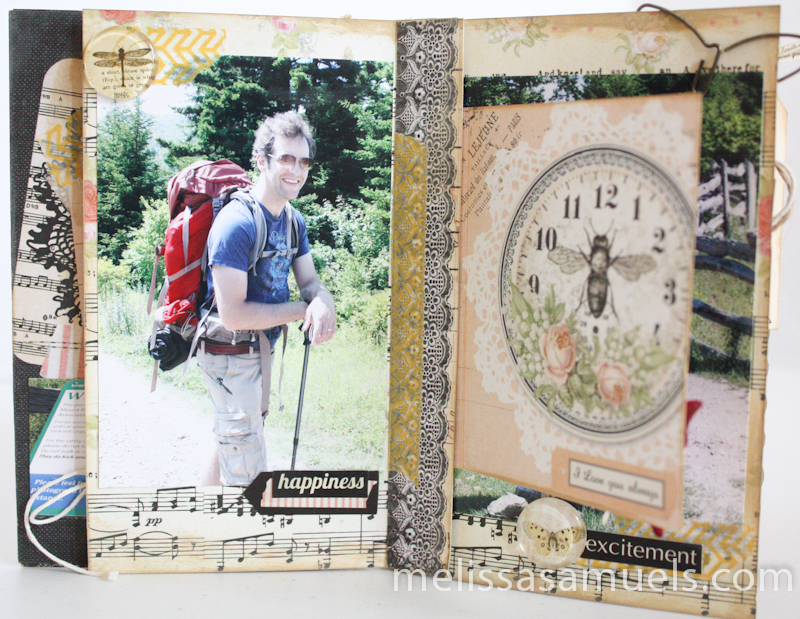 Remember we had an overlap on the right side of the page? I scored and added a flap underneath the overlap. I adhered a border over the 1/2″ score.
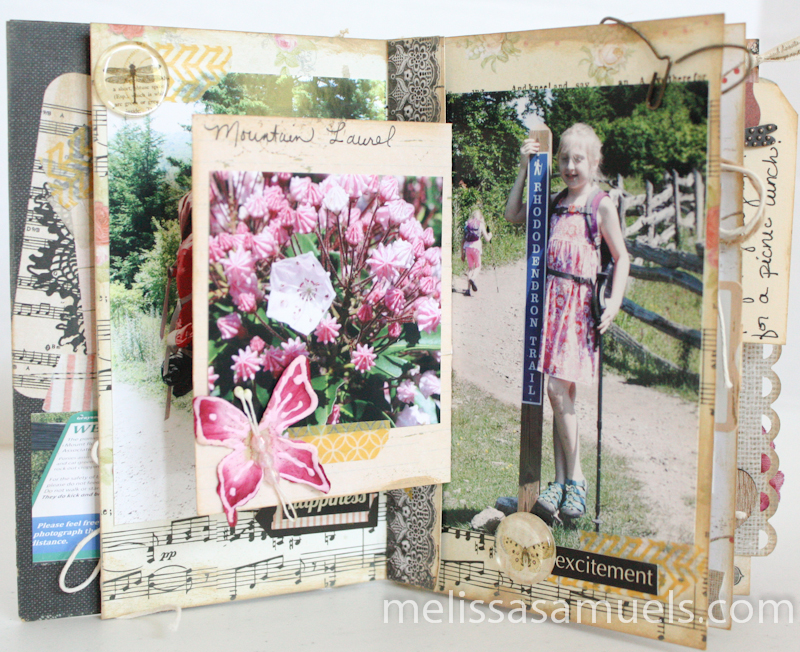 The flap gave me extra space to add a photo. I love adding layers with the yellow washi tape.
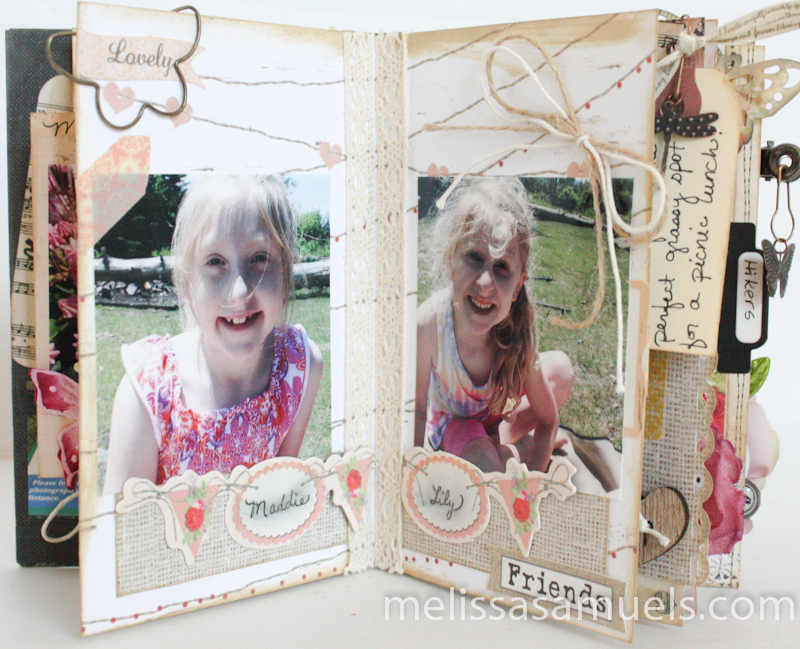 This page consists of a full size page, and scored page (see tutorial) I added 1/2″ Prima lace trim over the scored page on the right (against the seam) to give the illusion that it is 2 full size pages. I added lace to the left to match.
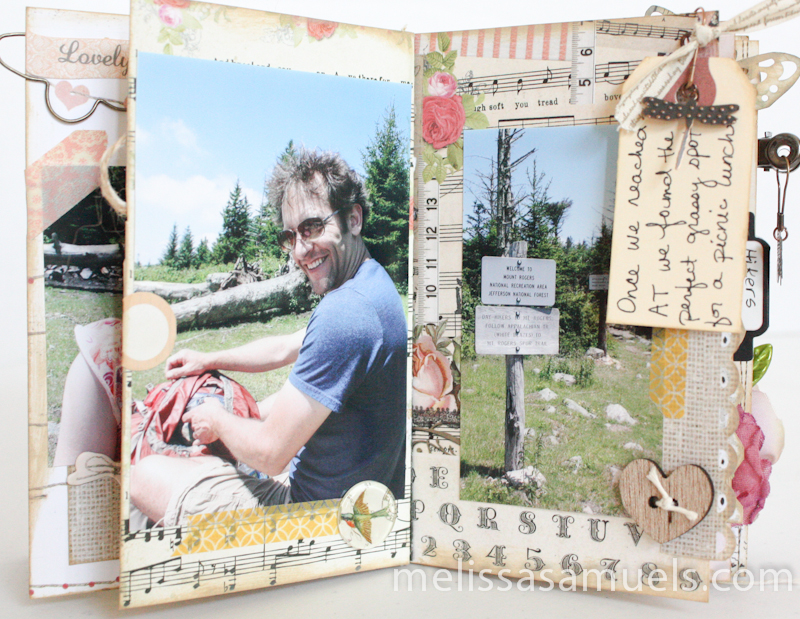 On the right page, I added an eyelet at the top right corner for hanging a journaling tag and charm with an artist pin. I tied a small piece of Prima ribbon to the pin. I also added a punched border to part of the edge of the page.
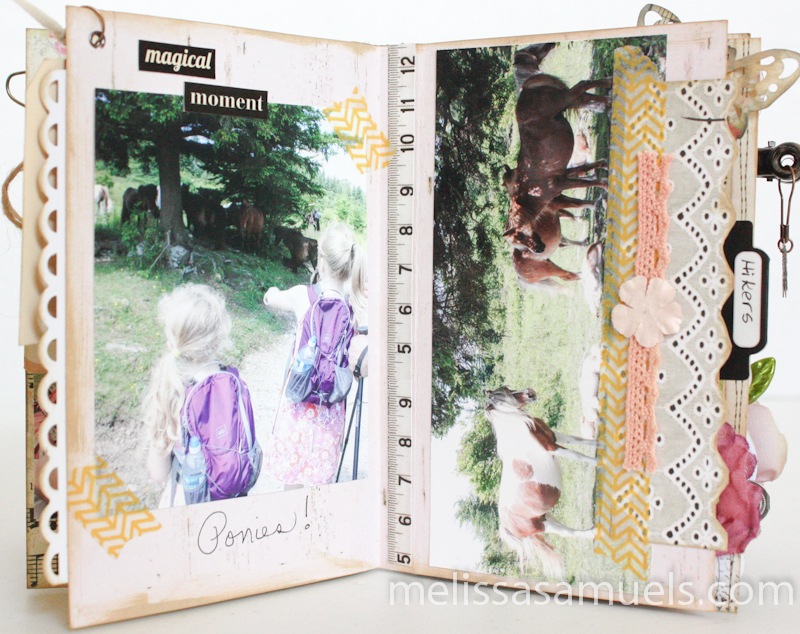 On the left page you can see the punched border overlapping from the previous side, love it! On the right I adhered a ruler border I cut out from paper to the scored page to again give the illusion of a full size page. More washi tape
  !
!
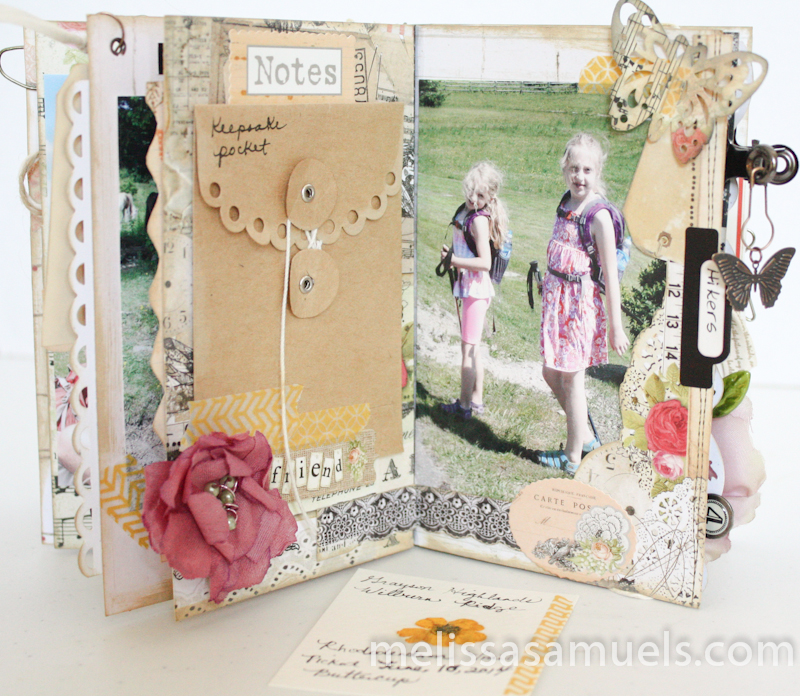 On the left, I added a kraft pocket, and inserted a little dried flower we picked along our walk. I adhered the flower to watercolor paper with gel medium. On the right, I cut out images and overlapped them over my photo. The butterfly is from a punch.
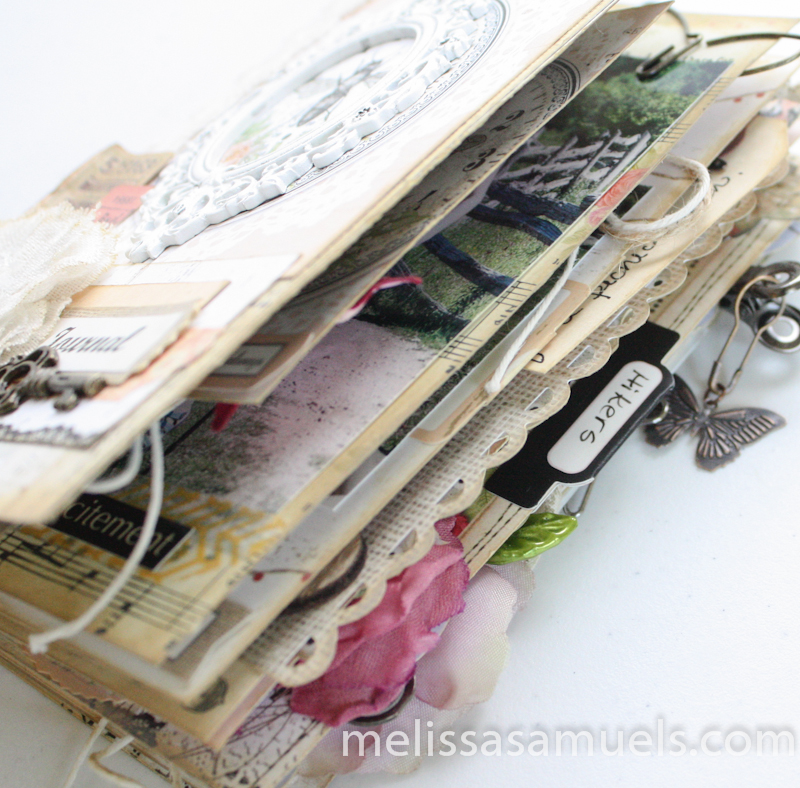
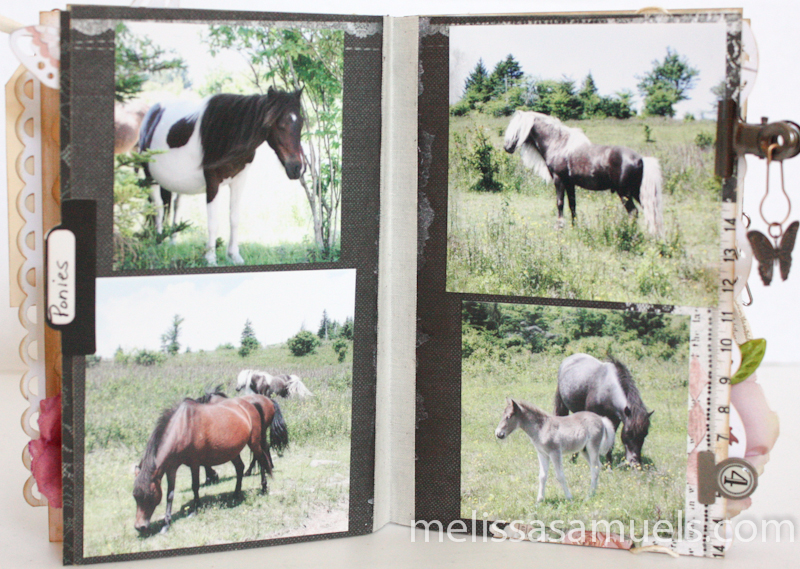 I kept this page pretty simple. I added canvas tape down the seam. I placed tabs along each edge of the page.
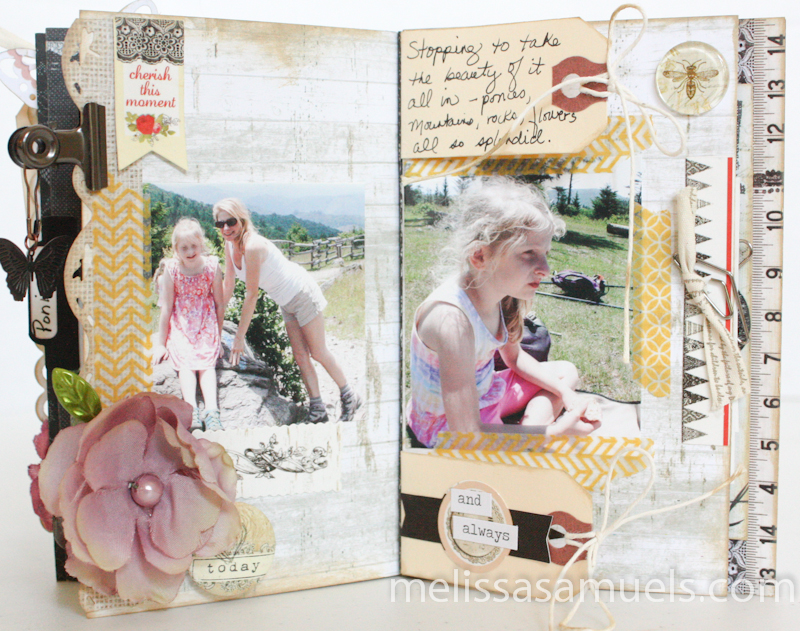 I added some journaling to my tags we made into the book, but plan to go back and add more to each side. I used more washi tape, my fav, and a flower with a leaf pin.
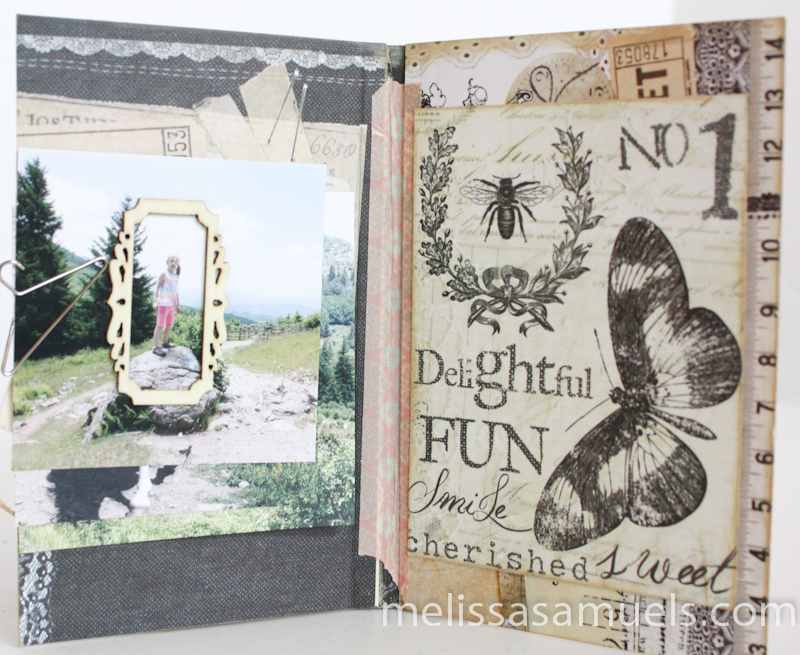 I may change this later, but for now I have paperclipped a few photos I liked to the page. I added washi tape to the seam.
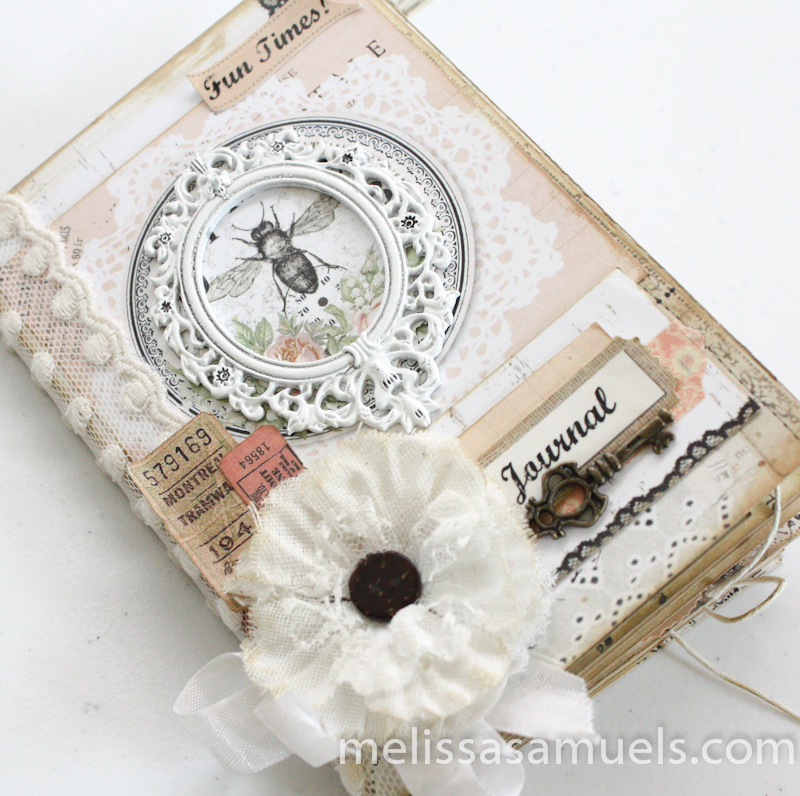
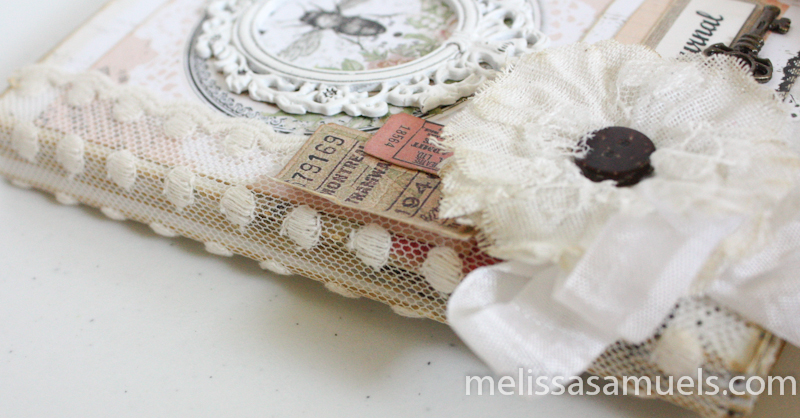 I added wide Webster’s Page lace to the spine to add interest. On the front, the flower is Prima canvas and burlap and the key is Graphic 45 metal ornate keys.
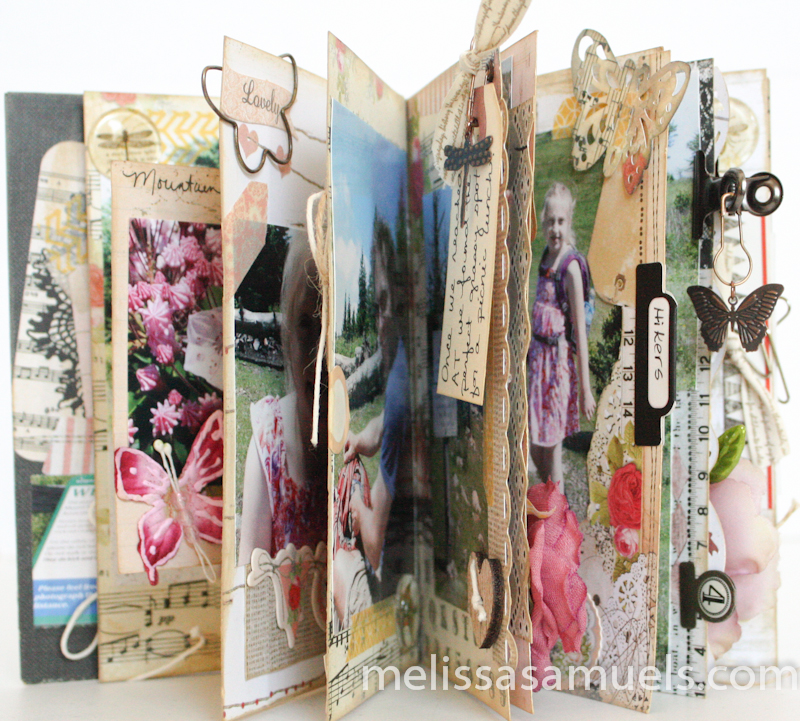
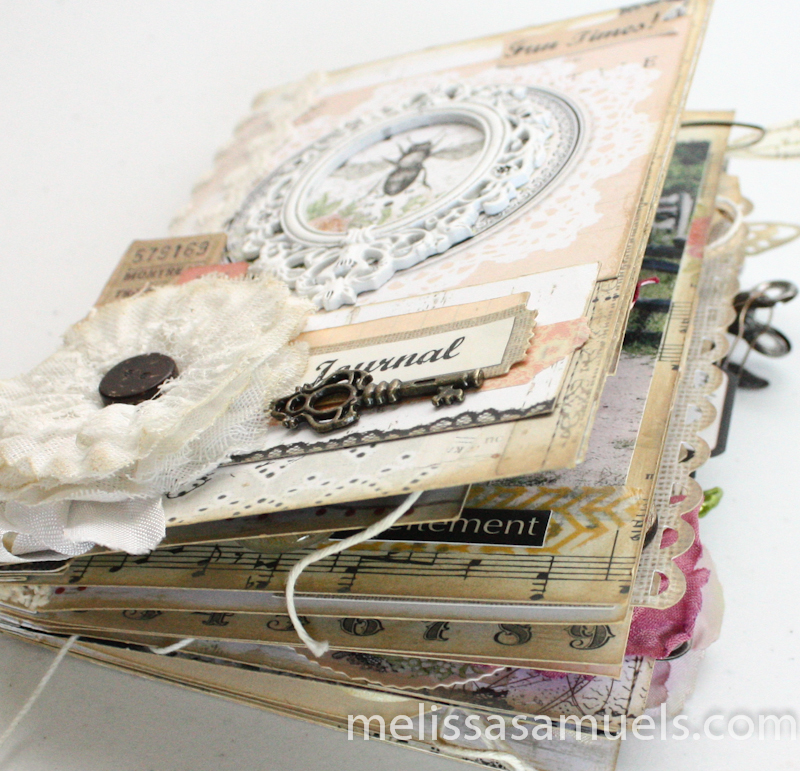 I love how this quick, easy little book turned out. I am sure I will go back and add more journaling and perhaps more photos. Sometimes is it difficult to “finish” a book you love.
I hope you enjoyed seeing the finished project, and use the Part 1 Tutorial to create your own keepsake, or gift for a friend.


I really miss the creative classes I took from you. This is a great book!