To all of my paper folding, mini book addicts, have I got a project for you?! If you like creating your own customized little mini books, this is a tutorial you do not want to miss! Can you tell I am just a wee bit excited?!
Summer is the time of year when we are all traveling or having some type of wonderful adventure. My favorite way to document my trips is little mini books. I do not know about you guys, but I have been becoming increasingly frustrated lately with the selection of books (or possibly the fact that I have decorated every pre-made book under the sun). I am taking matters into my own hands, throwing caution to the wind, and winging it! The fabulous thing about making your own books, is you can dictate the size, type of paper, tag & pocket placement, etc. to meet your needs for a specific project.
Here is a look at the super duper cute book I made for a recent trip. And, we are going to make it together!! FUN, FUN! Get out your bone folders girls (and guys) we are bookmaking!
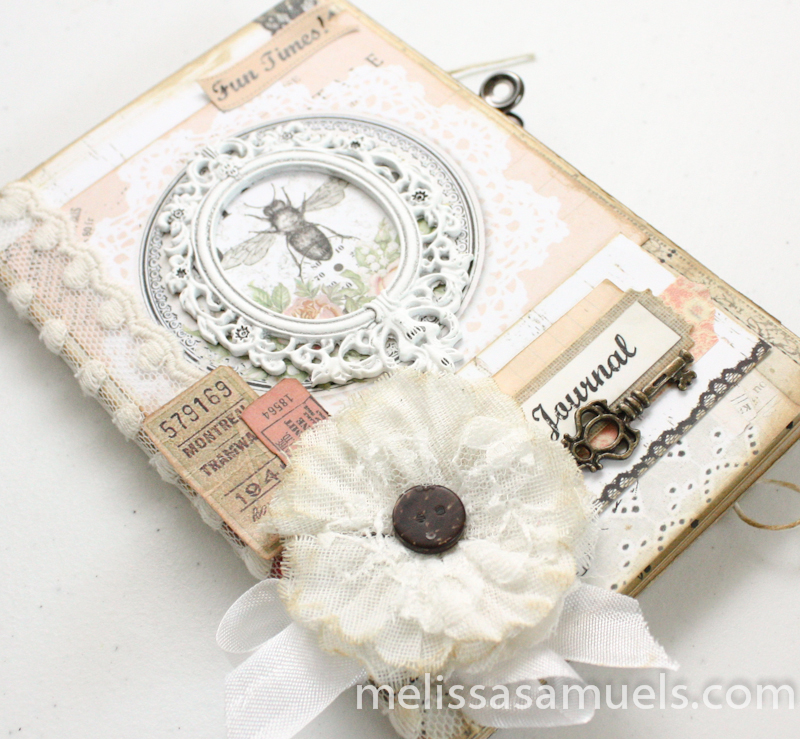 You will not believe how easy peasy this book is! All you will need is a paper trimmer, bone folder, 12″x12″ paper, and Scor-tape! Shall we begin?
I started with a 12″x12″ sheet of Prima Lyric paper (now discontinued, sorry  ), and cut it to 6″x12″. Of course, any 12″x12″ paper will work. I like working with this size, and I will have enough paper for another book if I really like the pattern. The nice thing about teaching classes is I am always thinking about coming up with measurements that avoid waste. If you wanted a really small book you could do 4″x12″ and get 3 covers per sheet.
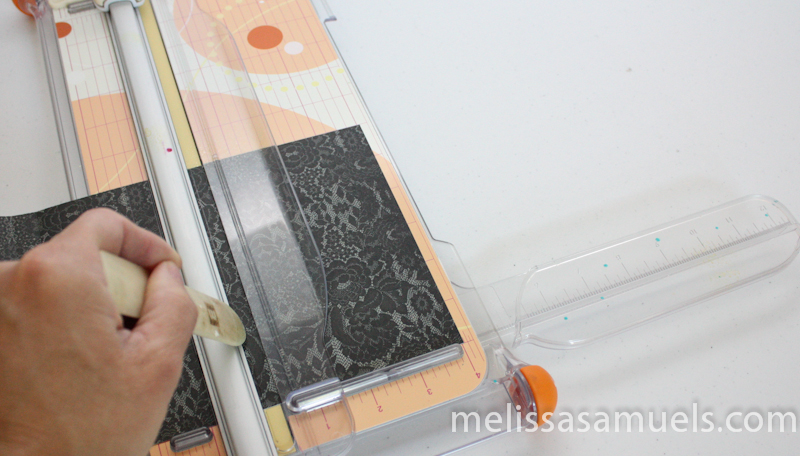 Place your 6″x12″ paper into your trimmer, moving your cutting blade out of the way, and score with a bone folder at 4″, 4 1/2″, 5″, 5 1/2″, 6″, 6 1/2″, 7″, 7 1/2″, and 8″. (This will give you a 4″x6″ book.)
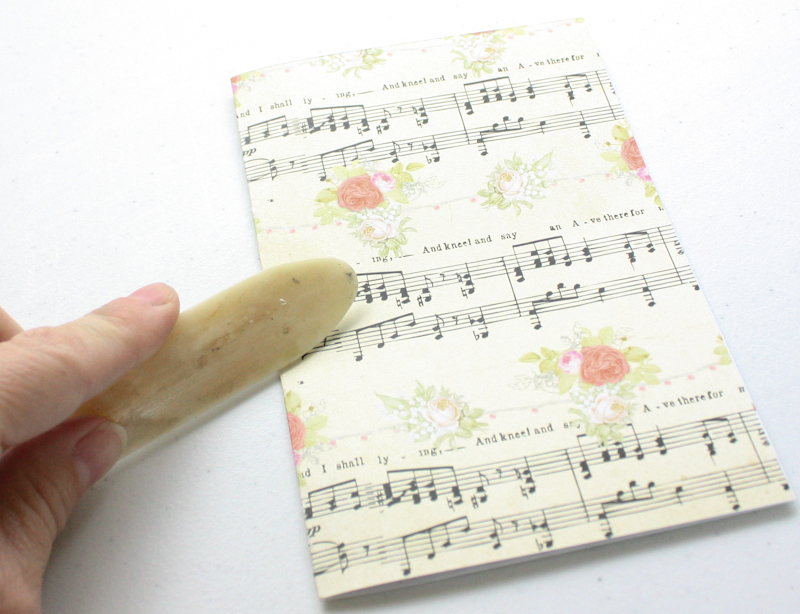
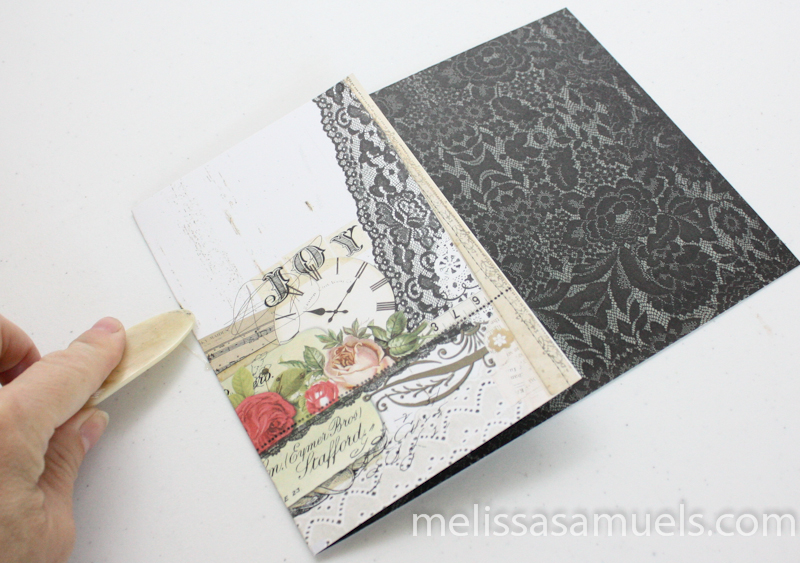 Fold down the first scoreline at 4″ to create the cover, and smooth with a bone folder.
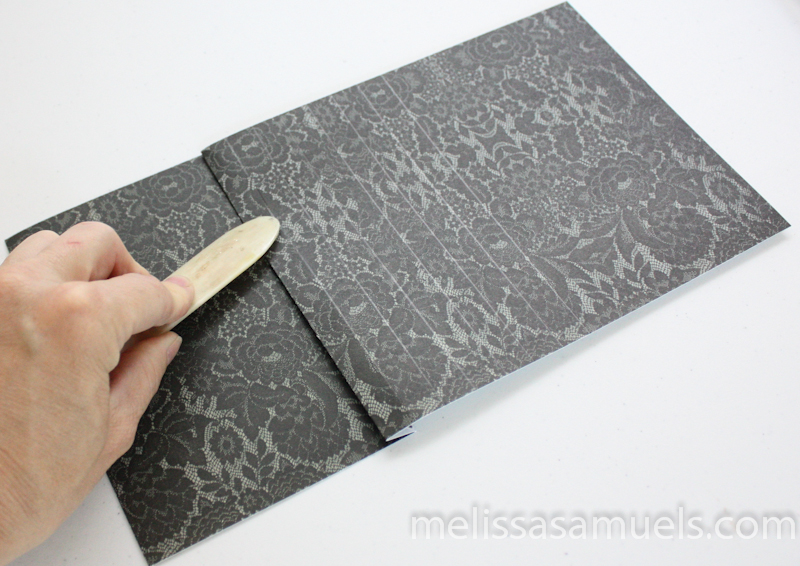 Turn the book over, fold the paper back at the next scoreline, and crease with a bone folder.
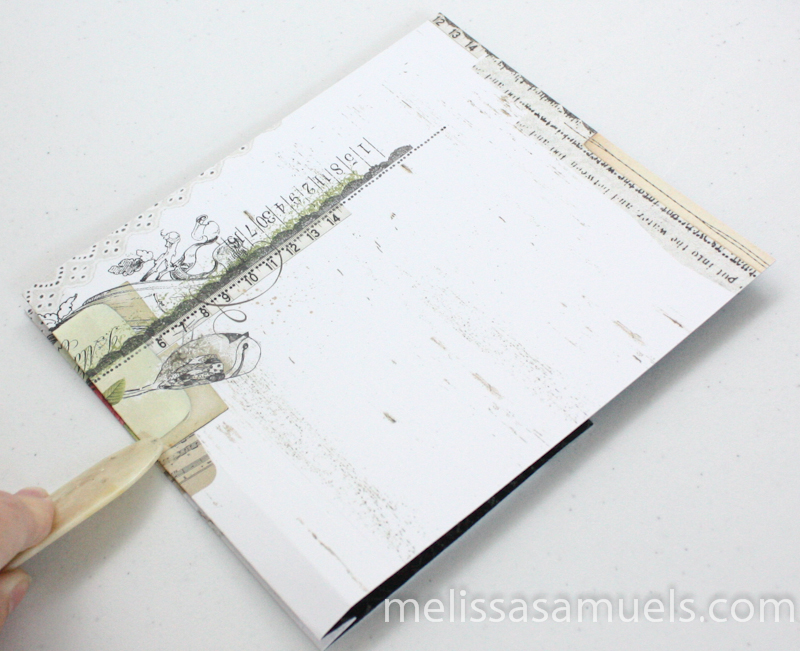 Flip the book over again, and repeat the process of folding and creasing at every 1/2″ scoreline until you get to the last score line at 8″.
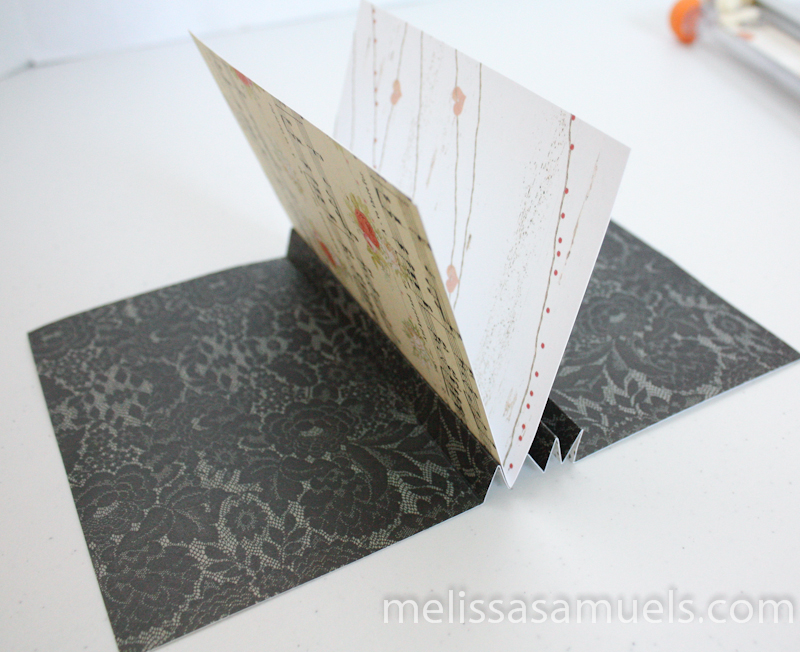
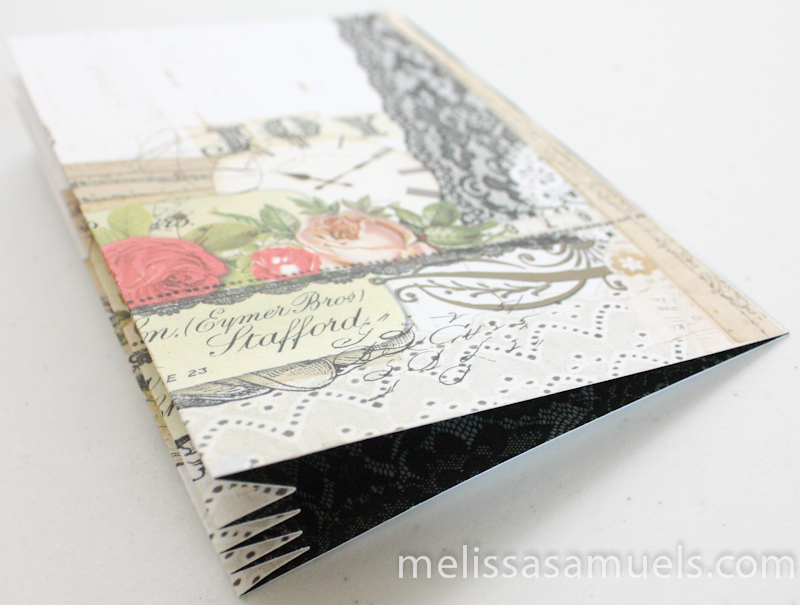 Once you have creased all of the folds, or accordion folded your book, it will look like this.
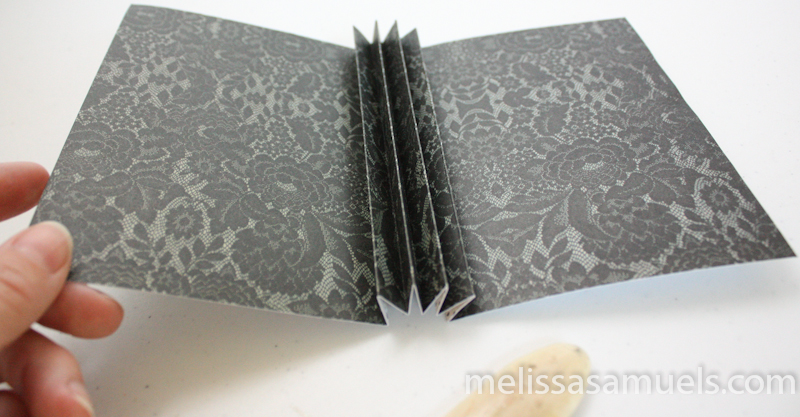 The inside of your book will look like this. We are going to use the folds to adhere pages.
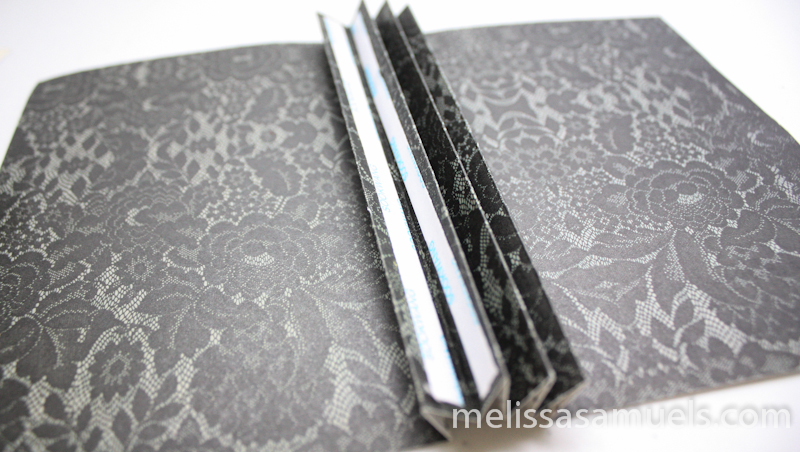 In the first set of folds, shaped like a “V,” apply 1/4″ Scor-tape.
 For your pages, cut paper to 6″ x 8″. Fold in half on the 8″ side. Do not discard the 6″x4″ piece, you will need it later.
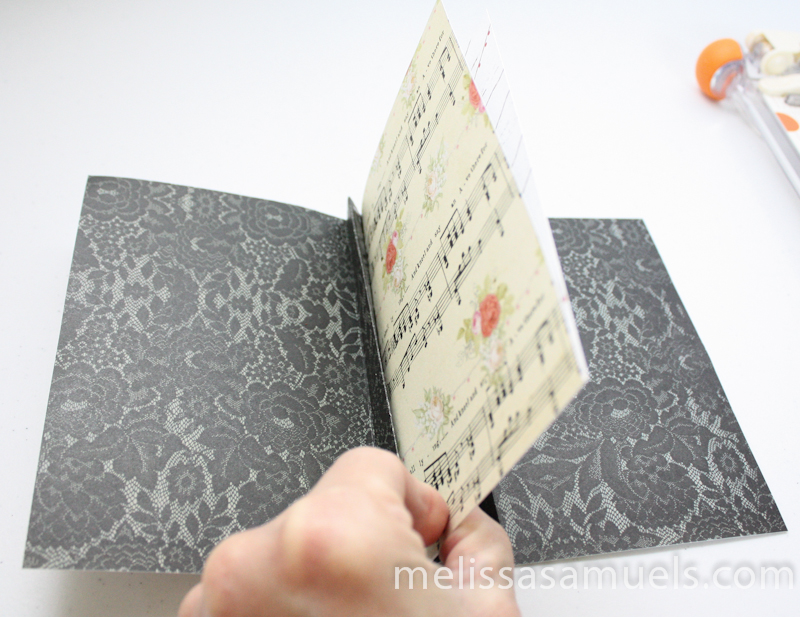 Remove the backing from your Scor-tape, and insert your folded page into the “V” of your book.
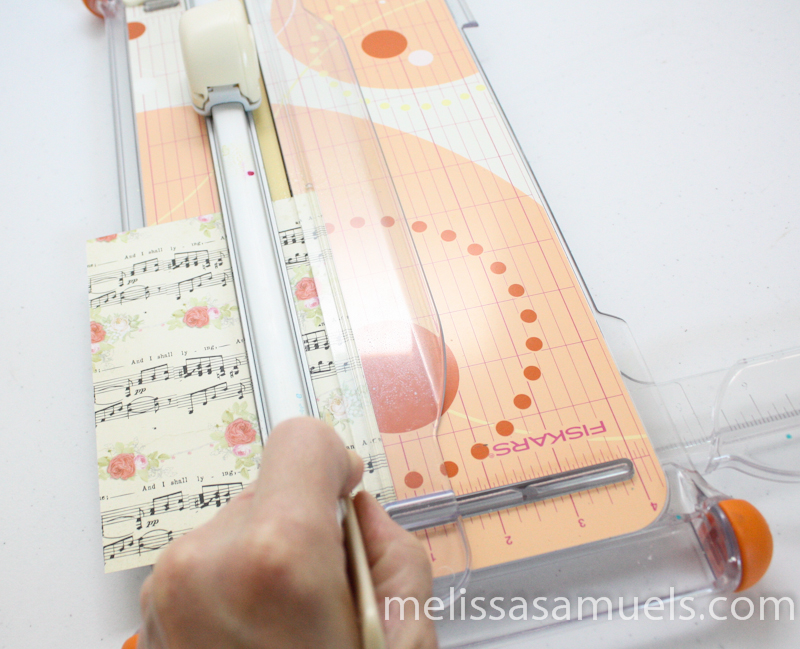 Using the 6″ x 4″ piece that you saved back, score at 3/4″ (on the 4″ side).
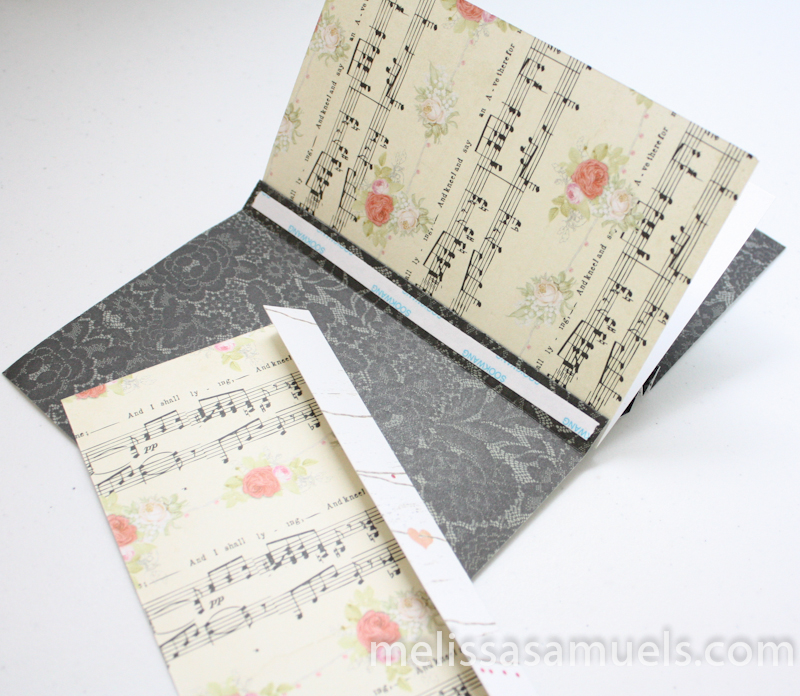 Crease the 3/4″ scoreline, and apply Scor-tape to the front of your “V”. This is going to give you your first page. It is a smaller size, which creates interest in the book, and allows you to add borders, trim, etc. It would be boring if all the pages were the same!
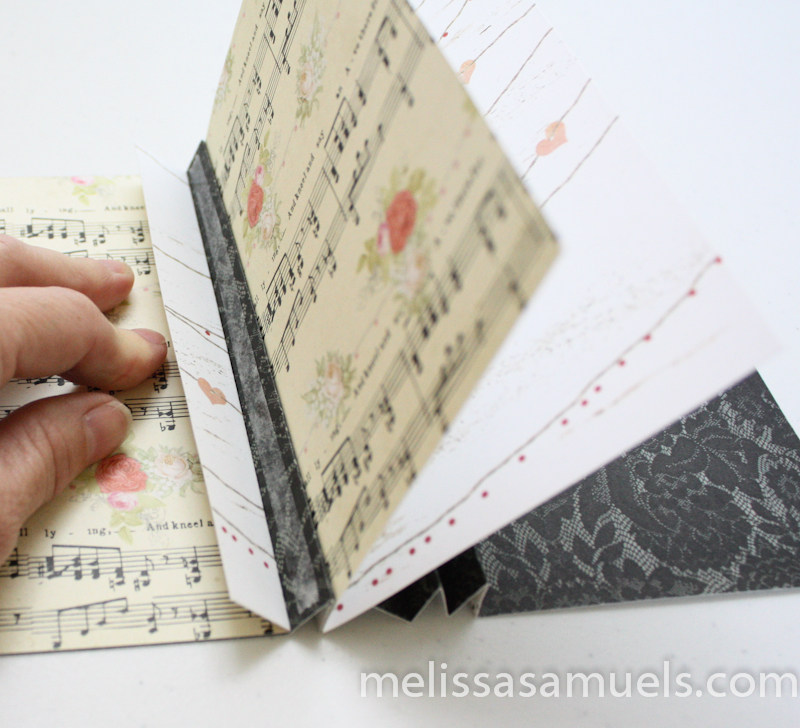 Adhere into place. You will have 1/4″ overlap, but we are going to take advantage of that space later.
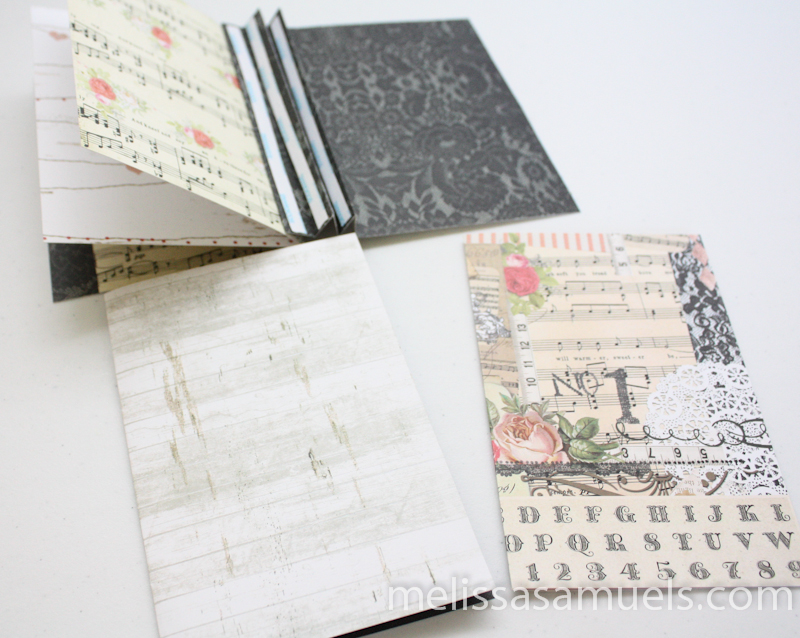 Cut 2 more pages to 6″ x 8″, fold in half on the the 8″ side, and adhere to the rest of the “V’s.”
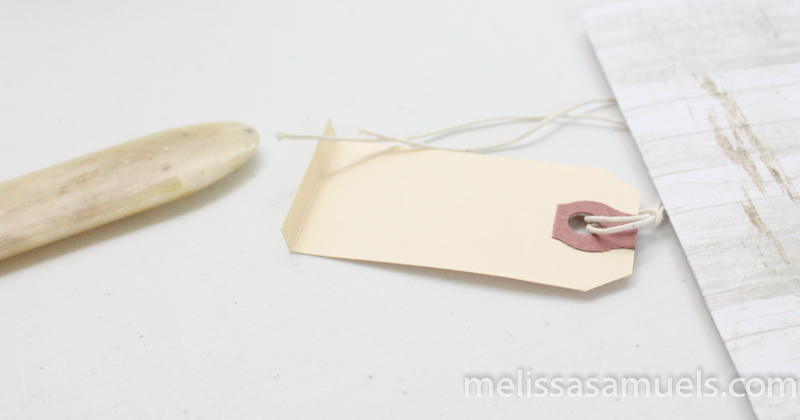 Using a small shipping tag, score and crease at 1/4″.
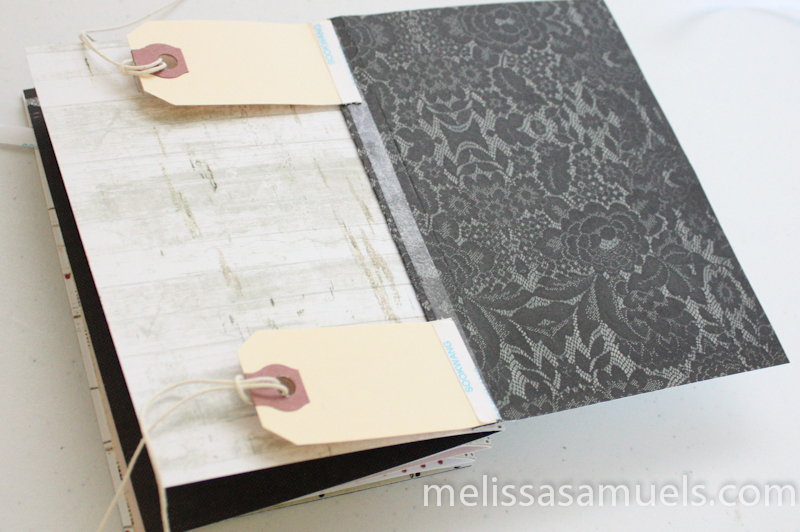 Add tags to the back of the last “V” and apply Scor-tape over it to adhere the last page.
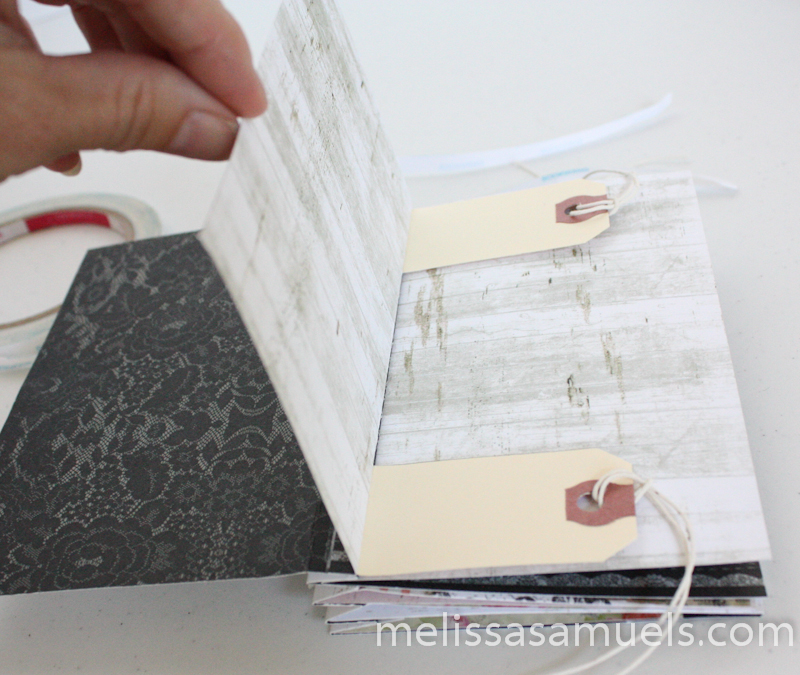 Score a 6″ x 4″ piece of paper at 1/2″ and crease. Adhere over the tags. Now, go back through your book, and fold and crease the 2 full size inner pages at the 1/2″ accordion fold “V” that are back to back sets. In the 2 folded sets of pages that we made, they are the pages on the right. You want to fold them inward, or to the left. You will know which ones when you flip through the book because they are back to back with the other full size pages. (Basically, you are doing the same thing inside of the book as you did with the first and last page only bending and folding instead of scoring.)
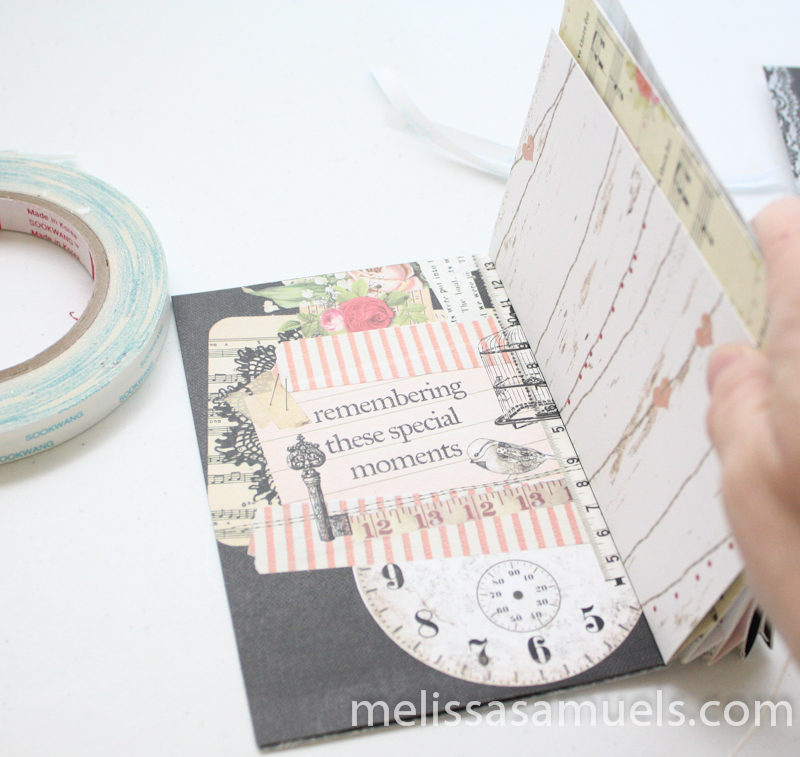 Add another 6″ x 4″ scrap of paper to the inside of the back and front cover to make it sturdier (optional).
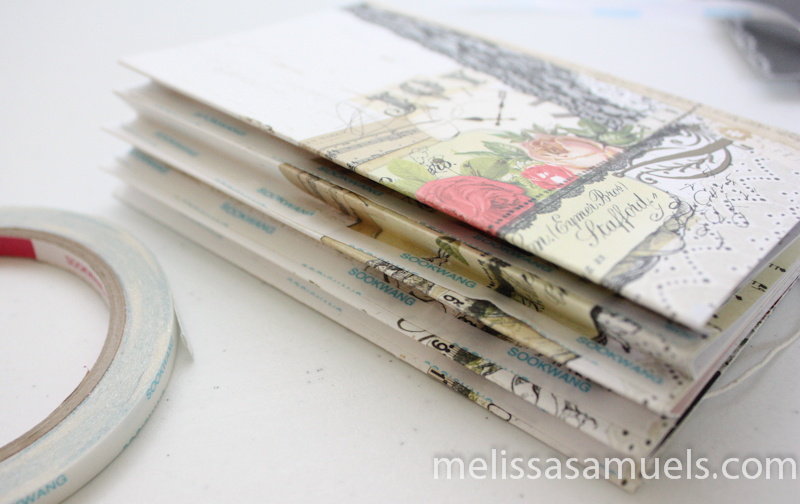 Let’s turn our attention to the outside of the book. Apply Scor-tape to the inside of each “V” on the spine of the book.
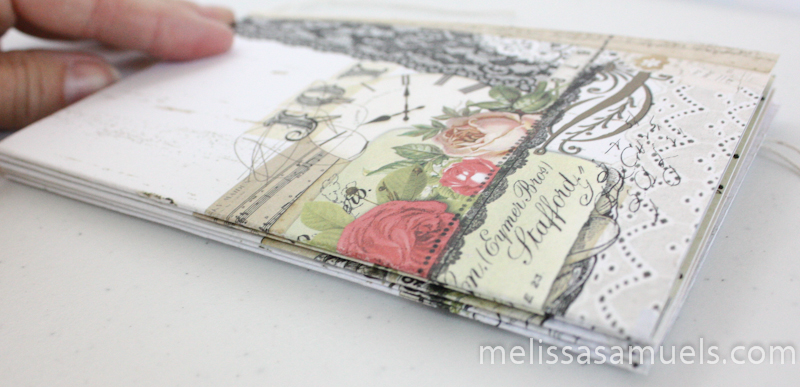 Remove Scor-tape backing, and adhere folds together.
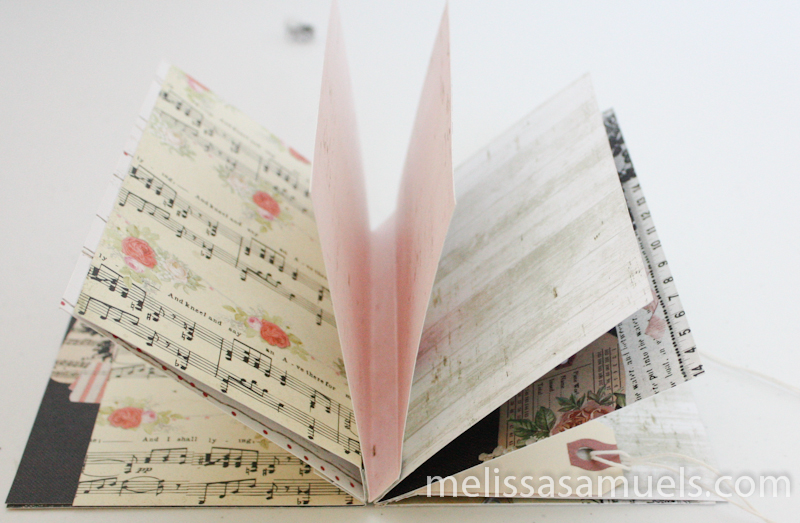 Now we have the workings of a little mini book!
Wasn’t that fun?! And, you thought it was going to be hard!
Come back later this week to see the finished product, and how I decorated mine. In the meantime, get busy folding 😉



you make it look so easy! Will definitely be trying this. I love that paper too…I did an extra large tag album using the same paper! great minds think alike! I too love to make my own mini albums. Can’t wait to see how you decorate it!
Thanks, Michelle! I love, love that paper collection. It is a shame it has been discontinued. I bet your extra large tag album was beautiful! xx
This is so so beautiful, can’t wait to give it a try!
Thanks, Suza! It is super easy. You’ll love it!
Gosh what a wonderful project! TFS
Helen — Firenze Cards
Thank you for stopping by! xx
What a sweet mini album! Thank you for posting the tutorial….quick question for you though. Do you sell the white resin frame on the cover? Who is the manufacturer? thank you!
Thanks so much, Julie! I am glad you like it. Unfortunately, the frame on the front is an old Prima frame that has been discontinued, but here is the link to our resins http://www.melissasamuels.com/embellishments/resins. You should be able to find something similar.