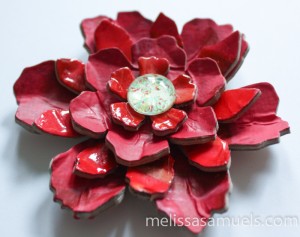
 Hey Everyone! I know don’t know about you guys, but I think we are way overdue for a tutorial! I have been working on organizing and cleaning my studio, and came across a of ton of art supplies I forgot I had. You are probably wondering how does that happen. If you could see my studio, you would wonder no more. Bob says it is just a “creative space,” but I think he is being nice, and really means I am super messy. Finding some many new (to me) supplies really inspired me to do something artsy and different with all the goodies that I found. Since I unearthed soooo much acrylic paint, I thought it would be nice to mess around making an acrylic paint skin. It is kinda like a fruit roll-up, only made out of paint. It is great for cutting out elements to add to cards, scrapbooks, art journals, or canvas, using as a book cover, collaging, and many more mixed media projects. I decided to make a flower out of it.
Let’s start with making the skin. It is a pretty simple technique. All you need is bakers parchment paper for a non-stick surface, cheap acrylic paint, and an old credit card or the like for spreading.
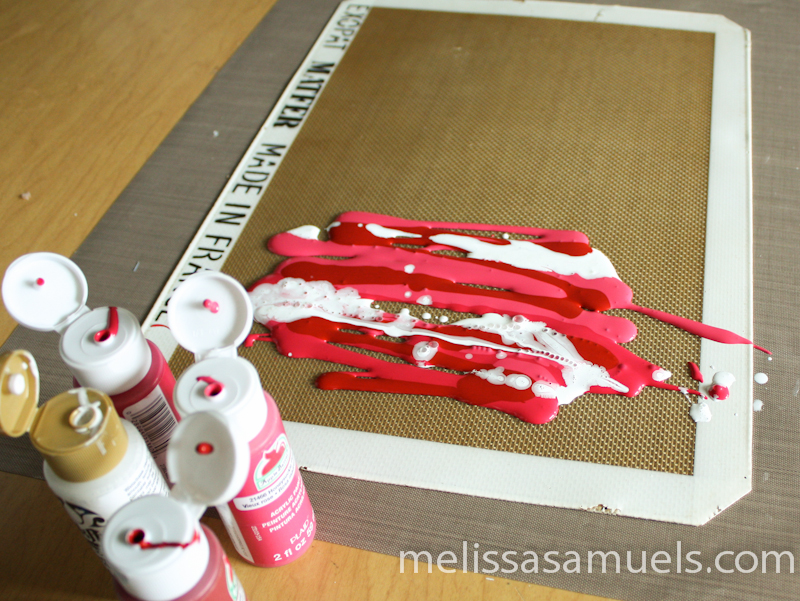 Start by quirking some acrylic paint at one end of your parchment paper (I used a silpat liner). I used several different colors, but you could use just one or two, it’s up to you.
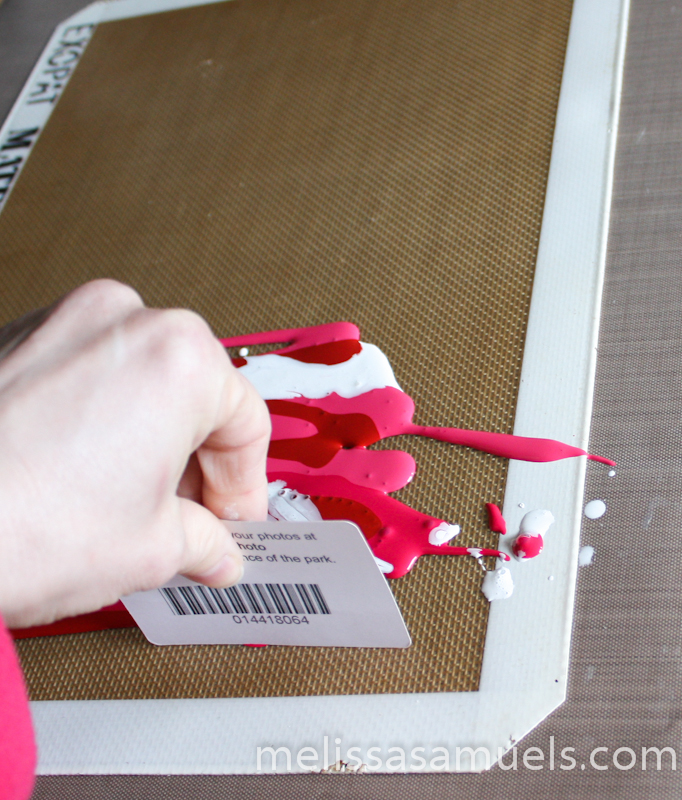 Use a credit card to spread the paint out over your non-stick surface. You do not want too many thin spots, so try to spread it out in a nice even layer as much as you can. Don’t worry about lines in the paint, because it will settle as it dries.
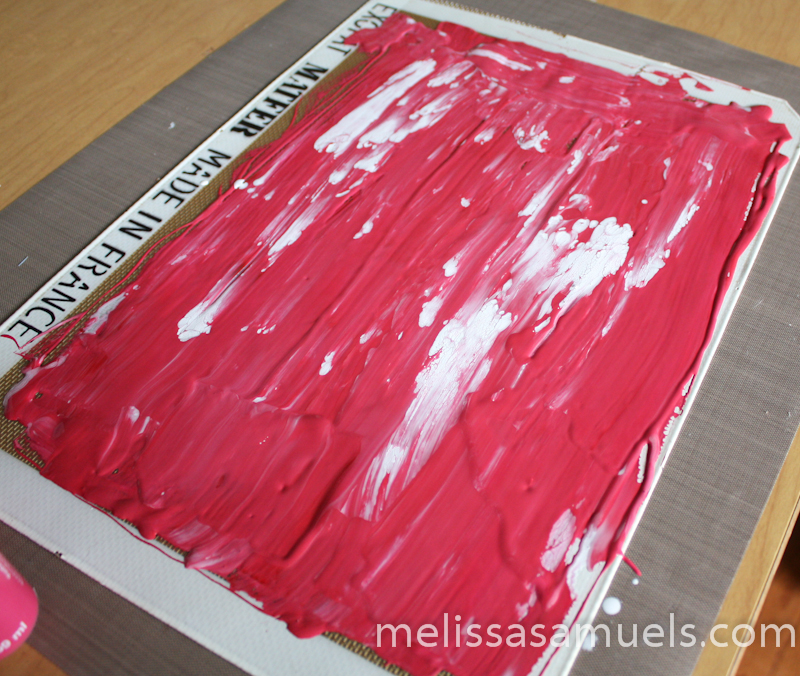 You can get creative and make wavy patterns, or add more white, sprinkle glitter on top, just go for it. It is important to let it completely dry. I recommend leaving it overnight.
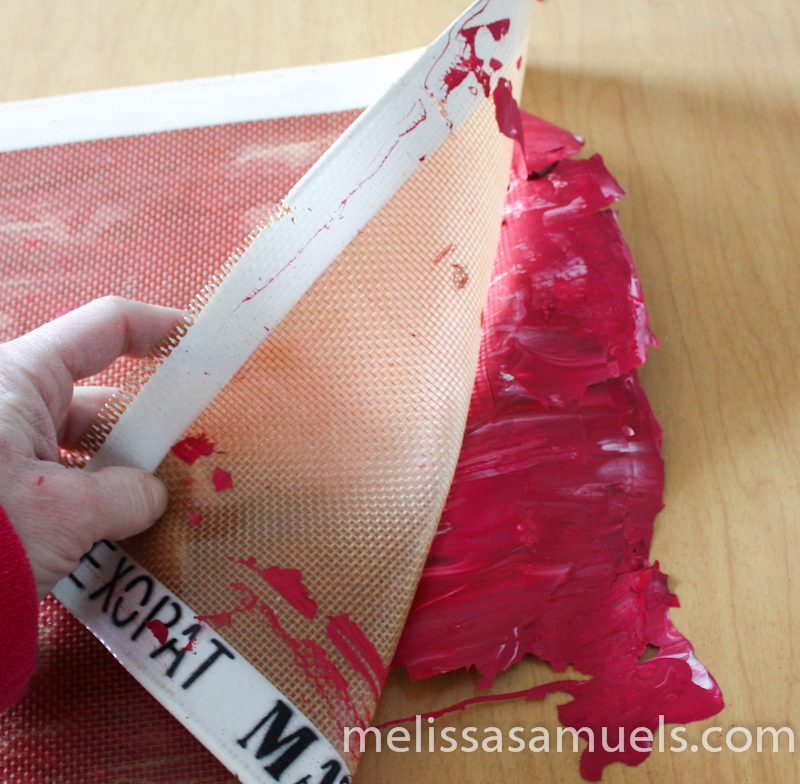 Once it is dry, get the edge started, and just peel off the paper or mat from the skin.
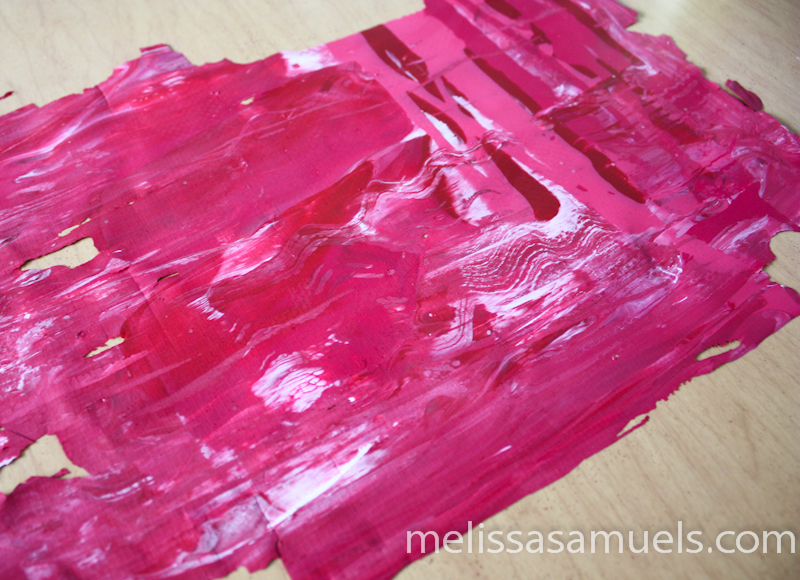 Done! You have a nice flexible sheet of acrylic. Think of it as if it were paper.
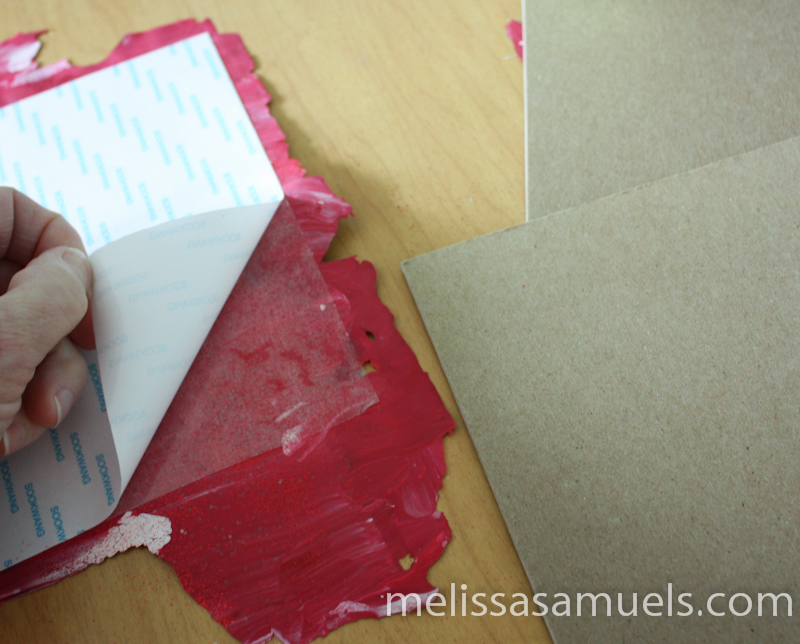 Since I was just playing around, I thought what about die-cutting it instead of just free-hand cutting!? I used a sheet of Scor-tape to adhere chipboard to the back so I could run it through my die-cut machine. You could also use cardstock.
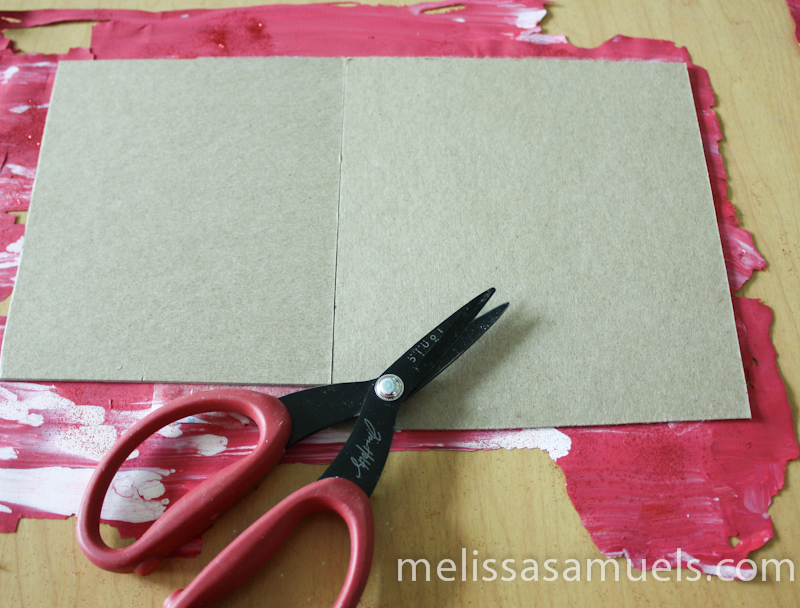 I cut the raw edges around the chipboard. I was using scrap chipboard, so I cut the scraps apart, which gave me enough for a Bigz die and an On the Edge die.
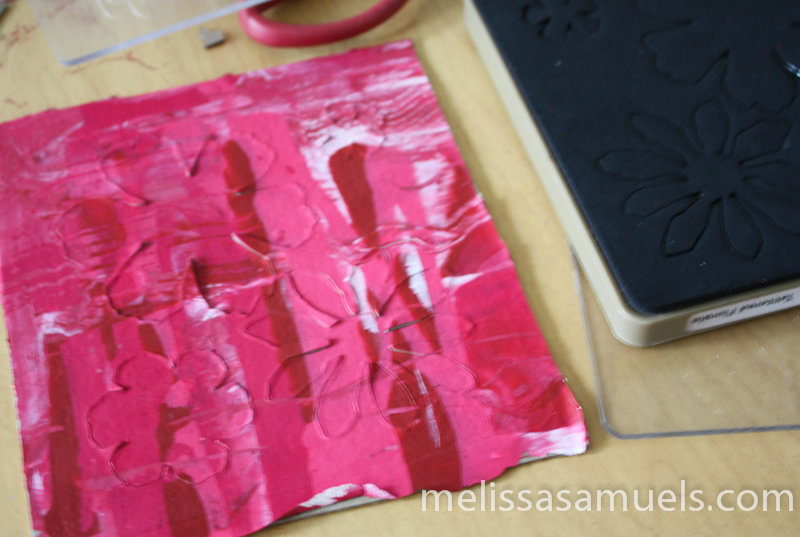 I used the Tattered Florals die, and ran it through the Vagabond.
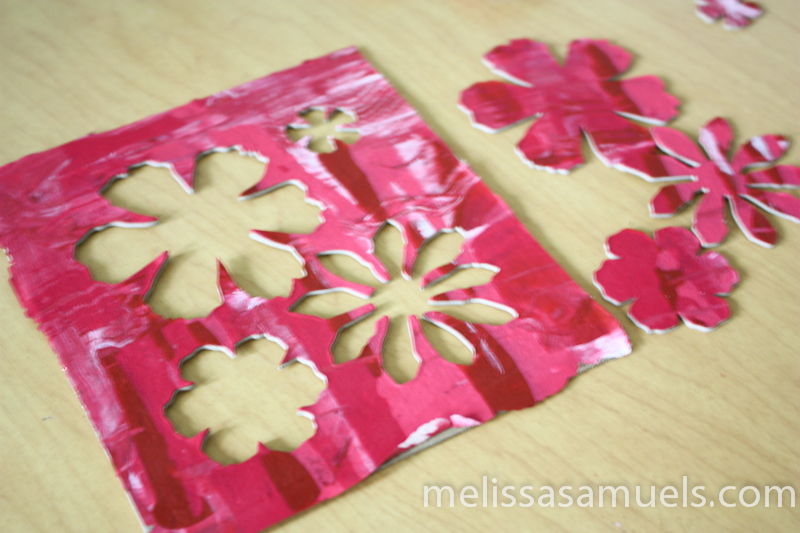 I popped out the flowers. Don’t throw the reverse away. You can use it later as a stencil in your art journal, or other fun project.
 I bent each flower a little to form little nesting petals. I love the dimension!
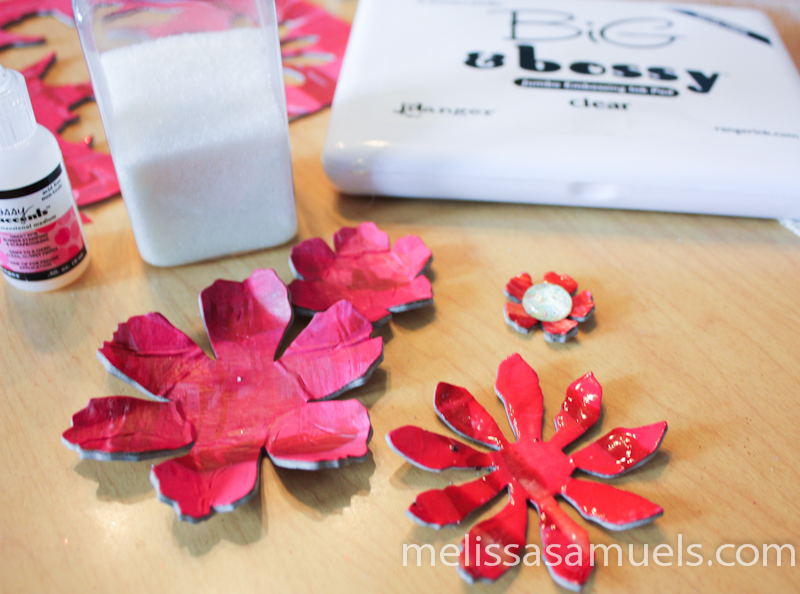 Then, I thought what if I embossed every other layer?! Humm… so, I pressed 2 of the flowers into clear embossing ink, sprinkled with clear embossing power, then set with my heat gun.
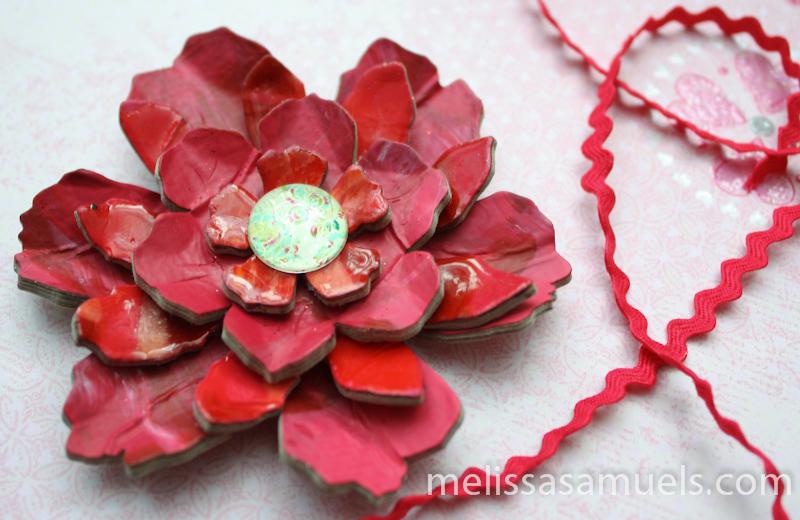 I glued the layers together with Glossy Accents, and I have a pretty flower to use on a mini album, card, or canvas. I am very pleased with the results, especially since it was just playing around in the studio-no real project in mind. I think I may create a small Valentine album, and use this on the cover.
Hope you guys enjoyed!
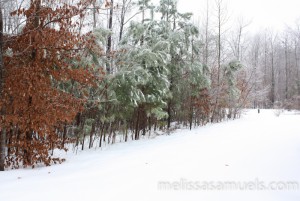
Here is a look at the weather here in Virginia. Hope you guys are staying warm and safe wherever you are.
You can now subscribe to our blog!!! If you would like to subscribe, scroll to the bottom of the page and enter your email in the subscribe via email box. Thanks!! xx



Now this is cool! And I just bought a big roll of Parchment paper I know what I am doing tomorrow. Thanks for the great idea!
My son uses dried paints like this to glue to bottles… and they turn out amazing… you could also pour the paint into a glass bowl and spread…then add more before it is dry and do the same… would make a cool decorative bowl and if you want texture… pour paint onto a textured plastic sheet or into candy molds, etc…
Love this! I have often peeled up the dried bits of acrylic paint on my work surface and thought, “there has to be SOMETHING you can do with these” — who knew the answer was “flowers”!