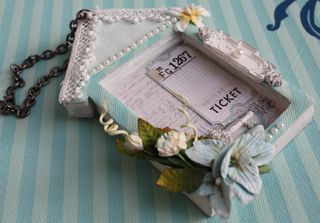
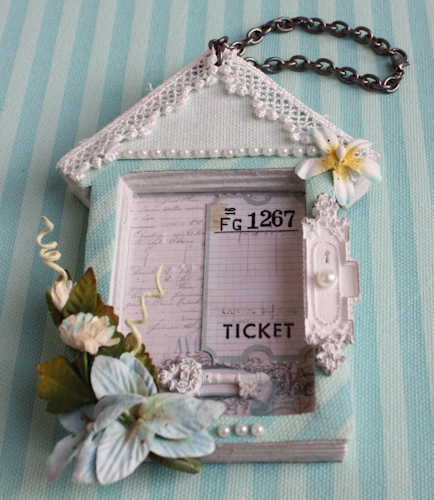
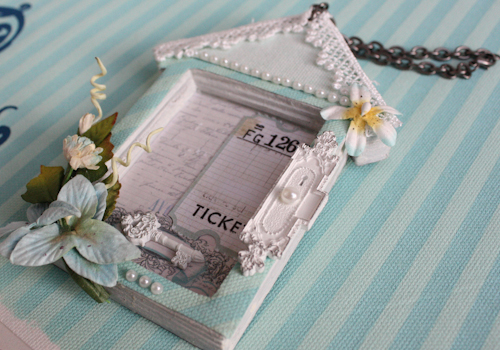
I think I know what everyone is getting for Christmas this year…an altered keychain book! This was so much fun to make, I can't wait to make more. I think I'm going to put a picture in it as soon as I find just the right one. I can't wait to make a Christmas themed one! Maybe, put a family photo in it, and use it as an ornament. Or, you could even send it in the place of a family Christmas card to your very special friends (because they do take a little while to make with the drying time). A steampunk one would be cool, too, with lots of gears and charms….Okay, so you know what I'm going to be doing for the rest of the day :))
Here's the tutorial for this Altered Shabby Chic Cottage Book. Enjoy!
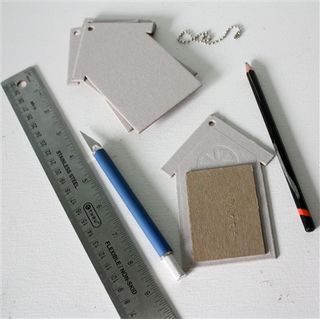 I started by cutting a piece of scrap chipboard to 2" x 2 3/4" to use as a guide for my cutout. Place it on top of the first page, trace around it with a pencil, and cut out the rectangular "window" with a ruler and craft knife. I used a precision file set to sand down any rough edges. Once the "window" is cut out of the first page, lay that page on top of the second page, trace the cutout through the hole, and use a ruler and craft knife to cut the "window" out of the second page. Repeat with 4 of the 6 pages. **SEE NOTE**
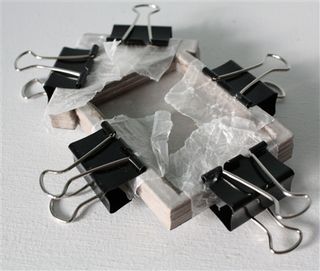 Using gel medium or Modge Podge, glue the two bottom uncut pages together. Then, glue down the 4 "window" cutout pages on top of the bottom 2 pages using gel medium or Modge Podge between each layer. Make sure your book edges line up, and coat all edges with gel medium or Modge Podge. Clamp each side with a bulldog clip. Use a piece of wax paper between the book and clip to prevent the book from ripping once the gel medium is dried.
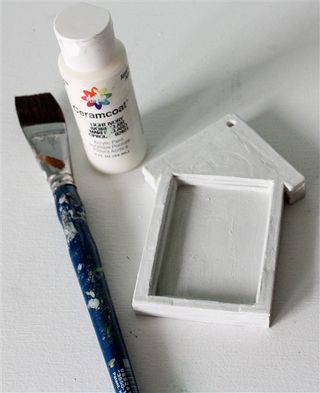 Once completely dried (for a couple hours or overnight is even better), paint with white acrylic paint OR gesso. Let dry (or if you're impatient like me, use a hairdryer).
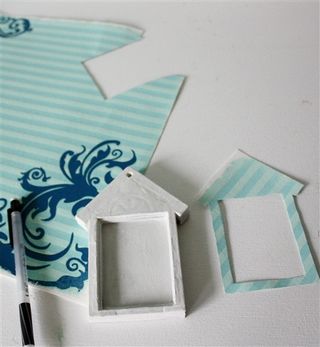
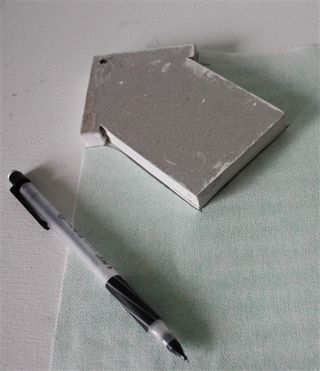 Put the book, front side down, on the back side of the screenprinted canvas, and trace with a pencil. Cut out with scissors.
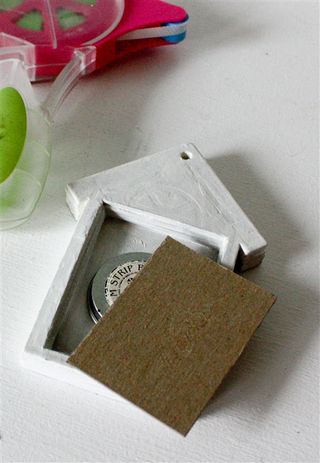 To cut the "window" out of the canvas, use the original piece of chipboard that was the guide, add just a little bit of tape runner on the top side, and put it in the "window" cutout of the book. I used the top from a Tim Holtz film strip ribbon container to hold the chipboard up flush with the book. Then, carefully line up the canvas cutout over the book and press into place.
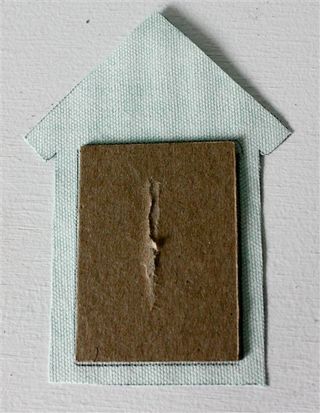 Lift the canvas and the chipboard will be taped exactly in the right position. Trace around the chipboard, and removed it.
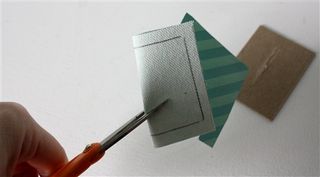 Fold the canvas lightly to make a slit to get the scissors started (do not bend the canvas). Cut the "window" out of the canvas. Also, don't forget (like I did) to punch your ring hole in your canvas.
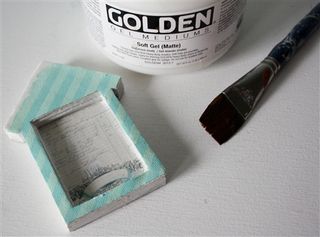 Use a generous layer of gel medium (0r Modge Podge) to adhere the canvas cutout to the book. Cut the background paper (2" x 3") down to fit inside the "window" and adhere down with gel medium.
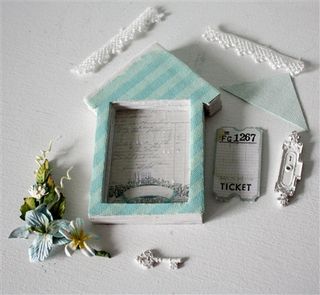 Use 1/8" Scor-Tape to adhere embellishments. Cut lace at an angle where it meets the ring hole.
Note**You have two options for enlarging the ring hole so that your chain fits. #1. You can gel medium/Modge Podge the pages together, and once completely dry, drill a hole using a 1/4" drill bit through the existing hole to enlarge. Punch a hole through the canvas, and adhere canvas to the page. This is how I did it, but I let my husband do the drilling. The chipboard is fairly soft, so you must be extremely careful doing this! If you aren't sure about using a drill #2. Use a Crop-a-dile OR Big Bite to enlarge each hole by punching one hole, placing that page on top of the next, tracing the hole, and punching. Repeat with all 4 pages. Gel medium/Modge Podge the pages together. Remove the end ring from the chain by using needle nose pliers. Feed the chain through, and replace the ring.
Both methods require tying a string to the chain and pulling through the hole. Also, make sure not to clog your hole with gel medium/Modge Podge.
A kit is availble for purchase in my shop (click here for kit). Or, if you only need the book, that's available, also (click here for book). Thanks for stopping by 




It’s lovely Very good idea, looks beautiful!!!
So Beautiful..1. Mod Podge-check 2.canvas-check 3. House book-need to purchase..Thanks Melissa..super project
Thanks Marta!! Carla, FYI, I sell just the books in my shop, too http://www.melissasamuels.net/store/index.php?route=common/home.
It’s an absolutely pleasure for me that you linked up this wonderful project to my blog. It’s beautiful, and I so much appreciate your tutorial. I’m going to follow you knowing that I can learn more about altered books and crafting, in general. I would love for you to follow me in return. Thanks again for linking to the boardwalk bragfest, and I see in looking at the button above, that I will need to resize it. I’m sorry that it ended up being so large (haha). It will look better soon. I also think I’m going to do a quick facebook brag about your project, linking back to your blog, of course. Great Project!
WOW! This is a gorgeous tutorial. Can I be on your Christmas list? 😉 Really, the recipients are going to be very lucky!
This is so beautiful!
WOW! So beautiful!! LOVE IT!
Wow – this is sooo gorgeous!
Great teachers gift too! I love it! Theresa xoxo
This is really beautiful! The white and blue is the perfect color combo!!!
If I were a boy again, I would demand of myself more courtesy towards my companions and friends, and indeed towards strangers as well.
I’m going to follow you knowing that I can learn more about altered books and crafting, in general.