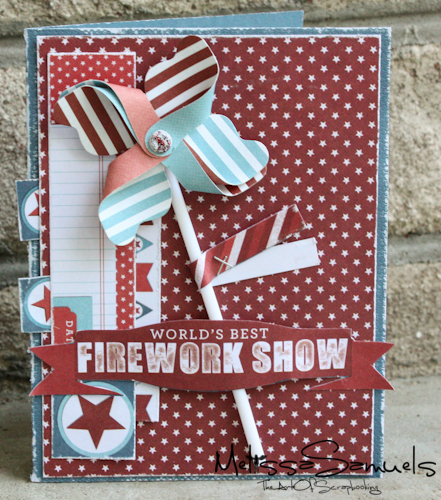
I have a little card tutorial to share with you guys today! It was featured in our newsletter a few weeks ago, but if you missed the newsletter here it is. I thought it was relavant with the 4th of July quickly approaching. The collection used is We R Memory Keepers Red, White, and Blue. Hope you enjoy!
 Supplies Used:
Red White & Blue Solid Textured Cardstock-Dark Blue
Red White & Blue 6×6 Paper Pad
Red White & Blue Mini Pinwheels
Paper Trimmer & Scissors
Tape Runner & Glossy Accents
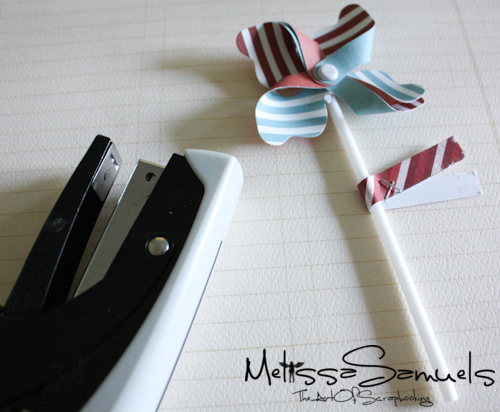
Tim Holtz Tiny Attacher or Stapler
Prima Distressing Tool (Optional)
Bone Folder (Optional)
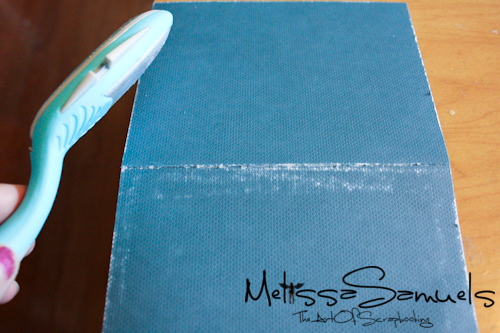
- Cut Solid Textured Dark Blue Cardstock to 8 1/2" x 5 1/2"
- Fold in half on the 8 1/2" side, and crease with a bone folder
- Distress edges (optional)
**Tip for distressing: Line paper up to the edge of your craft table (you may NOT want to try this with your kitchen table), and use the sanding side of a Prima Comfort Craft Distressing Tool to distress. This makes distressing easier, and reduces the danger of sanding your fingers (ouch!).
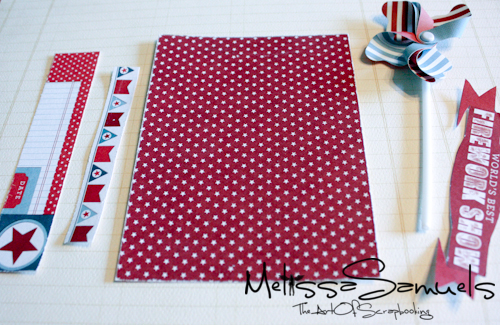
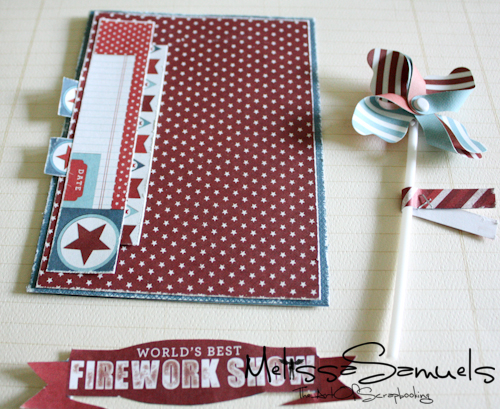
- Using the 6×6 paper pad, cut the following pieces (pictured from left to right):
5" x 1", 4" x 1/2", 5 1/4" x 4", and "Firework Show" banner
- Distress edges (optional)
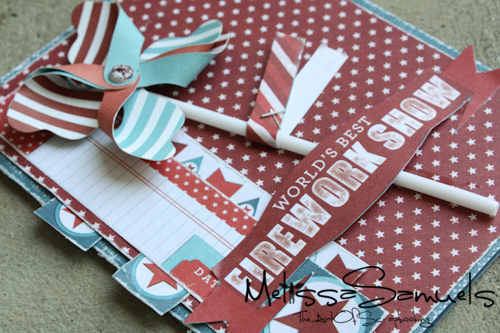
- Assemble cut pieces as shown
- Adhere pinwheel and banner (using Glossy Accents)
DONE!



Thanks for your post and you can Joyfax server data with your colleagues by:http://www.joyfax.com