Hi Everyone! Welcome back to day 2 of our week of favorite Christmas posts, and tutorials. Today I have 2 of my favorite posts, and a new little ornament tutorial that the whole family will enjoy! It's super easy, inexpensive, and loads of fun!
Let's start with our favorite posts…
Favorite Christmas Post – Glass Dome Ornament
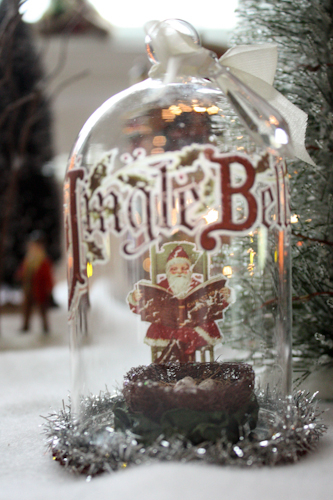 Supplies Used: Melissa Frances Glass Dome Ornament, Prima Sparrow Cradle, Father Christmas rub-ons, chandelier drops, seambinding, hot glue gun, Maya Road satin pleat ribbon green, silver foil cardstock, and tinsel.
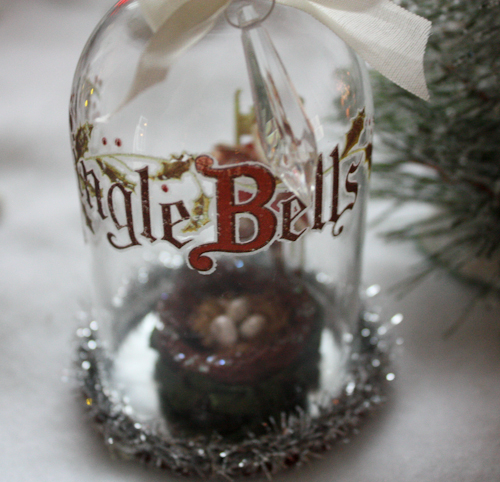 I
I
started by adding rub-ons to the glass dome. I used the Santa inside,
and the words "Jingle Bells" on the outside. This gives a very cool
effect! Since I was working on a curved surface, I Scotch taped the
rub-on in place to keep it from moving. Don't place tape over the image
as it will make it more difficult to rub off. Also, don't place any
images too far inside, as it will be difficult to get the rub-on tool
all the way inside the dome. It takes a little work to get the rub-on
transferred, but it's well worth it.
The bottom of the dome is chipboard. I traced the top glass dome
onto silver cardstock, cut out, and glued to the center of the bottom
piece of chipboard. I glued the bird's nest in the center, pleated
ribbon to the outside of the nest, and the bottom to the glass dome. I
added tinsel to the bottom, and a bow with a chandelier drop to the top.
Favorite Christmas Post – Cottage Ornament
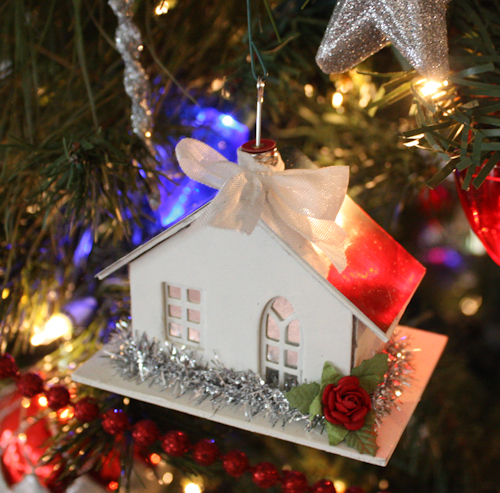 Supplies Used: Melissa France Cottage Ornament, glue gun, white acrylic paint, 12×12 Foil Cardstock Silver, mini holly leaves, seambinding, tinsel ribbon, and a mini red rose.
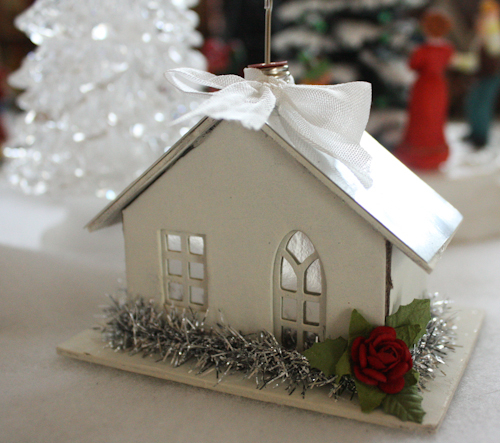 This
This
adorable little chipboard Cottage Ornament comes naked, flat, and easy
to assemble and decorate. I painted the entire house with white acrylic
paint, hot glued the window and door lattice in place, glued mirrored
silver cardstock behind them, and then hot glued the house, base, and
roof together. I hot glued the ornament hanger in place, and covered
the roof in more silver cardstock. I then decorated with tinsel,
seambinding, and a mini holly leaf.
________________________________
And now for our kid friendly, easy Christmas ornament the whole family will love-
I love creating intricate ornaments that require painting, precision cutting, folding, and fabulous techniques. However, the last couple of years I've been doing more and more ornaments that I can do with the girls. Our family loves to gather around the kitchen table, and get out the Elmer's glue, safety scissors, construction paper, and glitter and go to town for hours! It's great family time, and everyone can't help but join in the fun. Here's a super simple pinecone ornament that looks stunning at night glittering in the lights of the tree. Maddie, 6, and Lily, 5, made dozens of these this year.
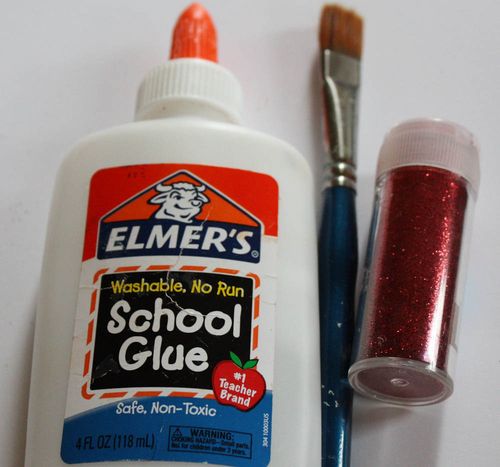 All you need is Elmer's glue, a paint brush, and glitter.
We gathered pinecones from our back yard, and made hangers out of gold elastic cord by wrapping the cord around the top of the cone, tying a snug knot at the top, then tying the very ends of the cord to form a hanger.
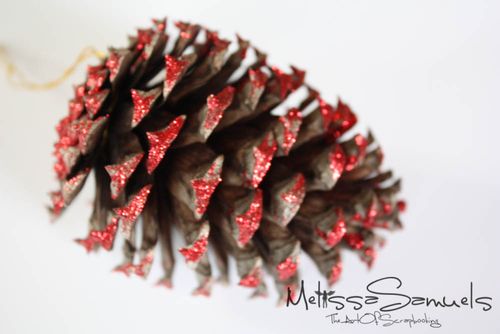 Paint the tips of the pinecone with Elmer's glue. It seems to work best doing 1/2 the pinecone at a time. Sprinkle with glitter, and gentle tap off excess.
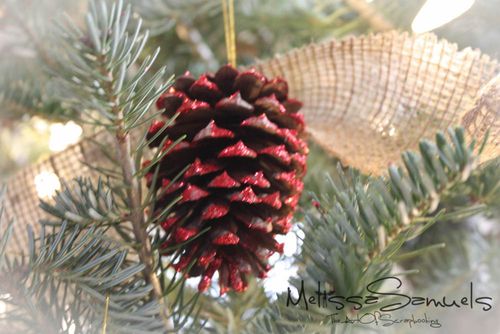 You can hang them on the tree to dry. So easy, and fun!!


