It's tutorial time! Today I'm going to show you how to make one of my favorite things, a card! So you may have guessed if you've seen my Birdcage Mini Album, that I have a thing for birdcages:) I always put the bird outside of the cage which makes it okay, and to me represents FREEDOM….freedom represents ART…art represents LOVE. Okay, enough twisted word association. LOL! Ready? Let's go…
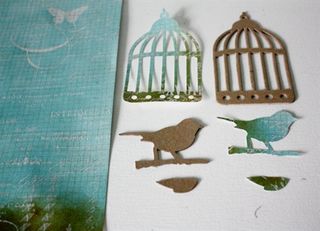
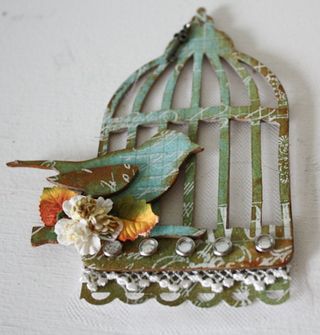
I started by using the Pink Paislee Parisian Anthology paper that I showed you how to ink the other day and naked chipboard to cut out the birdcage & bird pieces with the Tim Holtz Alterations die Caged Bird (#656634).
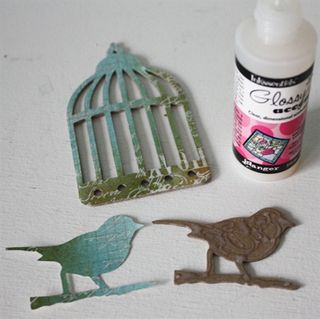
I used Glossy Accents (one of my favorite glues, and it has a micro tip so I didn't have to get out a paint brush, yeah!) to glue the paper shapes to the chipboard pieces. Be sure to wipe off any excess that may squeeze out the edges because once it's dry it's glossy and dimensional.
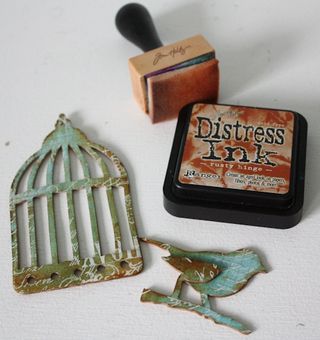
Next, I inked the edges with a blending tool with foam loaded with Distress Ink-Rusty Hinge (my fav!). FYI, the same tool is used for applying alcohol inks and distress inks. Remember, the foam applicator is used with distress ink, and the felt applicator is used with alcohol ink.
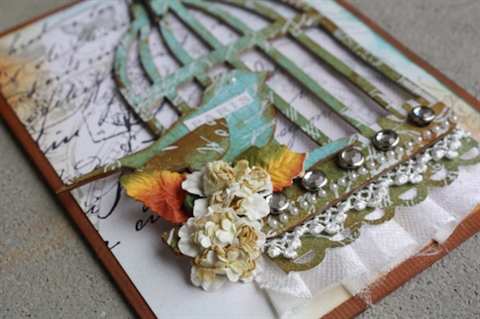
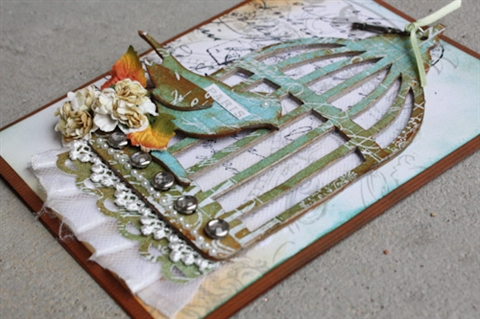
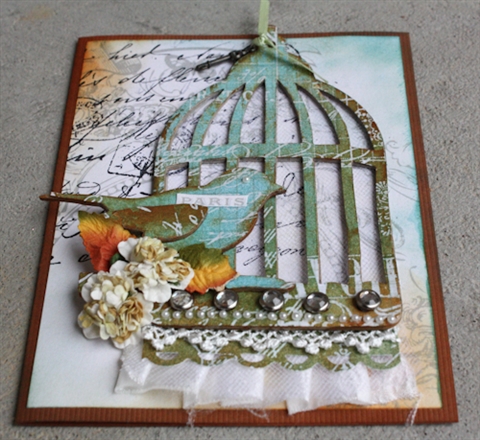
Then, embellish your cage! I used tulle behind the birdcage, and a border punch and lace at the bottom. I inserted sparkly brads in the holes at the bottom, and hung a mini key from the hole at the top. Add some flowers…
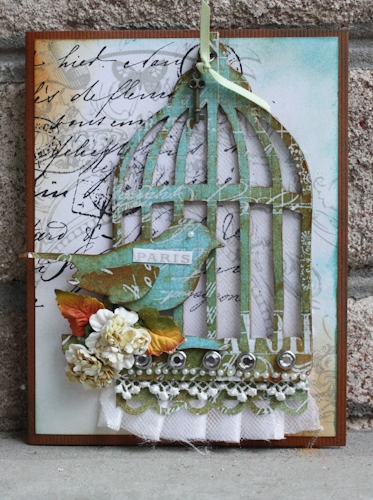
Fold a 5 1/2" x 8 1/2" piece of cardstock in half, and crease with a bone folder. Cut the reverse side of the Pink Paislee paper to 4" x 5 1/4." I stamped the top left corner with a Hero Arts "Old Letter" Cling stamp, ink the edges lightly with Distress Ink, and adhered it to the front of the card. Add the birdcage, and you're done!
I hope you enjoy! XO
Linked to:




Pretty!
Gorgeous! Thanks for the tutorial, too!
That is FANTASTIC!!!! Thanks so much for linking up to gettin’ crafty on hump day
What a beautiful card you’ve made! I love it!
Hi Melissa!! Thanks for dropping by my blog! I’m glad to have found you! There’s loads of goodies and inspiration to see on your blog! Will be following you too!
This is gorgeous!!!
This is beautiful!
This is beautiful as usual. I’ve used that crazy birdcage diecut for sooo many things. I am not much of a card maker; however, because after creating such beautiful “fronts” I am always let down by what I put inside the card. Any suggestions?
Amazing project! Thanks for the tutorial!
stunning card!
This card is so amazing! I absolutely love it. I found you on 2 Peas, and I can’t wait to see what beautiful things you continue to create!
That is SO pretty! You just get better and better Thanks for sharing your work. Such inspiration!
Beautiful card!
Comme c’est beau, merci pour le tutoriel.