Art Journaling Background Tutorial Using Ink Sprays and a Stencil

Hi Everyone!  Today I want to share with you a simple tutorial on creating a background in your art journal. I was experimenting with a new ink spray that I was testing out to see if I wanted to carry in my store (and I am).  It is called Lindy’s Stamp Gang, and it comes in 5 bottle color coordinated sets.  The bottles come with just powder in them, and you add hot water.  I am a Glimmer Mist freak, so I was very interested in these sprays.  I have to say, I love them.   The darker color took a little scrubbing to get off, but I think the effect was worth it.  The technique that I am about to show you could be done using Glimmer Mist or Dylusions ink sprays.

Let’s get started!  I always place a sheet of heavy cardstock under the pages that I am working on to protect the other pages in the journal.  I am working with a Dylusions 12×9 Creative Journal.  I have not prepped the pages.

The only supplies you will need are ink sprays, a stencil, paint brush, white acrylic paint, and an art journal.
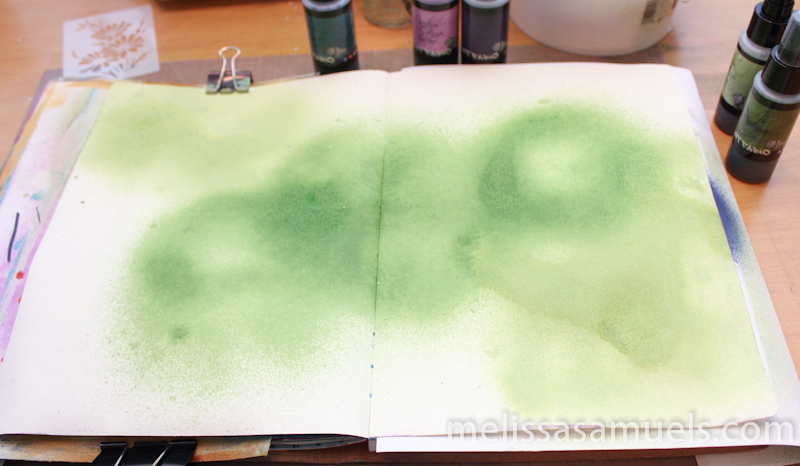
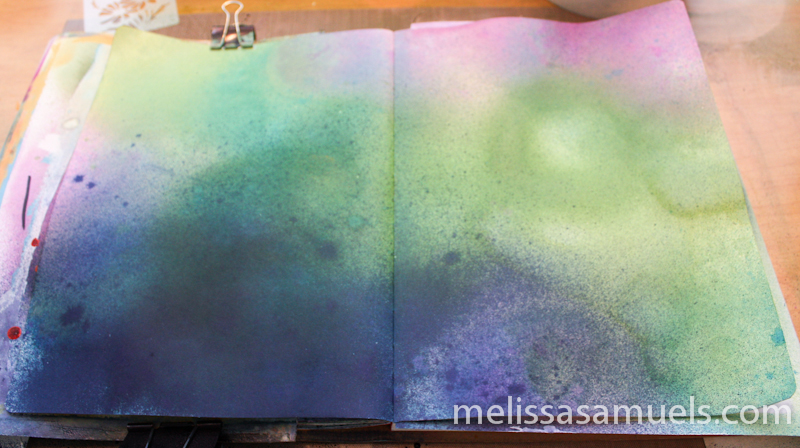
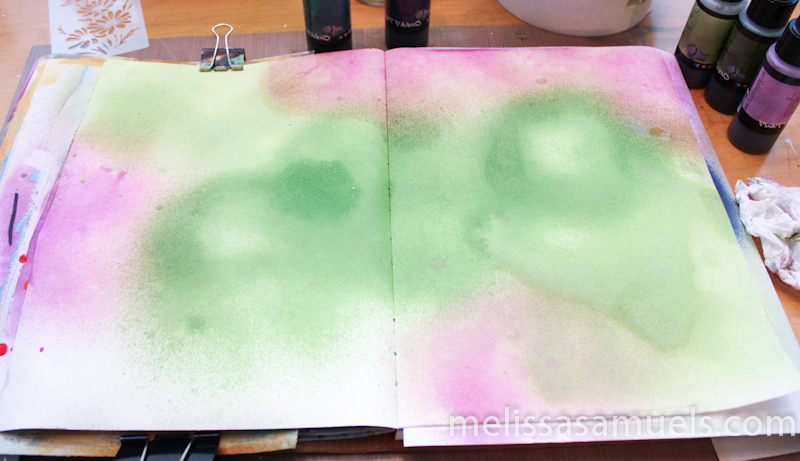
artjournalLindys-1Spray the 2 shades of green randomly onto the page, and dry (with a heat gun or hairdryer)…
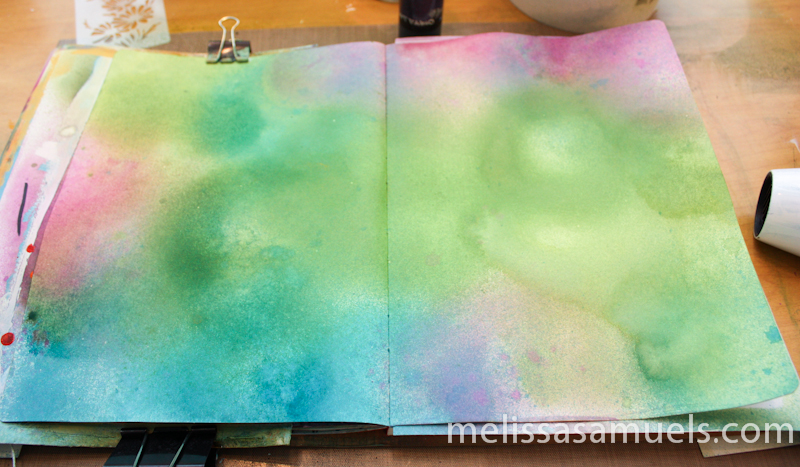
artjournalLindys-1-2add the pink, and dry…

artjournalLindys-1-3then fill in with the teal, and dry…

artjournalLindys-1-4Next, add the dark blue.  It is very dark, so a little goes a long way.
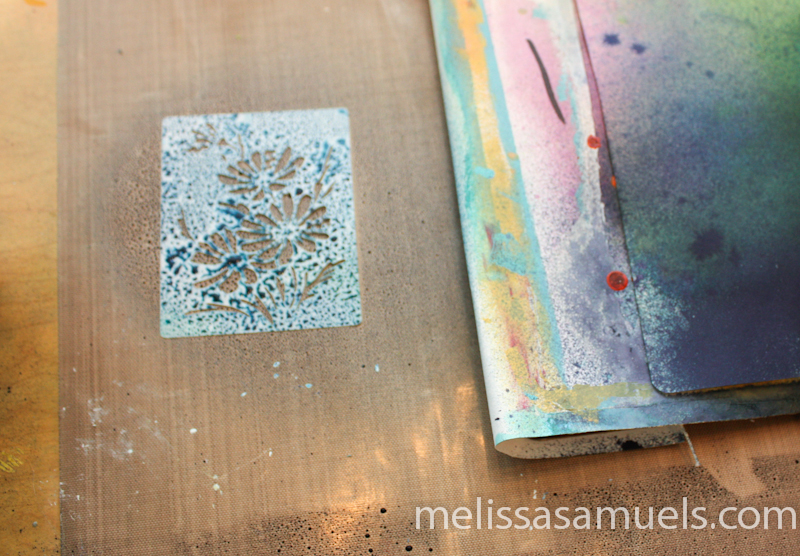
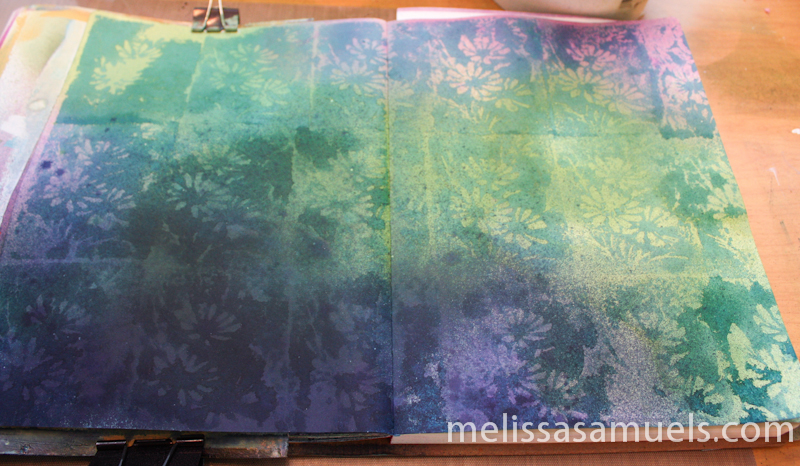
artjournalLindys-1-5Spray your stencil with the teal ink spray to use it as a stamp.
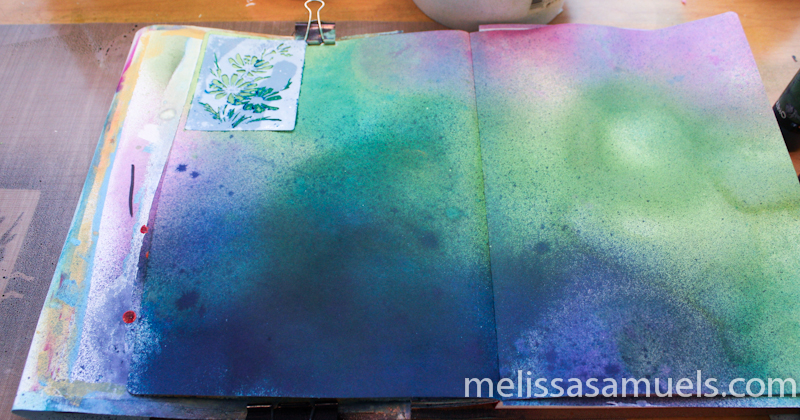
artjournalLindys-1-6I learned from stopping to take a picture, if you want a crisp image, you really want to get in and get out.  Place your stencil down, press, and lift…no waiting around or the image will bleed.
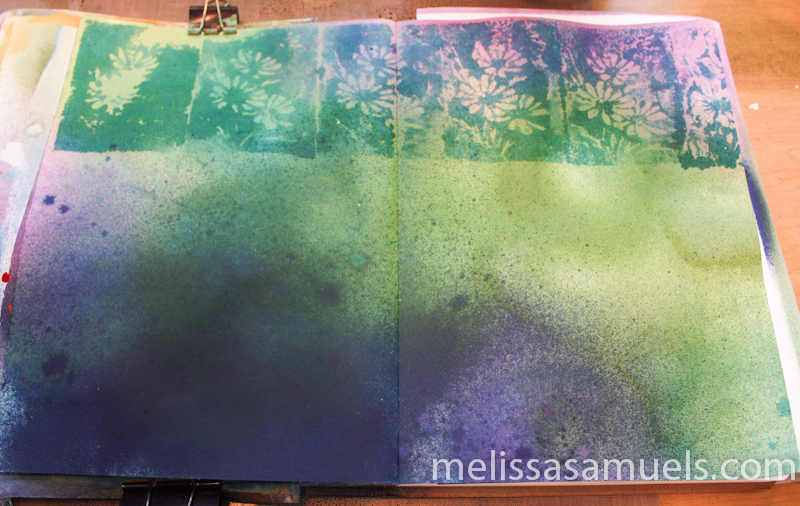
artjournalLindys-1-7Repeat in rows across the page.

artjournalLindys-1-8Once the entire page is done you will have this wonderful watercolor effect with the negative image of the flowers.
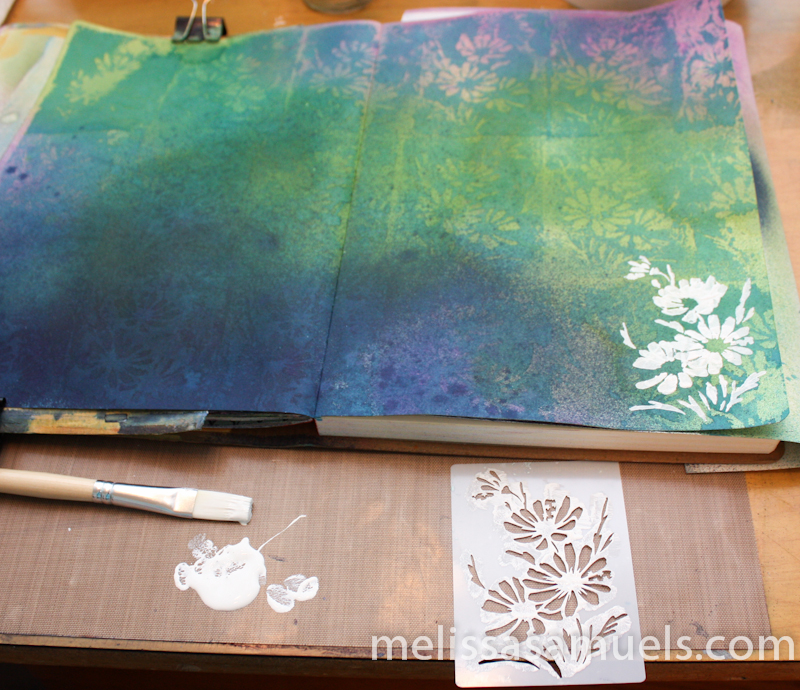
artjournalLindys-1-9Using the stencil (as a stencil not a stamp), paint flowers at the bottom of the page using white acrylic craft paint.
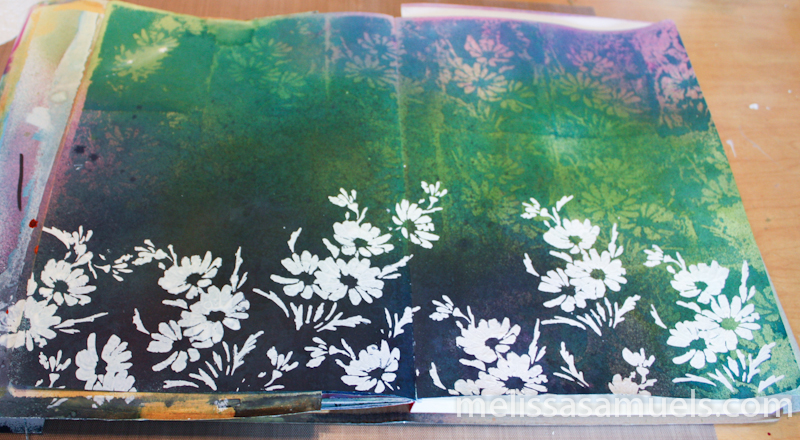
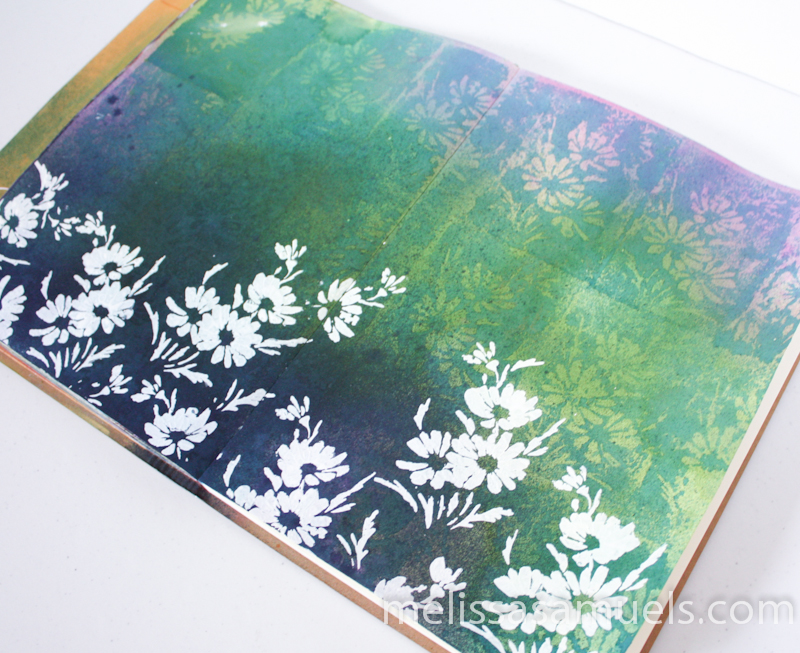
artjournalLindys-1-28artjournalLindys-1-29Now you have this easy, beautiful background waiting for journaling, doodling, a border, stamping, photos, you name it!  Sometimes I will create several background pages, then go back when I come across the perfect quote, stamp, or image and finish the page when I have more time and/or inspiration strikes.

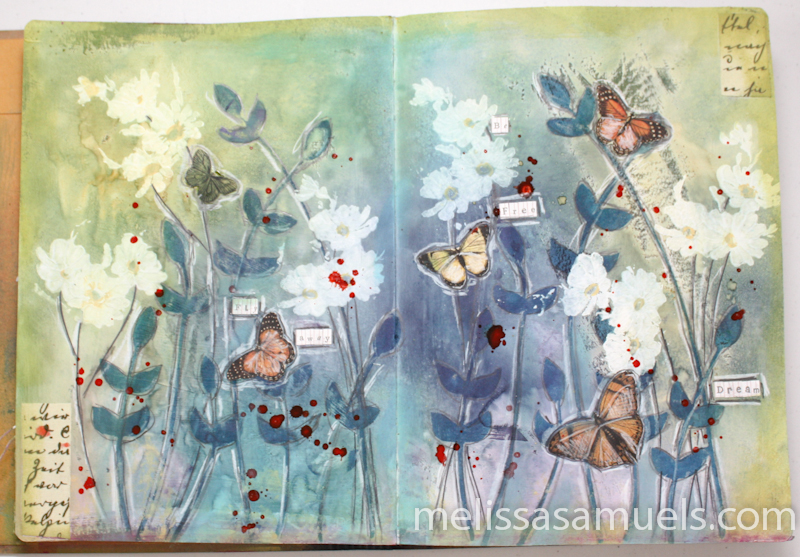
In yesterday’s blog post I created another art journaling page.  Believe it or not, I used the same ink sprays for my background except I primed my page with gesso before I started.  It gives a softer effect because not as much paint is absorbed into the paper.
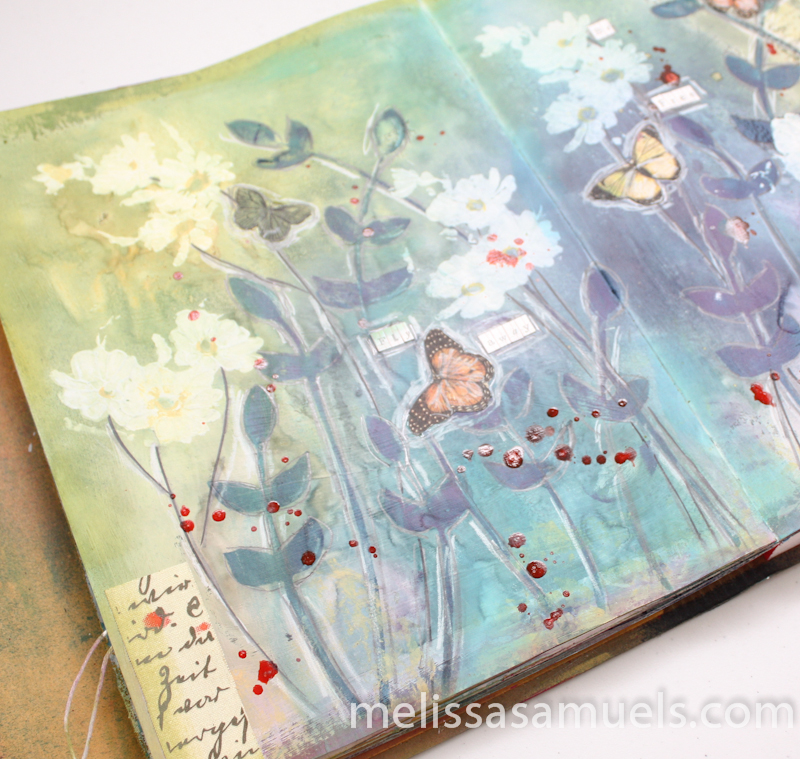
artjournalLindys-1-20In addition to the ink sprays, I also stamped the greenery with teal permanent ink, and used a lime green chalk ink around the border, fyi.

I hope you enjoyed this tutorial, and realize how easy it is to get started in your art journal creating simple backgrounds.

You can now subscribe to our blog!!!  If you would like to subscribe, scroll to the bottom of the page (on the blog) and enter your email in the subscribe box.  Thanks!! xx

6a0115711511ff970b017d3e7b87bd970c-pi

Be Fearless

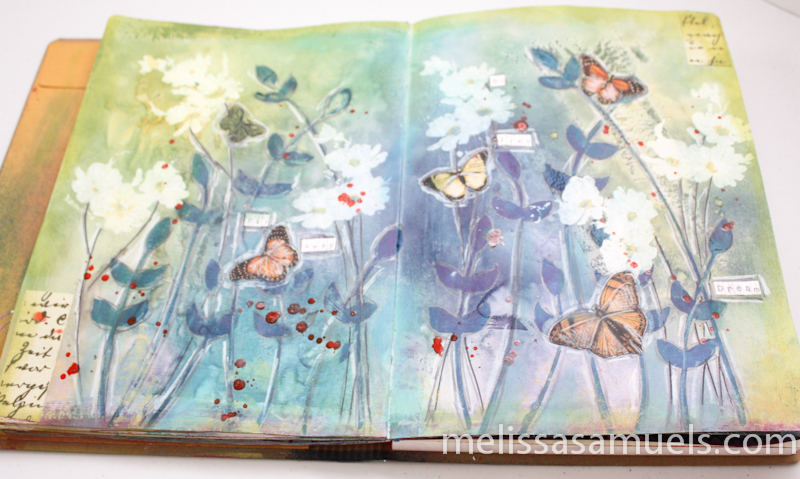
artjournalLindys-1-27Hi Everyone!  I have really found my happy place in the studio again.  I have been experimenting, playing, and simply having a great time. I have been pulling out supplies I forgot I had, and trying out new ones.  It has inspired me to experiment, create, and push myself outside of my comfort zone.  I am remembering that being in the studio with my hands messy with ink, or paint, or gesso is what makes me happy.  My excitement has been bubbling over, and even Bob has thought about giving art journaling a whirl (I really wish that he would!).  He sees the joy that comes from creating art.  It is such an introspective and healing process.  I think that is why I love art journaling so much.  There are no rules, just pour yourself out onto a page…let it all flow.

Don’t be afraid  to get your hands dirty, or try new things.  All too often we are so afraid of failure that we never even try.  We deprive ourselves of the happiness that comes with the feeling of accomplishment when we realize we can do it!  If you haven’t tried art journaling before, get yourself some cheap-o bristol paper and craft paint and go for it.  It doesn’t need to be Rembrandt, it only needs to make you happy.

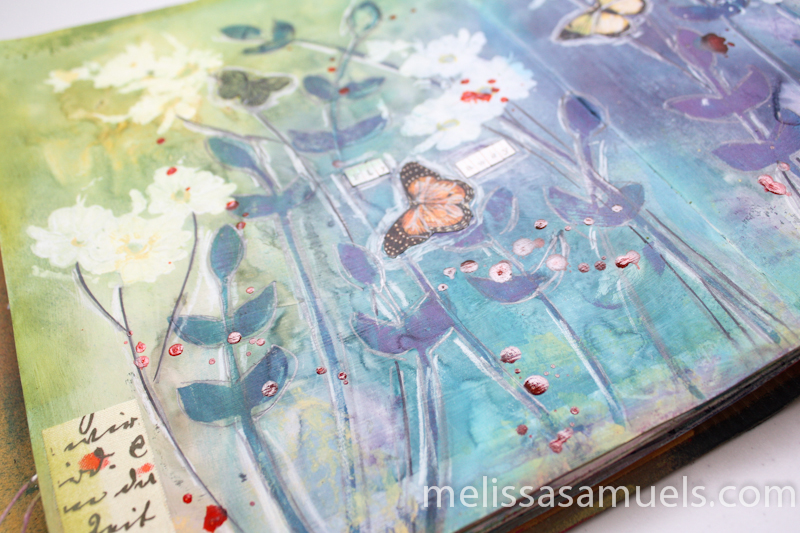
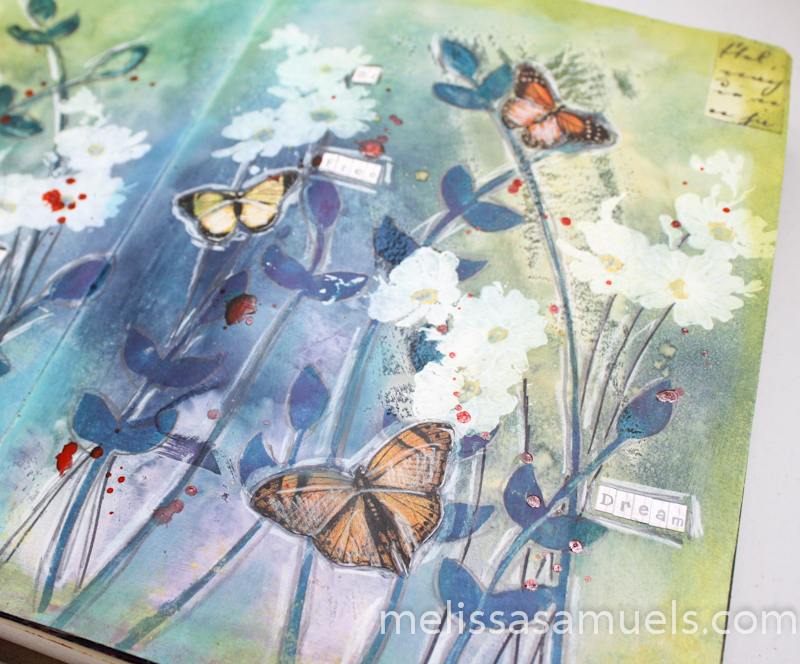
Here is a look at my latest happy page using Lindy’s Stamp Gang Flat Fabio ink sprays on a gessoed surface in my art journal.

artjournalLindys-1-25

artjournalLindys-1-20artjournalLindys-1-21artjournalLindys-1-22artjournalLindys-1-23Be sure to come back this week.  I have a little tutorial using Lindys’ Stamps Gang ink sprays, like the ones I used here, that I think you are going to like.  Happy Creating!

6a0115711511ff970b017c348a41ac970b-pi

Monochromatic can be marvelous

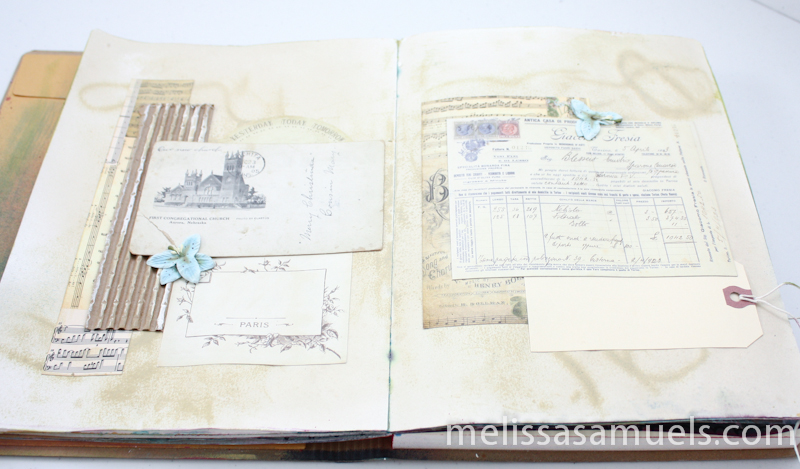
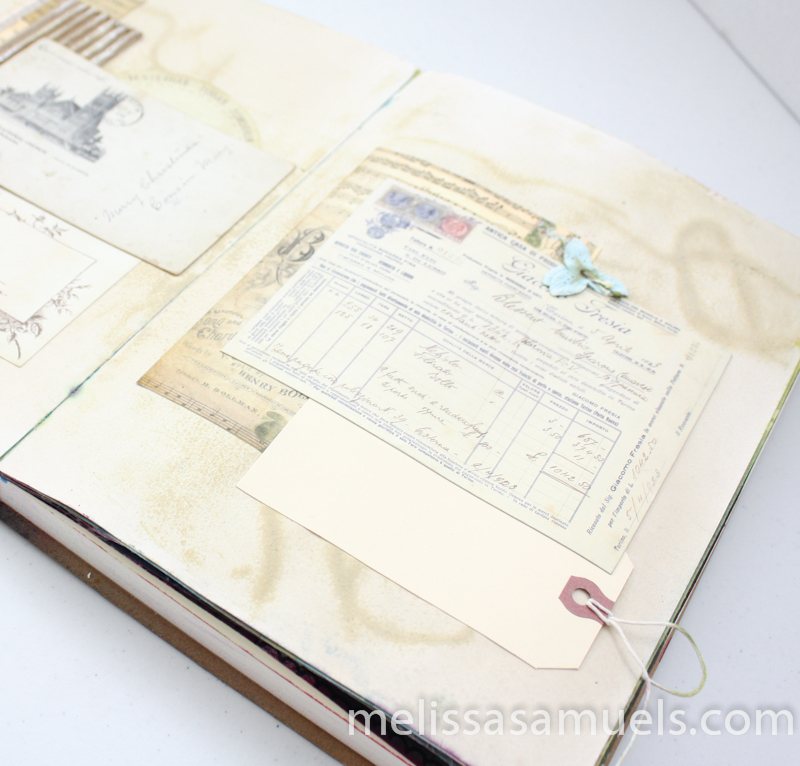
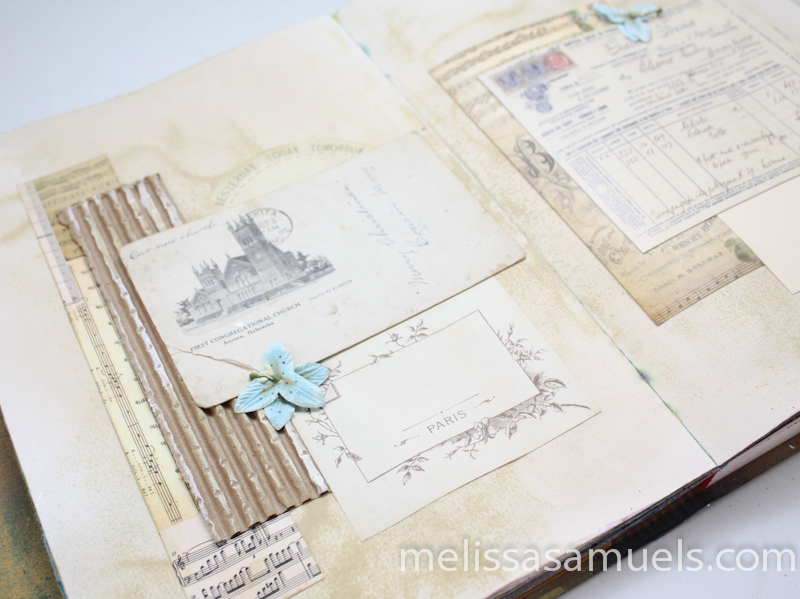
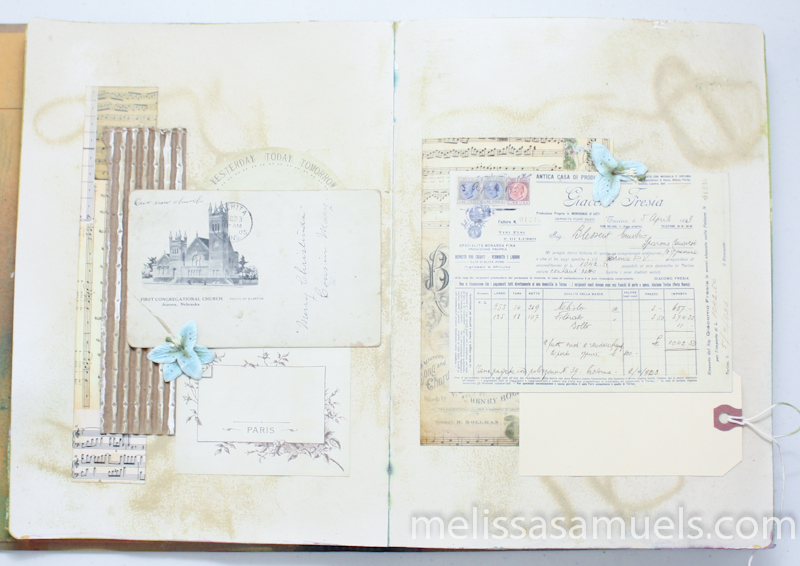
Hey Guys!  Today I wanted to give you a peek inside of my art journal and show you how marvelous monochromatic, with a tiny pop of color, can be.  I created this page using ephemera and scrap papers in different shades of antique linen, then added robin’s egg blue flowers for a pop of color.  This is a great technique for scrapbook pages, cards, and minis.

AJ-mono4Wanting to do a little something extra to the base of the page, but sticking with the monochromatic theme, I added a little interest to the base page using Glimmer Mist and Distress Ink as shown below.

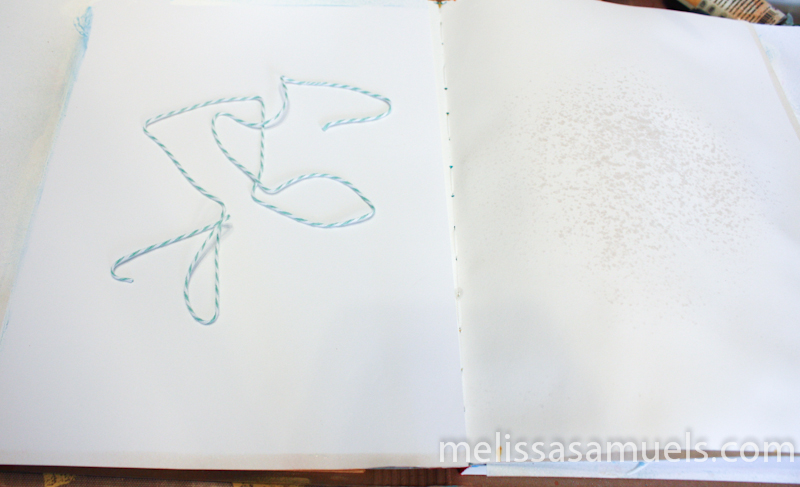
artjournalLindys-1-19I sprayed the page with Crocheted Doily Glimmer Mist, a very sheer neutral color, to lightly dampen the page.  I then lifted the page and added a piece of twine under the page, rearranging in different shapes.

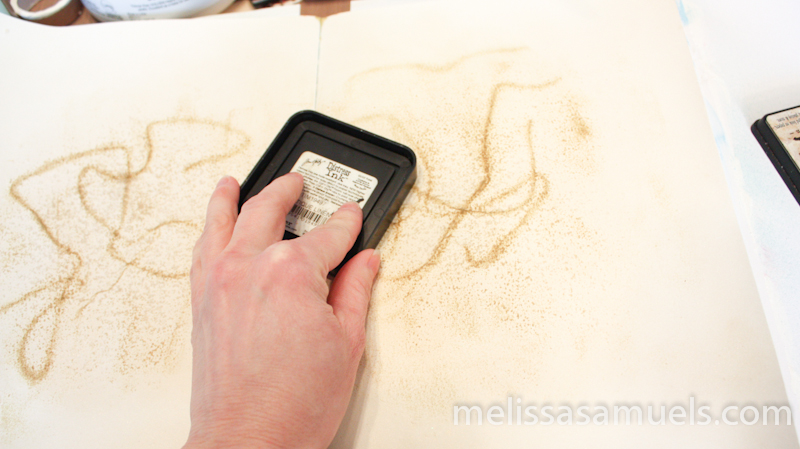
artjournalLindys-1-26I flipped the page back, and ran an Antique Linen Distress Ink pad over the dampened page to create this really neat effect of the twine showing through.  Once dried, the ink had a very soft, watercolor effect. This created a wonderful base for my page.  I just built up layers of paper from here.

AJ-mono3AJ-mono2AJ-mono1 I just love the vintage look of this page.  Sticking with shades of the same color really made that little bit of blue from the flowers pop off the page.  If you wanted a more contemporary look, you could try the same technique but using different colors such as multiple shades of yellow, aqua, or pink, then adding a complimentary pop of color.   I hope you will give this easy technique a try.

6a0115711511ff970b017c348a41ac970b-pi

Mixed Media Canvas

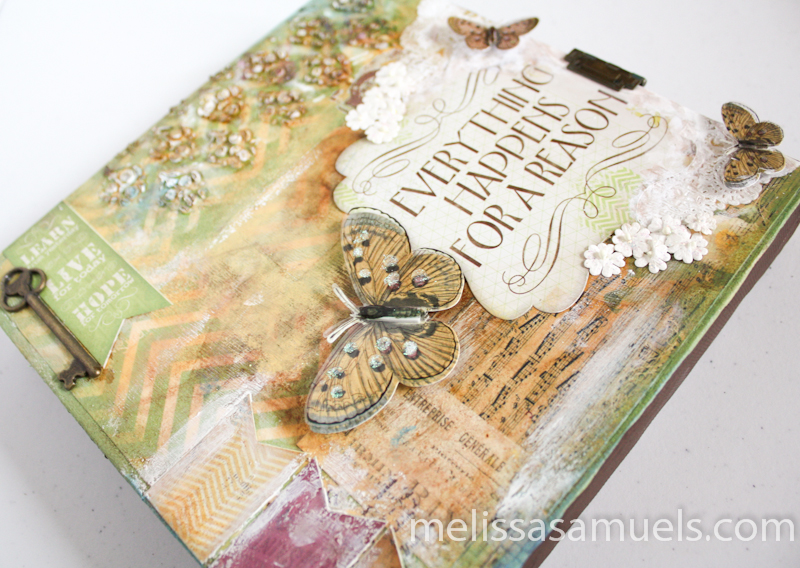
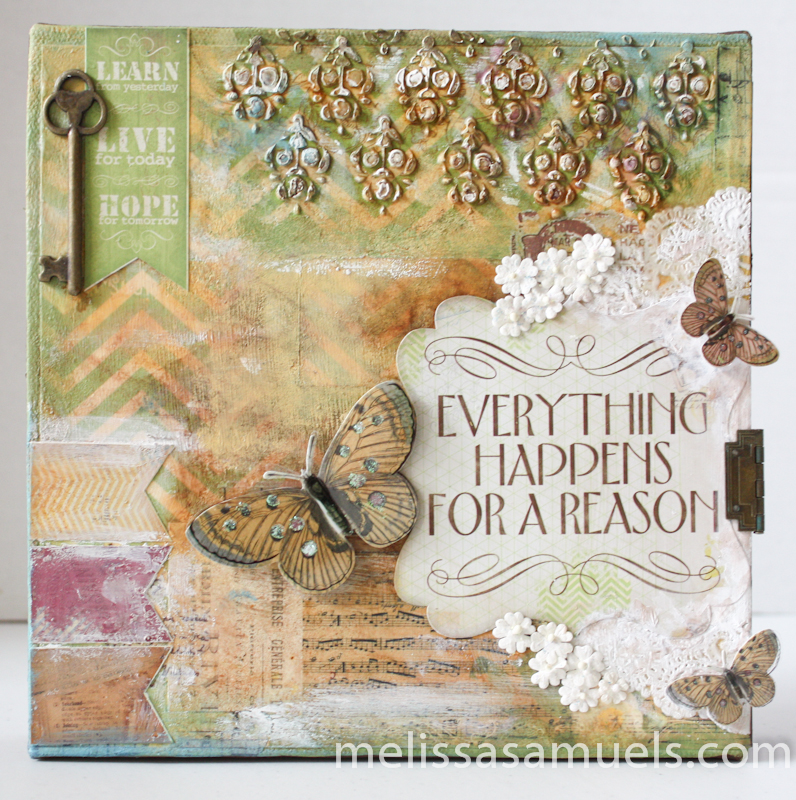
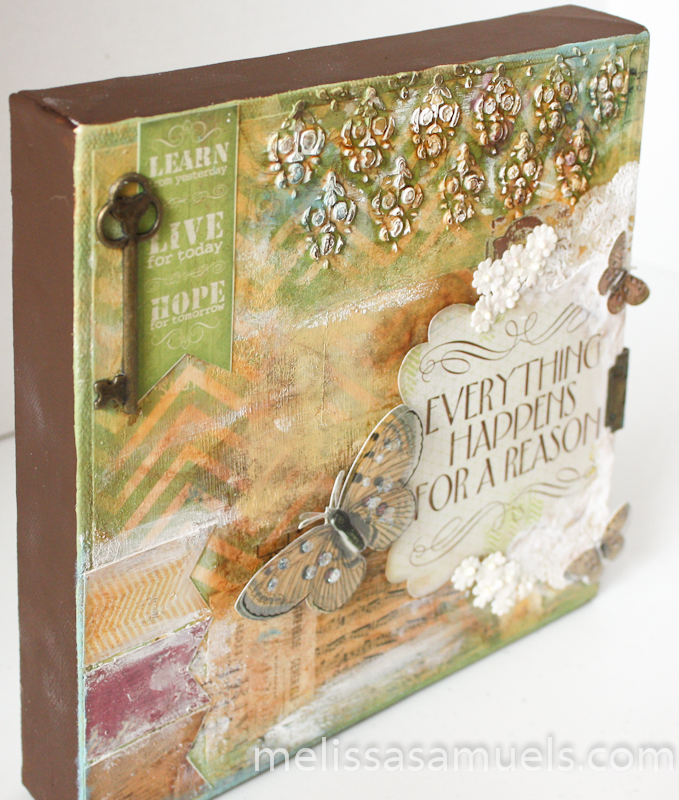
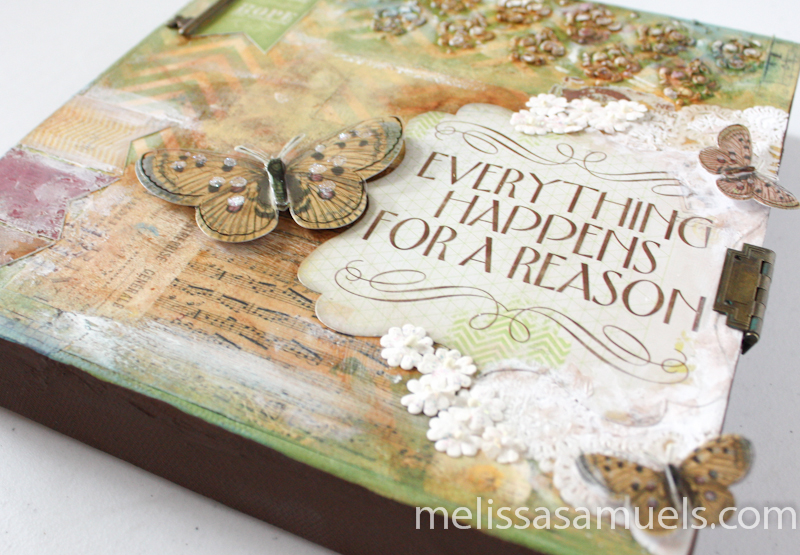
canvas-ms-1Happy Friday Everyone!  You are almost to the weekend (collective sigh of relief).  Yay!!!   Today I wanted to wrap up the week with a little mixed media canvas I created.  Canvas is one of my favorite things to work with because you can load it up with paint, inks, sprays, paper, modeling paste, etc.  and get some amazing texture.   I started this canvas with a layer of green acrylic paint, collaged some of my favorite papers & part of a doily,  and stenciled modeling paste to the top right corner.  From there I just layered on more acrylic paint, distress ink, and Glimmer Mist, then added a title, flowers, butterflies, and key.  I finished off the edges with a rich brown acrylic.  Love it!canvas-ms-2canvas-ms-4canvas-ms-5I hope you like my little canvas, too.  Maybe you will feel inspired to pull out the acrylics and a canvas in your craft room.  Happy creating! xx

6a0115711511ff970b017c34817aa1970b-pi

Thank you for the birthday wishes

birthday-1Hi Everyone!  I just wanted to give a BIG thank you to all of my friends & family on Facebook for all of the kind birthday wishes yesterday.  It was amazing to start the day with so many wishes waiting for me on my wall, and I read each and every one that came in throughout the day and into the night.  I feel so very fortunate and special to know each and every one of you, and appreciate you taking the time to leave me a little message.  I had a wonderful day, and thank you for being a part of it.

I thought I would share with you some of my fun from yesterday.  School was 2 hours late for the girls, which was spectacular because I was able to spend the morning with them.  I thought that was just perfect!

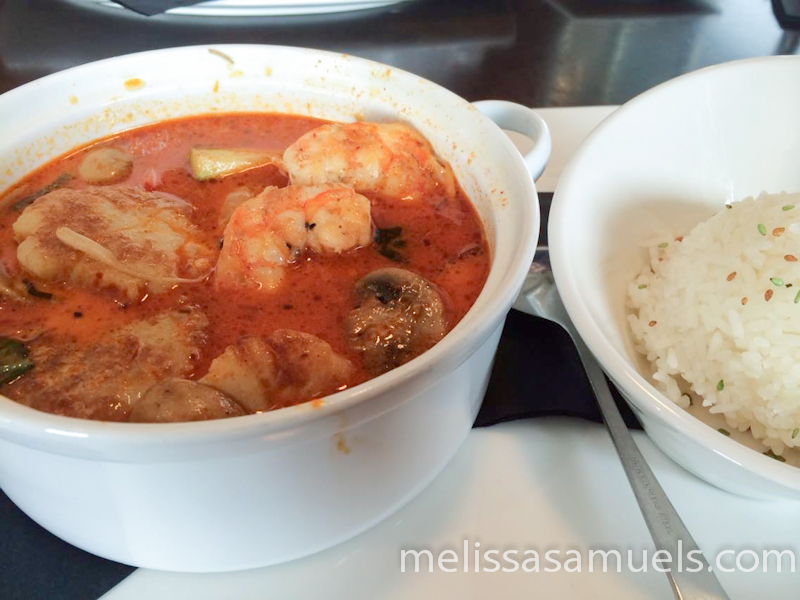
birthday-1-2After getting the little ones off to school, Bob and I had a scrumptious lunch at a local Thai/Asian Fusion restaurant called Wild Ginger.  I love the sushi rolls, but my favorite dish has to be the Indonesian Seafood Pot.  It is loaded with giant scallops and shrimp swimming in a creamy coconut tomato sauce.

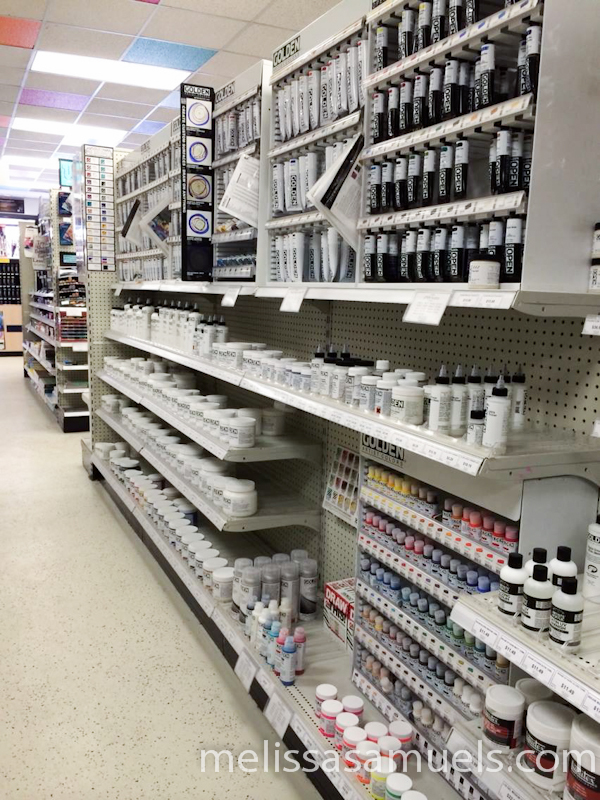
birthday-1-4The day would not be complete without a shopping trip of some sorts.  I opted for the art supply store, Plaza Art.  The selection of pens, paper, journals, mediums, pencils, paints, brushes, etc is staggering.  I felt like I had stepped into heaven.  Needless to say, I made a few selections :)

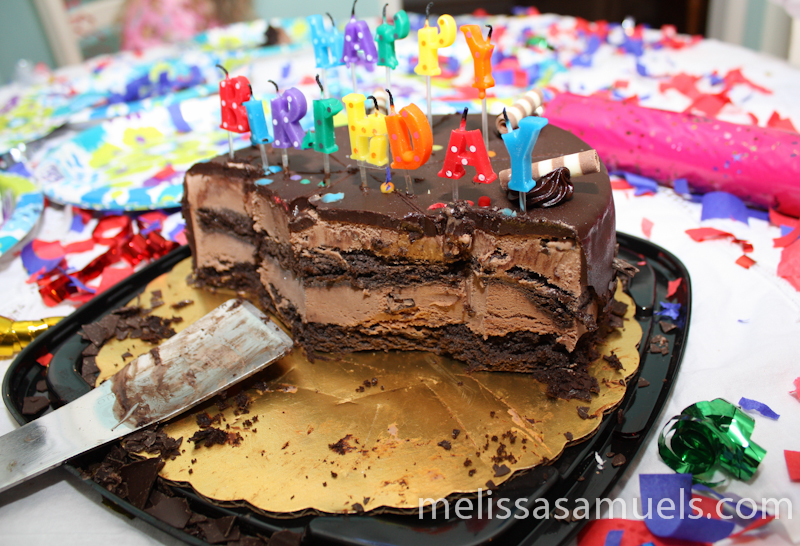
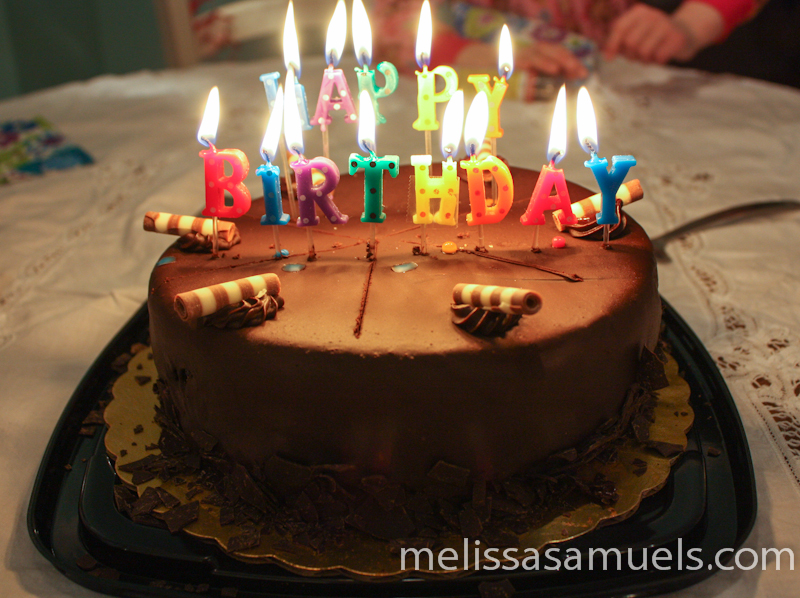
birthday-1-3Bob and the kids got me a chocolate ice cream cake from Cold Stone’s-just sinful!  I was too full from lunch to eat dinner, so guess what I had?!  Yep, cake!  It was awesome!  The girls shot off confetti cannons…a little crazy, but fitting for our household.  It was tons of fun, and made getting older not so bad.  I am looking forward to the week ahead because I still have celebrating to do with more friends and family.  I am truly a lucky girl!

I now realize getting older is not so bad, but rather what you make of it…just like all of life I suppose.  xx

6a0115711511ff970b017c34817aa1970b-320wi