In the studio – Art Journaling

Hey!  It has been crazy weather here in Virginia.  Yesterday we had heavy snow, sleet, freezing rain, and thundersnow (that’s a little added bonus of lightning and thunder to go with the snow).  For all my friends in warmer climates, I know, you’re jealous.  Since it was an indoors kind of day, I spent some time in the studio art journaling.
artjournal-sj-1

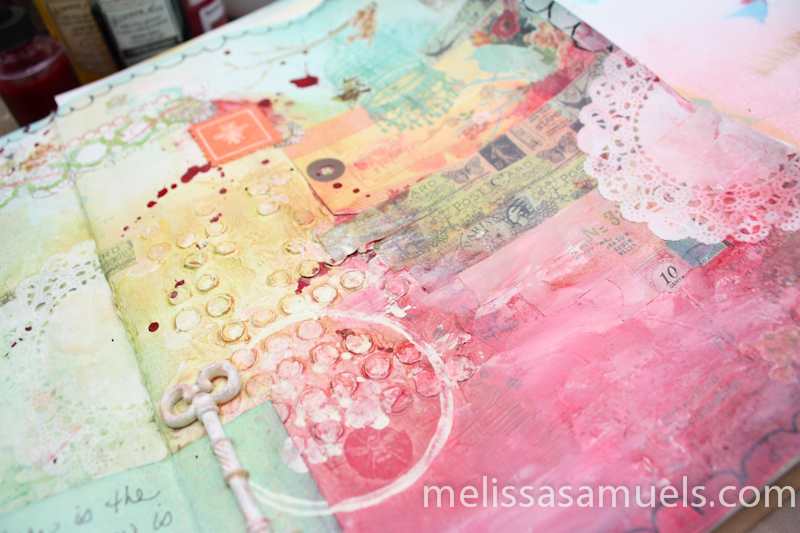
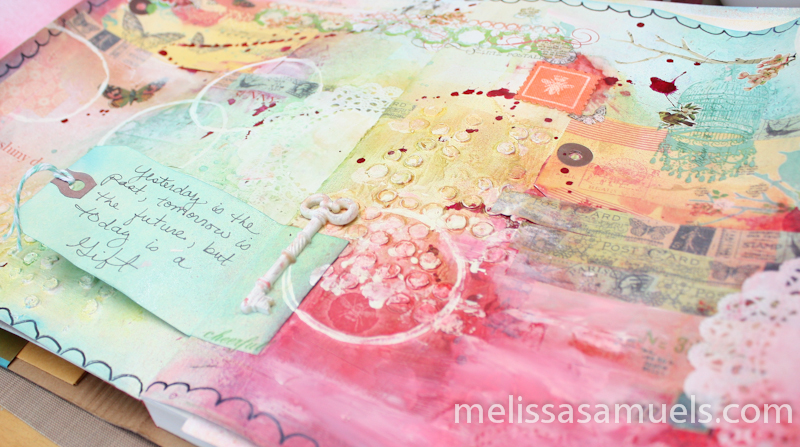
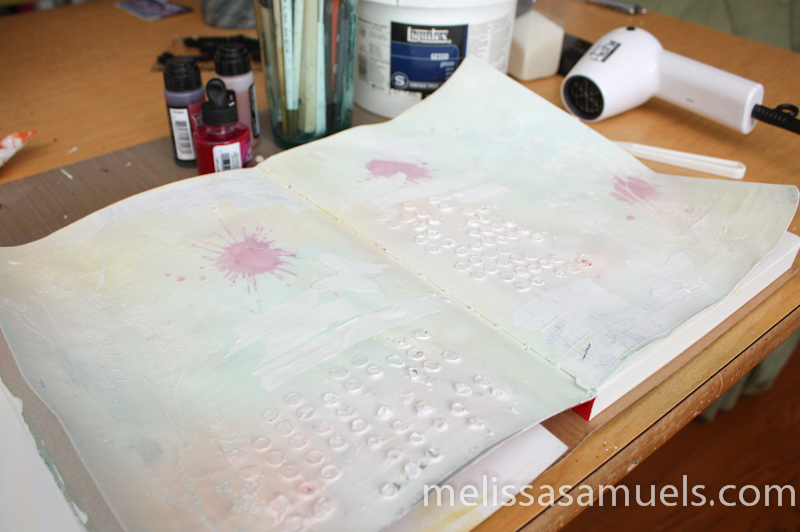
AJ-1A few days earlier, I cracked open a Dylusions Creative Journal that I bought forever ago.  I have not art journaled in quite awhile, but it is one of my favorite things to do.  I started with some resist images using large foam stamps (some of which I made-see tutorials).  Then, I stamped a script background, glimmer misted, model pasted, taped…you name it.  I was so excited.  All the techniques I used to teach came flooding back.  Maybe too much flooding… the more I added, the less I liked it.  Ugghh…  I remembered the golden rule of art journaling, if you don’t like it gesso it :)  So, that is what I did.  I used the cheap-o kind, so one coat didn’t completely cover it up, but I kinda liked it that way. I loved the texture and the little bit of color peeking through.  Now this, I thought, was the beginning of an art journaling page I could like.  So, from the ashes (or bucket of gesso) came this…
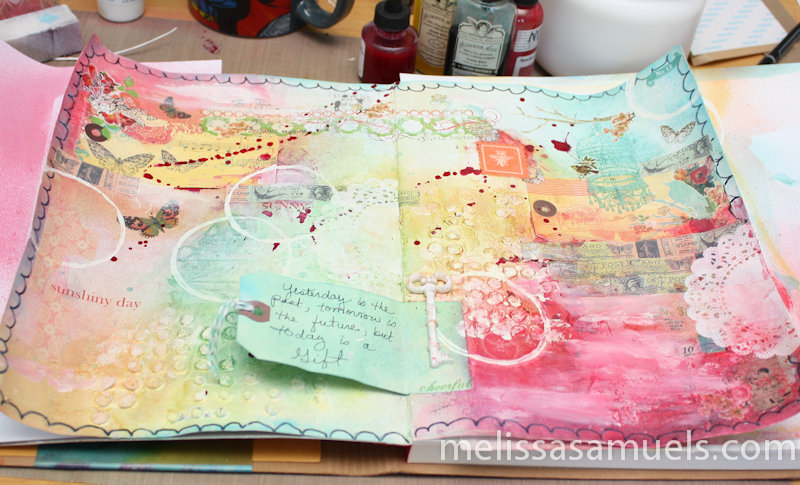
artjournal-sj-1-2I haven’t decided if I am finished yet, but so far I love the vibrant colors and texture.  I sprayed it with several shades of Glimmer Mist, added tags with gel medium, and used tons of rub-ons (the most highly underutilized papercrafting supply, in my opinion).  I then splattered India Ink, added canvas & washi tape, and used a little acrylic paint. I wrote one of my favorite quotes on a shipping tag, and glued it in along with a resin key.  Lily, my 6 year old, said the key was to unlock memories.  She is my little mini me for certain!
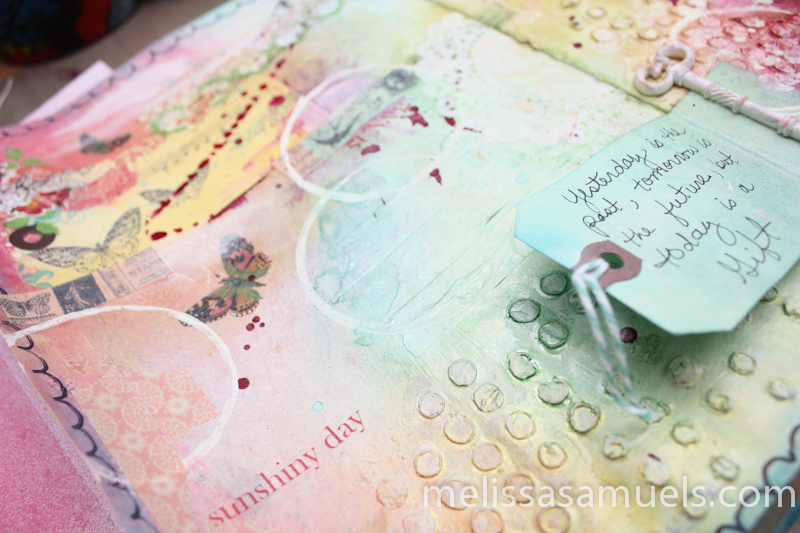
artjournal-sj-1-3artjournal-sj-1-4I am not sure you can really get a feel for all the texture from the pics.  To me art should make you want to touch it, and this page does.  That makes me happy!  I hope you like it, too.

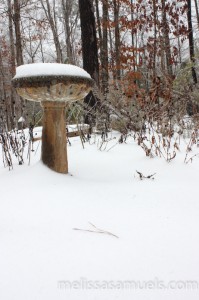
Here are some early morning pictures, before the snow got really heavy yesterday.  It is very beautiful, but I am glad it is over.  Stay safe and warm! xx

snow2-13-14-1-5snow2-13-14-1-2snow2-13-14-1-6


6a0115711511ff970b017ee63eb181970d-pi

Acrylic Paint Skin Flower

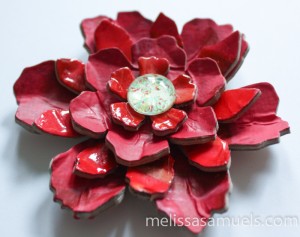
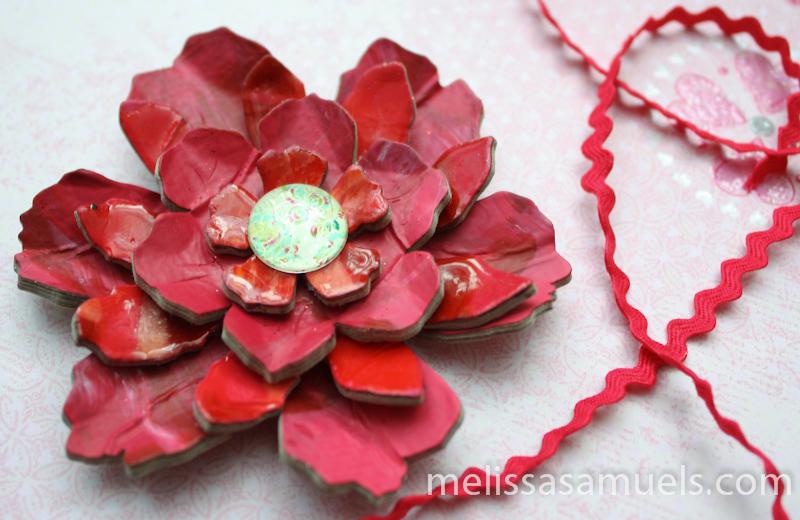
skinflower-1-4Hey Everyone!  I know don’t know about you guys, but I think we are way overdue for a tutorial!  I have been working on organizing and cleaning my studio, and came across a of ton of art supplies I forgot I had.  You are probably wondering how does that happen.  If you could see my studio, you would wonder no more.  Bob says it is just a “creative space,” but I think he is being nice, and really means I am super messy.  Finding some many new (to me) supplies really inspired me to do something artsy and different with all the goodies that I found.  Since I unearthed soooo much acrylic paint, I thought it would be nice to mess around making an acrylic paint skin.  It is kinda like a fruit roll-up, only made out of paint.  It is great for cutting out elements to add to cards, scrapbooks, art journals, or canvas, using as a book cover, collaging, and many more mixed media projects.  I decided to make a flower out of it.

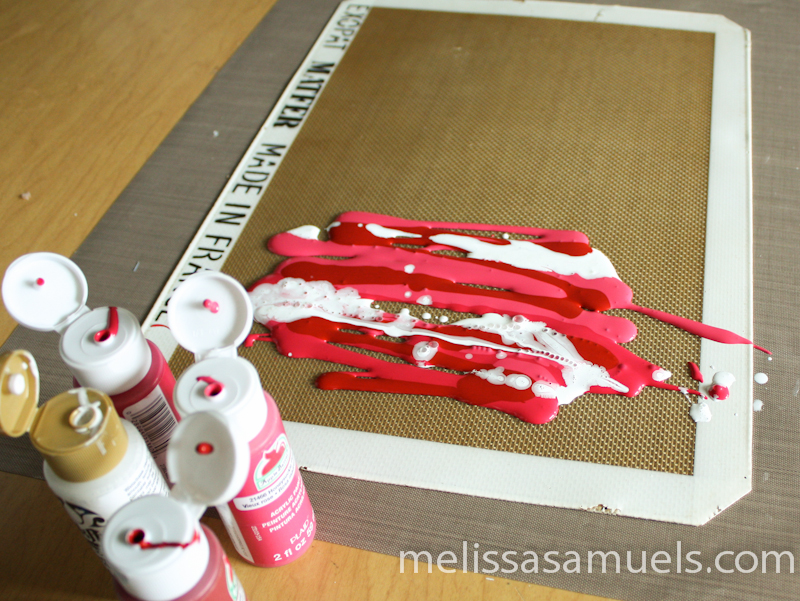
Let’s start with making the skin.  It is a pretty simple technique.  All you need is bakers parchment paper for a non-stick surface, cheap acrylic paint, and an old credit card or the like for spreading.

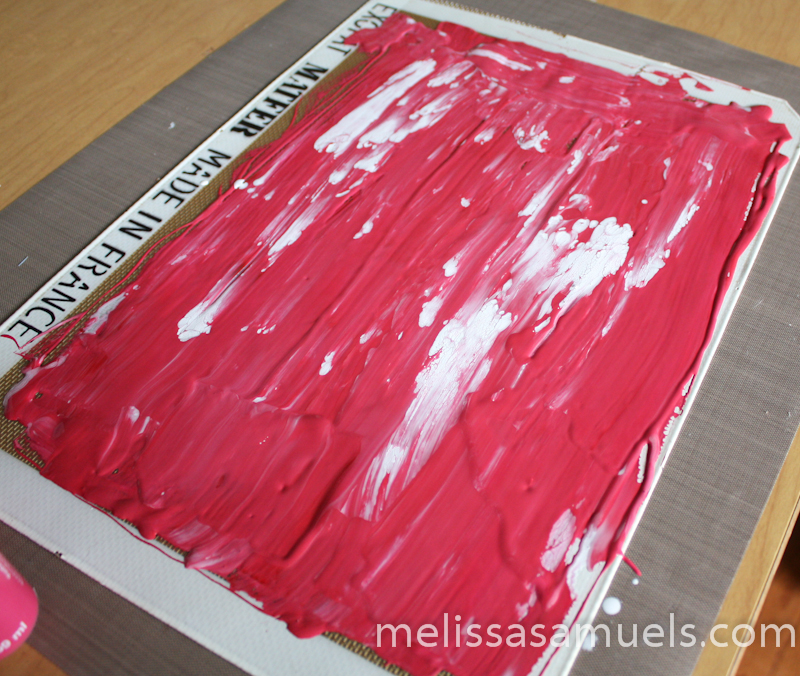
skinflower-1Start by quirking some acrylic paint at one end of your parchment paper (I used a silpat liner).  I used several different colors, but you could use just one or two, it’s up to you.

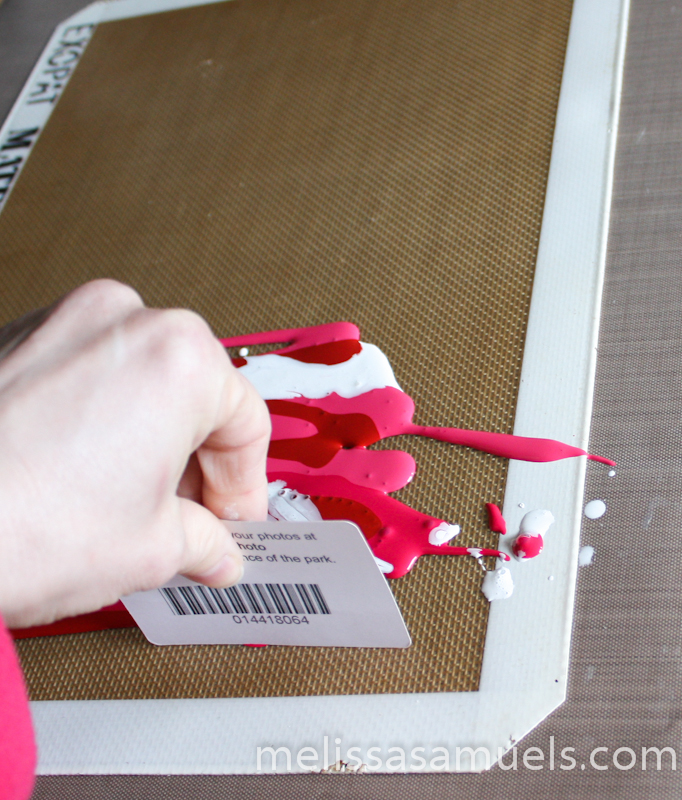
skinflower-1-2Use a credit card to spread the paint out over your non-stick surface.  You do not want too many thin spots, so try to spread it out in a nice even layer as much as you can.  Don’t worry about lines in the paint, because it will settle as it dries.

skinflower-1-15You can get creative and make wavy patterns, or add more white, sprinkle glitter on top, just go for it.  It is important to let it completely dry.  I recommend leaving it overnight.

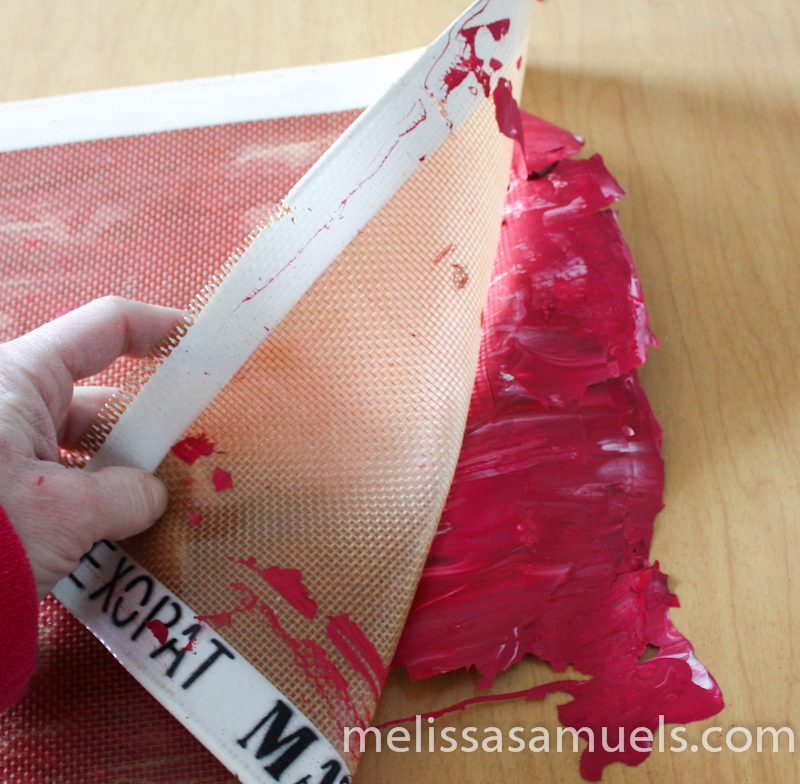
skinflower-1-5Once it is dry, get the edge started, and just peel off the paper or mat from the skin.

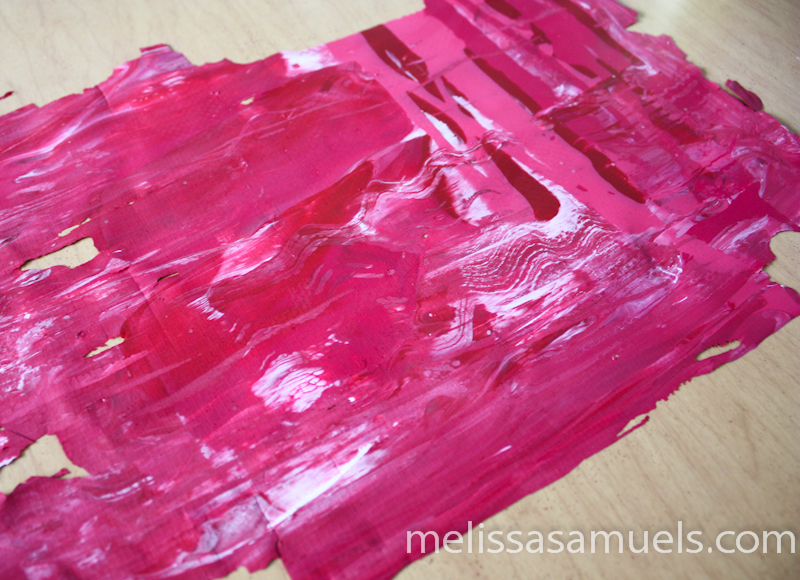
skinflower-1-6Done!  You have a nice flexible sheet of acrylic.  Think of it as if it were paper.

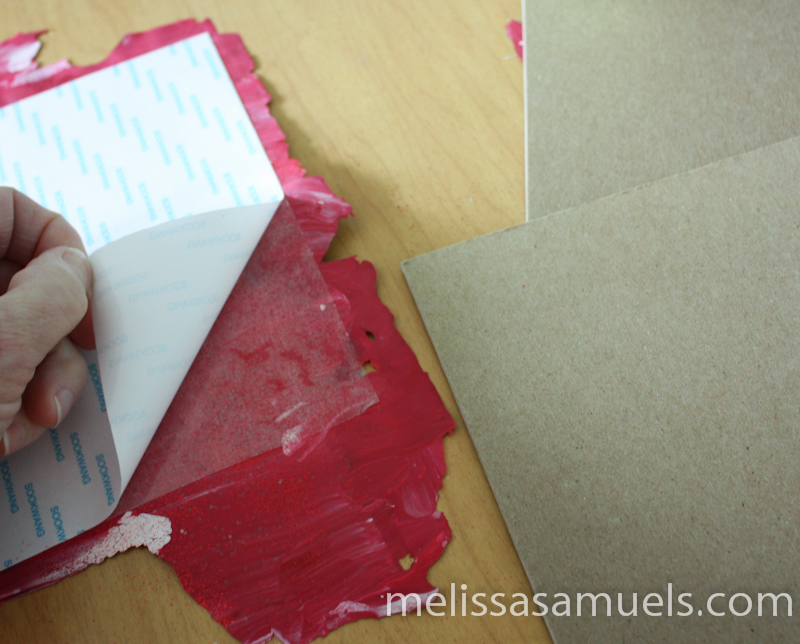
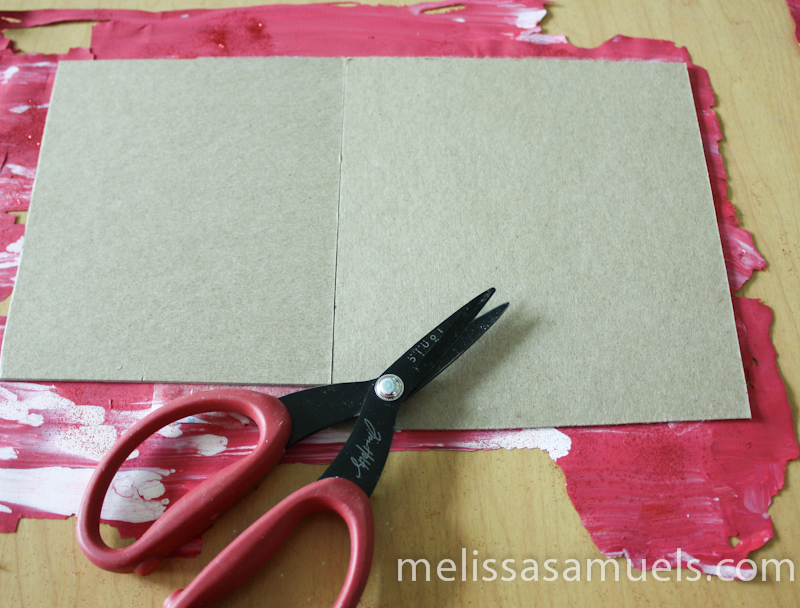
skinflower-1-7Since I was just playing around, I thought what about die-cutting it instead of just free-hand cutting!? I used a sheet of Scor-tape to adhere chipboard to the back so I could run it through my die-cut machine.  You could also use cardstock.

skinflower-1-8I cut the raw edges around the chipboard.  I was using scrap chipboard, so I cut the scraps apart, which gave me enough for a Bigz die and an On the Edge die.

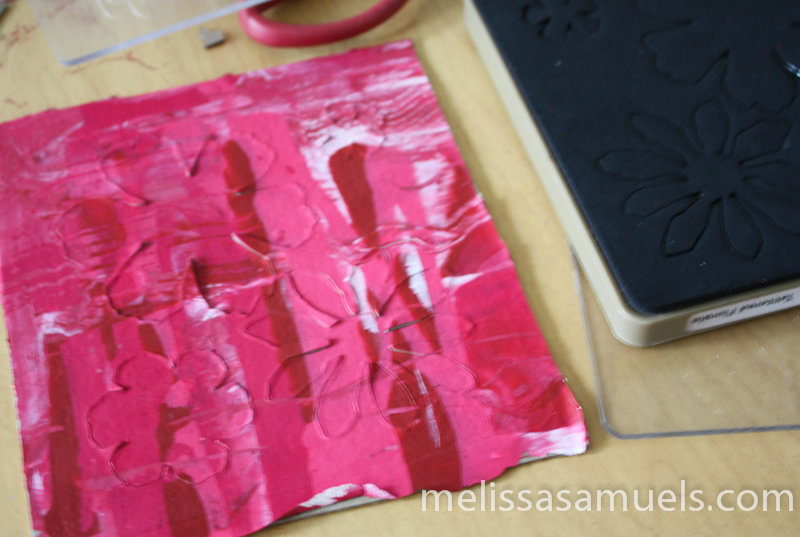
skinflower-1-10I used the Tattered Florals die, and ran it through the Vagabond.

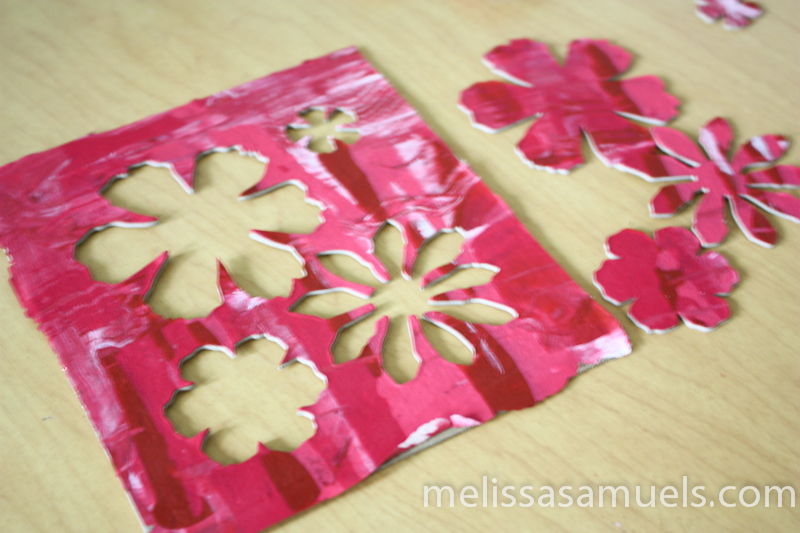
skinflower-1-16I popped out the flowers.  Don’t throw the reverse away.  You can use it later as a stencil in your art journal, or other fun project.

skinflower-1-12I bent each flower a little to form little nesting petals.  I love the dimension!

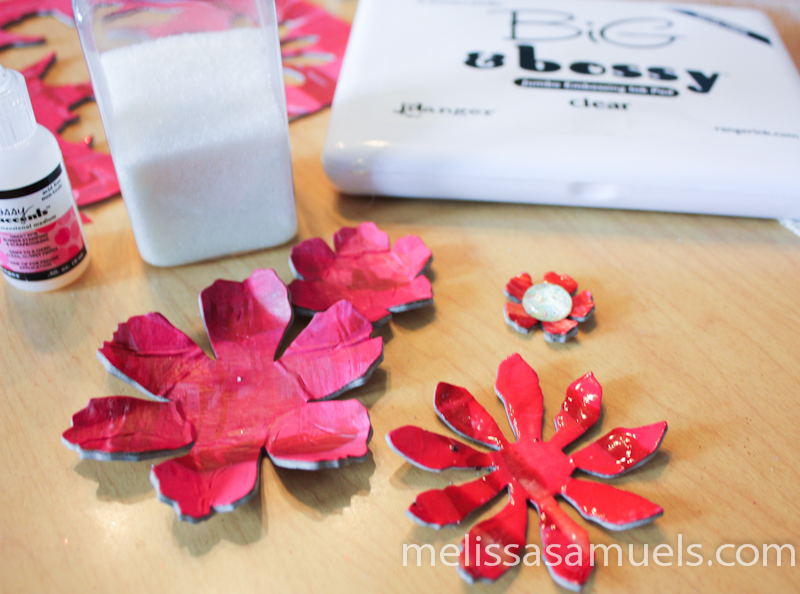
skinflower-1-14Then, I thought what if I embossed every other layer?!  Humm… so, I pressed 2 of the flowers into clear embossing ink, sprinkled with clear embossing power, then set with my heat gun.

skinflower-1-3I glued the layers together with Glossy Accents, and I have a pretty flower to use on a mini album, card, or canvas.  I am very pleased with the results, especially since it was just playing around in the studio-no real project in mind. I think I may create a small Valentine album, and use this on the cover.

Hope you guys enjoyed!

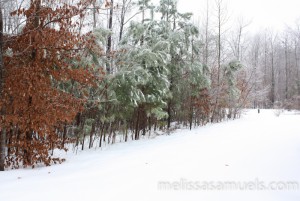
Here is a look at the weather here in Virginia.  Hope you guys are staying warm and safe wherever you are.

snow2-13-14-1-4    snow1-22-14-1A good day for one of these!

You can now subscribe to our blog!!!  If you would like to subscribe, scroll to the bottom of the page and enter your email in the subscribe via email box.  Thanks!! xx


6a0115711511ff970b017ee63eb181970d-pi

Yearbook – December 2013

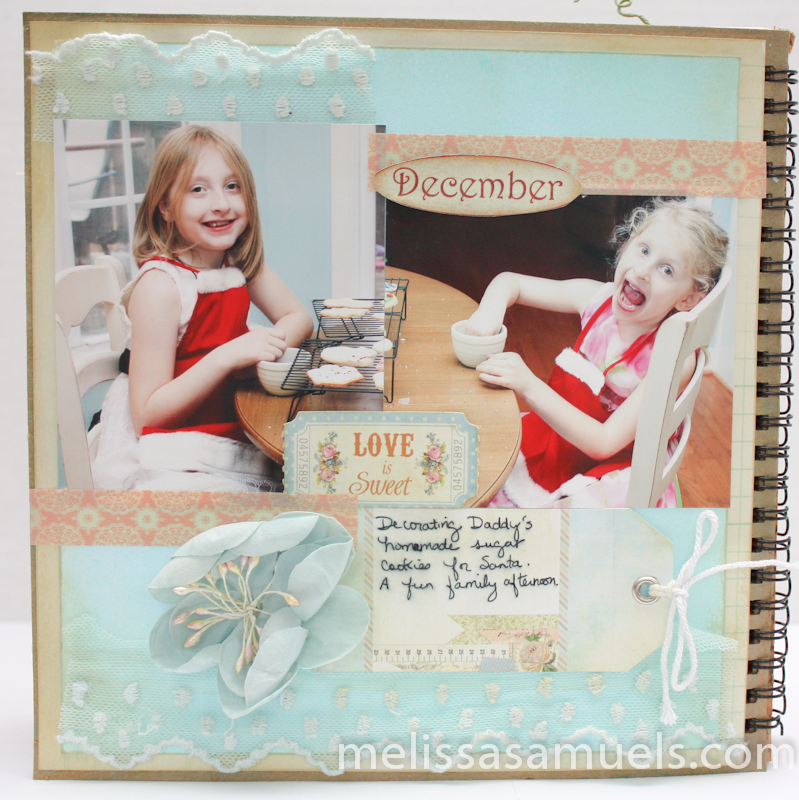
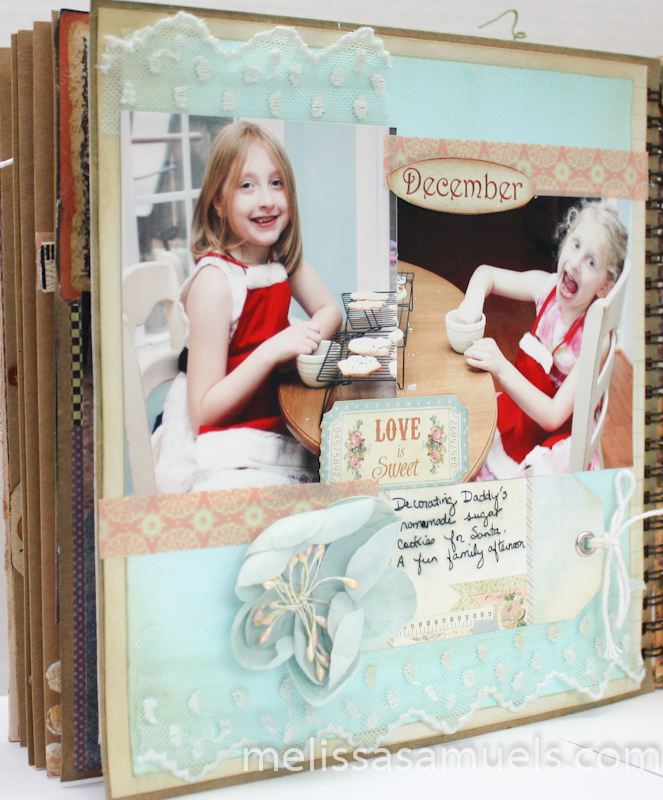
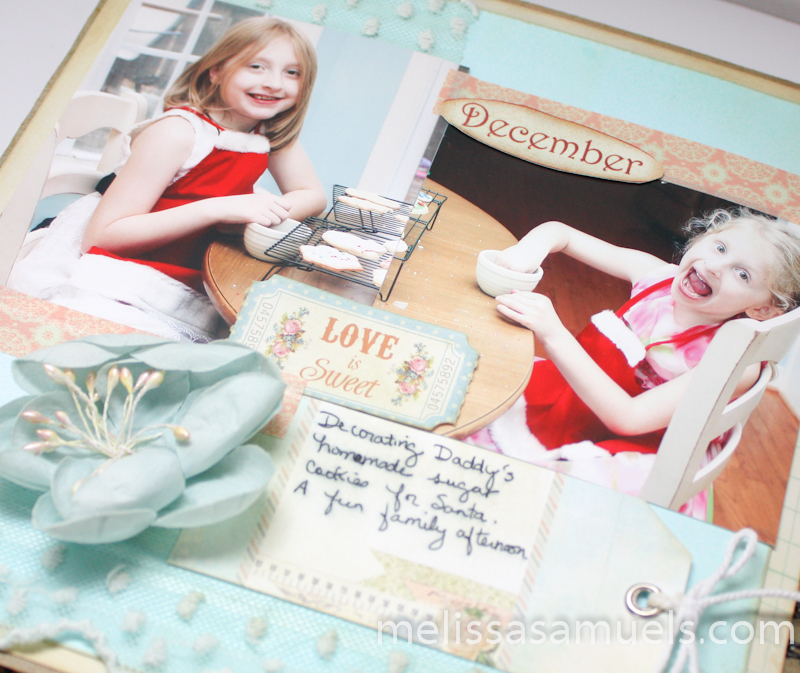
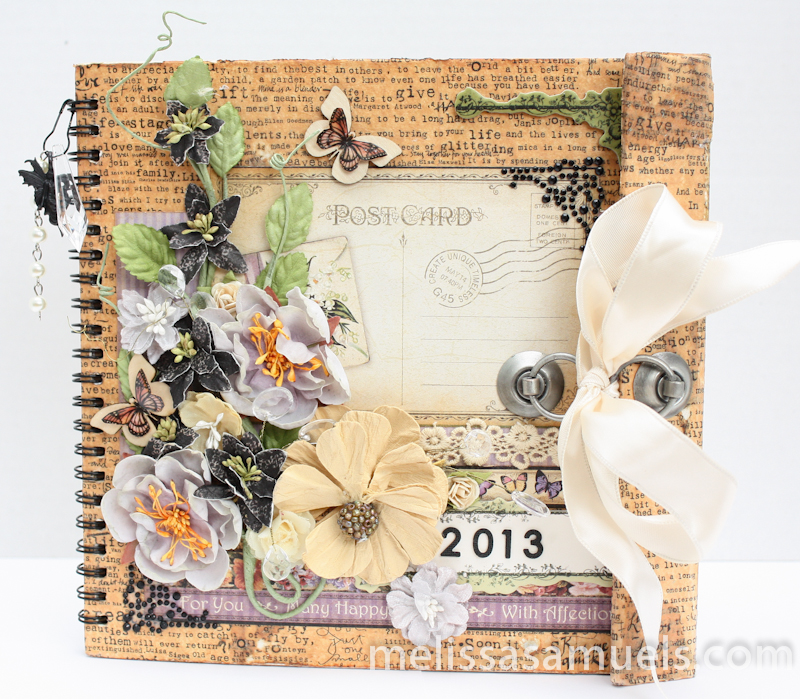
Hey Guys!  Today is the last page, December,  in my mini book of my girls during 2013 that I created using an easel album.  I am sorry about not posting on Friday, my bad.  Here ya go!  I love these pics of the girls decorating Bob’s homemade sugar cookies.  What a blast we all had getting ready for Santa!

dec-1-3dec-1dec-1-6

For this page I could not find the perfect background paper (astonishing considering my “collection” not to be confused with hoard), so I decided to make my own.  I glimmer misted white cardstock with Patina, followed by a few spritz of Trunk Bay.  I then distress inked the edges with Antique Linen (the ink I have been using throughout the book).  I added blue lace netting, a Prima Delight tag & ticket, and more of my new favorite thing, washi tape.

dec-1-2

Thanks for joining me these last two weeks.  I had a great time, and hope you enjoyed it also.  If you missed any previous posts the links are below.

*To see November’s full post CLICK HERE

*To see October’s full post CLICK HERE

*To see September’s full post CLICK HERE

*To see August’s full post CLICK HERE

*To see July’s full post CLICK HERE

*To see June’s full post CLICK HERE

*To see May’s full post CLICK HERE

*To see April’s full post CLICK HERE

*To see March’s full post CLICK HERE

*To see February’s full post CLICK HERE

*To see January’s full post CLICK HERE

*To see the full post of the front cover CLICK HERE

I would also like to thank CraftGossip.com for featuring my book on their website.  If you have not checked them out, it is a great place for tons of inspiration for all things crafty.

yearbook-1

signature

Yearbook – November 2013

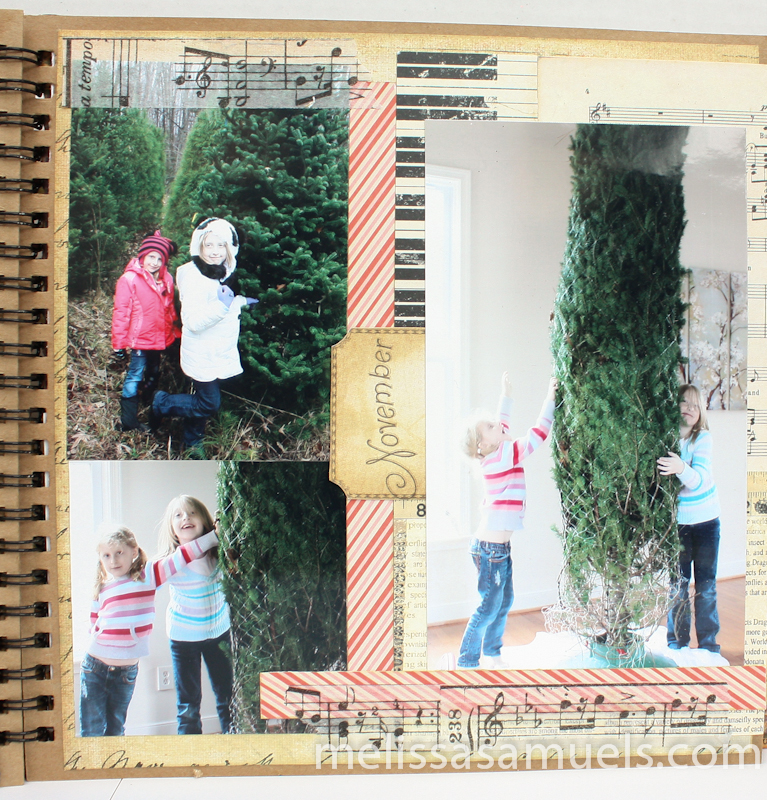
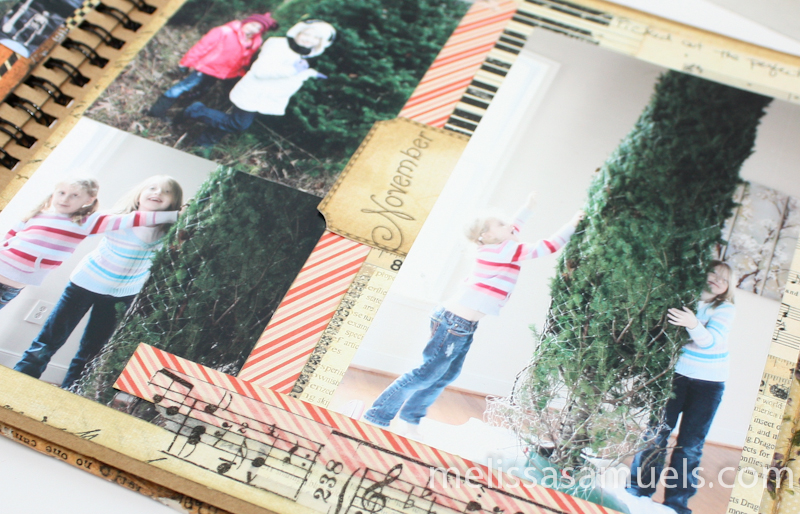
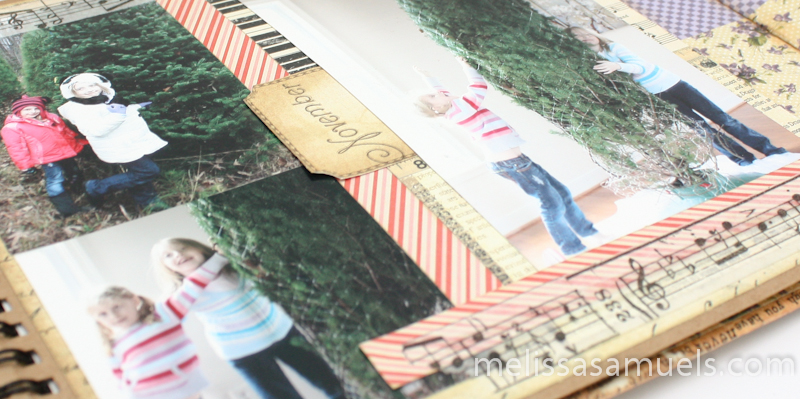
Hi Everyone!  Today is the month of November in my 2013 yearbook  mini album of my girls that I made using a Graphic 45 easel album.  These are pics of our hunt for a Christmas tree.  We found the perfect one and named it “The Beast” because it was over 12 feet tall!!  As I was getting to the end of the book bulk was really becoming an issue (due to the flap closure), so I kept it pretty simple.  I did some paper layering, and used tissue tape on the top and bottom photos.  I thought about doing some journaling, but I liked the simplicity of the page.nov-1-2 nov-1-4nov-1-3Thanks for stopping by!  If you have missed any of the previous month’s posts the links are below.

*To see October’s full post CLICK HERE

*To see September’s full post CLICK HERE

*To see August’s full post CLICK HERE

*To see July’s full post CLICK HERE

*To see June’s full post CLICK HERE

*To see May’s full post CLICK HERE

*To see April’s full post CLICK HERE

*To see March’s full post CLICK HERE

*To see February’s full post CLICK HERE

*To see January’s full post CLICK HERE

*To see the full post of the front cover CLICK HERE

6a0115711511ff970b017ee63eb181970d-320wi

Steampunk Spells Altered Art Box
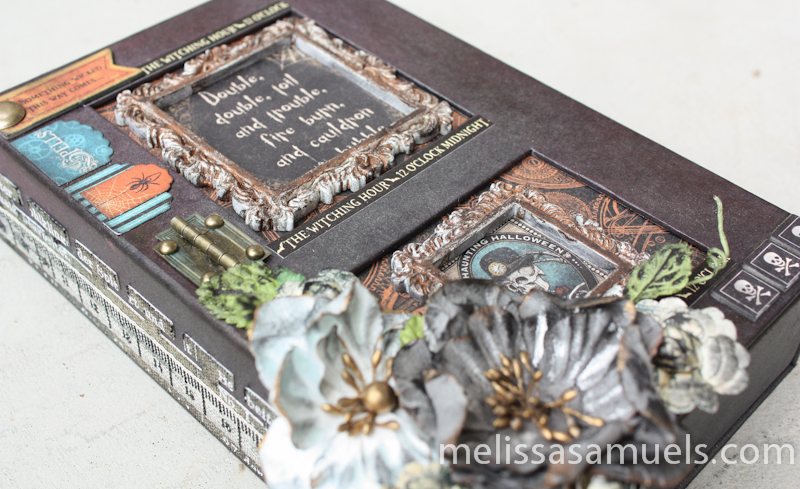
Since we were up to October in my yearbook mini album in yesterday’s post, I thought I would take this opportunity to show you guys a little Halloween project I did last fall.  Halloween in February…works for me!  I don’t always have the time to make a lot of projects for myself, but I always make time to create a Halloween album for the girls’ trick-or-treat photos.  If you saw yesterday’s post, you know I have some doozies for 2013.  I had this fabulous Graphic 45 5×8 Altered Art Box with accordion album inside stashed away in a drawer.  Unfortunately, it has been discontinued (no hate mail please-blame G45 :) ), so I have been hanging on to the last one waiting for a special project to use it. The good news is even though this box has been discontinued, they are releasing a Book Box very similar, but with a tag album inside and a single, solid flap.  So, hang in there, a replacement is on the way.  Yay G45!

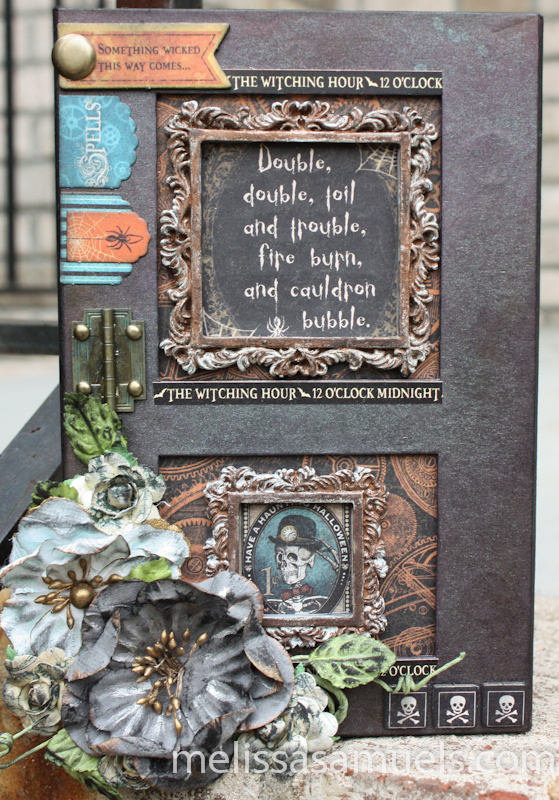
SteampunkAlteredBox-1-2I adore this box!  Love, love, love it!

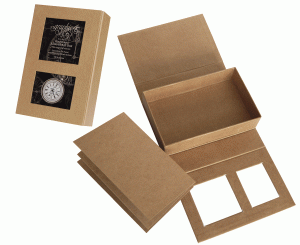
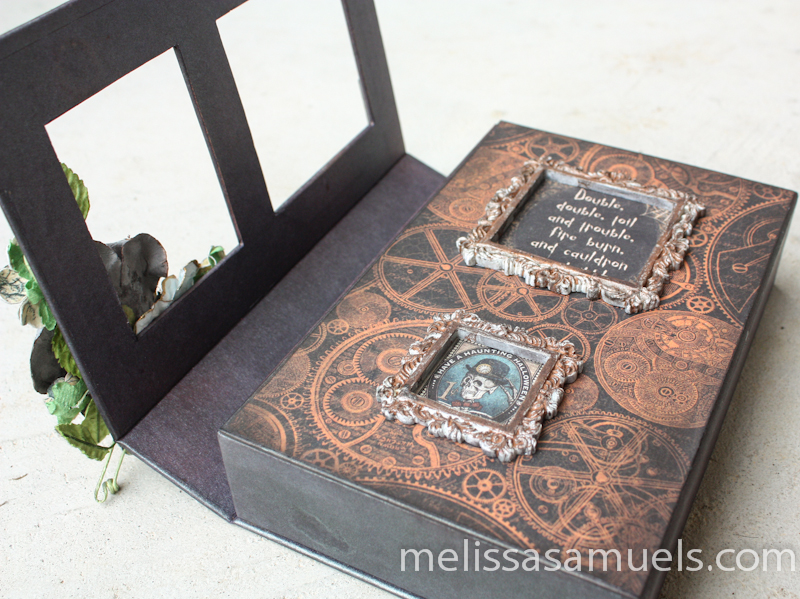
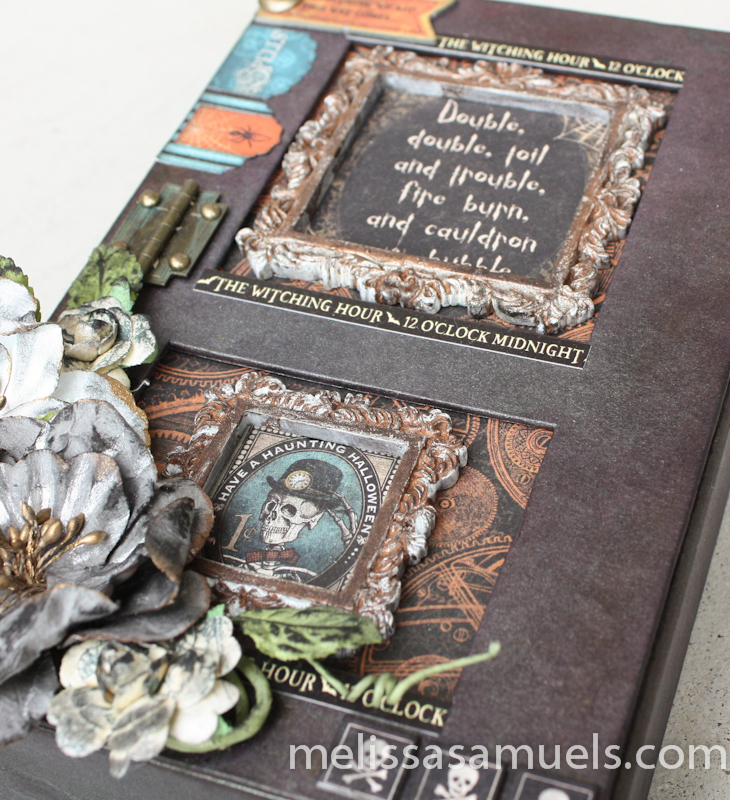
5x8-Altered-Art-Box-StaplesThis is how the kraftboard box comes.  It has 2 flaps with a magnetic closure that opens up, and there is a thick kraft paper accordion album inside.  I sprayed the heck out of it with Afraid of the Dark Glimmer Mist. Then, I spot sprayed with True Blood Glimmer Mist.  Glimmer Mist is awesome for projects like this because trying to cover this box with paper would be very time-consuming because of the flaps and cutouts.  Tissue paper like on our 8×8 easel album project, or acrylic paint are other great options, fyi.

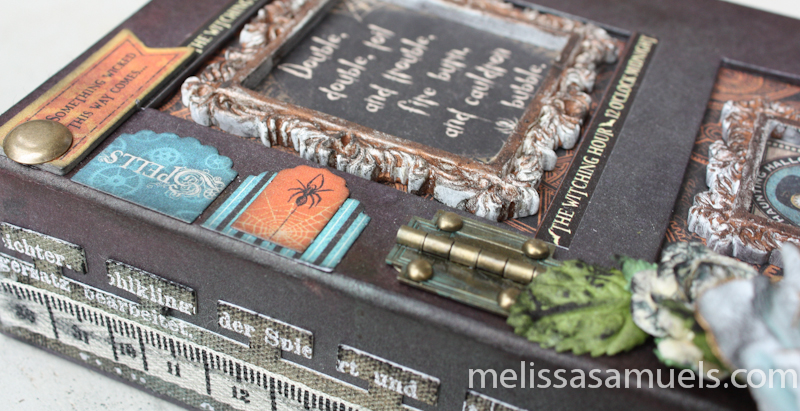
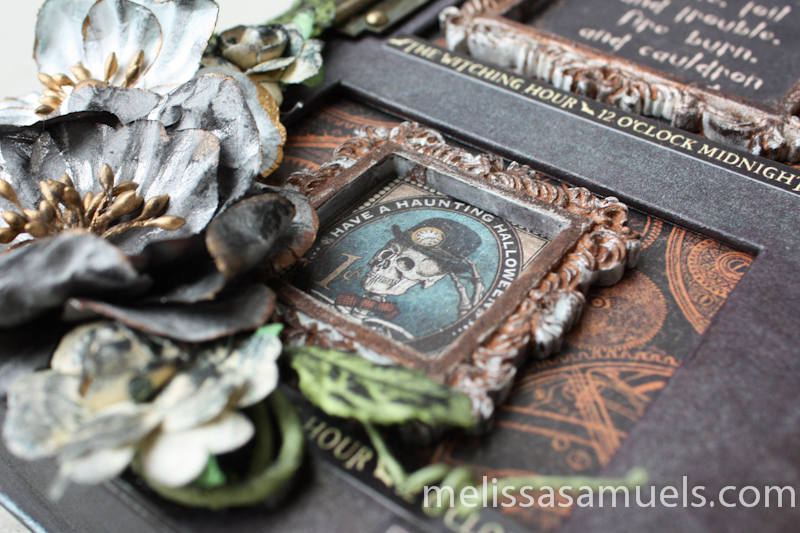
SteampunkAlteredBox-1-9For the spine, I Glimmer Misted some Prima resist canvas borders.  I love canvas resist because you can color customize it to your specific project.  All of the paper, chipboard, stickers, banners, etc that I used are from the Graphic 45 Steampunk Spells collection, my fav.   The flowers are Prima Bellas Mulberry flowers soft blue and grey that I placed over a Prima vine.  I hit the flowers with a little Black Soot Distress Ink to pull all of the colors together.  I glued the G45 hinge on with Glossy Accents.

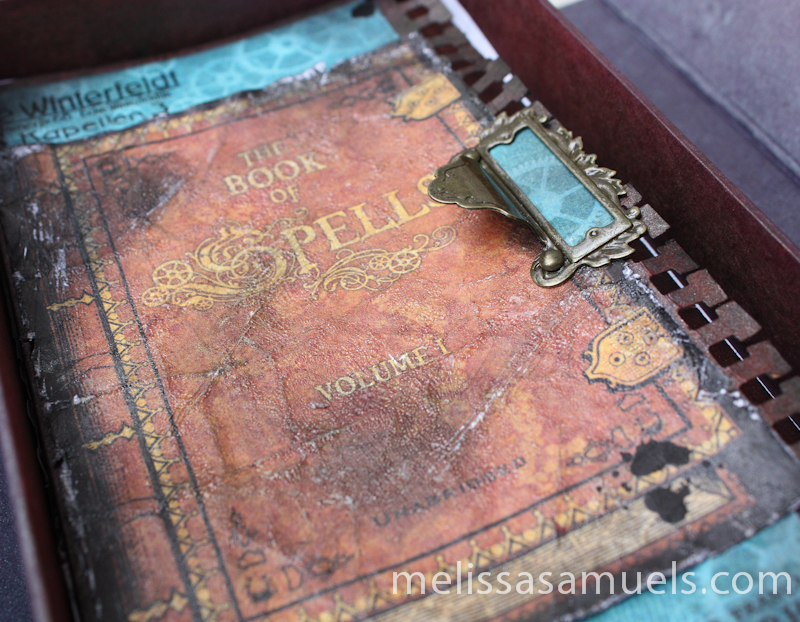
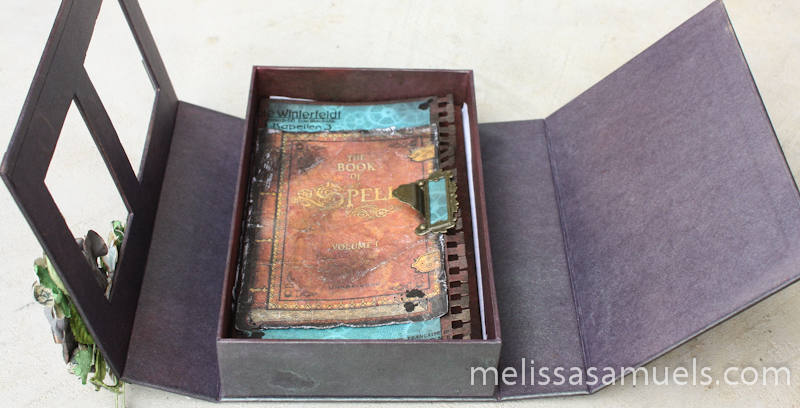
SteampunkAlteredBox-1-3By sheer luck, I had a 2 pack of Prima Resin Frames that fit perfectly into the box cutouts.  They come in white, so I used copper alcohol ink to color them (it is what I had in reach that was a nice color).  I glued a paper cutout from Steampunk Spells onto the back of each frame.SteampunkAlteredBox-1-10SteampunkAlteredBox-1-6SteampunkAlteredBox-1-7The box opens up, and there is an accordion album inside.  I may go back and add paper to the right flap-haven’t decided yet.  I paper punched the border of the album with a notebook edge.  I  Glimmer Misted the album and decorated with more Steampunk Spells paper.  I then crackle painted it, distress inked it, added rub-ons and  a G45 Metal Label Holder as a handle to pull the book out of the box easily.

SteampunkAlteredBox-1-8I have not added my photos yet, so maybe I’ll show you the whole accordion album once it is completely finished, but you get the idea.

SteampunkAlteredBox-1-11I hope you like this box as much as I do.  I had so much fun making it!!!  I hope I have inspired you to go through those drawers, find your hidden treasures, and create something that makes you happy!

Thanks for stopping by!  Hope to see you tomorrow for the continuation of our Yearbook Altered Easel Album project, month November.

signature