Yearbook – May 2013

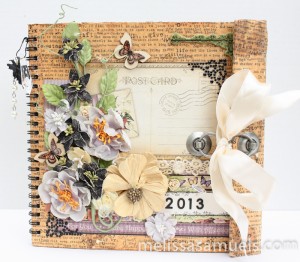
It’s May day!!  If you just arrived, let me get you caught up.  I created a mini book using an easel album for my little girls, Maddie and Lily.  I thought it would be fun to make a book with a picture of them each month so I could see how much they grow and change over the course of a year.   It was a really fun, personal project that I have loved doing.  It was a bit of a challenge because I had to keep the pages simple without a lot of embellishments to keep my book from being bulky and preventing it to close because of the flap I created on the cover.

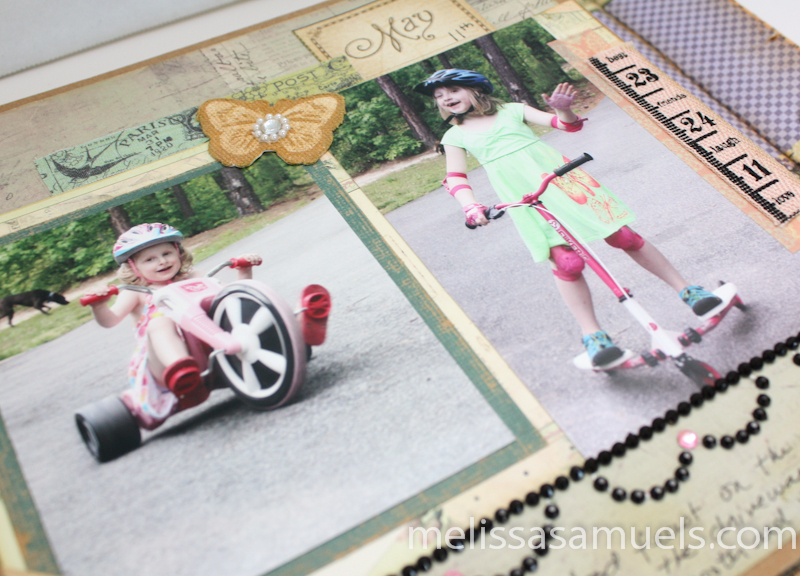
I love May, not only because of Mother’s Day, but it is Maddie’s birthday month, too!  This page has a photo of them giving me a Mother’s Day “show” in the driveway.  Maddie is doing tricks on her new scooter she got for her birthday, and Lily is like a race car driver with her Big Wheels.  A fun day!  May seemed like the month that they both really shot up!
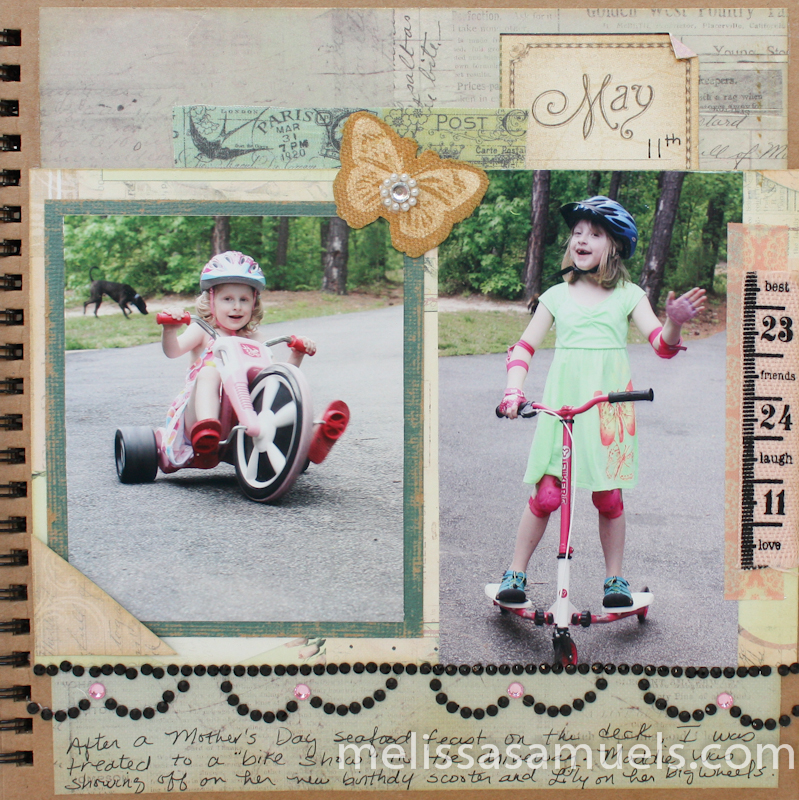
2013-1-5I used fabric tape (blue green “Paris” tape), which I liked, but I am still hooked on the washi tape.  I did a photo mat for Lily’s picture using a sandable kraft core paper.

2013-1-10


*To see April’s full post CLICK HERE

*To see March’s full post CLICK HERE

*To see February’s full post CLICK HERE

*To see January’s full post CLICK HERE

*To see the full post of the front cover CLICK HERE

Come back tomorrow for June!

6a0115711511ff970b017ee63eb181970d-320wi


Yearbook – April 2013

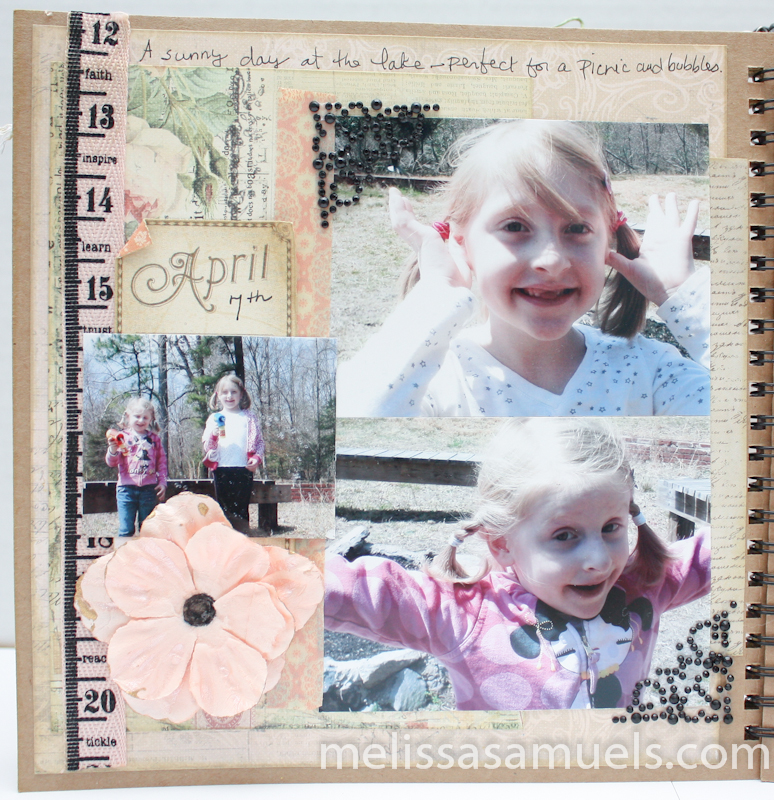
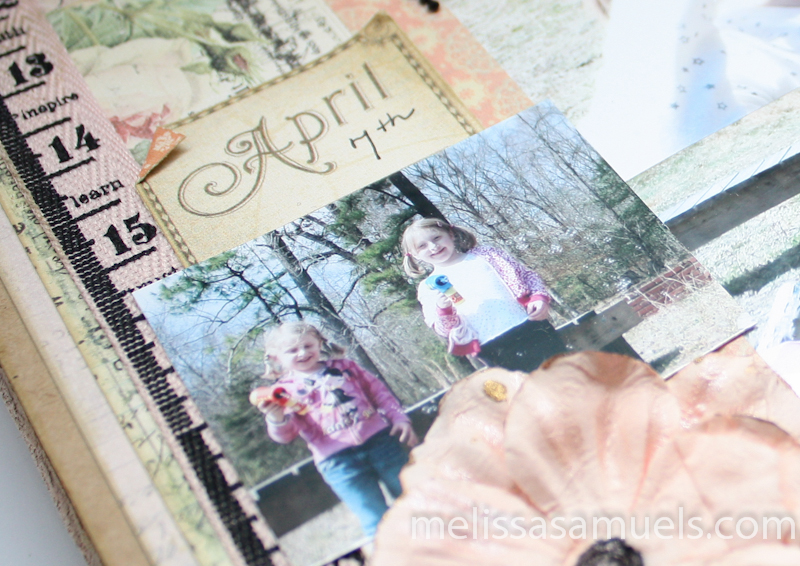
Here we are at April in my annual mini book of my Maddie and Lily!  Notice Maddie is now missing two front teeth.  It was a beautiful sunny April day, so we hiked to the lake with our bubble-making guns and a picnic lunch-FUN!!  On this page I switched over to Prima papers because the Place In Time monthly paper was  the wrong color palette for my photos.  However, I did use the “April” cutout.  I kept it pretty simple because I wanted to have three photos on the 8×8 page.  I added some more of my new favorite thing, washi tape, and some ruler ribbon which seemed appropriate as the book is intended to watch them grow over the course of a year.  My challenge was to not add too much bulk, but I had to add some corner bling, and a flower that I pulled apart and darkened the middle with a journaling pen.

yearbookmonth-1-6yearbookmonth-1-2You know the drill.  Come back tomorrow for the month of May!

signature

Yearbook – March 2013

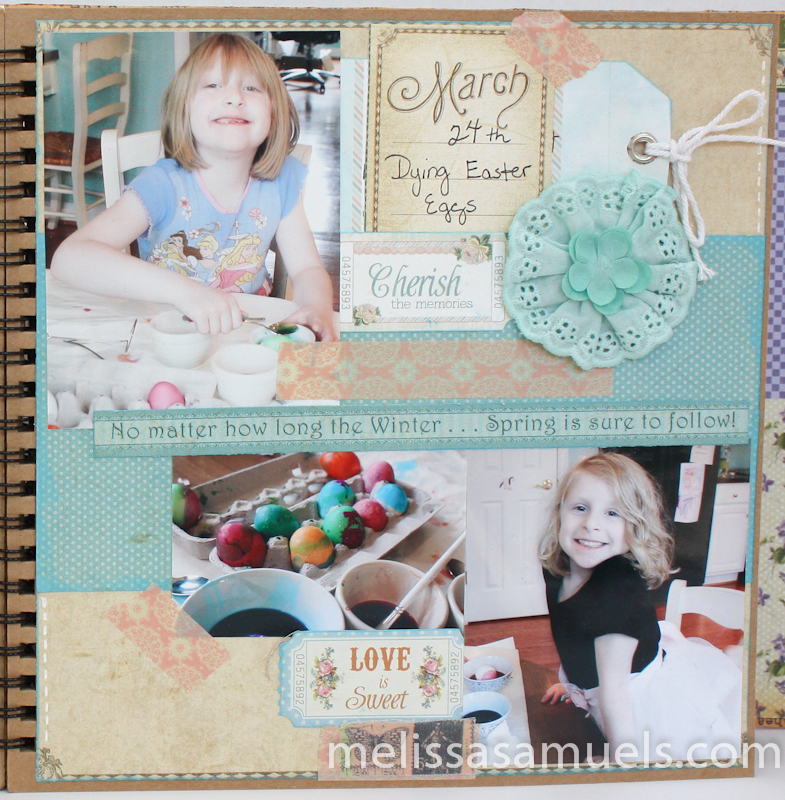
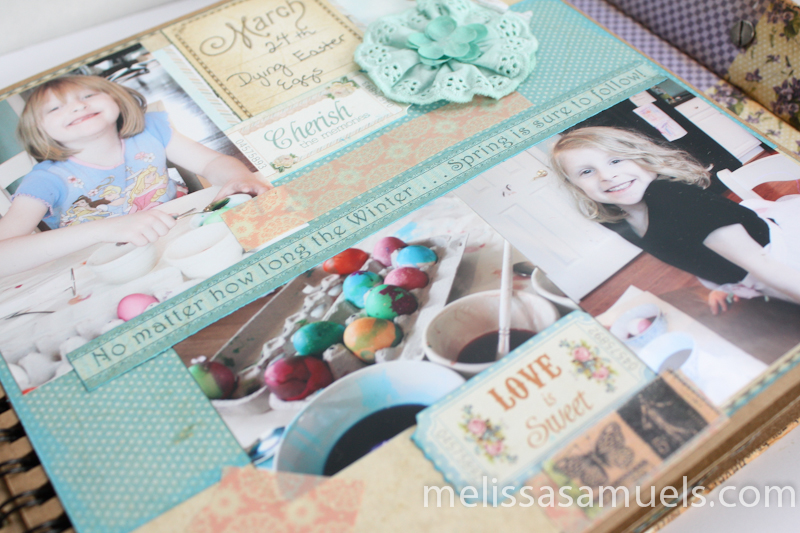
Here is my March 2013 page for my Yearbook project of Maddie and Lily.  This was a fun day of dying eggs just before Easter.  Notice Maddie got a haircut, and has her tongue stuck out of her missing front tooth.  Oh, and let me just say if your face itches while you are dying something, resist the urge to scratch.  That is all I am going to say.

I am embarrassed to admit this was my first time trying washi tape.  I cannot keep it stocked in my store, so I knew it was popular.  Wow, it is my new favorite thing-LOVE it!  Now I know why you guys buy it!  Of course, now that I am hooked, all the pretty Prima ones are discontinued, bummer!  I am sure there will be more, right?!!!  The really awesome thing about it, besides it is just plain awesome, is it really looks nice and adds dimension without adding bulk to my book.  Because of the flap on the cover, keeping the book relatively thin was my big challenge.  You all know how I love to fill up my books.  Also, I love how you can tear it to get a messy look, or cut it for a neater, cleaner look.

2013-1-14

yearbook-1-11Here are the pages from previous posts, as I am posting a page every weekday.

*To see February’s full post CLICK HERE

*To see January’s full post CLICK HERE

*To see the full post of the front cover CLICK HERE

Be sure to come back on Monday for April!  Later gators!

6a0115711511ff970b017ee63eb181970d-pi

Yearbook – February 2013

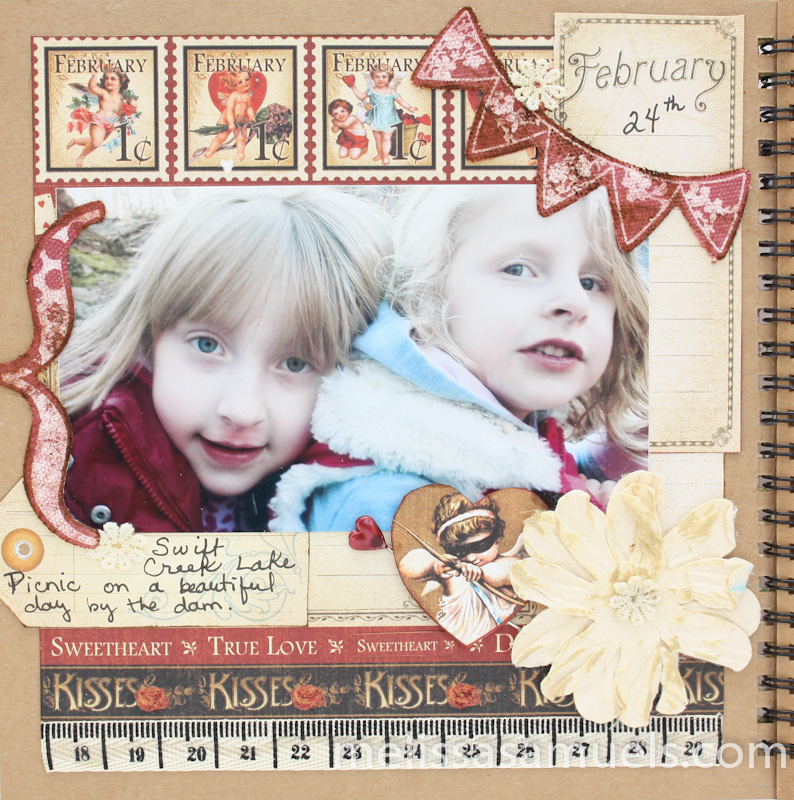
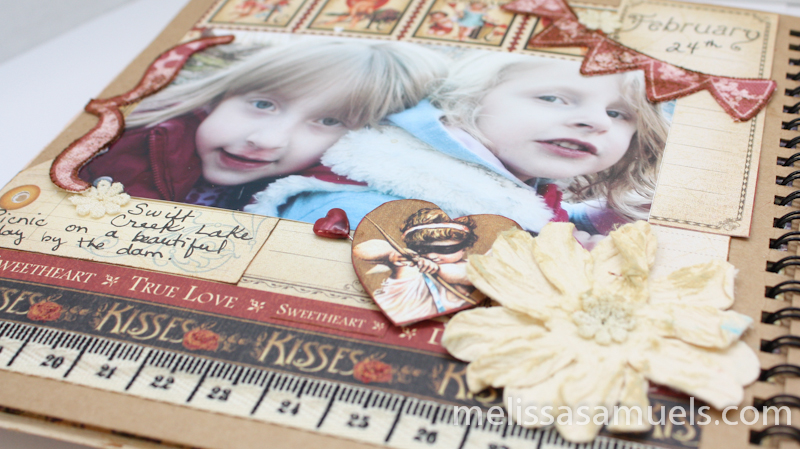
Yay, you came back for day 3!  Today is the February 2013  page of my “Yearbook” of Maddie and Lily.  This picture was taken on just an ordinary day while we were picnicking on the rocks by the dam near our home.  It was a nice warm day for February, so we took advantage of the outdoors. We had so much fun laying on a blanket listening to the water, and I remember lots of cookies being involved.

Again, I used the Graphic 45 Place in Time papers.  I also used Prima resist canvas (the bracket and banner) that I sprayed with Glimmer Mist and then distress inked.  I LOVE these little canvas pieces, because one I love canvas, and two you can customize the color for any project.  The downside is other than the shape, it is really difficult to tell what design you are getting until you ink or spray them because they are white.  They have so much potential, but you really have to use your imagination.

2013-1I have been forcing myself to do more journaling, even though my handwriting leaves something to be desired (I pretend it is because I am a lefty).  Too often I look back through my scrapbooks and I have not journaled, so I forget where we were or what exactly we were doing.  Remember journal, journal, journal!  A scrapbook is personal, so by adding handwriting it really makes it special (even if your handwriting looks like mine :)  ), and helps capture those memories.
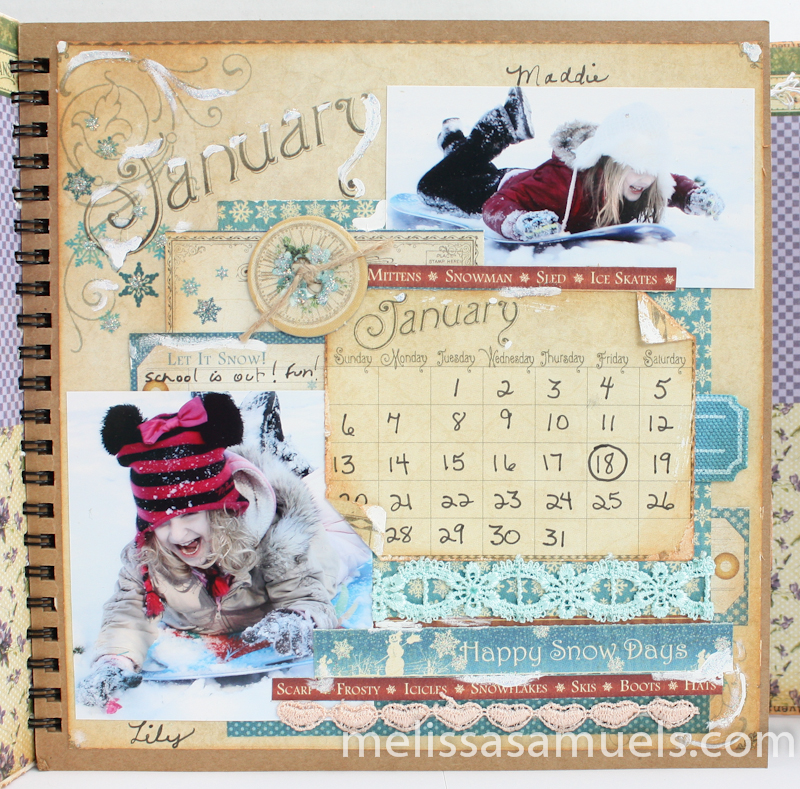
2013-1-2In case you missed the last 2 days’ posts here is a recap of the cover of my mini book that I created using an 8×8 easel album, and the month of January.  You can also click on the images below and it will take you to the full post.yearbook-1-6

yearbook-1


See you tomorrow for my March page!  Until then…

6a0115711511ff970b017ee63eb181970d-pi

Yearbook – January 2013

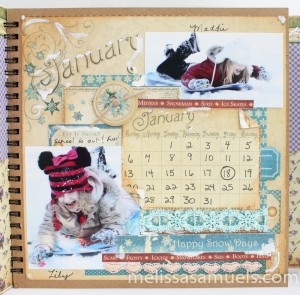
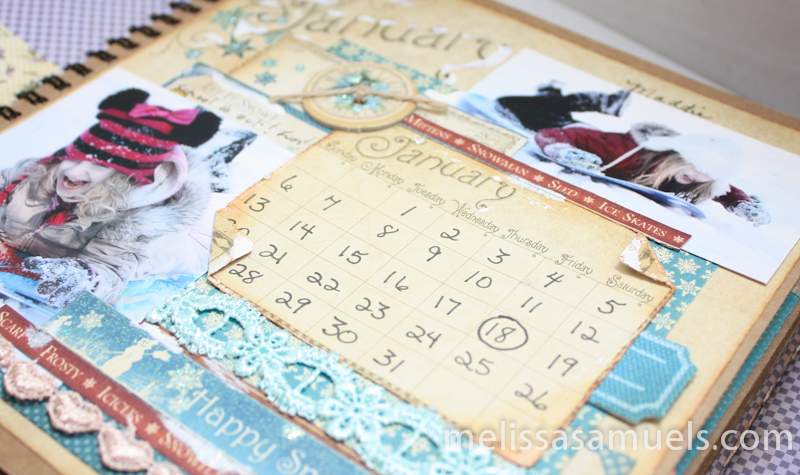
Yesterday you guys saw the outside of my 8×8 mini book I created for documenting Maddie and Lily’s growth and special moments over the course of a year.  If you missed the post, click here.  As I said yesterday, bulk was a real challenge for me.  I had to make sure my pages did not have  too much “stuff” on them so that the book would close because of the flap.  I like a challenge, so here is page number one, January.

yearbook-1-6I used Graphic 45’s Place In Time paper collection.  It is a wonderful collection because there are two sheets for each month.  One is a base sheet that has the month with a plain neutral background, and the other is a cutout sheet that has tons of wonderful elements.  I also used a little canvas that I Glimmer Misted blue, and some Stickles for good measure.

yearbook-1-9Because it was so difficult to pick pictures for the 8×8 pages I was working with, I am adding a pocket on the outside back of the book.  Here are some of the pictures for January that will go in the pocket.  I will make sure to date the back of the photo.

yearbook-1-17

yearbook-1      yearbook-1-12


Be sure to come back tomorrow for February!  See you then!

6a0115711511ff970b017ee63eb181970d-pi