Favorite Christmas Posts & Kid Friendly Ornament Tutorial

Hi Everyone!  Welcome back to day 2 of our week of favorite Christmas posts, and tutorials.  Today I have 2 of my favorite posts, and a new little ornament tutorial that the whole family will enjoy!  It's super easy, inexpensive, and loads of fun!

Let's start with our favorite posts…

Favorite Christmas Post – Glass Dome Ornament
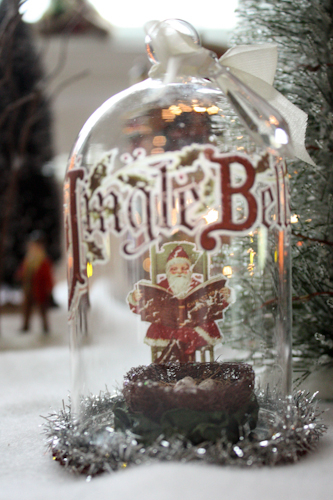
Ornament-8Supplies Used:  Melissa Frances Glass Dome Ornament, Prima Sparrow Cradle, Father Christmas rub-ons, chandelier drops, seambinding, hot glue gun,  Maya Road satin pleat ribbon green, silver foil cardstock, and tinsel.
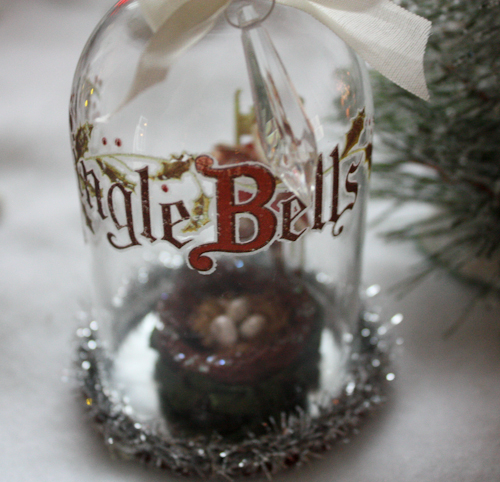
Ornament-6I
started by adding rub-ons to the glass dome.  I used the Santa inside,
and the words "Jingle Bells" on the outside.  This gives a very cool
effect!  Since I was working on a curved surface, I Scotch taped the
rub-on in place to keep it from moving.  Don't place tape over the image
as it will make it more difficult to rub off.  Also, don't place any
images too far inside, as it will be difficult to get the rub-on tool
all the way inside the dome.  It takes a little work to get the rub-on
transferred, but it's well worth it.

The bottom of the dome is chipboard.  I traced the top glass dome
onto silver cardstock, cut out, and glued to the center of the bottom
piece of chipboard.  I glued the bird's nest in the center, pleated
ribbon to the outside of the nest, and the bottom to the glass dome.  I
added tinsel to the bottom, and a bow with a chandelier drop to the top.


Favorite Christmas Post – Cottage Ornament
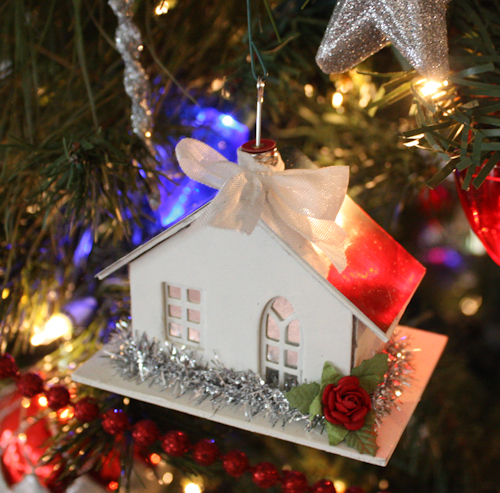
Ornament-2Supplies Used:  Melissa France Cottage Ornament, glue gun, white acrylic paint, 12×12 Foil Cardstock Silver, mini holly leaves, seambinding, tinsel ribbon, and a mini red rose. 
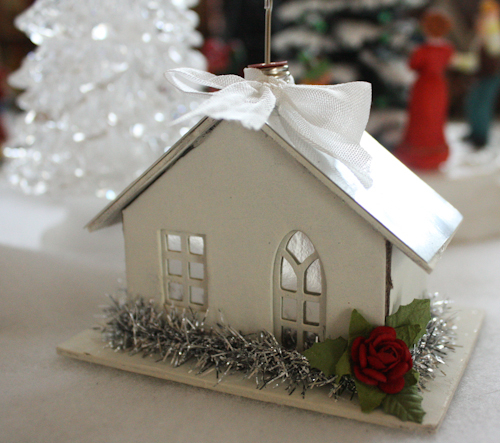
Ornament-3This
adorable little chipboard Cottage Ornament comes naked, flat, and easy
to assemble and decorate.  I painted the entire house with white acrylic
paint, hot glued the window and door lattice in place, glued mirrored
silver cardstock behind them, and then hot glued the house, base, and
roof together.  I hot glued the ornament hanger in place, and covered
the roof in more silver cardstock.  I then decorated with tinsel,
seambinding, and a mini holly leaf.

________________________________

And now for our kid friendly, easy Christmas ornament the whole family will love-

I love creating intricate ornaments that require painting, precision cutting, folding, and fabulous techniques.   However, the last couple of years I've been doing more and more ornaments that I can do with the girls.  Our family loves to gather around the kitchen table, and get out the Elmer's glue, safety scissors, construction paper, and glitter and go to town for hours!  It's great family time, and everyone can't help but join in the fun.  Here's a super simple pinecone ornament that looks stunning at night glittering in the lights of the tree.  Maddie, 6, and Lily, 5, made dozens of these this year.  
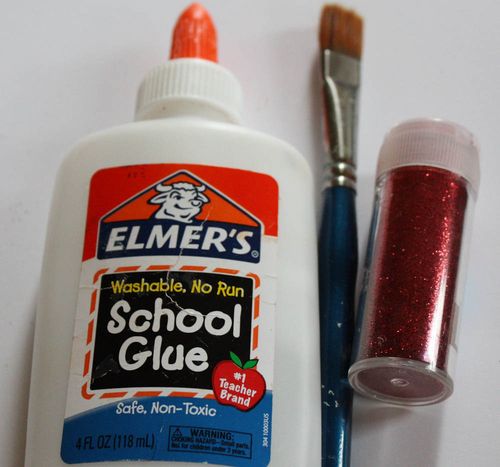
Ornament (1 of 1)All you need is Elmer's glue, a paint brush, and glitter. 

We gathered pinecones from our back yard, and made hangers out of gold elastic cord by wrapping the cord around the top of the cone, tying a snug knot at the top, then tying the very ends of the cord to form a hanger.
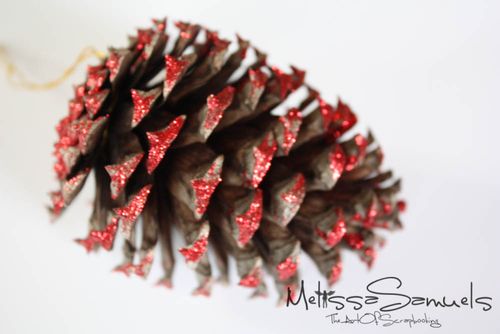
Ornament (1 of 1)-4Paint the tips of the pinecone with Elmer's glue.  It seems to work best doing 1/2 the pinecone at a time.  Sprinkle with glitter, and gentle tap off excess.
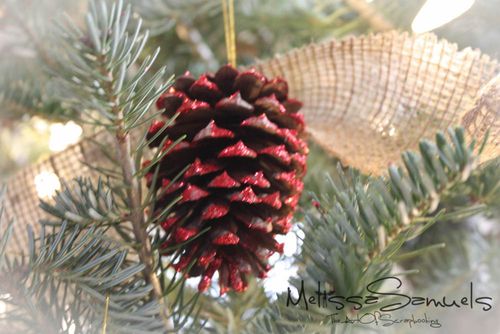
Ornament (1 of 1)-3You can hang them on the tree  to dry.  So easy, and fun!!
Melissa Logo 55

Our Favorite Christmas Posts & Family Tree Hunting

Hello Everyone!  Hope you all had a wonderful weekend!  I know many of you have been finishing up your Christmas shopping and preparing for Saint Nick! I cannot believe that he'll be coming down the chimney in a little over 2 weeks!  We finally got our Christmas tree up, and are slowly decorating it.  I thought this week might be a great time to share some of my favorite Christmas posts, and ornament tutorials. 

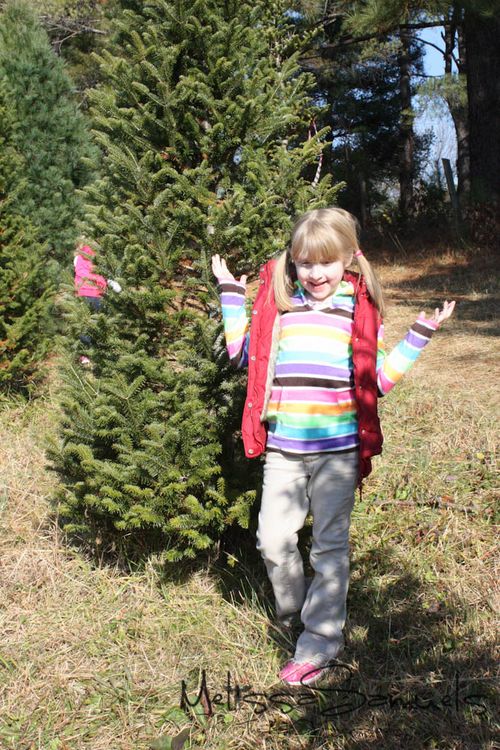
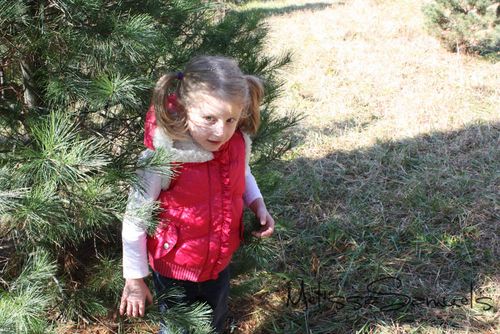
Before I share my first favorite Christmas post of a little Melissa Frances Farmhouse ornament, I thought I would share some pics of our family tree hunting adventure.  We took the girls for a little drive in the country to get a Christmas tree last weekend.  We had such a wonderful time, and created memories that will last a lifetime, I'm sure!   J and J Treeland in Prospect had the best selection of trees I have seen in years (despite the drought).  The girls had a wonderful time running through the fields and inspecting each and EVERY tree :)  Here are some photos of our adventures:

Christmas Tree 2012 (1 of 1)-3Maddie wanted EVERY tree she saw.
Christmas Tree 2012 (1 of 1)-4Lily hiding in the trees! 
Christmas Tree 2012 (1 of 1)-5

Christmas Tree 2012 (1 of 1)-7So many trees, but only one living room :)

Christmas Tree 2012 (1 of 1)-9We FINALLY found ours!
Christmas Tree 2012 (1 of 1)-10

Christmas Tree 2012 (1 of 1)-15A little train ride…
Christmas Tree 2012 (1 of 1)-14and a reindeer sleigh ride.
Christmas Tree 2012 (1 of 1)
Christmas Tree 2012 (1 of 1)-24It was a wonderful day, and lots of family fun to be remembered!!  The tree is up, now for the ornaments!!

As promised last week, I'm going to be featuring some of my favorite Christmas projects from years past, and have some great ornament tutorials for you.  Here's the first one up from December 2011.

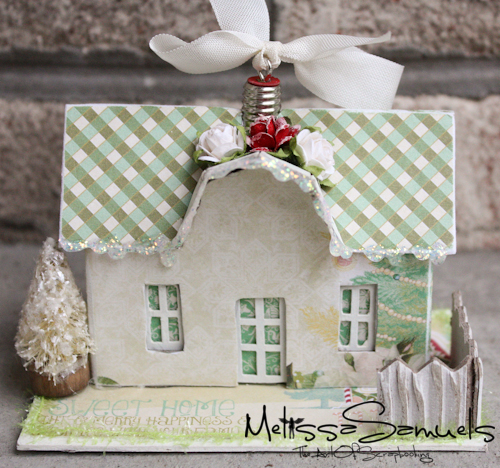
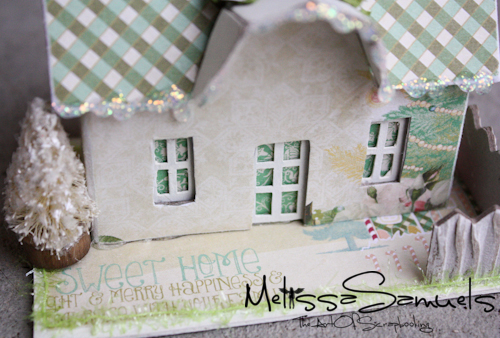
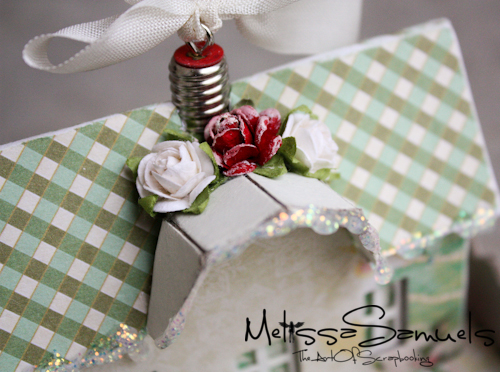
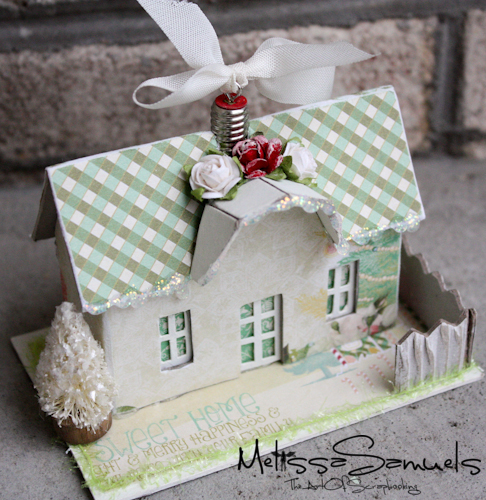
It's a Melissa Frances Farm House Ornament that I covered in paper.

Ornament-10Supplies Used:  Melissa Frances Farm House Ornament, Stickles, Precision File Set, hot glue gun, off-white acrylic paint, Bottle Brush Trees, paper, Petite Tinsel Green, Glossy Accents, and roses.
Ornament-13
Ornament-14Here are the easy steps to creating this little guy. (The farm house ornament comes flat. )

  • Paint the base, and window & door lattice with off-white acrylic paint.
  • Trace the house and roof parts onto cardstock, cut out, and glue with Glossy Accents. 
  • Sand the edges and folds to get an aged look.
  • Hot glue the house together, and then add  the roof.
  • Add the hanger, and add hot glue to the inside for extra strength.
  • Hot glue the assembled house to the base.
  • Decorate with roses, petite tinsel, and bottle brush trees.
  • Add Stickles to the roof line, and you're done!!

Ornament-11

Melissa Logo 55

Altered Box & $50 Gift Certificate Giveaway today!

Hi Guys!  Today is the last day of our week of Graphic 45 projects with Nikki, and the last day to enter our $50 gift certificate giveaway.  First, I want to give a big thank you to Nikki Brown, our guest artist this week, for all of her projects she shared here on the blog.  It's been great fun, and I know she appreciates all of the wonderful comments. I didn't want the fun to end, so next week I am doing a week of my favorite Christmas projects, and ornament tutorials.  Some of the tutorials are by Bob, so be sure to come back!  He's a pretty crafty guy, as you may already know!

Tonight I will be announcing the winner of our $50 gift cerfticate giveway to www.melissasamuels.net here on the blog.  That means you still have today to enter.  Just leave a comment on this post, and you'll be entered into our giveaway!  For more chances to win, also comment on previous posts this week.

******UPDATE******

******WINNER ANNOUNCEMENT******

Thank you guys sooooo very much for taking the time to leave such sweet comments this week on the blog!!  I appreciate each and every one!  Now, it's time to pick a winner of the $50 gift certificate.  Drum roll, please…

Richard "Mister Cardmaker"

"Beautiful project! Love it!"

Posted by:
Richard

Congratulations, Richard!!  Please email me at melissa@melissasamuels.net to claim your certificate!


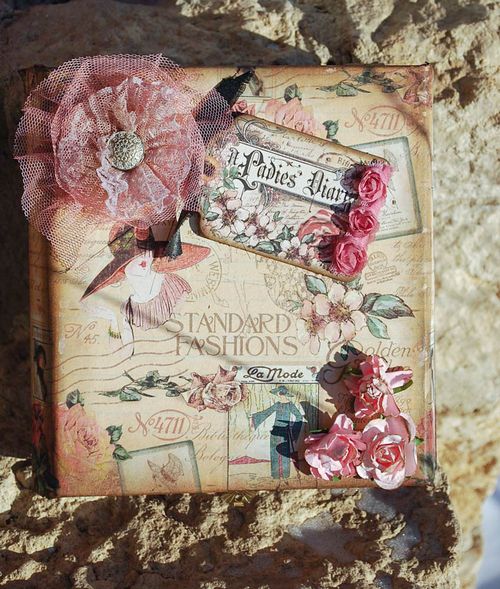
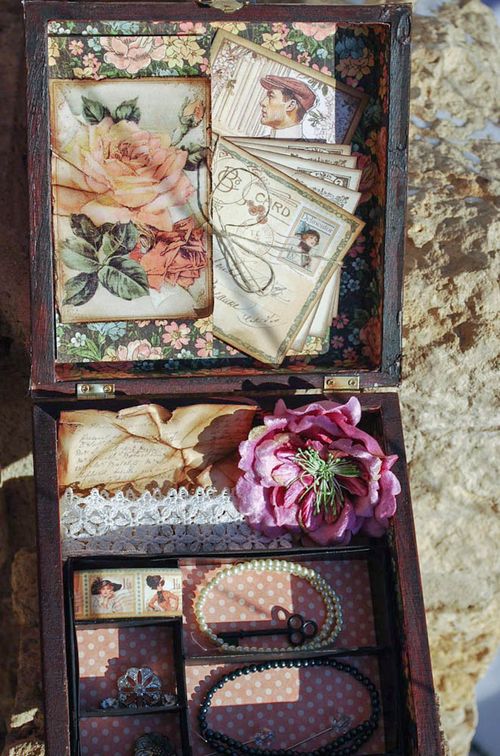
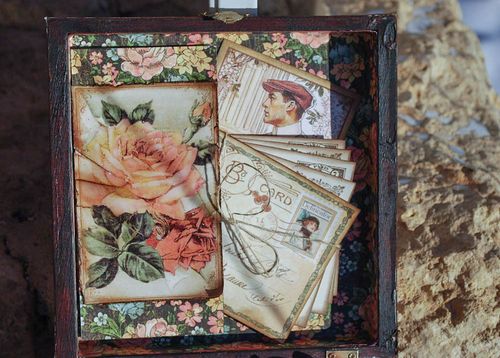
Here it is the last project by Nikki.  It's a beautiful altered jewelry box she decorated using Graphic 45's A Ladies Diary.  I adore altered boxes, and this one is not only gorgeous, but has a practical use of housing jewelry.  Nikki transformed a plain wooden jewelry box into this fantastic work of art.  If you can't find a jewelry box, a cigar box would be perfect for this project.  Most cigar shops sell them for a couple of dollars. 

NikkiBrown (1 of 1)-9
NikkiBrown (1 of 1)-11
NikkiBrown (1 of 1)-10

I hope you have enjoyed the projects this week.  Thanks so much for stopping by, and I hope to see you next week!Melissa Logo 55

A Ladies Diary & Giveaway!

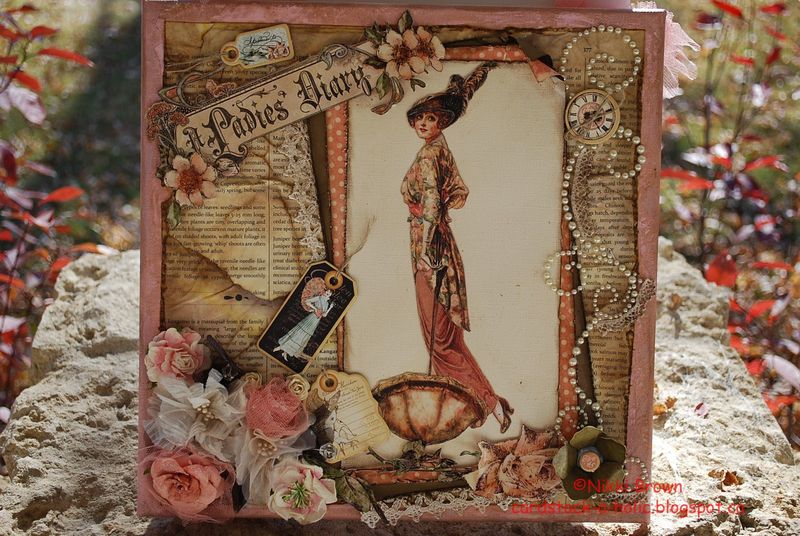
Nikki has done it again!!  Isn't this canvas just exquisite?  I love all of the details.  It was created from Graphic 45's A Ladies Diary collection, which happens to be 30% off in our store this week.  Check out our newsletter (click here) for this and other great deals!!!  Ends 12/10.

DSC_0250 copy
Don't forget that we are doing our $50 gift certificate giveaway
this week.  Each time you make a comment on this week's daily posts,
you will be entered into our giveaway (limit 1 comment per day per
post).   A winner will be announced Friday evening!

Be sure to come back tomorrow for a final post from our guest artist Nikki Brown!

Graphic 45 Nutcracker Sweet & $50 Gift Certificate Giveaway

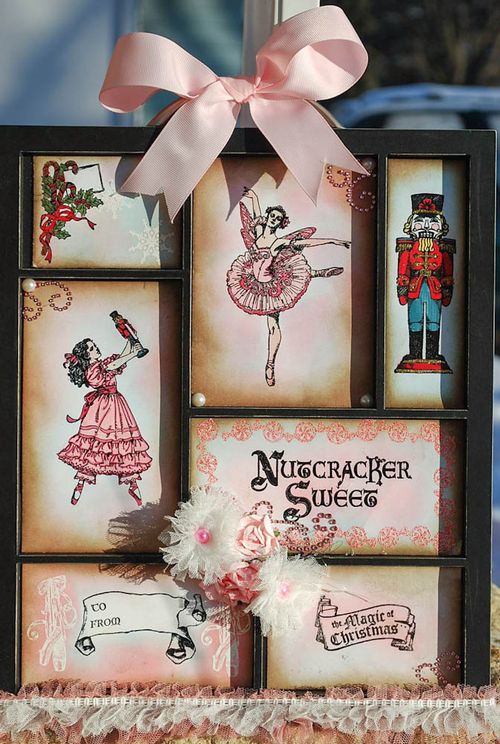
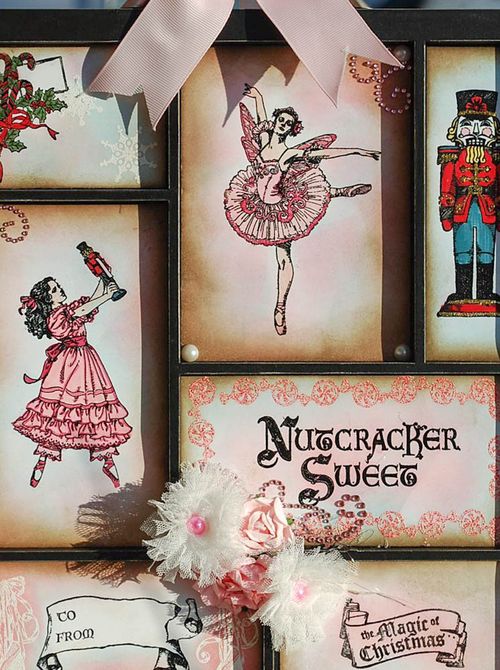
Hey Guys!  Nikki Brown from over at Cardstock-a-holic has another beautiful project for us today!  She made this gorgeous tray that would be the perfect holiday decoration or gift using Graphic 45's Nutcracker Sweet collection.  She stamped, embossed, and inked the images onto white cardstock to create this wonderful work of art. 

Don't forget that we are doing our $50 gift certificate giveaway this week.  Each time you make a comment on this week's daily posts, you will be entered into our giveaway (limit 1 comment per day per post).   A winner will be announced Friday evening! 


NikkiBrown (1 of 1)-7
Nikki used Nutcracker Sweet stamps, white paper, embossing powder, distress inks, markers,
stickles, tulle ribbon, and pink flowers.
NikkiBrown (1 of 1)-8Thanks for stopping by!  Be sure to come back tomorrow to see the next great project by Nikki, and leave a comment to be entered into our giveaway!
Melissa Logo 55