Guest Artist Nikki Brown & Graphic 45

Hi Everyone!  This week I have a wonderful treat for you!   I have guest artist Nikki Brown from over at Cardstock-a-holic in the house!!  She has several projects featuring Graphic 45 to share with you guys! And, if that wasn't treat enough, I'm also going to be doing a giveaway!  All you have to do is come back each day and comment on the day's post to be entered.  Every time you comment (limit 1 per day) you'll be entered, it's that easy!  On Friday a winner will be picked!  The prize is a $50 gift cerfticate to www.melissasamuels.net That will go a long way to putting some Graphic 45 goodness under your Christmas tree!!

So, without further ado, let's get to know Nikki!

Hi there! My name is Nikki. I am lucky enough to be married to my best
friend ♥(who loves to build storage for my scraproom!!!) and together we
have two terrific daughters and a crazy cockerspaniel.
I still consider myself a "newbie" when it comes to the wonderful world
of scrapbooking. I am addicted to paper, sprays, inks and especially
anything I can alter! I truly believe each page needs to weigh 5lbs to
even be considered finished!

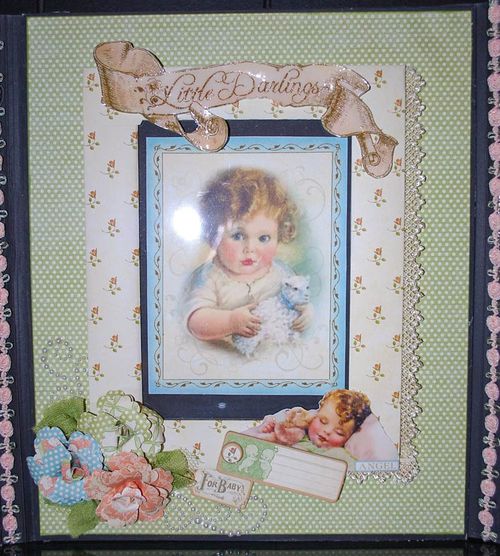
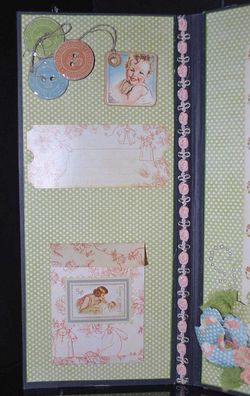
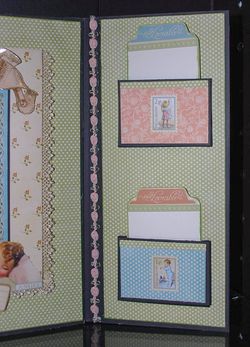
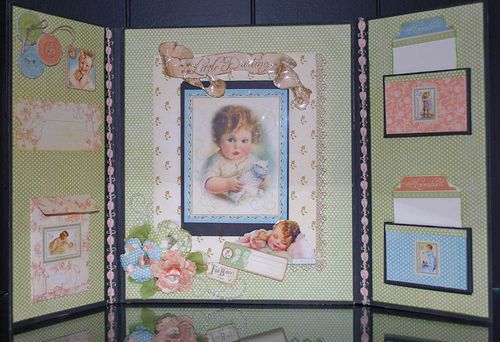
First up this week we have a Little Darlings Portfolio and Card.  It's created from Graphic 45's precious collection, Little Darlings.  It's beautifully decorated, and has lots of pockets for storing photos or journaling. 
NikkiBrown (1 of 1)

NikkiBrown (1 of 1)-2
NikkiBrown (1 of 1)-5

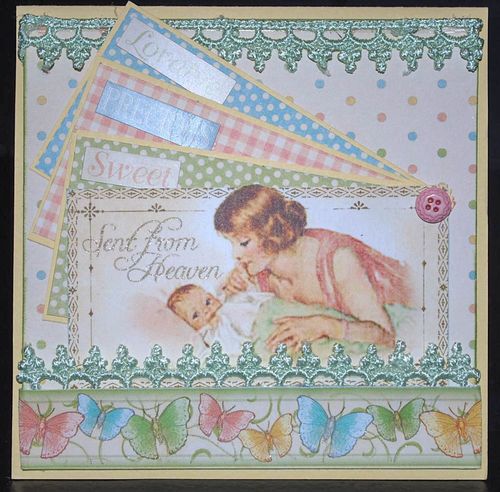
NikkiBrown (1 of 1)-6  Nikki made this adorable matching card from the scraps.  What a great use of leftovers!
NikkiBrown (1 of 1)-3
Thank you guys for stopping by today, and I do hope you'll come back tomorrow!  Don't forget to leave a comment to show Nikki some love, and be entered into our Friday giveaway!!!

Melissa Logo 55

PomPom Flower Embellishment Tutorial

Hi Everyone!  I can't believe it's Wednesday/Hump Day already!  Where did the week go?!  With work and school pick-up and drop-offs it all seems like a blur.  I'm sure you can relate.

I thought I'd keep things going this week with another flower embellishment tutorial.  I have to admit, and you guys probably already know this about me, I'm completely addicted to flowers…fabric, paper, ribbon, you name it!!  I can't make enough!  I think part of the appeal is how versatile they are.  You can use them on a card, layout, mini, gift wrap, and the list goes on.

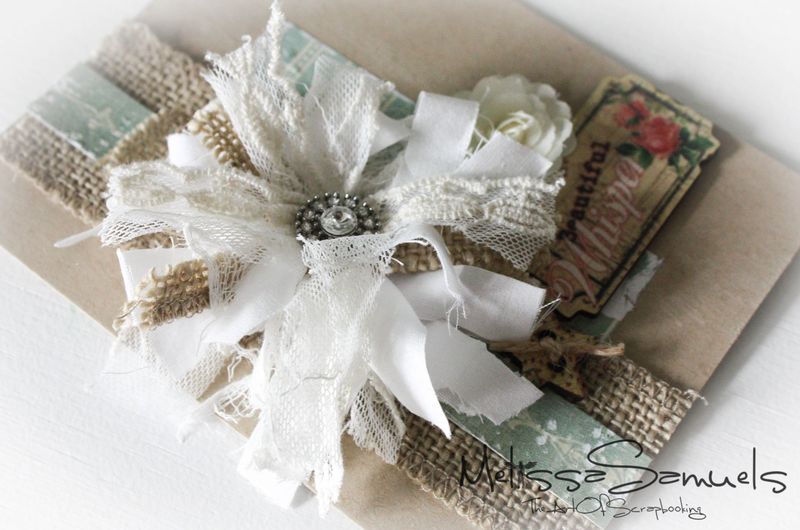
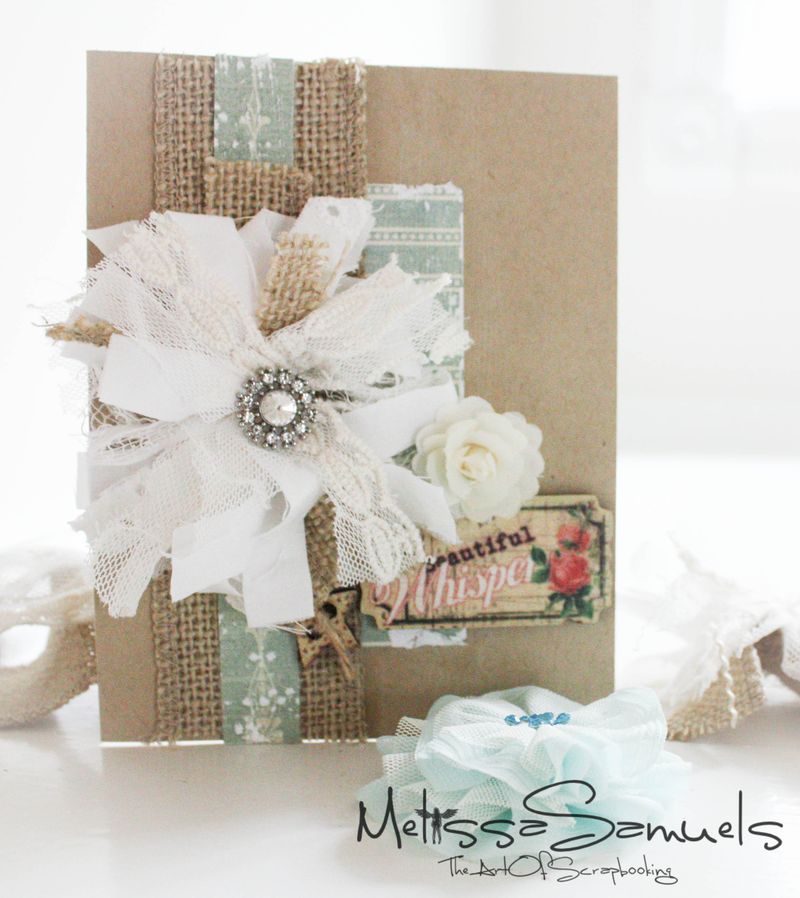
Here's a cute little pompom flower I made to use on a card.  Of course, you could easily adjust the size of the ribbon to use on a mini album or layout.

Pompom flower (1 of 1)-5Here's the tutorial:

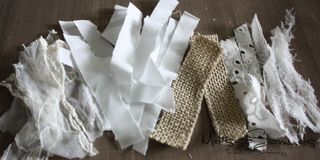
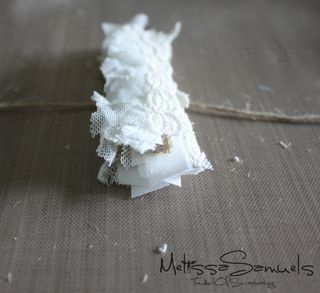
Pompom flower (1 of 1)Pick an assortment of ribbons with lots of different textures.  I used lace, burlap ribbon, and even strips of fabric such as muslin and eyelet.  I even used a sheet of cheesecloth.  Cut into strips approximately 3 1/2-4" long and 1/2" wide.  Play around with the size to adjust for the particular project you are working on.

Pompom flower (1 of 1)-2Stack the strips into a sandwich.

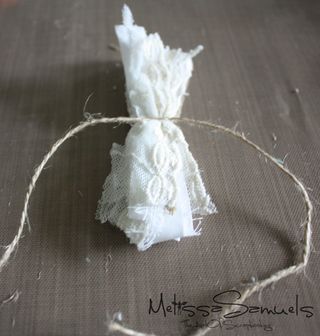
Pompom flower (1 of 1)-3Tie the middle of the sandwich with string or twine.  Separate and spread the strips out until it looks like a pompom flower.  Trim up any strays, if needed.  I tied a sparkly button to the center of my flower, but you could also use a bling center, flower, brad, or regular button.

Pompom flower (1 of 1)-4Simple, easy, and a little bit addictive.   I also tried out some wooden pieces on my card since they're so darn popular in my store.  Now I see why.  Cute!

~~~~~~~~~~~~~~~~~~~~~~~~~~~~~~~~

And…just for fun…


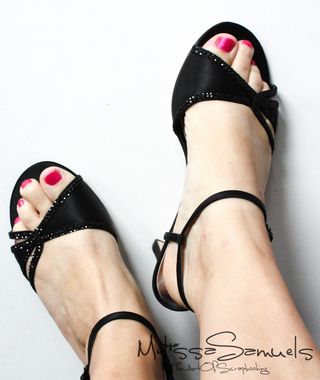
Shoes (1 of 1)My new dancing shoes for ballroom dancing!  Whatca think?  I like that they're sparkly…though they could use one of those sparkly buttons or even a Prima flower.  I know, I'm such a girl!! 

Melissa Logo 55

Lace Flower Card Tutorial

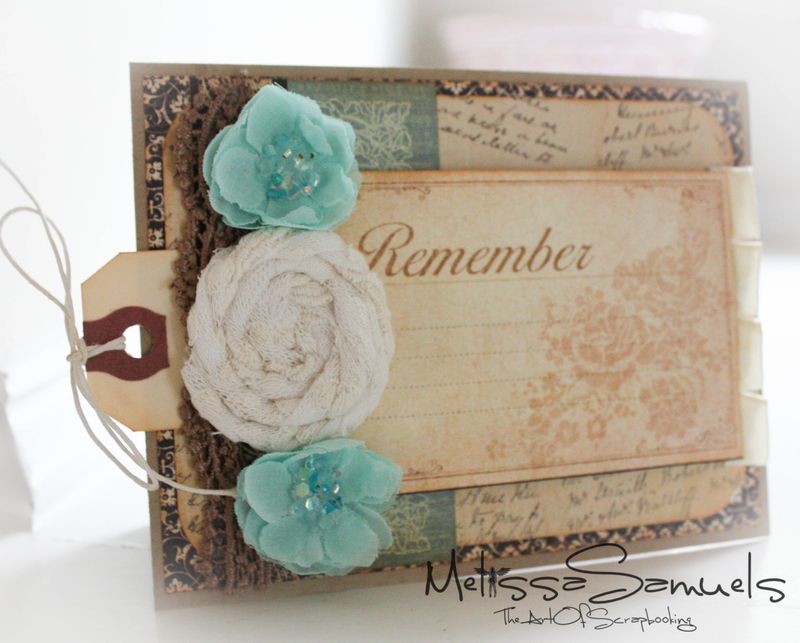
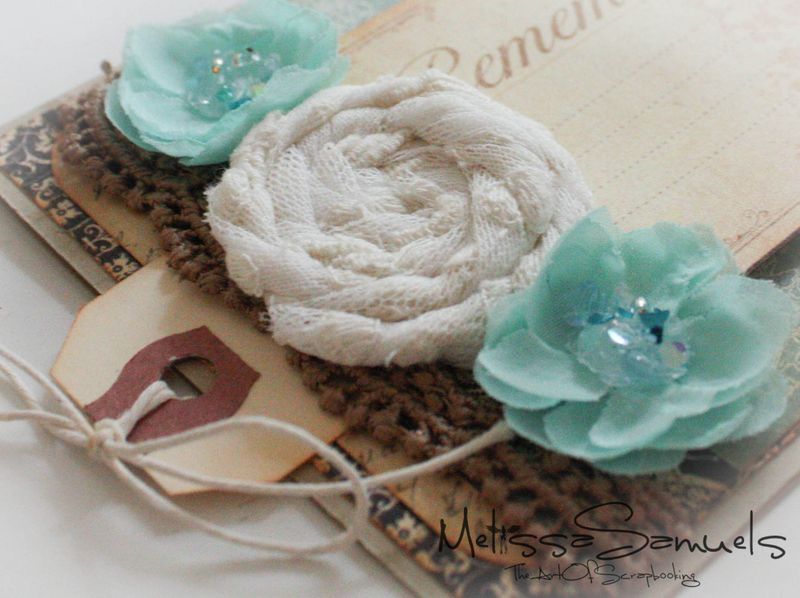
Hey Guys!!  I had some leftover Graphic 45 A Ladies Diary paper scraps on my desk from Friday's chipboard binder album.  If you missed Friday's blog post check it out here.  I couldn't bear to throw the scraps away, so I thought I'd make a card out of it.  I ran across a scrap piece of my favorite Webster's Pages lace ribbon, so the wheels started turning.  I had to use it, but didn't want to simply glue it onto my card.  Then it occurred to me that it would make the most awesome ribbon flower like the fabric ones I made a couple years back (video tutorial can be found here).  I loved how it turned out, so I  thought I'd share the love, and do a little tutorial.

Card lace flower (1 of 1)-11The card is made from kraft cardstock, Graphic 45 A Ladies Diary paper, Prima Flowers Tasha Teal, Webster's Pages Taupe Trim, Webster's Pages Polka Lace Trim, shipping tag, Ranger Distress Ink Tea Dye, and 8.5×11 Scor-Tape Sheet

Card lace flower (1 of 1)-12
Here is the very simple tutorial on how to make the flower:

Card lace flower (1 of 1)-6

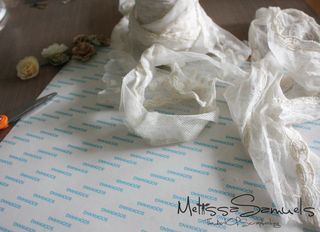
To start, you'll need scrap lace (about 1/2 yard), double-sided adhesive (I used 8.5" x 11" sheets of Scor-Tape), and scissors or a circle punch.

Card lace flower (1 of 1)-8

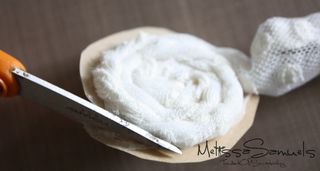
  • Cut a circle roughly 2" (or punch with a circle punch) out of Scor-tape
  • Peel off one side of the backing on the Scor-tape sheet
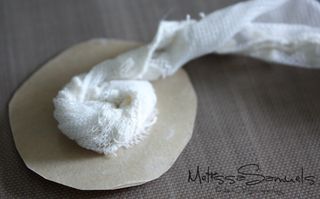
  • Twist the end of the lace, and adhere to the center of the adhesive circle
  • Just twist & wind the lace, and adhere to the Scor-tape
  • Card lace flower (1 of 1)-9Cut off any excess Scor-tape.  By cutting the circle slightly larger than you want your flower it gives you flexibility on the flower size.
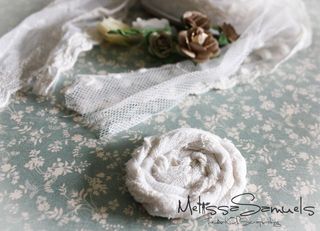
  • Twist the end of the lace underneath the flower.

Card lace flower (1 of 1)-10Quick and easy, perfect for a card, mini, or layout.  Using the off-white ribbon also gives the versatility of Glimmer misting it any color if you like.  I hope you enjoy!!

~~~~~~~~~~~~~~~~~~~~~~~~~

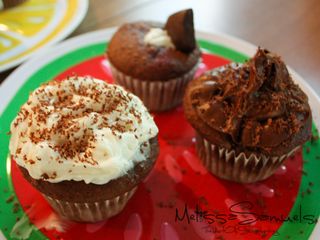
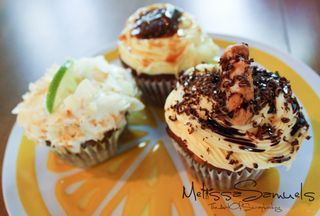
And, just for fun, this weekend we had the Samuels version of Cupcake Wars, one of Maddie and Lily's favorite television shows.  We teamed up Maddie and Bob versus Lily and me.  Of course, Chris had to be the judge, which she found very awkward at first, but quickly enjoyed critiquing each cupcake (and eating them!).  We made a low-fat chocolate devil's food cupcake by replacing the oil in the recipe with applesauce.  We split the batter, and each team was allowed to add anything to the cupcake from the pantry, and decorate however we liked. Each team made 3 different types of cupcakes and each cupcake was scored on appearance and taste.

Card lace flower (1 of 1)-5Maddie and Bob made a chocolate chip cookie cupcake, peppermint cupcake, and marshmallow stuffed cupcake. 

Card lace flower (1 of 1)-7Our team made a chocolate chip cookie stuffed cupcake, chocolate coconut lime cupcake, and Rolo carmel cupcake.

It was a close race, but our team won by only 4 points with a score of 53/60!!!  Woot!!  It was great family fun, and the girls have cupcakes to eat all week as a treat!  

Melissa Logo 55

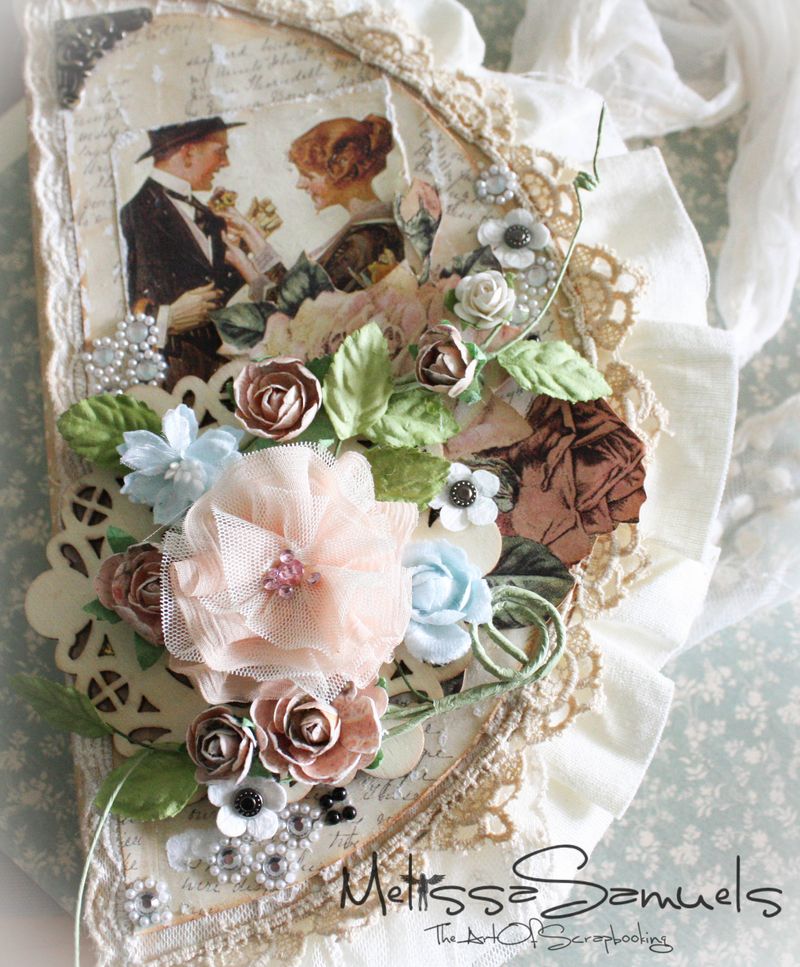
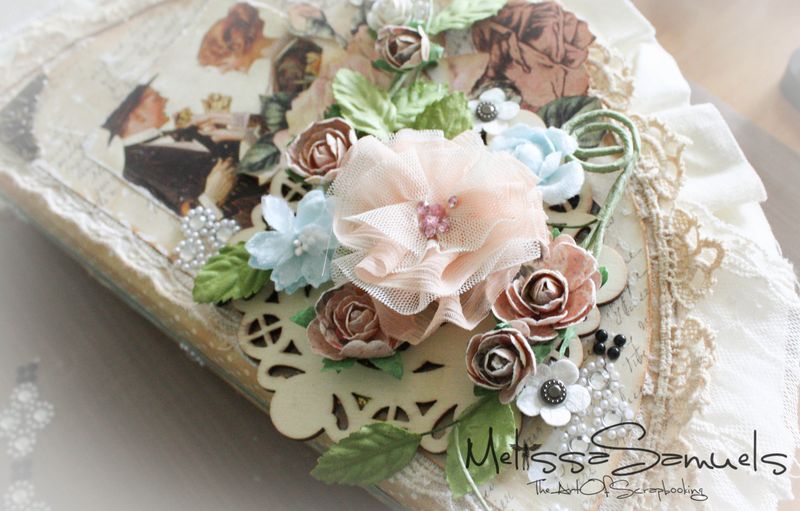
A Ladies Dairy Chipboard Binder

Happy Friday Everyone!!!  Hope you're winding up a wonderful week, and enjoy a relaxing weekend ahead.  It has been a great week here.  Bob and I started our ballroom dancing lessons.  So far, so good!  No one has any broken toes or bruised shins…YET!  The first class was a lot of fun, and we are both looking forward to doing something just for us every week.  Of course, doing ballroom dance has inspired a little mini book.  It will be nice to document our progress over the next 6 months.  So here it is…

Book (1 of 1)-3I used Graphic 45 A Ladies Dairy collection for the paper, Maya Road Half Circle chipboard binderWebster's Pages Princess Petals for that stunning little coral tulle flower, Webster's Pages netting (my favorite lace), Prima flowers and Say It In Crystals, and Pink Paislee Mistables ribbon for the fabric trim around the edge.

Book (1 of 1)-4I haven't made a chipboard mini in quite some time.  I had almost forgotten how much fun it is to glue and sand and ink!!  Oh my!! :)

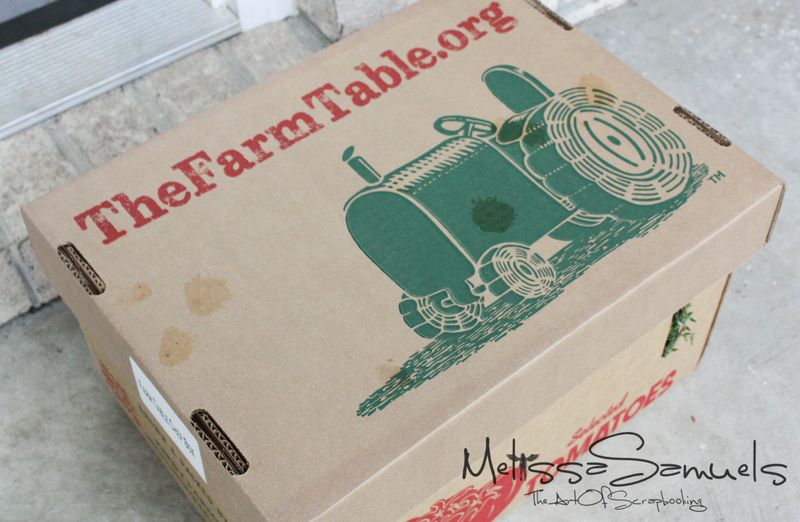
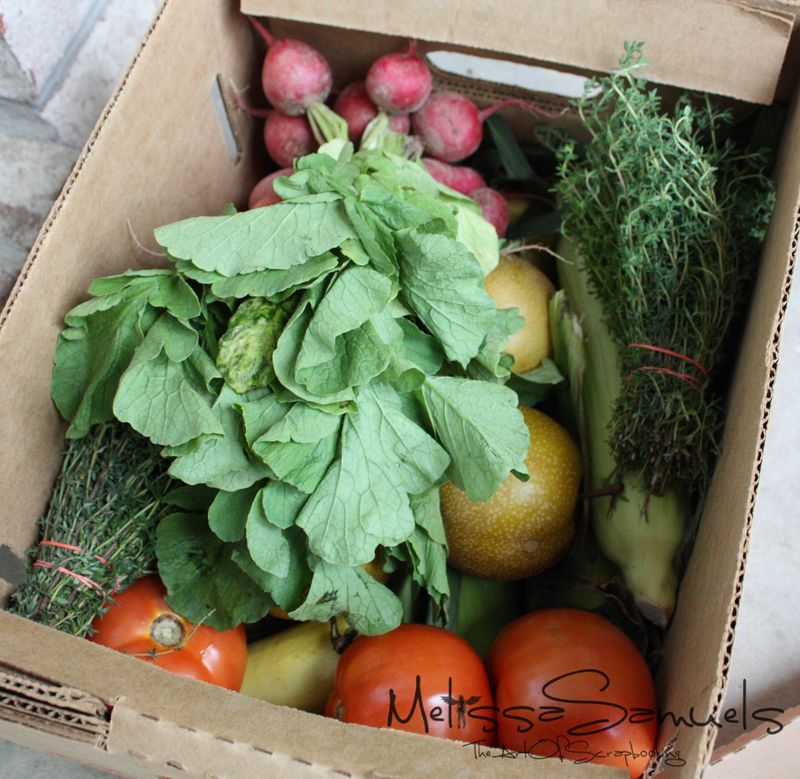
Breakfast (1 of 1)-3And, if my week wasn't already fabulous enough, yesterday (Thursday) was my Farm Table box delivery.  Every week I recieve a hand-delivered yummy yummy box of fresh produce from local farmers.  It's a wonderful service that helps support local farmers, and helps us eat healthy.  If you're in the tri-cities area you might be interested.  The website is here www.farmtable.org.

Breakfast (1 of 1)-4Have a great weekend!!!

Melissa Logo 55

Play with your food

I don’t know about you guys, but I ALWAYS have about a 1/2 dozen projects going at once in the studio.  I’ll start something, and then another great idea will occur to me, then off I go to the next project.  Or, when a new collection comes in that I’m completely swooning over, I drop everything to make something out of it. 

I thought it might be fun to give you a glimpse at what’s in progress on my desktop at the moment. 

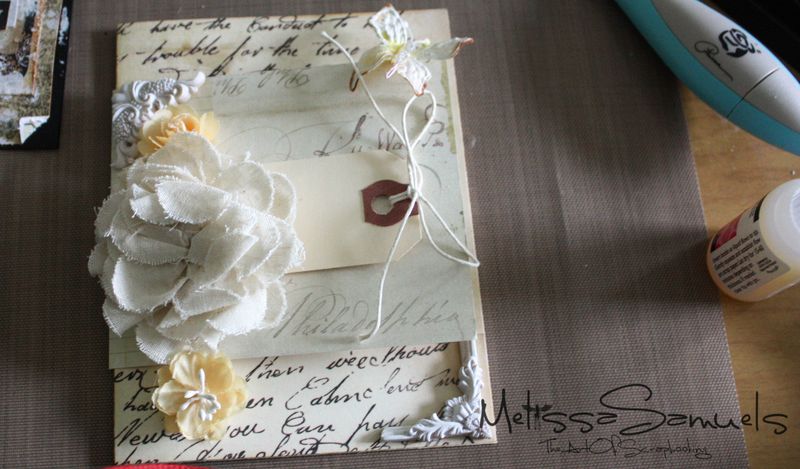
Rainbow (1 of 1)-4This was one of those stress relieving breaks. I started it as a card, but now I’m thinking I may turn it into a little book.  I may cut about 4 or 5 more sheets of paper, folded, and glue them together into a journal.  I LOVE to just experiment…no clear plan…no set rules….just fun!

I have to tell you that my little card, book, journal, thingy was inspired by my breakfast.  Yep, breakfast.  I used to skip breakfast all the time, and by the middle of the day I would always be starving.  Quite often, even though I was hungry, I would be so busy I would skip lunch.  After not eating all day, I’d have a giant smorgasbord of high calorie, high fat foods for dinner.  Now, no matter how busy I get I almost always eat something. 

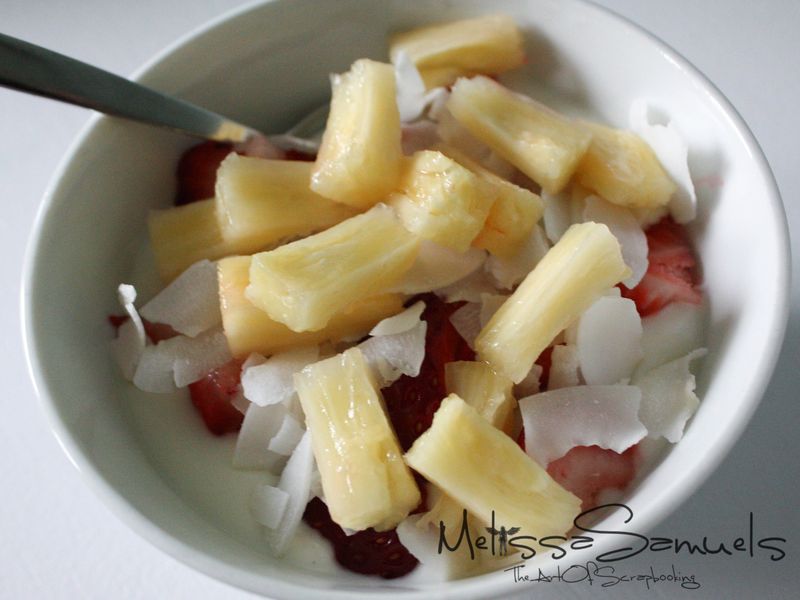
Breakfast (1 of 1)One of my favorite quick and easy breakfasts is 1/2 cup (measured)
non-fat yogurt, fresh fruit, unsweetened coconut, and sometimes 1 tablespoon of
granola.  There’s no cooking involved, so I can eat and be out the door.  It’s a great start to the day, and by lunch I’m not starving so I don’t overeat.

Not only is it satisfying and healthy, it’s very pretty.  Yellow=Yum, Yum!!  Hence my little project. 

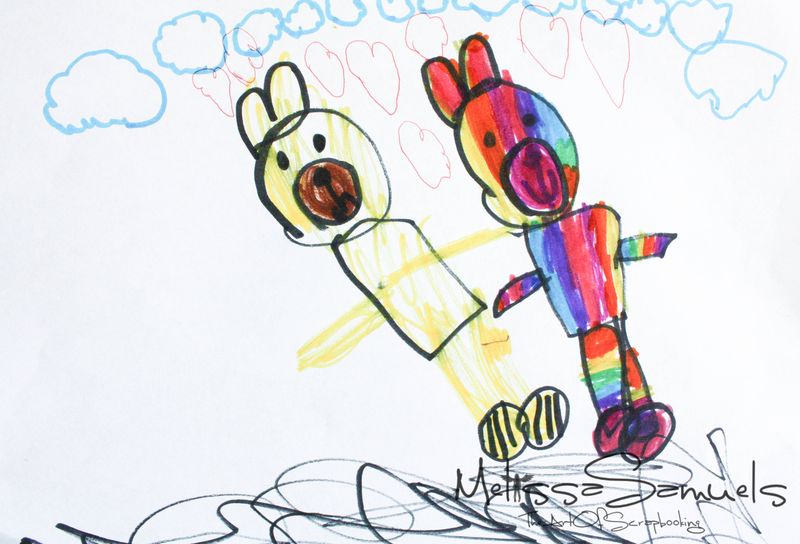
Speaking of yellow, it happens to be Lily’s FAVORITE color (followed closely by pink).  So, it only seemed natural to include some of her work.  (FYI, Lily is my 4 year-old daughter)  Her most prized possession is her rainbow bear she got at Build-A-Bear Workshop.  She drew the most precious picture of her bear, and Maddie’s bear, Teddy, getting married.

Rainbow (1 of 1)-3Too stinking cute for words, right?!!

Okay, so next time you’re having a meal, think of all of the art possibilities! 


Melissa Logo 55

www.melissasamuels.net