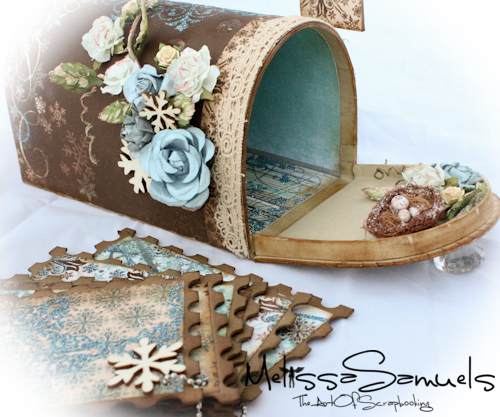
Giveaway Winner Announcement! Double the fun!!

Hi Everyone!  Thank you guys sooooo much for joining me this week for our week of ornaments here on the blog!  I had so much fun making them, and hope you feel inspired  to create some to decorate your Christmas tree.  I've enjoy reading the comments immensely, and appreciate you all coming back day after day to see what I've been up to. 
GiftCertificate
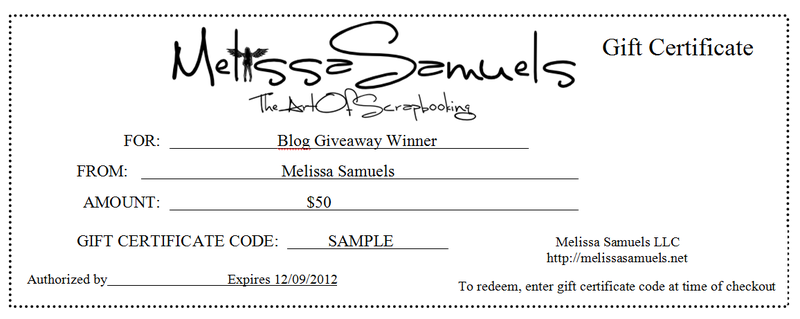
It's Friday, and that means it's time to pick a winner for our giveaway!!!  I printed out all of the comments from this week, and put them in a basket for our drawing.  I decided to let Lily and Maddie draw the winner.  It seemed only fair to let each of them draw a name, so that means we have 2 winners who will each receive a $50 gift certificate to my store

Maddie picked:

awesome project for double sided paper.

Posted by: Shanna | Thursday, December 08, 2011 at 08:19 PM

…and, Lily picked:

These are adorable and I something I can do.I am super impressed with the one handed scotch tape move-you are so coordinated-wow!

Posted by: NanaBeth W | Friday, December 09, 2011 at 12:58 PM

Congratulations Shanna and NanaBeth!!!  You both win a $50 gift certificate to my online store.  Please email me at melissa@melissasamuels.net so that I can get those out to you.

Again, a big thank you to everyone who entered! Happy Holidays from my family to yours!

Melissa Logo 55

Week of Christmas Ornaments: Day 4

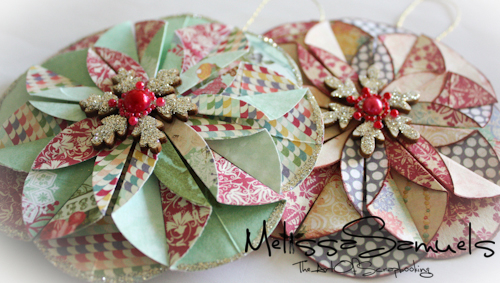
Hi Everyone!  It's day 4 of our week of ornaments!  Today I did a folding ornament.  I made these a couple years ago for the front of a card, and I thought they would be perfect as an ornament.  I did a video tutorial to show you just how easy they are to make.   I hope you'll have family craft night soon to make these for your tree!
Ornament-17Come visit our online store at http://www.melissasamuels.net for these and other great products!
 

Want a chance to win a $50 gift certificate?  Here's how to enter:

1. Leave a comment on each post this week.  You will receive one entry for each daily comment (limit 1 entry per day).

2.  (OPTIONAL) For an extra chance to win, blog about our giveaway! Every day that you blog about our giveaway receive an extra entry!  You may use the image below  to link us, or images of the ornaments.  IF YOU USE IMAGES YOU MUST LINK TO OUR BLOG OR STORE.   (Step #2 is OPTIONAL-I know not everyone has a blog).  If you don't have a blog, share our post on Facebook for an extra change to win.  When you leave your comment, let us know you also blogged or shared on Facebook so we can give you credit.

MelissaSamuelsLOGObar

On Friday, a winner will be drawn from the entries.  It's that easy!!!!  Good luck, and Happy Holidays!Melissa Logo 55

Week of Christmas Ornaments: Day 3 Farm House

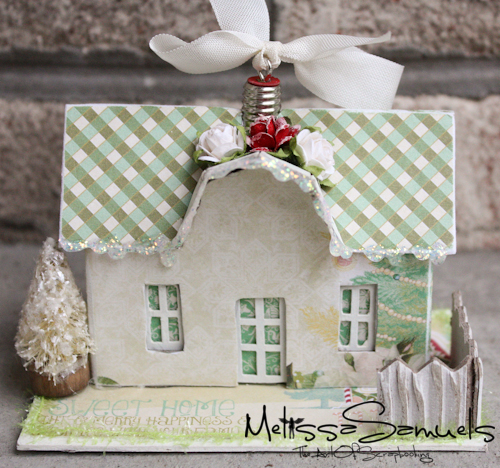
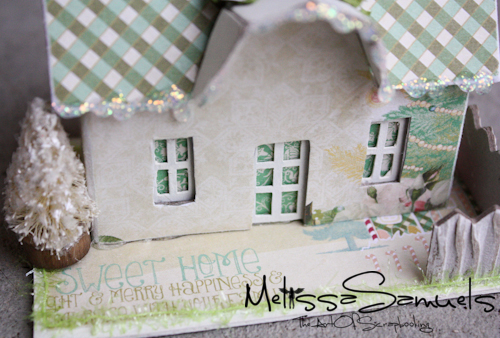
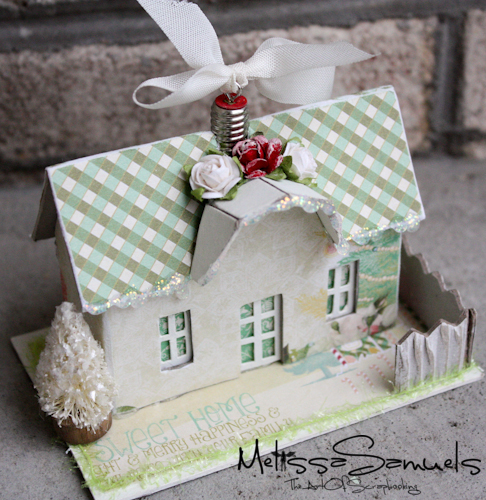
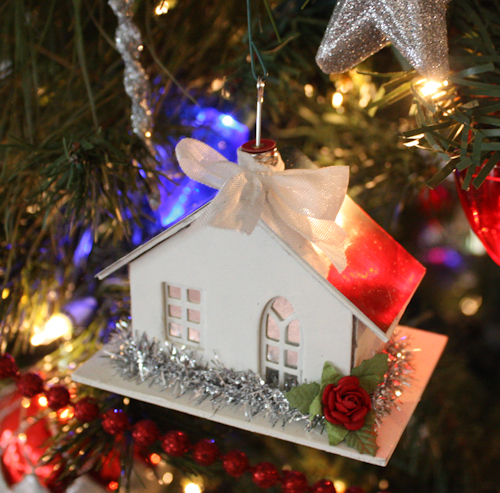
Hi Guys!!!  It's day 3 of our week of handmade Christmas ornaments!  I think today's ornament is my favorite so far!  It's a Melissa Frances Farm House Ornament that I covered in paper.

Ornament-10Supplies Used:  Melissa Frances Farm House Ornament, Stickles, Precision File Set, hot glue gun, off-white acrylic paint, Bottle Brush Trees, paper, Petite Tinsel Green, Glossy Accents, and roses.
Ornament-13
Ornament-14Here are the easy steps to creating this little guy. (The farm house ornament comes flat. )

  • Paint the base, and window & door lattice with off-white acrylic paint.
  • Trace the house and roof parts onto cardstock, cut out, and glue with Glossy Accents. 
  • Sand the edges and folds to get an aged look.
  • Hot glue the house together, and then add  the roof.
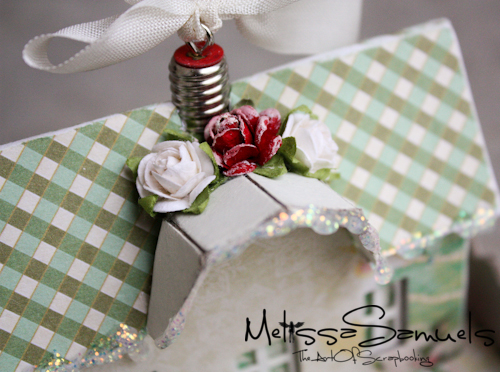
  • Add the hanger, and add hot glue to the inside for extra strength.
  • Hot glue the assembled house to the base.
  • Decorate with roses, petite tinsel, and bottle brush trees.
  • Add Stickles to the roof line, and you're done!!

Ornament-11
Want a chance to win a $50 gift certificate?  Here's how to enter:

1. Leave a comment on each post this week.  You will receive one entry for each daily comment (limit 1 entry per day).

2.  (OPTIONAL) For an extra chance to win, blog about our giveaway! Every day that you blog about our giveaway receive an extra entry!  You may use the image below  to link us, or images of the ornaments.  IF YOU USE IMAGES YOU MUST LINK TO OUR BLOG OR STORE.   (Step #2 is OPTIONAL-I know not everyone has a blog).  If you don't have a blog, share our post on Facebook for an extra change to win.  When you leave your comment, let us know you also blogged or shared on Facebook so we can give you credit.

MelissaSamuelsLOGObar

On Friday, a winner will be drawn from the entries.  It's that easy!!!!  Good luck, and Happy Holidays!

~~~~~~~~~~~~~~~~~~~~~~~~~~~~~~~~~~

ChristmasAlbum (1 of 1)-25Today (Wednesday, December 7th) is my Postcards From Winter Wonderland UStream class at 2pm (EST) on my UStream Channel.  Click here for kit information.  Here's the recording


~~~~~~~~~~~~~~~~~~~~~~~~~~~~~~~~~~~

Click here to read our latest newsletter!!

Melissa Logo 55

Week of Christmas Ornaments: Day 2 Glass Dome with Rub-ons

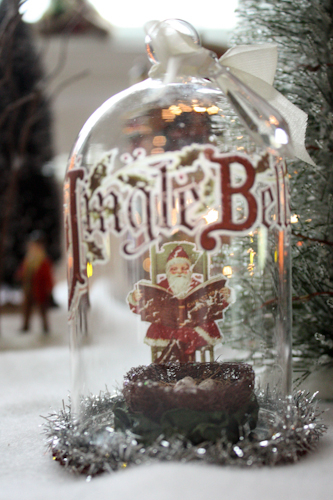
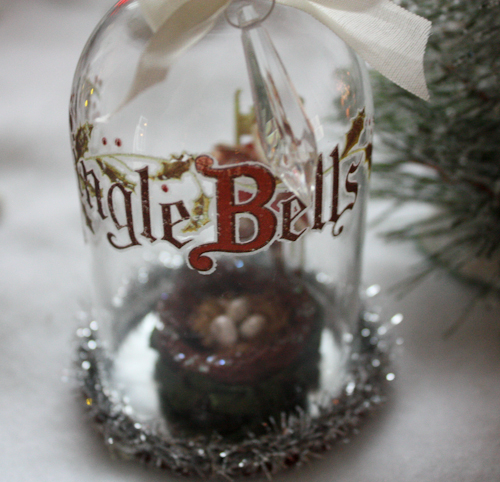
Hi Everyone!   Today is day 2 of our week of Christmas ornaments!  Show and tell today is a Melissa Frances Glass Dome Ornament.  I placed a bird's nest inside.  According to legend, finding a Christmas tree with a nest in it was a gift of good health, wealth, and happiness throughout the year.  When Bob and I shared our first Christmas together as a married couple, he found a real bird's nest that we have placed in our tree every year since.  Working on this project made me think of our little nest.

Ornament-8Supplies Used:  Melissa Frances Glass Dome Ornament, Prima Sparrow Cradle, Father Christmas rub-ons, chandelier drops, seambinding, hot glue gun,  Maya Road satin pleat ribbon green, silver foil cardstock, and tinsel.

Ornament-4

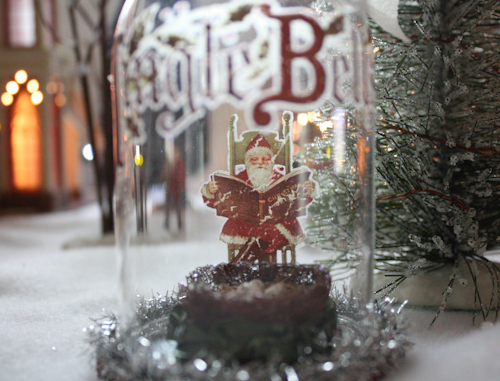
Ornament-6I started by adding rub-ons to the glass dome.  I used the Santa inside, and the words "Jingle Bells" on the outside.  This gives a very cool effect!  Since I was working on a curved surface, I Scotch taped the rub-on in place to keep it from moving.  Don't place tape over the image as it will make it more difficult to rub off.  Also, don't place any images too far inside, as it will be difficult to get the rub-on tool all the way inside the dome.  It takes a little work to get the rub-on transferred, but it's well worth it.

The bottom of the dome is chipboard.  I traced the top glass dome onto silver cardstock, cut out, and glued to the center of the bottom piece of chipboard.  I glued the bird's nest in the center, pleated ribbon to the outside of the nest, and the bottom to the glass dome.  I added tinsel to the bottom, and a bow with a chandelier drop to the top.

So very simple, easy, and soooo many possiblities!!   Thanks for stopping by today!!


Want a chance to win a $50 gift certificate?  Here's how to enter:

1. Leave a comment on each post this week.  You will receive one entry for each daily comment (limit 1 entry per day per post).

2.  (OPTIONAL) For an extra chance to win, blog about our giveaway! Every day that you blog about our giveaway receive an extra entry!  You may use the image below  to link us, or images of the ornaments.  IF YOU USE IMAGES YOU MUST LINK TO OUR BLOG OR STORE.   (Step #2 is OPTIONAL-I know not everyone has a blog).  If you don't have a blog, share our post on Facebook for an extra change to win.  When you leave your comment, let us know you also blogged or shared on Facebook so we can give you credit.

MelissaSamuelsLOGObar

On Friday, a winner will be drawn from the entries.  It's that easy!!!!  Good luck, and Happy Holidays!

Melissa Logo 55

Week of Christmas Ornaments: Day 1 (& $50 Gift Certificate Giveaway)

Hi Everyone!  This year for Christmas I wanted do something special here on the blog.  So, here's what I came up with!  Everyday this week I'm going to be doing a post on my handmade Christmas ornaments.  I hope it will inspire you to get out your supplies, and maybe make a few of your own to decorate your tree or give as a gift.  At the end of the week on Friday, we'll have one lucky winner who will win a $50 gift certicate to my online store so they can stock up on supplies to make their own Christmas ornaments.   Keep reading to find out how to enter.

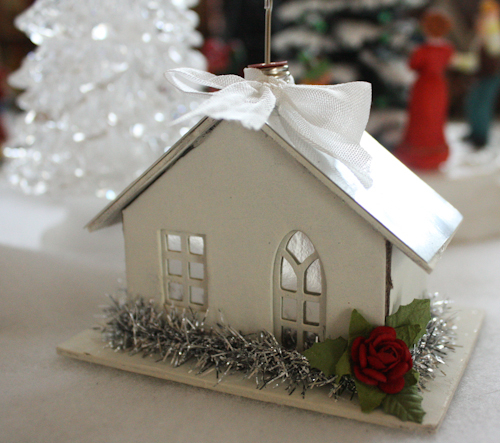
Ornament-2Supplies Used:  Melissa France Cottage Ornament, glue gun, white acrylic paint, 12×12 Foil Cardstock Silver, mini holly leaves, seambinding, tinsel ribbon, and a mini red rose. 

Ornament-3This adorable little chipboard Cottage Ornament comes naked, flat, and easy to assemble and decorate.  I painted the entire house with white acrylic paint, hot glued the window and door lattice in place, glued mirrored silver cardstock behind them, and then hot glued the house, base, and roof together.  I hot glued the ornament hanger in place, and covered the roof in more silver cardstock.  I then decorated with tinsel, seambinding, and a mini holly leaf.

Want a chance to win a $50 gift certificate?  Here's how to enter:

1. Leave a comment on each post this week beginning with this one!  You will receive one entry for each daily comment (limit 1 entry per day).

2.  (OPTIONAL) For an extra chance to win, blog about our giveaway! Every day that you blog about our giveaway receive an extra entry!  You may use the image below  to link us, or images of the ornaments.  IF YOU USE IMAGES YOU MUST LINK TO OUR BLOG OR STORE.  When you leave your comment, let us know you also blogged so we can give you credit. (Step #2 is OPTIONAL-I know not everyone has a blog)

MelissaSamuelsLOGObar

On Friday, a winner will be drawn from the entries.  It's that easy!!!!  Good luck, and Happy Holidays!Melissa Logo 55