Halloween Canvas using ATCs

Hi Everyone!  Sorry I missed Tutorial Thursday last week.  The Fall Distress Ink Sets arrived at the store, and we vowed to get them shipped the same day.  It was pretty crazy here…that good kind of crazy:) 

To make it up to you guys, I'm going to do a project post every day this week, so make sure you come back each day.    Today I'm starting with a canvas frame I made using the canvas atc's from this Tutorial Thursday post (click here).  When I started I intended it to be a layout, but until I have Halloween pictures, I decided to use it as wall decor using those atc's.
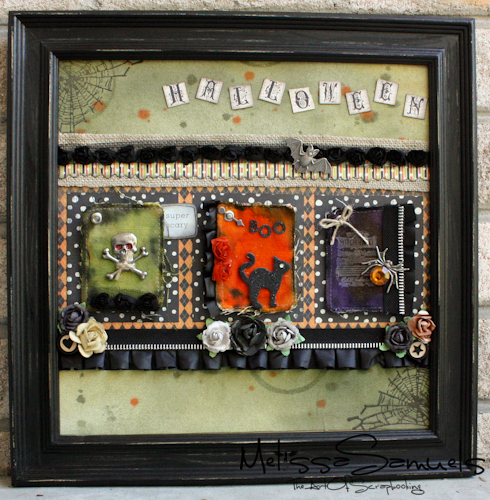
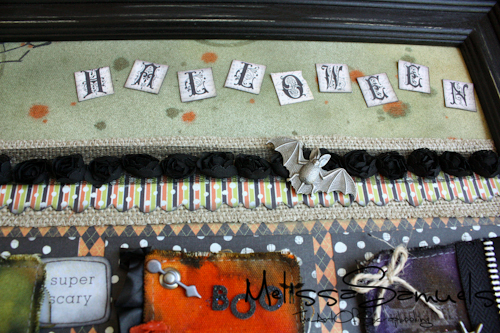
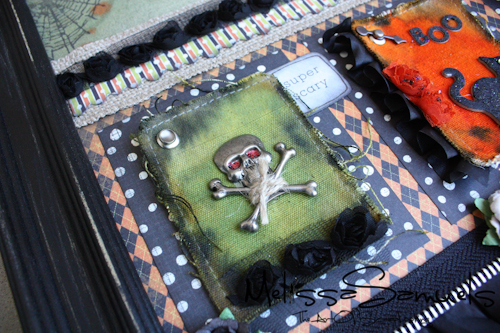
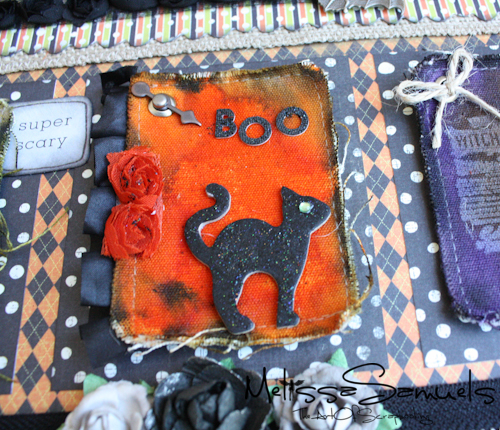
Halloween Layout (1 of 1)I started with 12×12 Sticky-back Canvas.  I sprayed the corners with Chalkboard Glimmer Mist Fern.  I then filled in the rest of the canvas with Chalkboard GM Medallion.  I sprinkled (with the end of the sprayer right out of the bottle) a few drops of Glimmer Mist Pumpkin Spice randomly on the canvas.  I dipped the rim of a canning  jar into the excess GM Fern to "stamp" circles.  I stamped the edges (with Stazon) using the Tattered Angels Halloween Hauntings stamp set.  TIP:  when using large Tattered Angels stamps, if you don't have a block large enough, using the thick plastic packaging that comes in the stamp.  Works great!   Back to the layout, to decorate I used MME Blackbird paper kit, MME Sunshine burlap trim, Maya Road Roses Ribbon Black, Tim Holtz Adorments Halloween, Prima Sherwood Ember Rose, Prima Printery Coventry Roses, Maya Road Zipper Trim, Maya Road 1" Satin Pleated Edging Black, Creative Scraps Halloween Greetings for the word Halloween, and Prima 12×12 opening Frame.
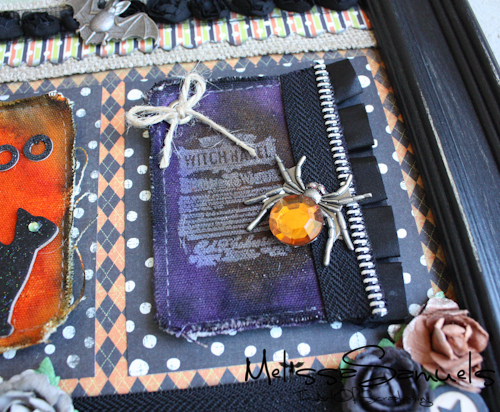
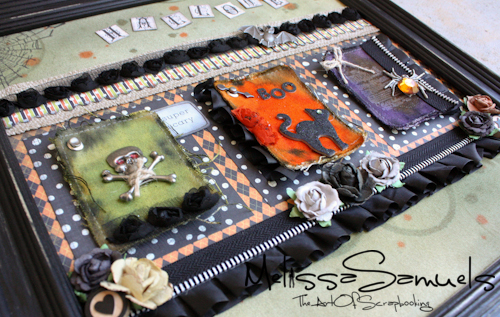
Halloween Layout (1 of 1)-8
Halloween Layout (1 of 1)-4
Halloween Layout (1 of 1)-6

Halloween Layout (1 of 1)-5
Halloween Layout (1 of 1)-3After Halloween, I will put pictures of the girls dressed in their Halloween costumes on my layout in the place of the atc's.  Can't wait!

All of the products used in this project can be found in my online store http://www.melissasamuels.net.

STORE NEWS:

We have made some exciting new changes to the store to improve your shopping experience.  You can now shop by categories using the drop down menus at the top of the page (under the tabs).  We have created more sub-categories to make browsing easier.  The Sale items can now be found on the "Sale" tab at the top of the page under the store logo.

Now we accept VISA, Matercard, and Discover 

in addition to PayPal!

Storewidesale
While I was working in the studio yesterday, Bob put EVERYTHING in the store on SALE!!!  Yes, he's a bad boy:)  While the cat's away, right?!  

Melissa Logo 55

Tutorial Thursday: Dress form using Vintage Vogue

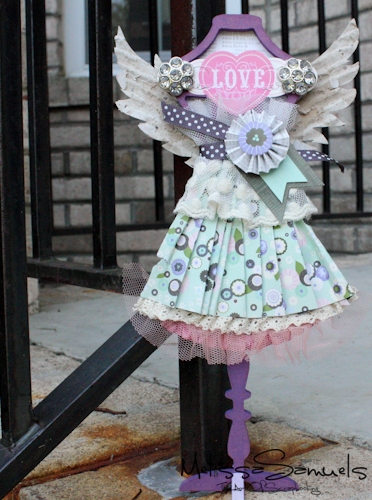
Hey, hey!  It's Tutorial Thursday time!  I have the cutest little project to share with you today.  It's a KasierCraft Beyond the Page MDF Dress Form.  It's just he right amount of frilly and girlie.  It would make the perfect gift, if you could part with it.  After the fact, I thought it would also make a cute little Halloween decoration if you did it in blacks and orange!  The possibilities are many!

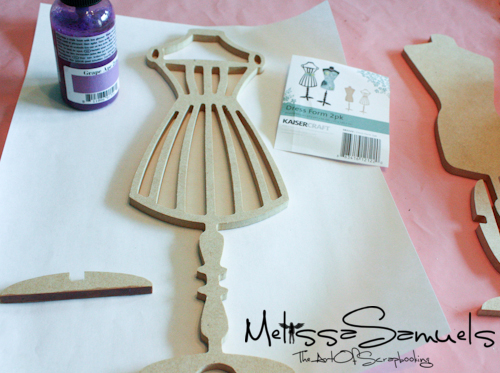
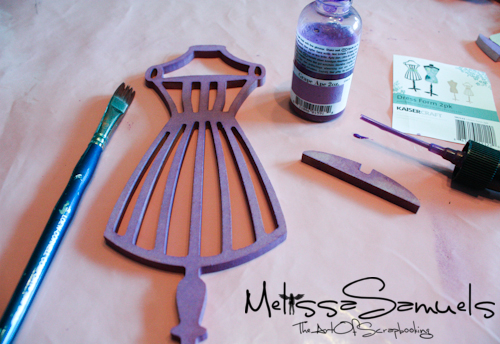
Dressform (1 of 1)-7 The dress forms come in packs of 2's, fyi. I'm using the one with the cutout body. 

Dressform (1 of 1)-8 To save on Glimmer Mist, I painted it on instead of spraying.  I used Chalkboard GM Grape Ape.

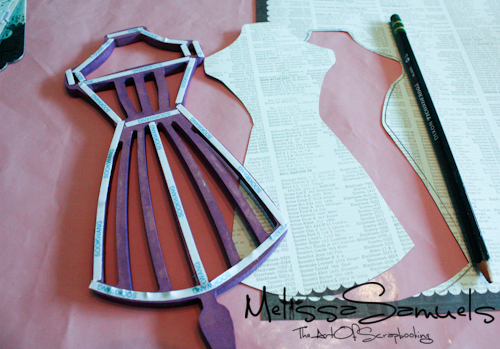
Dressform (1 of 1)-9 I traced the shape of the dress form onto Pink Paislee's Vintage Vogue paper, and cut out.  I applied 1/8" Scor-tape to the back of the dress form, and adhered the cutout to the dress form.

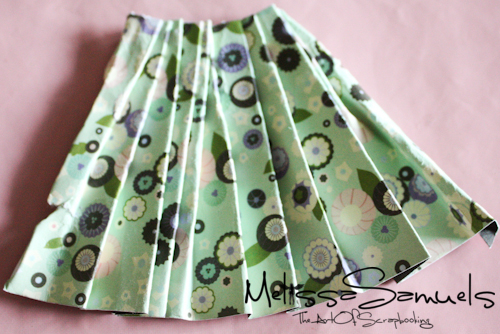
Dressform (1 of 1)-5 For the shirt, I misted a strip of paper to make it pliable an easy to pleat.  I used water in a Mini Mister bottle, but Perfect Pearls Mist would have rocked!  I then pleated the paper in to the shape of a shirt.

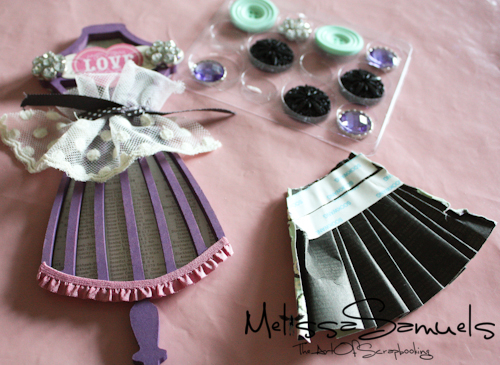
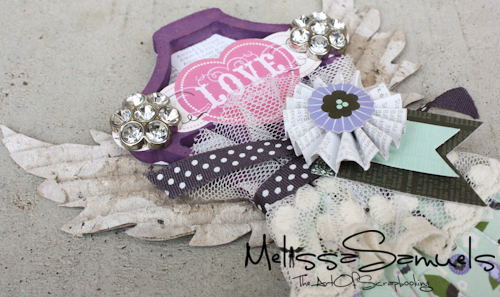
Dressform (1 of 1)-4 I decorated with Vintage Vogue Buttons and Miscellany Paper Tags Ephemera, Webster's lace, and Maya Road Ruffle Trim.  I Scor-taped the shirt in place.

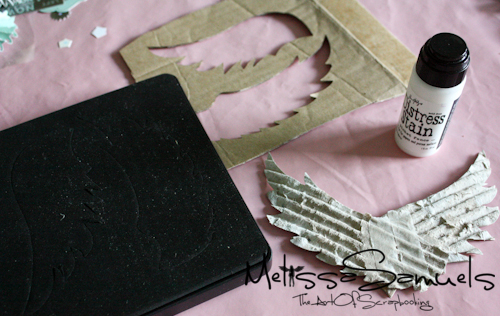
Dressform (1 of 1)-3 I cut a set of Sizzix Wings out of cardboard, gave them a little rub of Picket Fence Distress Stain, and Scor-taped them to the back of the dress form.

Dressform (1 of 1)-2
Dressform (1 of 1)-6

Don't forget to check out my online store for all of the products used here http://www.melissasamuels.net/.

Melissa Logo 55

Tutorial Thursday: Creating Burnt Canvas Edges using Stains, Inks, and Mists

Hey Guys!  I'm so excited that it's almost October, which means Halloween is just around the corner!  For those of you who have been following the blog for a long time know that Halloween is one of my favorite holidays.  I just love all the spookiness that is Halloween.  The ghosts and goblins, and colors that represent the holiday.  It's creepily fun!

Today, I'm going to show you how to get that wonderful burnt look on the edge of canvas (without having to set it afire!) that's perfect for Halloween projects. 

It's 3 easy steps:

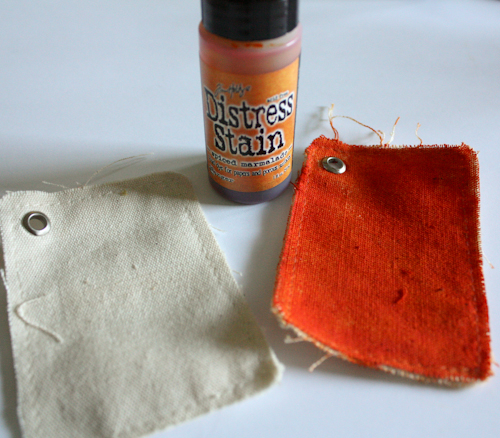
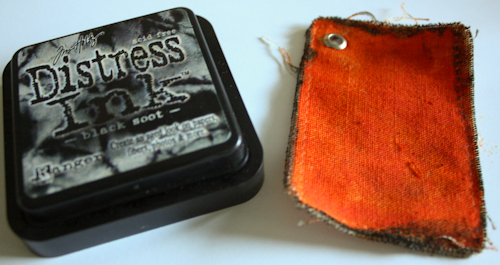
ATChalloween (1 of 1) Step #1:  Start with a Maya Road Canvas ATC Coaster Album set.  Use Ranger Tim Holtz Distress Stain to completely cover the ATC.  Apply 2 coats, and dry.

ATChalloween (1 of 1)-2 Step #2:  Rub Black Soot Distress Ink around the edges of the tag just like you would around paper.  Be generous in applying.

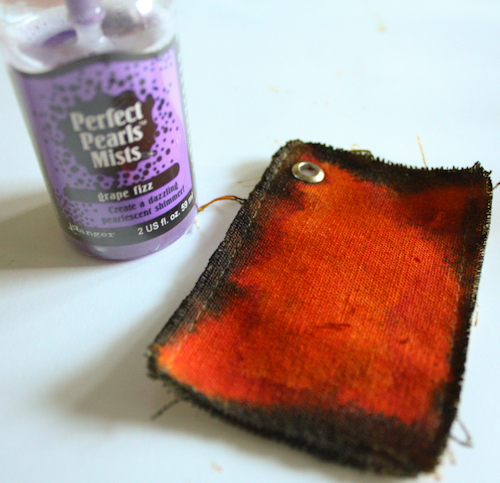
ATChalloween (1 of 1)-3 Step #3:  Spray the edges of the tag where the distress ink is with Perfect Pearls Mists (my new favorite thing!!).  The water in the mist kind of "activates" the ink so it appears darker and smudged, which gives a very nice effect.  FYI,  Perfect Pearls Mists don't add color only glimmer.

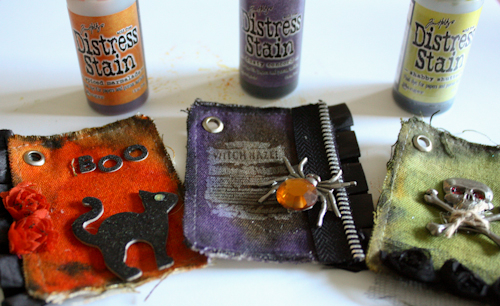
ATChalloween (1 of 1)-4 Here I used (from left to right) Spiced Marmalade, Dusty Concord, and Shabby Shutters Distress Stains.

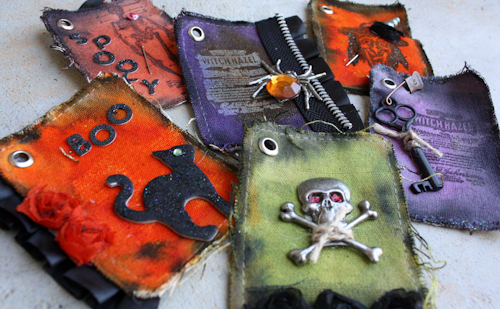
ATChalloween (1 of 1)-5 Decorating them is like eating candy.  You just want one right after another.  They're so easy, and fun.  I hope you enjoy!

————————————————————————————————-

RangerInkLOGO

I have some store news for those of you interested.  The Ranger Tim Holtz Seasonal Distress Ink Set FALL 2011 is sold out.  Thank you all so much for the unbelievable response! 

Here's the great news, we are now taking pre-orders for the WINTER 2011 Distress Ink Set.  That's right!  We snagged the Winter Sets!!  They are expected to ship sometime in the beginning of November.  You can PRE-ORDER yours now by clicking here.  It's the same deal as the Fall set, very limited quanities and first come, first serve.


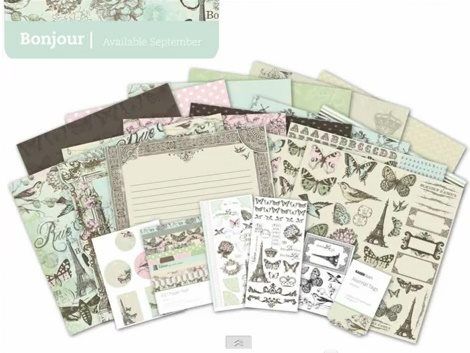
Also, we are having a SALE on KaiserCraft, including the new Bonjour collection (now shipping!!).  Everything KaiserCraft is 10% off!!  Sale price reflected at checkout (no coupon required).

BonjourLOGO

Thank you so much to everyone who supports our small business.  Our continued success is all thanks to YOU.  We appreciate your business!

Melissa Logo 55

Tutorial Thursday: Distress Ink Tag

Hey guys! You've probably heard about the mass hysteria surrounding the new Ranger Tim Holtz Seasonal Series Fall 2011 Distress Ink Set.  If you haven't Tim Holtz announced last week that he had come up with a new limited edition seasonal set of 3 distress inks.  Not expecting the overwhelming demand, Ranger was sold out of ink sets in only 6 hours!!  Retailers were extremely limited to how many they could purchase.  My store sold all of ours on pre-order in 1 day.  Ranger, being such an awesome company, announced this week that they would be producing another limited batch in an effort to help meet demand.  I immediately placed another order for my store.  The second set of ink sets are in production, so there isn't an exact ship date yet, however we are expecting them around the beginning to mid October.  We are, again, taking pre-orders for anyone interested in purchasing a set from the second batch (CLICK HERE TO PRE-ORDER).

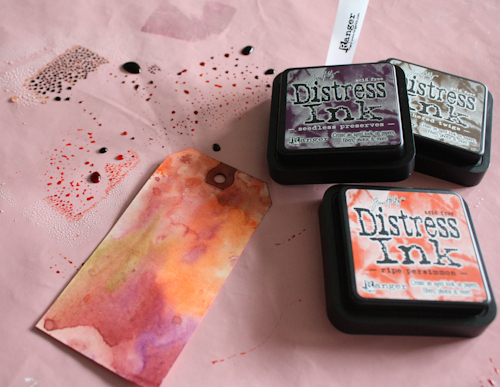
I didn't snag a set of inks for myself from the first batch (that shipped on Tuesday from my store, btw), but I had a very good friend order a set and let me play around with it.  Now, that's a good friend!!   The colors are so rich and vibrant…yummy!!  The three new limited edition colors are:  Seedless Preserves, Gathered Twigs, and Ripe Persimmon.

FALLdistressink (1 of 1) To create my tag I pressed each distress ink pad directly onto my non-stick mat.  I spritzed it was a little water, and placed my tag face-side down into the inks.  I dried the tag with my Heat It Craft Tool (heat gun), and repeated the process until I had a look I liked.  So easy!

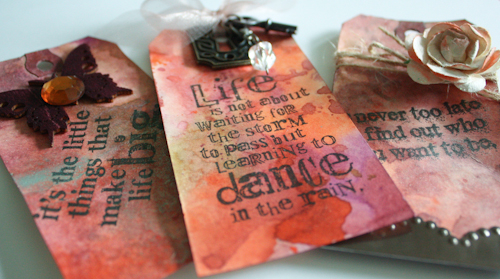
FALLdistressink (1 of 1)-2 I stamped them with Stamper's Anonymous Tim Holtz "Good Thoughts" stamps and decorated.  I hope you enjoy!

Melissa Logo 55

Tutorial Thursday: Mini Paper Rosettes

It's tutorial time!!  Today we're making super simple paper rosette embellishments.  I've made these lots by eyeballing them, but now Sizzix has a Sizzlits Decorative Strip die (657177) by Tim Holtz just for making these little guys. I'll give you the step by step, and show you a card I made using them.

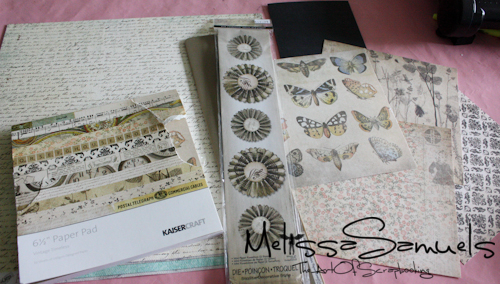
Rosette card (1 of 1)-4 I'm starting with the Sizzix Mini Paper Rosettes die that cuts 2 sizes of rosettes, a 12×12 sheet of paper from the MME Stella Rose Hazel pack (for cutting the rosettes), and a pad of KaiserCraft 6 1/2" Vintage Timeless (for making a card with the rosettes).

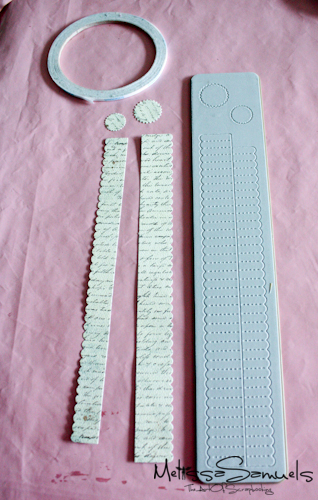
Rosette card (1 of 1)-5 Cut the die.

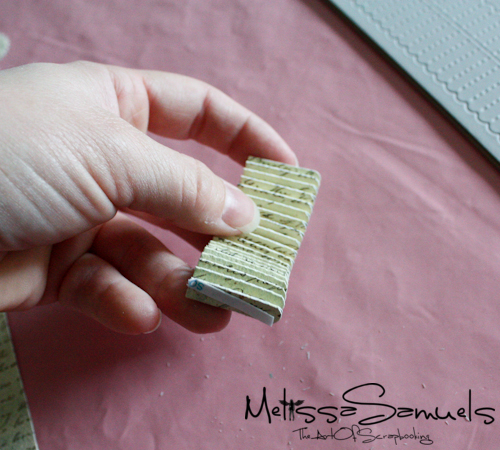
Rosette card (1 of 1)-6 Accordion fold the paper along the perforations. 

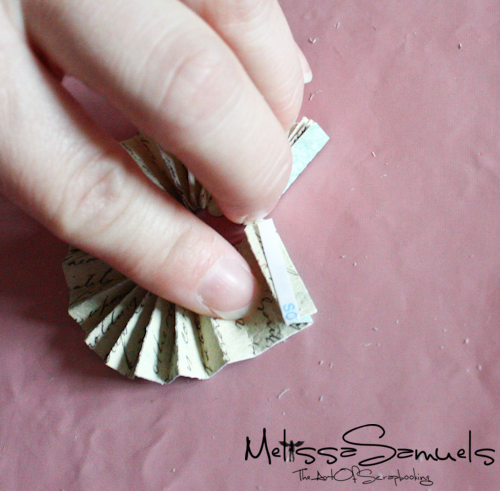
Rosette card (1 of 1)-8 Apply Scor-tape (1/8") to one end of the paper, fold around in a circle, and tape the two ends together.

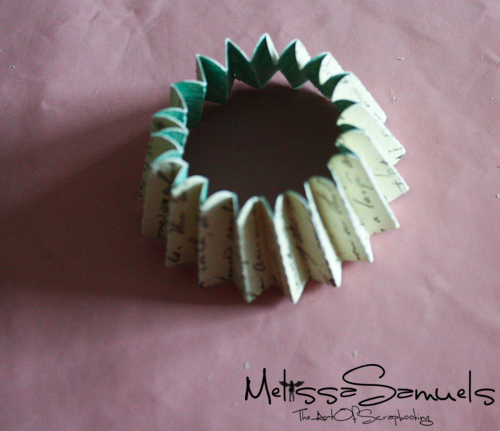
Rosette card (1 of 1)-7 Once it's taped, it will look like this.

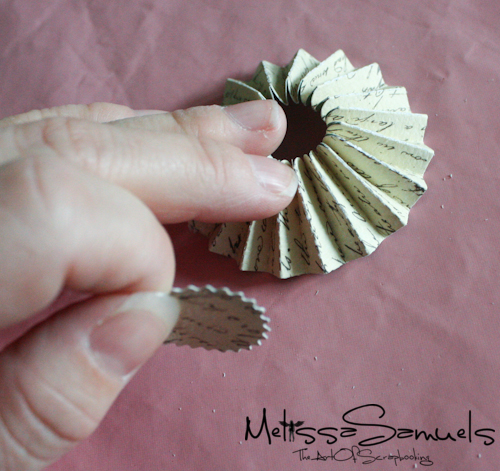
Rosette card (1 of 1)-10 Squish down the center by pushing the top edge of the paper to the center.  Tape the little circle diecut that was cut from the die in the center.

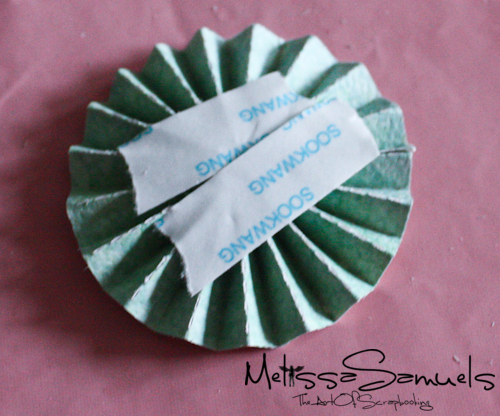
Rosette card (1 of 1)-11 To help hold it all together, I apply more Scor-tape  to the back.  If you want to jazz it up do that before removing the tape backing.

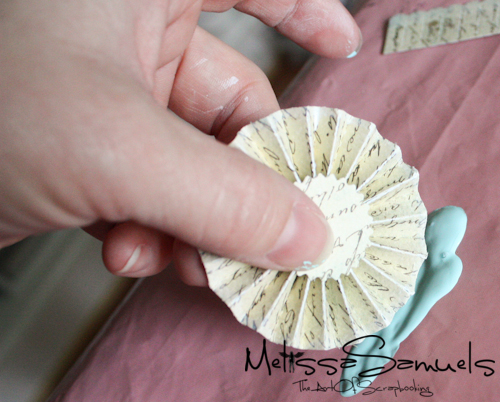
Rosette card (1 of 1)-12 Just to make it super awesome, roll the edge in acrylic paint.  If you don't mind getting messy, dab with your finger.

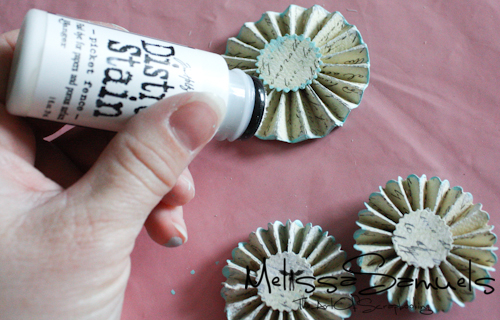
Rosette card (1 of 1)-13 Apply some Distress Stain Picket Fence to the the creases to really make it look shabby.  Done!

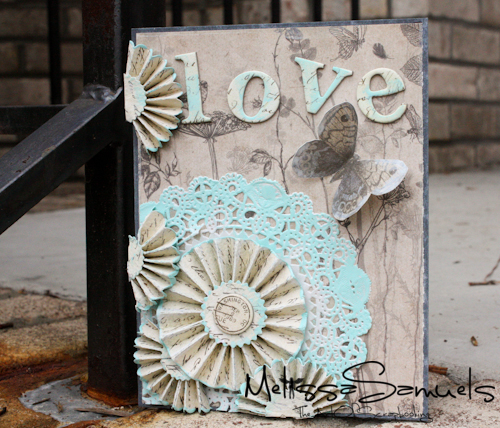
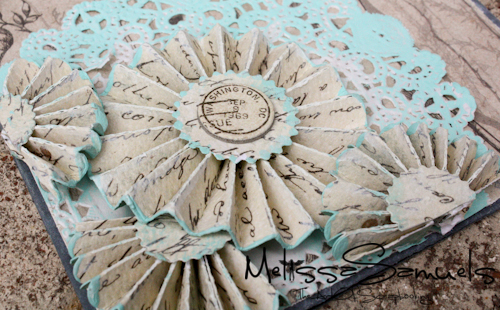
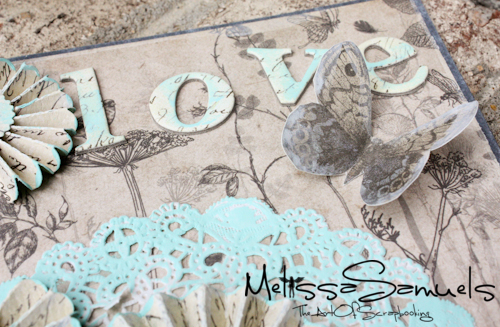
Rosette card (1 of 1)-3 I placed the bigger rosette in the center of a doily, and cut the smaller ones in half for my card.

Rosette card (1 of 1)-2

Rosette card (1 of 1) The butterfly is cut from the KaiserCraft paper pad Vintage Timeless, and the chipboard alphas are from BoBunny Et Cetera smudged with a little acrylic paint.

I hope you enjoyed, any you take time for yourself today to create!

Melissa Logo 55