Blog Giveaway Winner, and new kit!

Hey guys!  Sorry I'm so late posting the winner to my blog giveaway with Denise from http://birdnutsmixedmedia.blogspot.com/.   Last week we were recovering from Irene, and this week my little Maddie started kindergarten.  It's been a whirlwind here. 

First, I'd like to thank everyone who entered!  You all are the greatest!  I always hate picking just one, but it has to be done.  And…the winner is…

"I follow and i'm watching your U streams since you started. Awesome..i learned a lot and Denise is one of my favorite artist since i started blogging. So..two of my favorites came together. Isn't that great? Greets (:o9 Elly"

Posted by: Elly | Friday, August 19, 2011 at 05:03 PM

Congratulations to Elly!!  Please email your shipping info to melissa@melissasamuels.net and I'll get that stamp right out to you.  Don't forget to check out Denise's blog  over at http://birdnutsmixedmedia.blogspot.com/ to see who the winner is on her blog.

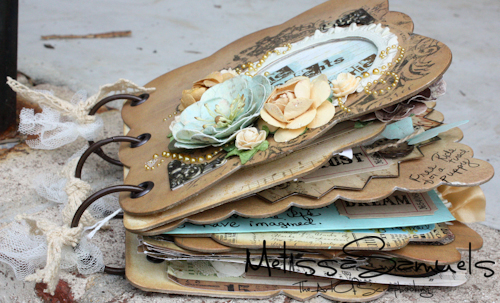
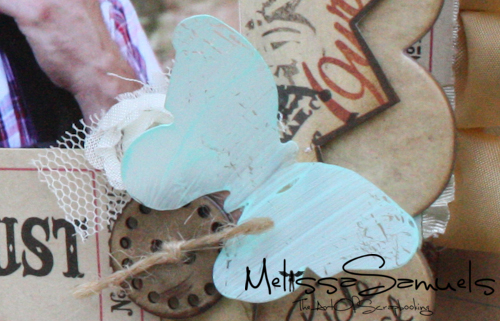
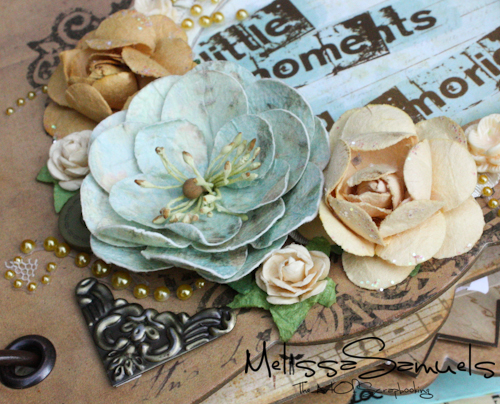
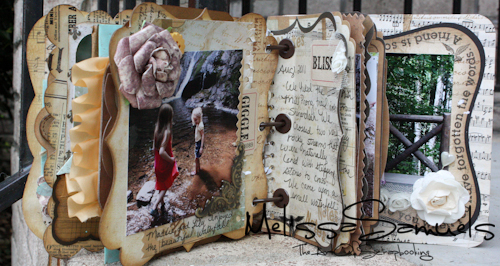
I  wanted to let you know that I designed a new kit that's available in the store now.  It's called "Little Moments Big Memories."  You can click here to take a look, or pre-order yours today.  They are loaded full of goodies!  This is a limited edition kit, so don't miss out.  We expect to start shipping around September 19th.  We still have $5 flat rate shipping, so take advantage of that when you order your kit.  (see the store homepage for details)

LittleMomentsBigMemoriesALBUM (1 of 1)-13

LittleMomentsBigMemoriesALBUM (1 of 1)-3
LittleMomentsBigMemoriesALBUM (1 of 1)-4
LittleMomentsBigMemoriesALBUM (1 of 1)-12
I hope you enjoy! 

Melissa Logo 55

Tutorial Thursday: Alterable Canvas Valise (Wristlet)

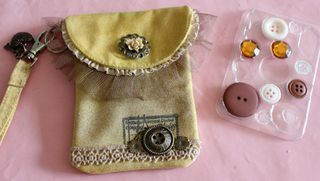
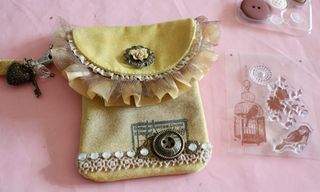
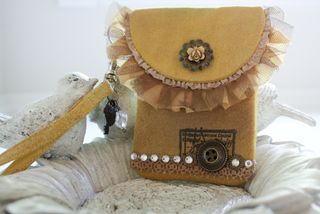
Today for Tutorial Thursday I have a fun and easy little project for you!  I'm going to be making a little wristlet (or Valise as Maya Road calls it) that I'm going to use as a wallet.  When I go out, I very rarely carry a purse.  I usually carry my business card holder with my credit cards inside, or a small wristlet/wallet.  That way if I'm shopping I have plenty of room to hold things, and I'm not too weighed down.  When I saw the Maya Road Alterable Canvas Valise, I thought it was the perfect size for carrying my credit cards, a couple dollars in cash, business cards, and even lipstick (everything I could possibly need).

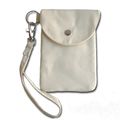
CN1907 - Alterable Canvas Valise_1 You'll start with a Maya Road Alterable Canvas Valise (they also have an Alterable Canvas Wallet).

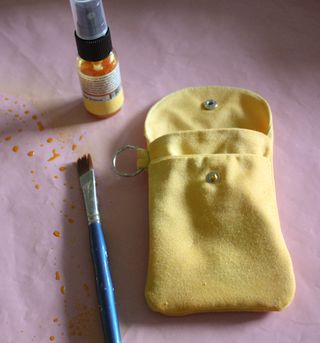
Wristlet (1 of 1) Spray it with Glimmer Mist.  To avoid waste, I painted the edges with a brush using the excess GM on the misting mat.  Here I'm using the new 1 oz size of Sunsisters.

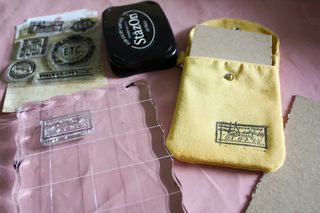
Wristlet (1 of 1)-2 I inserted a piece of chipboard into the pocket to give me a firm surface to stamp.  Stamp using Stazon (or a permanent, water-proof ink) and the BoBunny Et Cetera stamp set.

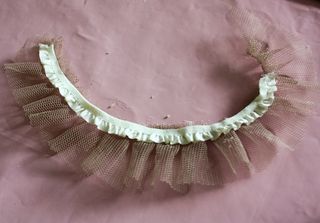
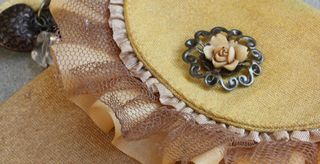
Wristlet (1 of 1)-3 Adhere Tulle Pleat Mocha ribbon and Ruffle Cream ribbon together.

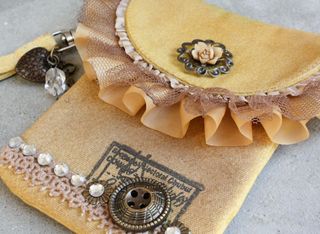
Wristlet (1 of 1)-4 Adhere ribbon to the under side of the pocket flap.  Decorate with BoBunny Et Cetera Buttons (that also include charms for hanging from  the wrist loop fastener thingy).  I added a Webster's Pages Lotus Bloom to the metal charm/button over the snap.  Trim up the Tulle.  Add lace to the bottom.  I sprayed the entire wristlet lightly with Glimmer Mist Chalkboard Decadence to give it an antique look.  The GM soaked down in the Lotus and looked really neat.

Wristlet (1 of 1)-5 I added 1" Satin Pleat Edging Golden Yellow under the Tulle.  I had some bling that was free with my Prima stamp set that I used to decorate the bottom of the wristlet. 
Wristlet (1 of 1)-10
Wristlet (1 of 1)-7
Wristlet (1 of 1)-9 I hope you enjoyed this tutorial.  Don't forget to check out the online store for these and other great products.  New products are added almost daily, so check us out.
Melissa Logo 55

Blog Giveaways!!!

I don't know about you guys, but I think we're way overdue for a giveaway!  For this one I've teamed up with a very talented artist, Denise Phillips, author of Birdnuts Mixed Media blog.  Her work captured my eye several months ago.  I just love her unique style.  She's a true altered art artist, and creates the most creative projects. Here's just a sample of her work.  

Denisepic (1 of 1)-2Visit her blog http://birdnutsmixedmedia.blogspot.com/ for more pics, and tons of inspiration.

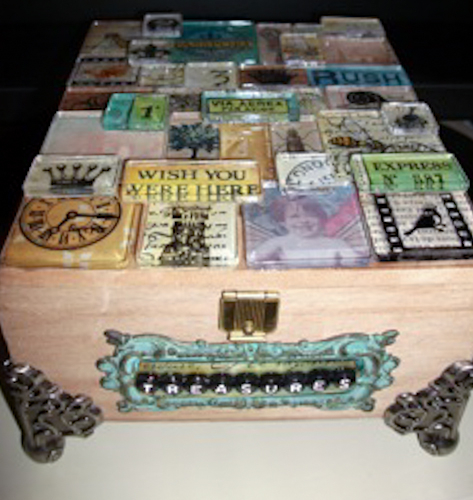
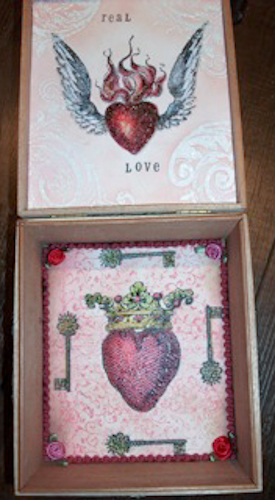
Widget2-001 As you guys know from following the blog this week, I'm now carrying LaBlanche products in my store.  Denise dropped me a note telling me she loves LaBanche stamps.  She has quite the collection, and shared this fantastic box she made using the Heart with Wings stamp.

Denisepic (1 of 1) To celebrate being a LaBlanche retailer, and Denise's creative genius, we're both going to do a giveway on our blogs!

I'll be giving away this beautiful LaBlanche Silicone Foam Mounted Stamp…

LB1150
And, Denise will be giving away a $25 gift certificate to Melissa Samuels LLC (The Art of Scrapbooking) on her blog.

MelissaSamuelsLOGObar How do you enter?  Easy!

Here are the rules:

1.  Hop over to Denise's blog http://birdnutsmixedmedia.blogspot.com/ and become a Google follower.

2.  Become a follower here on my blog (on the right side of the page) if you aren't already.

3.  Leave a comment (ON  THIS POST, and her giveaway post) on both of our blogs for a chance to win!

Spread the love, and tell your friends to enter!  Winner will be announced September 2nd!!  Good luck!

Melissa Logo 55

Tutorial Thursday: Butterfly Tag

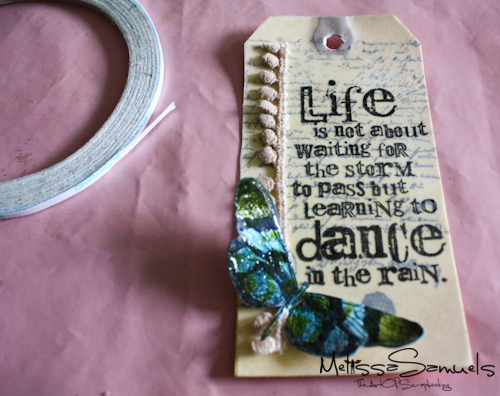
Hey!  It's Thursday!  That means tutorial time.  Today I'm going to show you how to use the butterfly embellishment that we made yesterday (click here to view yesterday's post).  Ready, set, let's go!

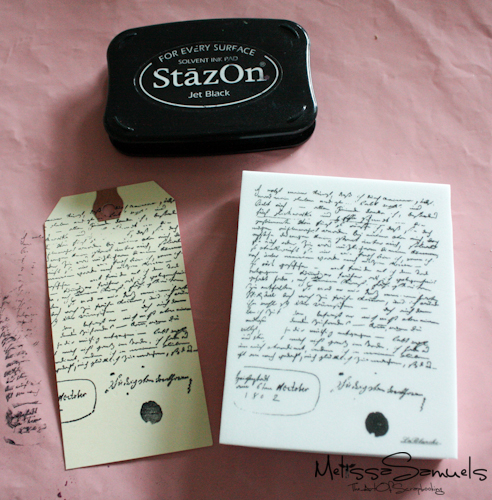
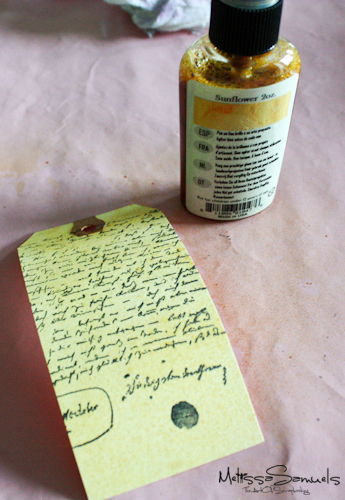
Butterfly tag (1 of 1) I stamped a tag with the LaBlanche Signed and Sealed stamp using Stazon (any permanent ink is fine).

Butterfly tag (1 of 1)-2 Spray with Glimmer Mist.  I used Sunflower.

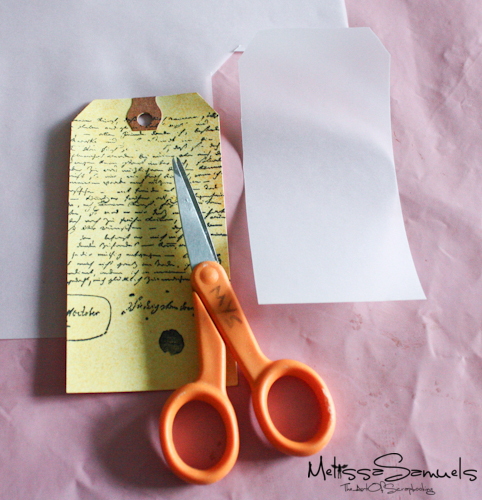
Butterfly tag (1 of 1)-9 Cut a piece of vellum out the size of your tag.

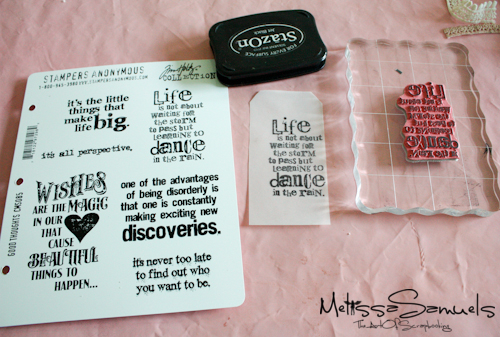
Butterfly tag (1 of 1)-5 Again using Stazon, stamp a sentiment onto the vellum.  I used Stampers Anonymous Tim Holtz Good Thoughts CMS085. Adhere vellum  to the tag with Helmar V2 vellum spray (available in my store upon request).

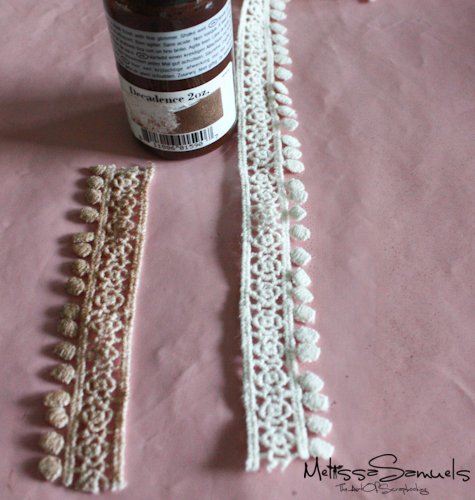
Butterfly tag (1 of 1)-3Spray lace with Chalkboard Glimmer Mist Decadence.

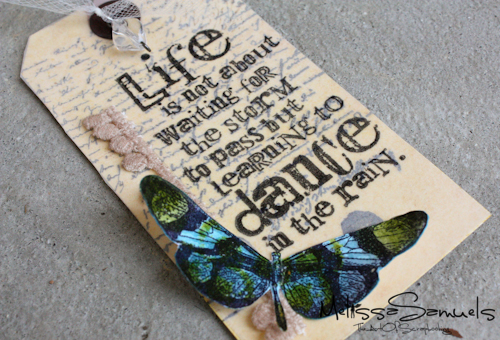
Butterfly tag (1 of 1)-8 Adhere lace and butterfly embellishment (from yesterday's post) to the tag with 1/8" Scor-tape.

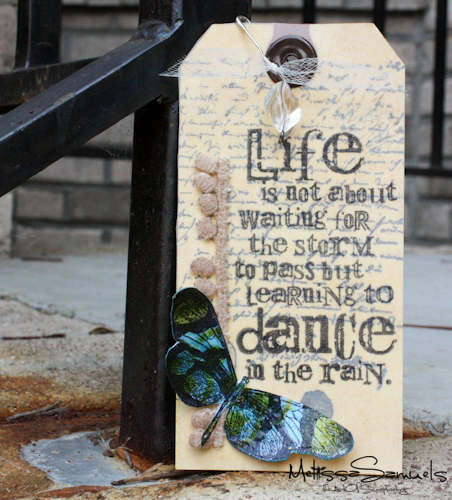
Butterfly tag (1 of 1)-7 Set a wide eyelet, add a dangle with an artist safety pin, and done!

Butterfly tag (1 of 1)-6 Wouldn't that be beatuiful attached to a gift, or simply hanging in your scrap room as a reminder to enjoy life no matter what it throws you.

Melissa Logo 55

Butterfly Embellishment Tutorial

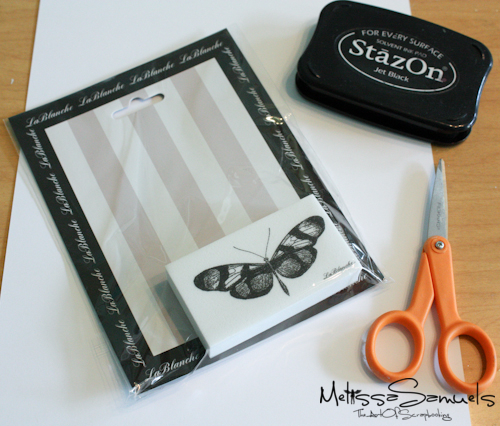
Hey Everyone!!  I was playing around with some of my new LaBlanche stamps, and I thought I'd do a little "show and tell."  I'm just so happy with how light-weight the foam mount is, and I  think the stamped image is nice and crisp…more along the lines of a rubber stamp.  Here's what I did:

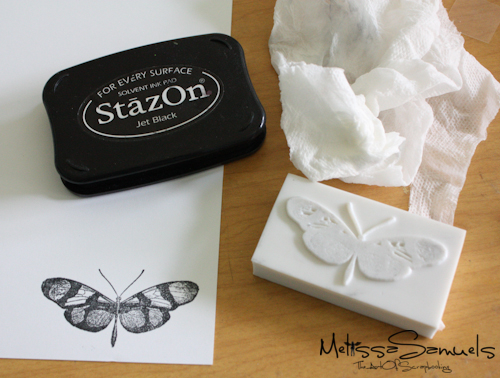
Butterfly (1 of 1)-2 I started with the LaBlanche Siicone Stamp Butterfly Nostalgic LB1042 ($3.99, wow!), and stamped the image with Stazon (use a permanent ink that won't bleed) onto white cardstock.

Butterfly (1 of 1)-3 I used a wet paper towel to clean my stamp off while it was still wet. 

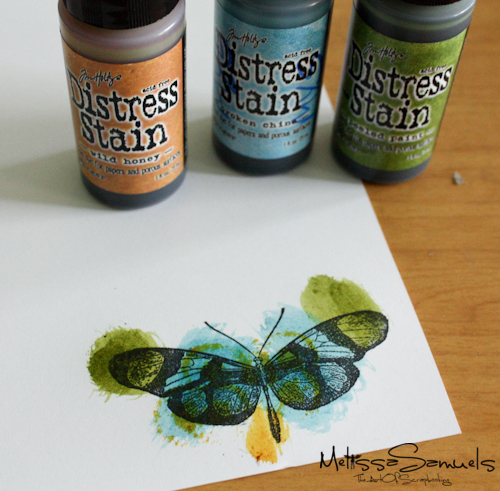
Butterfly (1 of 1)-4 I used a few colors of Distress Stains over the image.  Don't worry about being neat, because we're going to cut the image out.

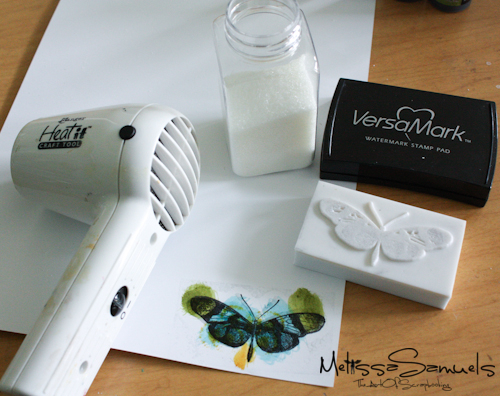
Butterfly (1 of 1)-5 Stamp over the image with a clear embossing ink, sprinkle with clear embossing powder, tap off the excess powder, and heat set with a heat gun.  (Because you're using clear, don't worry about lining the stamp up perfectly with the stamped image…just shoot for close)

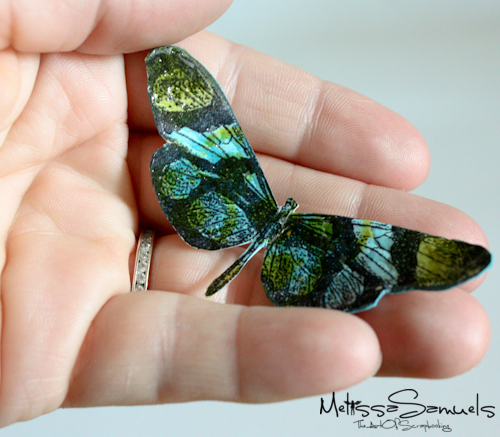
Butterfly (1 of 1) Cut it out.  I went back with some more Distress Stain to ink the cut edges of the white paper.  Easy, and very pretty.

Don't forget tomorrow is Tutorial Thursday. so come back to see me!  And, new product is coming in almost daily in the online store, so check it out. 

***The newly released Tim Holtz Distress Stain colors (including Picket Fence) are now in stock in the online store***


Melissa Logo 55