Hey Everyone! It's tutorial time! Today I'm going to show you how to make your own custom foam stamps out of Sizzix dies. I love making these little guys, and they're perfect for stamping with acrylic paint, Stazon, chalk ink, or even Distress Stains. Almost any Sizzix Bigz die will work.
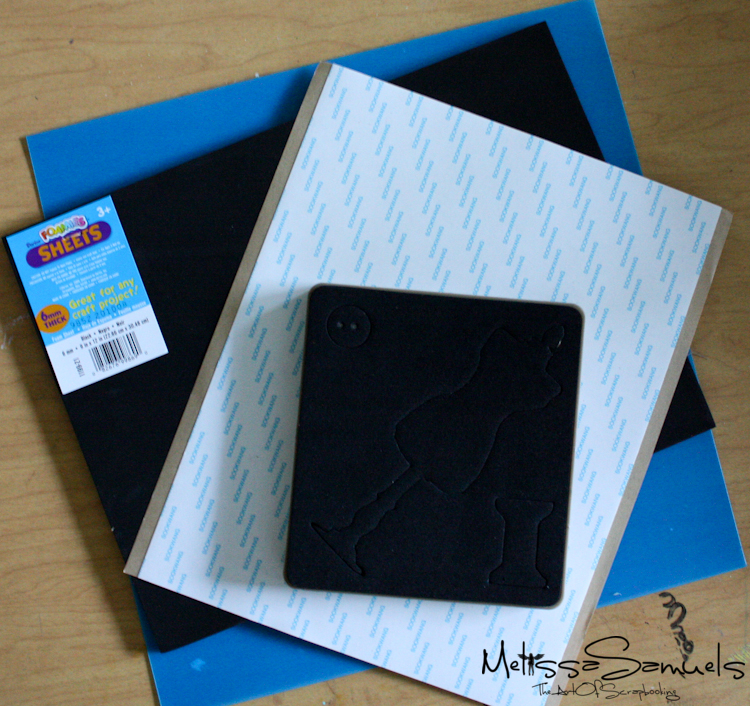 To start you'll need a Sizzix die, thick .20 gauge plastic/acrylic paper, 8 1/2 x 11 sheet of Scor-tape, 9 x 12 sheet of foam, and a Vagabond (Big Shot will work, but you may need a friend to help crank).
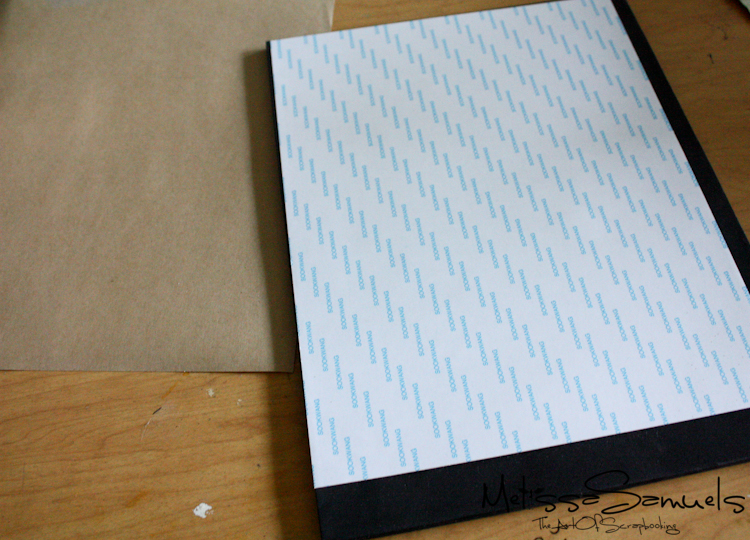 Remove only one side of the adhesive backing on the Scor-Tape sheet, and adhere it to the foam sheet.
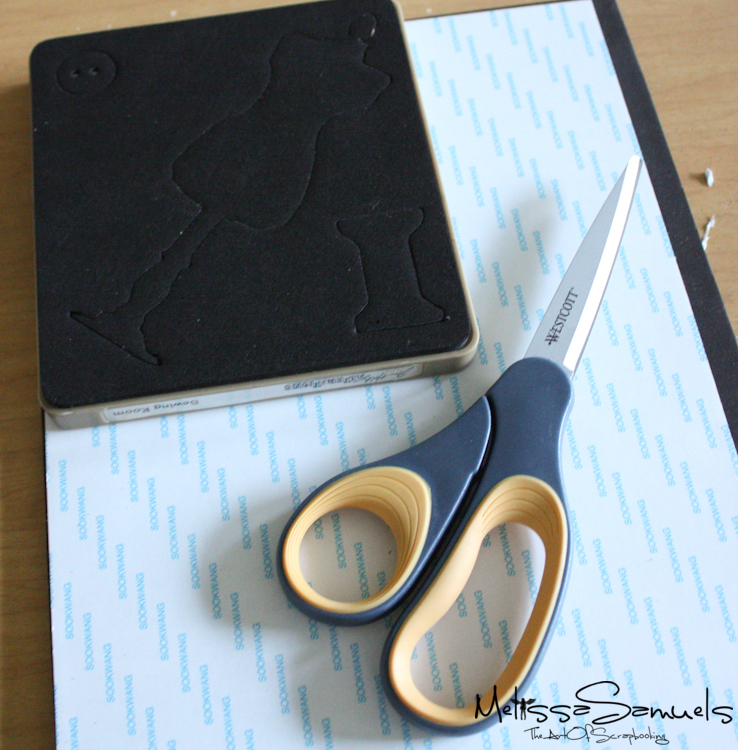 Cut the foam with adhesive to the size of the die. If you are using the Vagabond make sure no foam is hanging over.
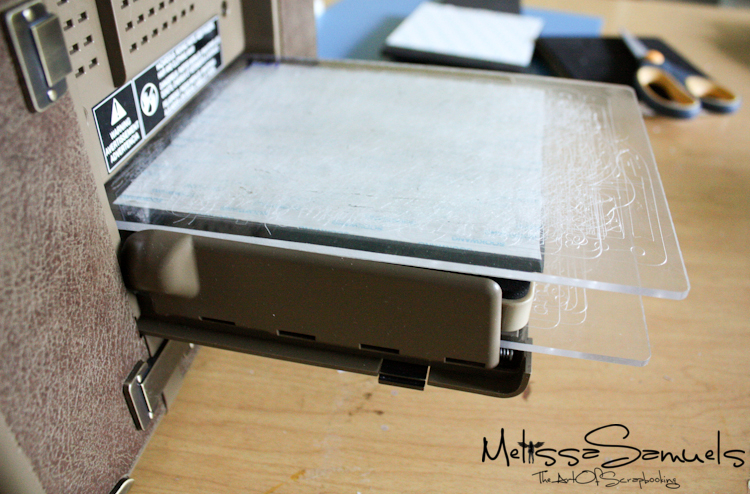 Sandwich the die and foam between two acrylic cutting pads, and run through the Vagabond. You may need to leave about 1 or 2 inches at the end of the pad so that it fits into the machine. Hold it in place, press the button and it glides through. It will work using the Big Shot, but you may need one person to hold the die, and another to crank.
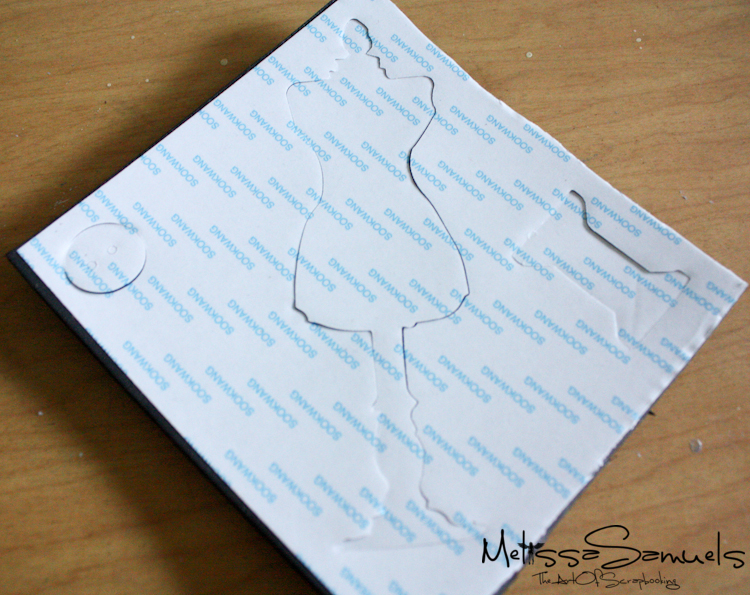 This is what it looks like once it goes through the machine. I now have 3 pieces to make stamps!
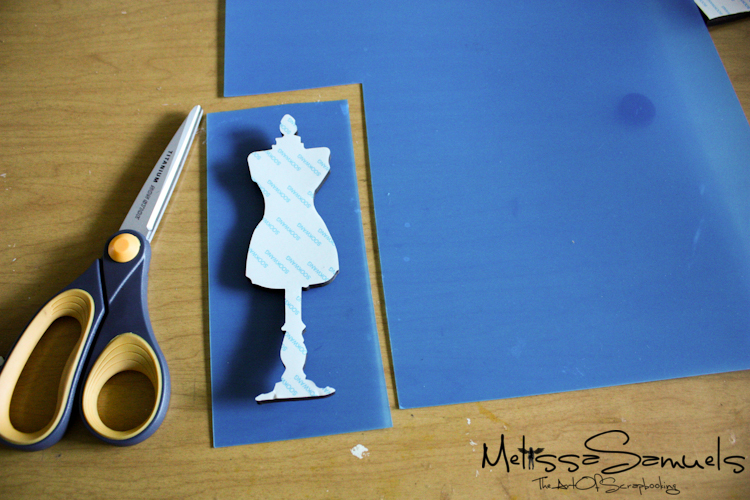 Cut an acrylic sheet slightly larger than the die. The blue is the protective coating that keeps the paper from getting scratched, and helps you find it in your scrapbook stash.
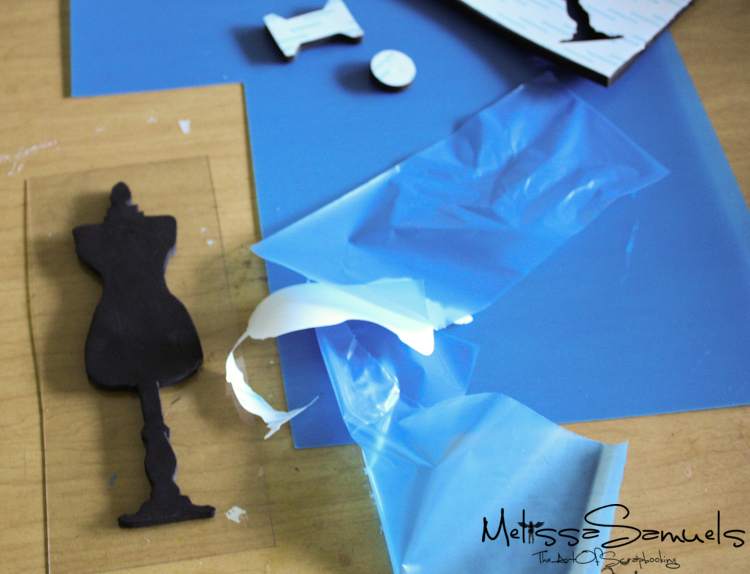 Remove the blue coating from the acyclic, and the adhesive backing from the foam to tape together.
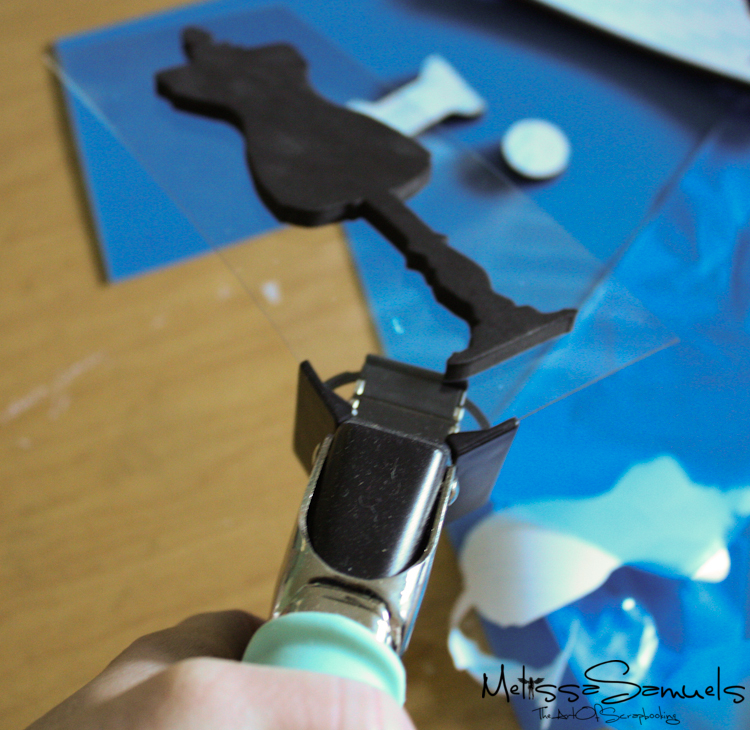 If you want to get fancy, round the edges with a Corner Chomper.
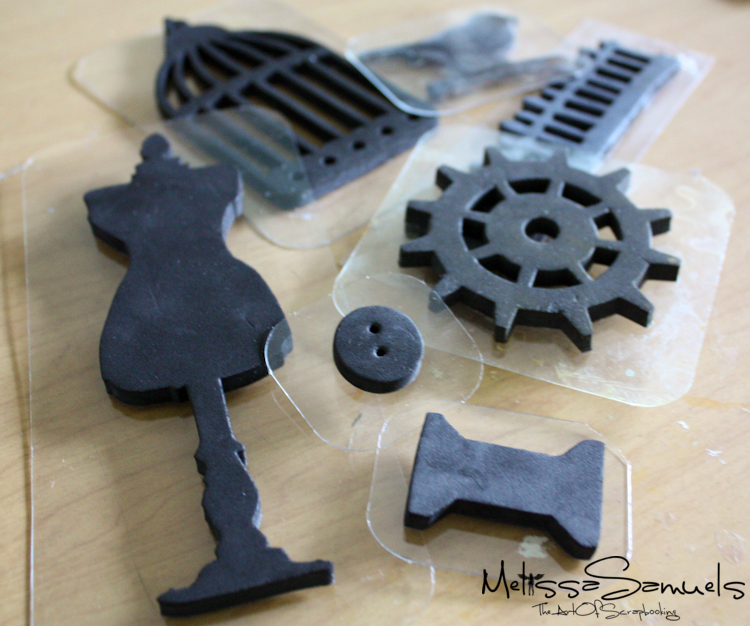 The possibilities are endless!! There are so many dies that would be perfect for this. Use them on cards, canvas, scrapbook paper, altered projects, bags, you name it!
I hope you enjoyed this tutorial, and give it a try. It's such an economical way to get more mileage out of the dies you already have! Until next week….

Linked:


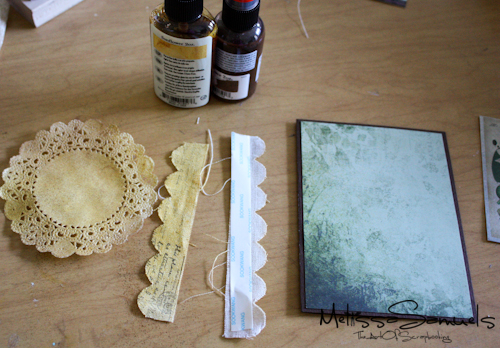
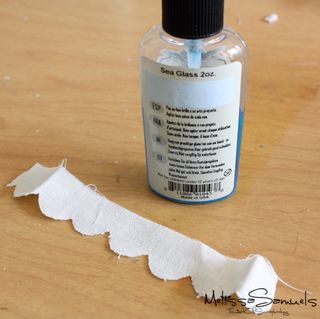 Mist your scallop ribbon with Glimmer Mist.
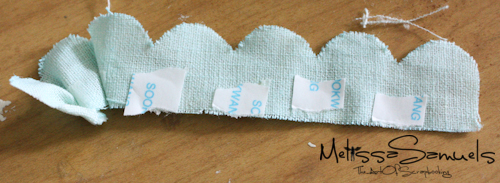 Add a small piece of Scor-tape (1/2" ) between each scallop. Then fold/pinch the ribbon between each scallop (as to fold the Scor-Tape in half on itself).
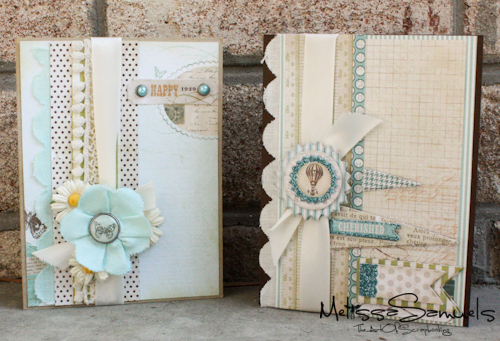
 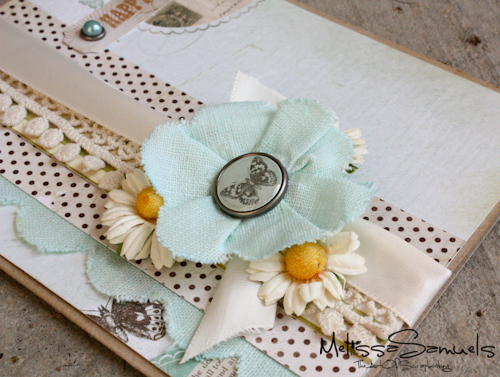 Put a decorative brad through the center, and you have a cut little flower embellishment. Here's a set of cards I made using my little flower, and My Mind's Eye Lost & Found Two Breeze 6×6 paper pad, layered stickers, and decorative brads. Love that collection!
