Okay, it's Thursday, and you know what that means, tutorial time!!! I'm so excited to give you a little tutorial on my new toy, a Sizzix Vagabond inspired by Tim Holtz! This may sound crazy, but after I opened my little box of diecutting joy, I realized I had to figure out how the heck to use it. Yeah, yeah, you're probably thinking how hard could it be, but without consulting the manual (which by the way was easy to read, but I thought I'd give you the abbreviated version) it was kinda like trying to get into Fort Knox.
Step #1- Opening the bad boy
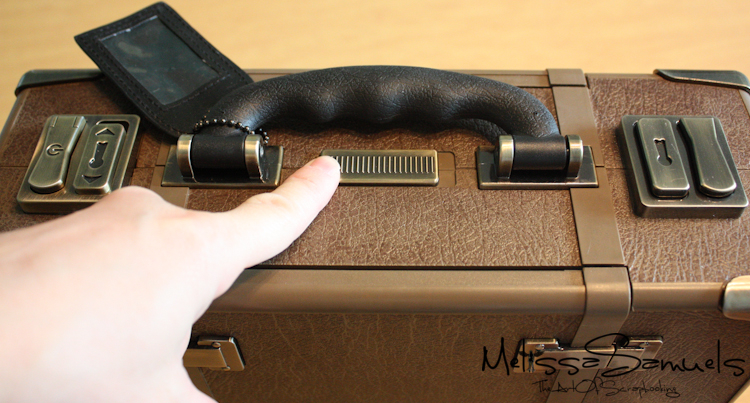 The machine looks like a suitcase, and to use it you must open it up. I tried, "Open Sesame!!" but that didn't work. Just under the handle is a slider that you push to one side and….
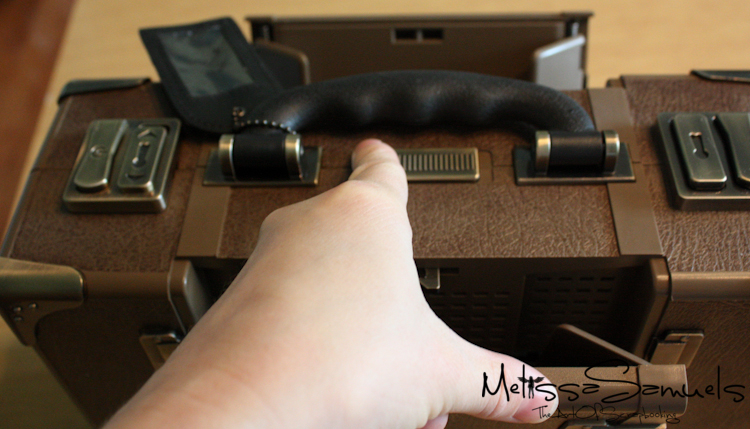 VIOLA!!!
Step #2-Finding the freakin' power cord
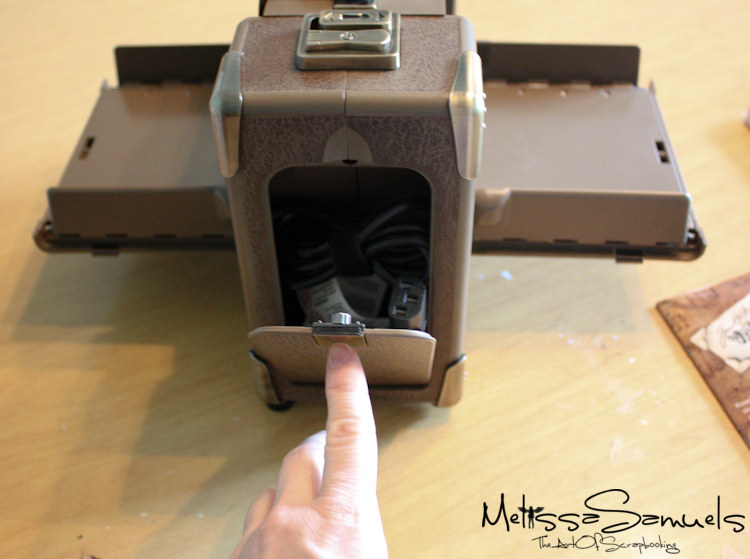 Call it a stroke of genius, or a game of hide 'n seek, but the power cord is tucked safely away in a little secret compartment at the end of the machine. Push the little metal slide button thingy down, and it opens to reveal the power cord.
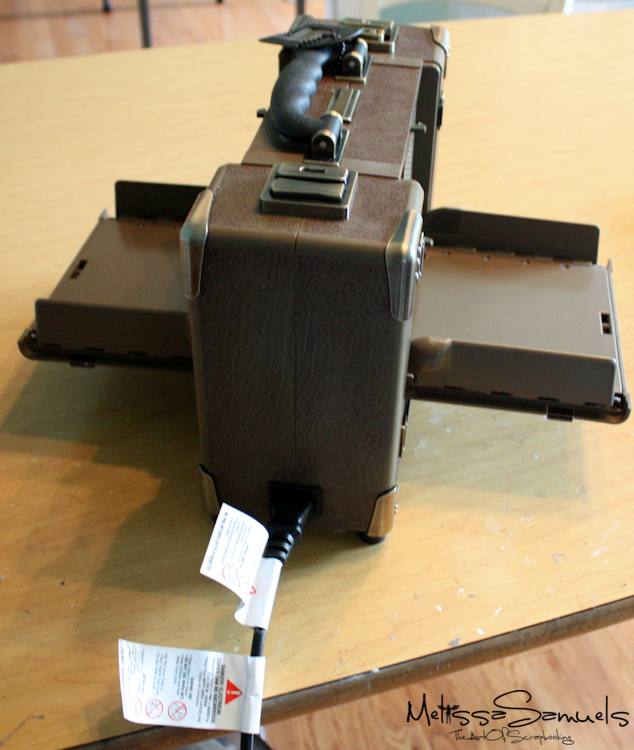 The cord plugs into the opposite end of the machine. FYI, this is the US version, and apparently if you try to use it in a European outlet it will almost instantly implode and your head will simultaneously fall off…okay, that was a little dramatic, but you really can't use it in an European outlet or it will destroy it.
Step #3-Make a sammy, and get ready
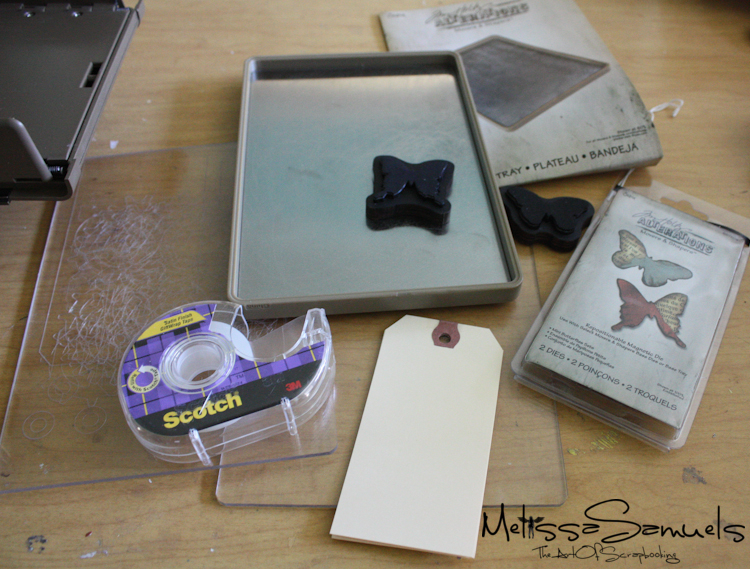
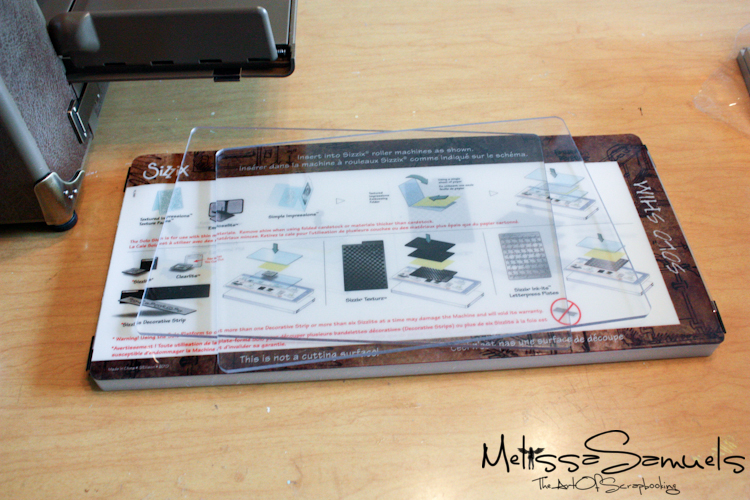 The machine comes with a nice plateform and 2 acrylic plates/mats. Follow the directions printed on the platform for determining the correct combination for your particular die.
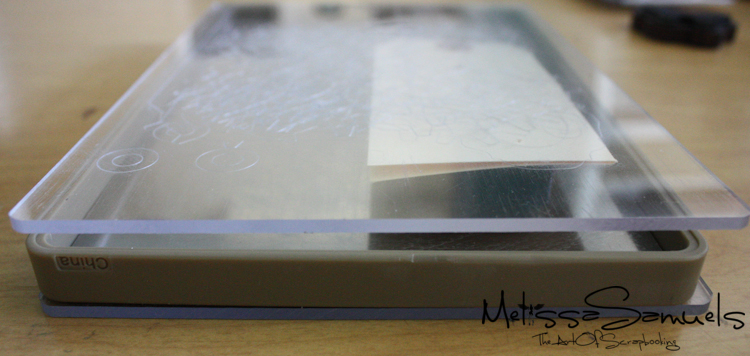
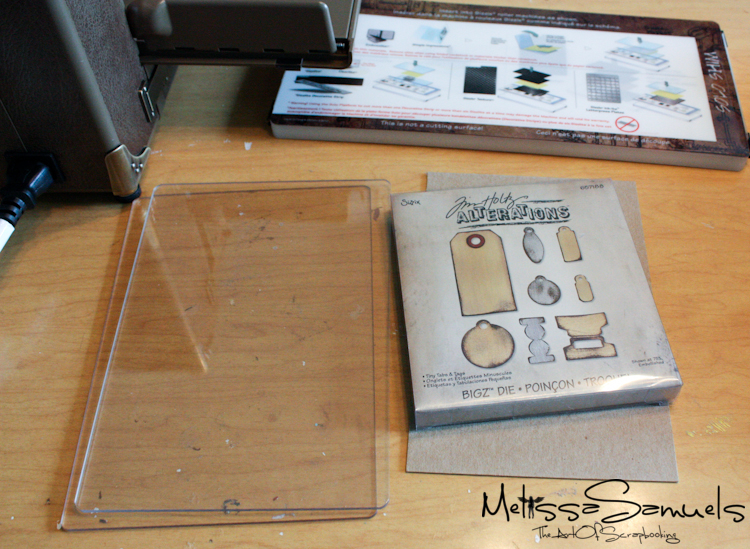 I'm using the new Tim Holtz Alterations Bigz Tiny Tabs & Tags die. I'm going to make a sandwich using the 2 acrylic mats, a piece of chipboard, and the die. The order is: acrylic mat, die cutting side up, chipboard, and acyrlic mat.
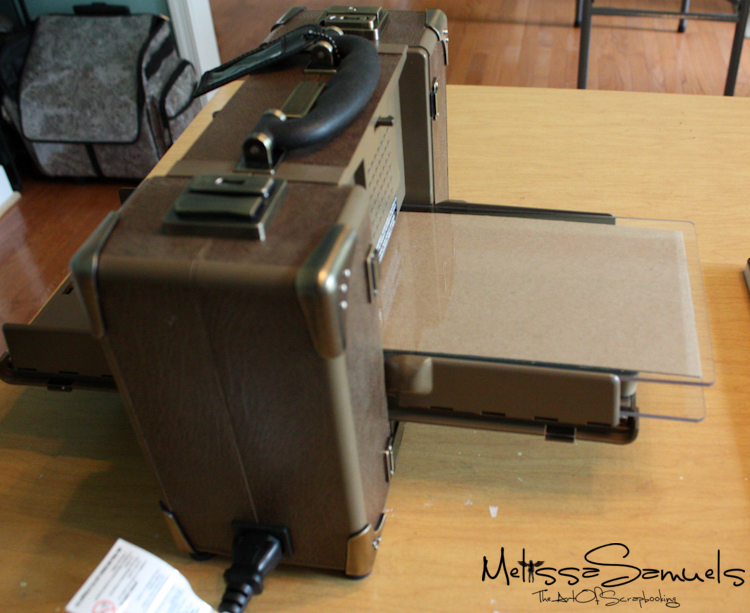 Insert your sammy into the machine (that's the "get ready" part).
Step #4-Which way? And, go!
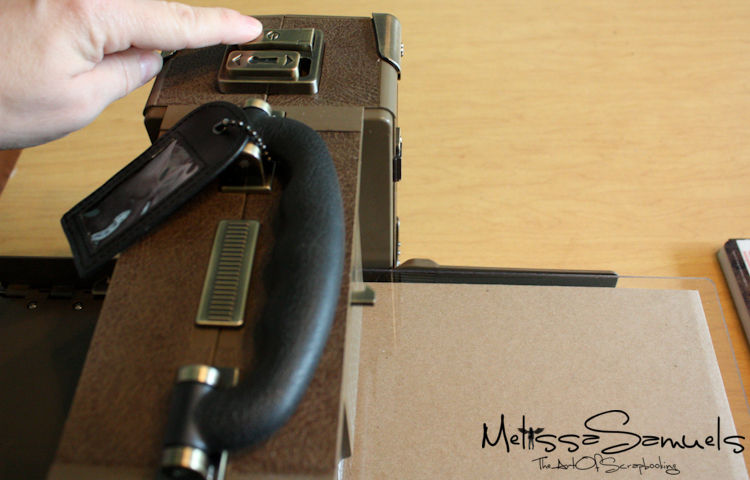 On the top of the machine, set the arrow to the direction the die is going, and press & hold down the "on" button beside the arrow button. Then, like magic, it smoothly glides through one side and out the other.
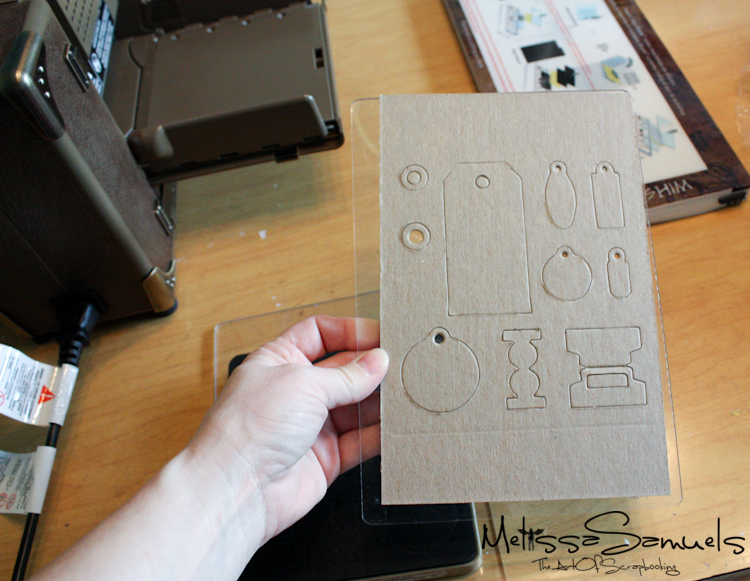
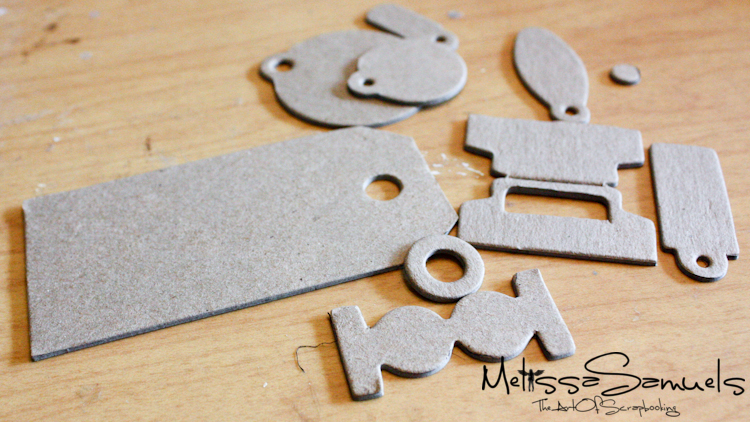 Look at these perfect little chipboard pieces perfect for painting, misting, or inking!!!
I can't wait to play with it more!! I've got some glitter and foil sheets I'm dying to send through.
If you'd like your own, you can visit my online store. I'm having a promo until the end of the month for flat rate $5 shipping, and the Vagabond qualifies.

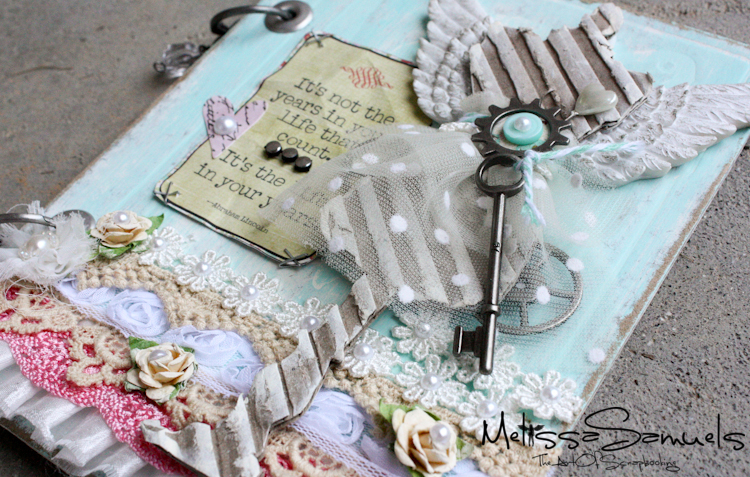
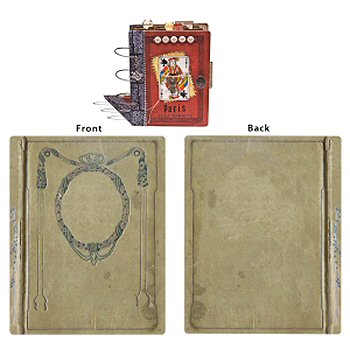 The book covers started out looking like this, and I painted it white with acrylic paint. I then added a coat of this soft aqua color (my fav!), and sanded the heck out of it.
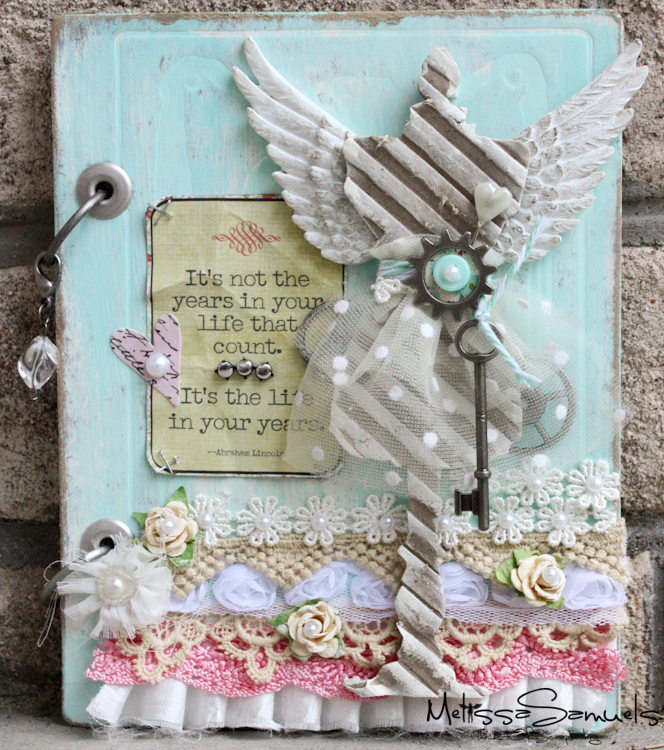 I got this wonderful distressed, shabby chic look. I layered a ton of lace, added a set of Melissa Frances wings to my dress form, and not too bad…
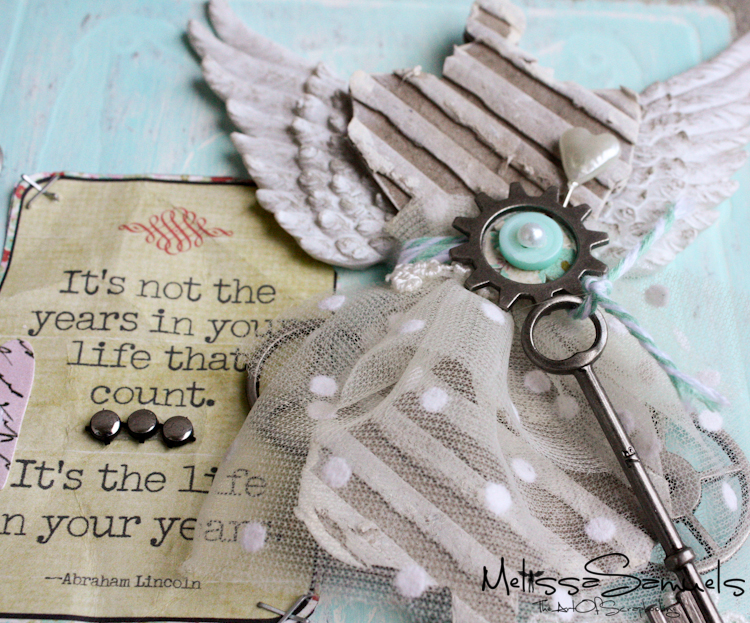
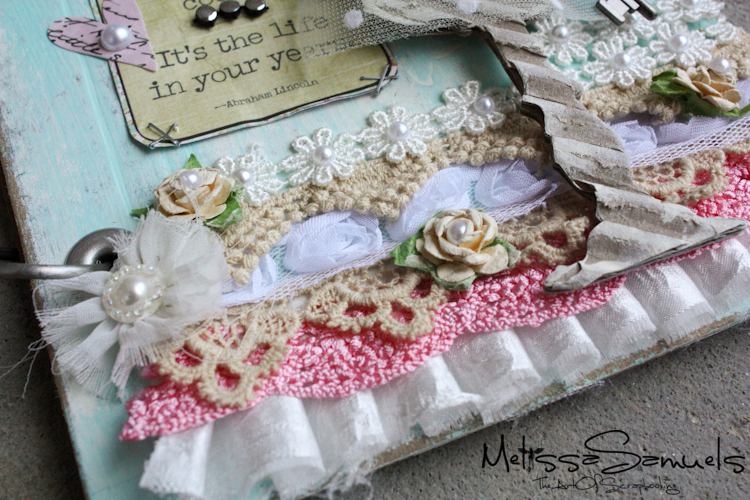
 I hope you like it! Thanks for stopping by! Come back later this week to take a look at a few cards I made on my day off. Later! XO


