Come with me on my family weekend vacation…

Last weekend the family and I really needed to get out of the house, so we threw caution to the wind, and drove up to Shenandoah.  We love going there because it's so beautiful,  it's a place everyone can agree on, and in the past it was a nice getaway that we could include George.  I thought I'd share with you some of our family fun.
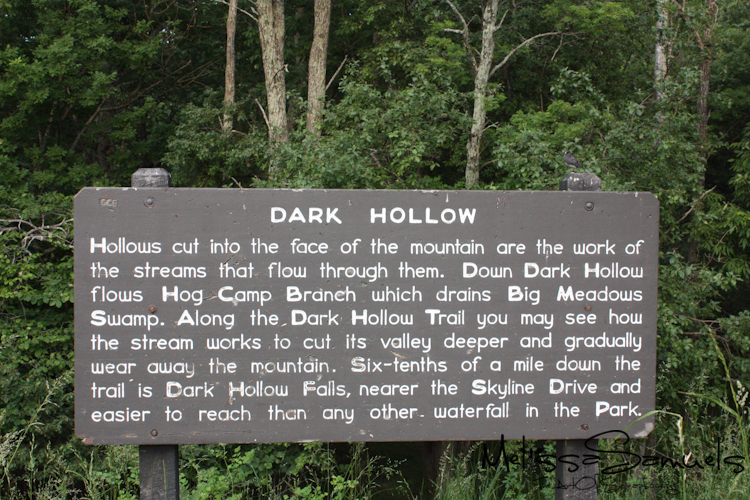
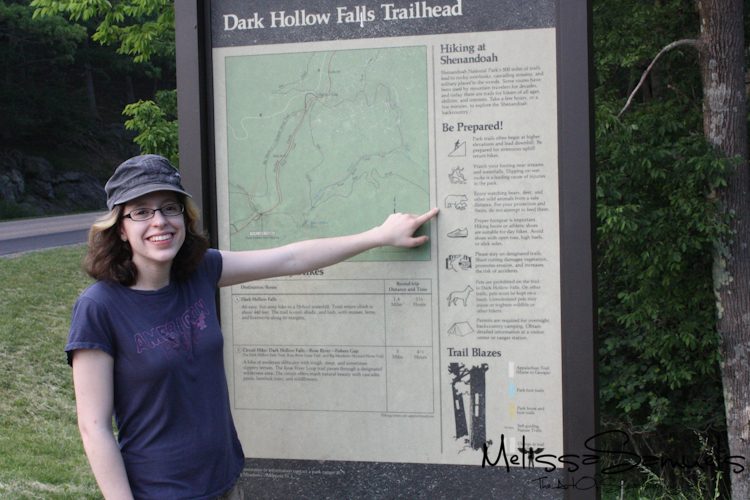
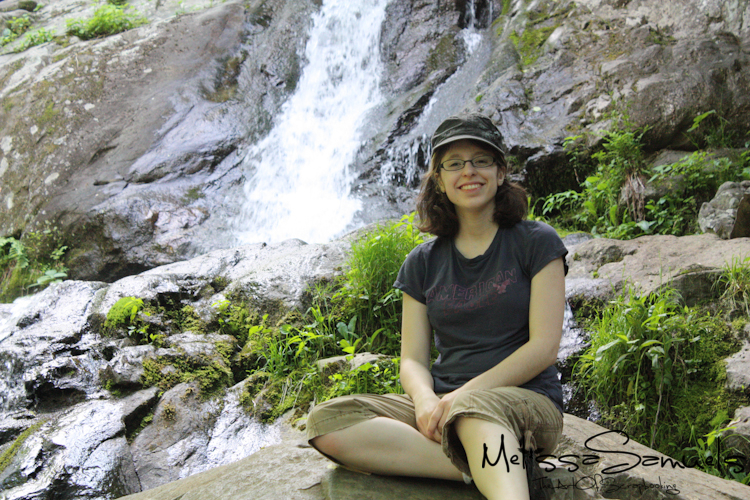
Shenandoah (1 of 1)-16 We love to hike, and unfortunately we don't do it nearly as often as we would like.  Dark Hollow was probably the best hike I've been on to date.  The hike starts in a shaded forest of ferns, which is a sight to behold.  The path snakes along a stream that pours into a waterfall.  The waterfall is absolutely breath-taking.
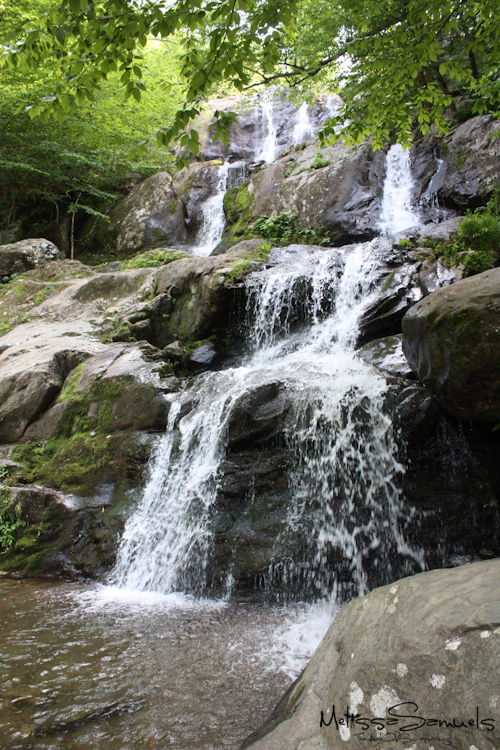
Shenandoah (1 of 1)-11
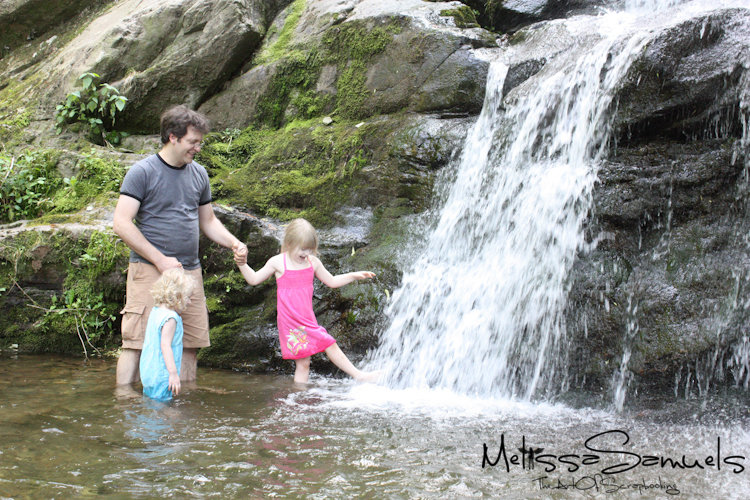
Shenandoah (1 of 1)-13 This was the payoff after making the downhill hike.  The water was ice cold, which felt so good in the 90 degree weather. 
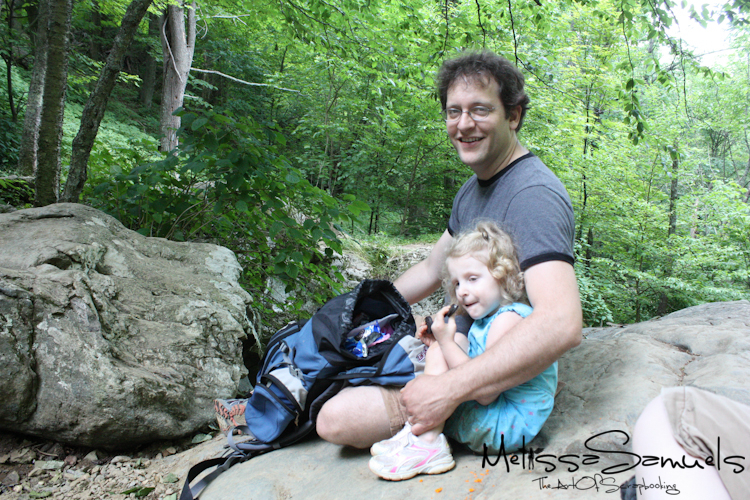
Shenandoah (1 of 1)-12

Shenandoah (1 of 1)-14 Snack break!  Isn't she adorable all curled up on her Daddy?  Love this pic.
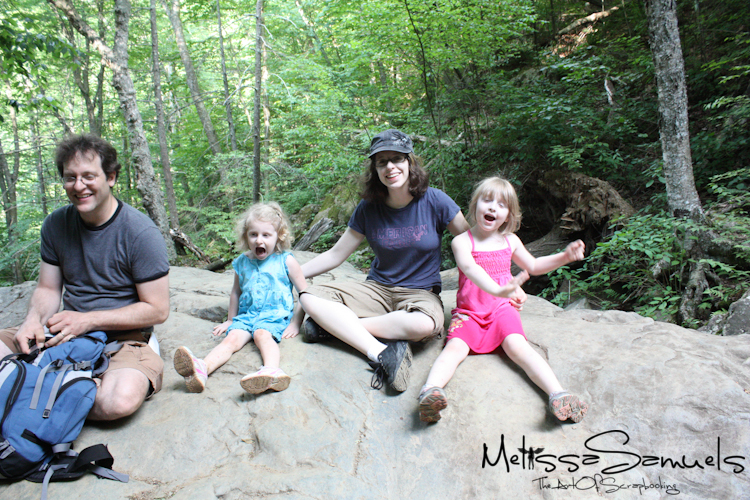
Shenandoah (1 of 1)-15
Shenandoah (1 of 1)-17 Once we were almost back to the car, we sighted a bear.  I thought my heart was going to jump right out of my chest.  Bob, being the Boyscout, told us to all walk slowly and make lots of noise.  Fortunately the bear looked at us, probably thought those poor folks are way too crazy to eat, and waddled on his merry way.  Chris thought it was the coolest thing ever to be maybe 20 yards from a real live bear.  I was glad to make it out with my life.
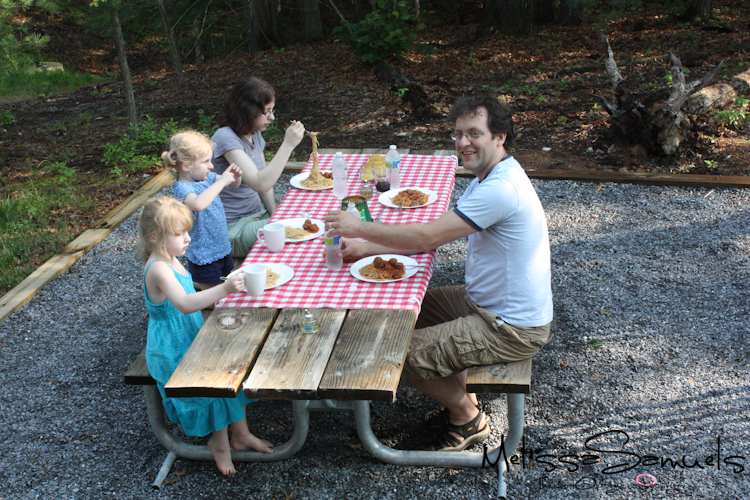
Shenandoah (1 of 1) We spent the weekend at the cabin.  Bob, again being the Boyscout, made us dinner.  I would like to say on the open fire, but our cabin has a fully equipped kitchen, lol! 
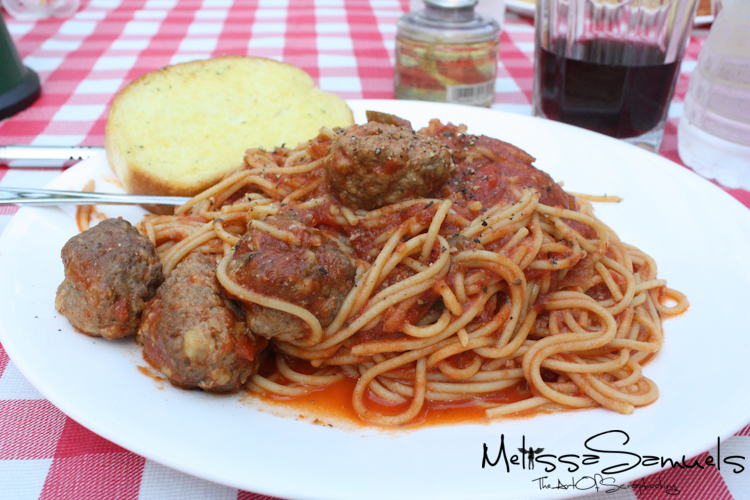
Shenandoah (1 of 1)-2 You're probably wishing you were there, right?!  YUMMM  LOL:)
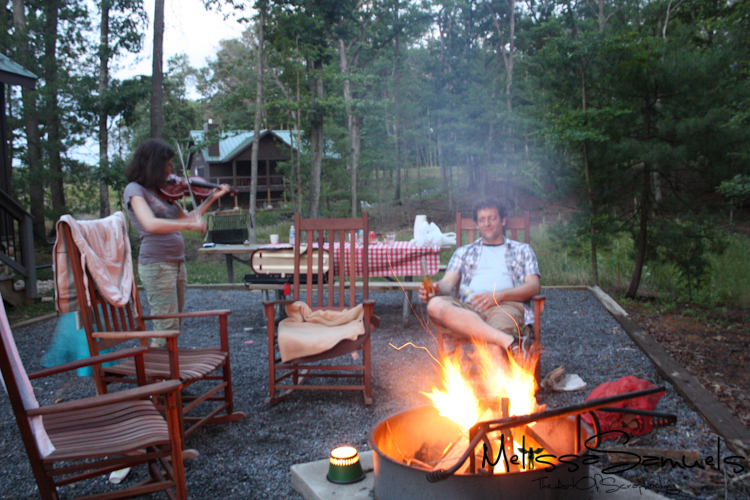
Shenandoah (1 of 1)-3 After our gourmet meal in the middle of the woods, we gathered around the campfire and Chris played some after dinner music.
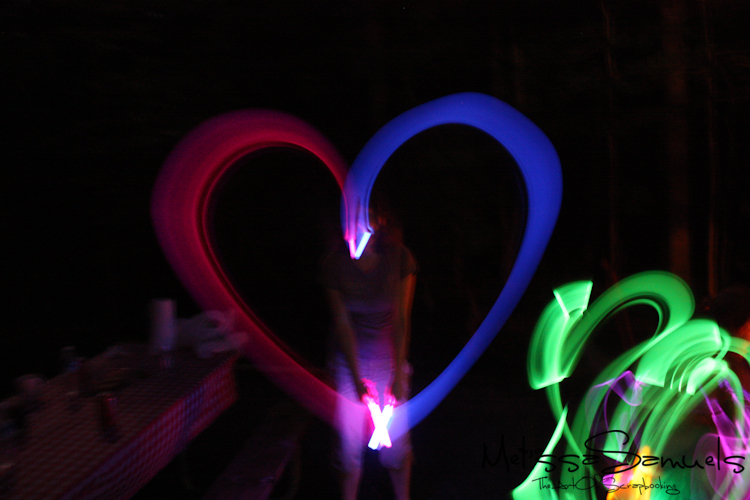
Shenandoah (1 of 1)-19 Once it was dark it was glow stick time!   Aren't my children talented?!  LOL:)

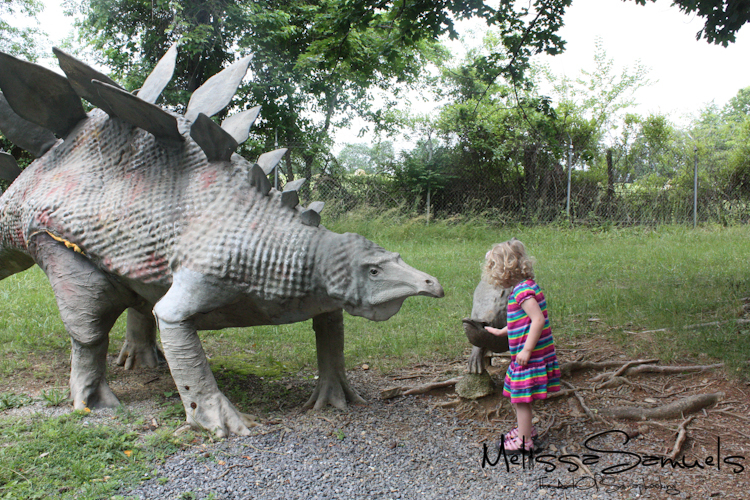
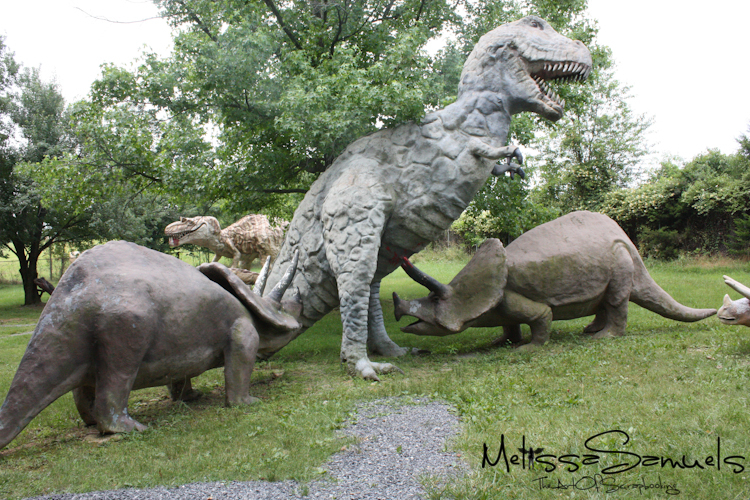
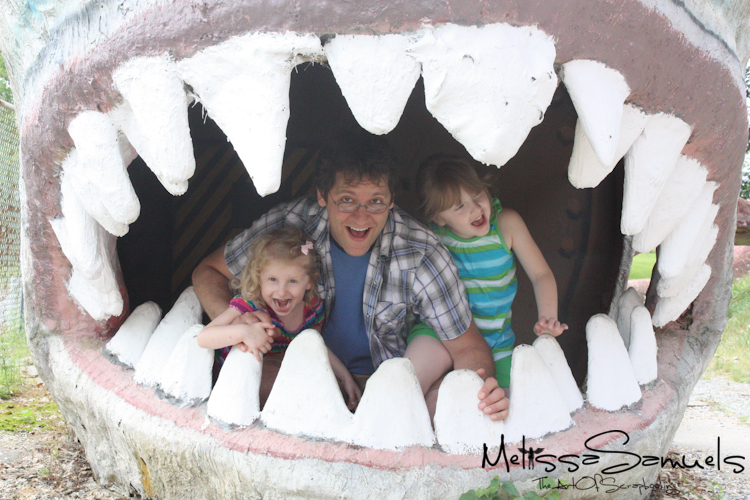
Shenandoah (1 of 1)-5 On the way home we stopped at Dinosaur Land, a neat little roadside attraction.  They have life-size replicas of dinosaurs, and a description of each…I thought it was cool and educational.   Lil and I thought it was the best thing ever.  The others were only mildly impressed. 
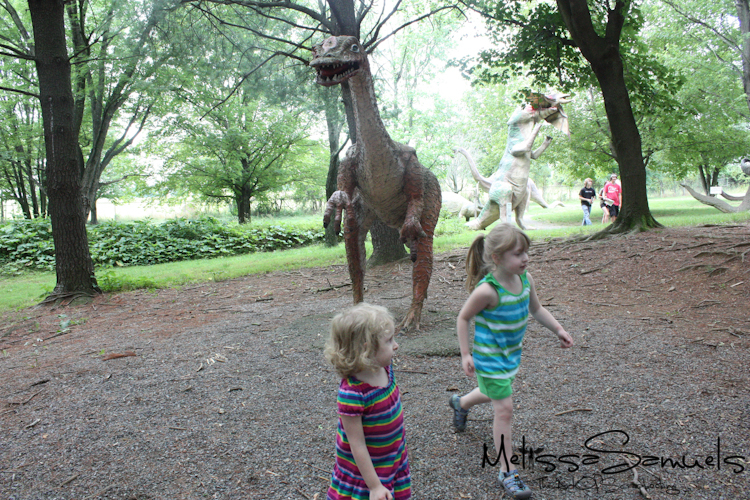
Shenandoah (1 of 1)-6 This is the funnest pic ever.  It looks like they are running for their lives. 
Shenandoah (1 of 1)-4
Shenandoah (1 of 1)-9
Shenandoah (1 of 1)-10
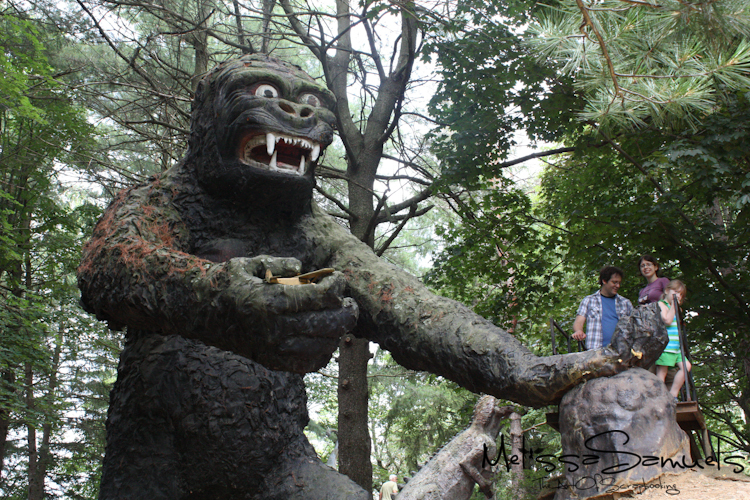
Shenandoah (1 of 1)-7 I have to admit, some of the fight reenactments were a little creepy.  But otherwise it was fantastic.

Shenandoah (1 of 1)-20 We also hit the mirror maze at the Skyline Caverns.  My expectations were really low for this, but it turned out to be great fun.  You walk into a dark maze of mirrors that look like a forest, and you have to find your way out.  It didn't last long, but it was a lot of fun.  Because it was dark, this was the best pic I could get.

Thanks for coming along on my little family excursion.  Until next time….XOXO

Melissa Logo 55

Introducing Tutorial Thursday

Hey ya'll!  I know, you're probably wondering where the heck I've been.  Well, work has kept me EXTREMELY busy.  My business is growing beyond my wildest expectations, and I've been preparing for my super awesome Scrapbooking Retreat that's coming up in July (only 2 seats left!!!).  I'm so excited about it & can't wait, but it's kept me hopping! :)  I must admit, I'm loving every second of it!!!!

One of my favorite thing to do is blog posting (I know, hard to believe considering I've been MIA, but it's true).  I miss doing it regularly.  It makes me happy, and helps me keep my sanity.  I particularly love doing posts about new techniques that hopefully inspire you guys and motivates you to try something new.  So, I've made the decision to introduce Tutorial Thursday.  Every Thursday I'm going to do my very, very best to do a technique or tutorial driven post.  I'm hoping to do posts other times of the week, but I want you to be able to count on Thursdays.

Let's kick this thing off with one of my favorite topics, art journaling!  For those of you who are friends with me on Facebook, you know that last week we had to have our beloved doggy of 15 1/2 years put down.  It's been such a painful experience.  (I'm planning a blog post soon, but I'm still gathering pictures as a lot of the photos are on film-that's how long we've had our boy.)  I believe the best therapy for any hardship, upheaval, or tragic event in your life is art journaling.  It's so very therapeutic, and sort of cleanses the soul.  There's something healing about putting all of your concentration and thoughts into creating a thing of beauty with your own two hands.  Hopefully, that didn't sound too corny, because it's so very true.  Art journaling has gotten me through some very tough times in my life.  If you are new to art journaling you maybe thinking, "That's great, but where the heck do I start??"  Well, my favorite technique for starting a page is collaging the background.  What is this collaging you say?  Do you remember being in Elementary school, and making collages out of magazine pages and a glue stick?  Well, this is the same thing, only for adults.  You will need:

-scraps of paper (Thin paper works best such as 7 Gypsies.  Can't wait to try the new Mykonos collection for this) and/or tissue paper

-gel medium (I prefer Golden, but Mod Podge will do)

-art journal (you can start with Bristol paper, or any thick paper that will stand up to painting)

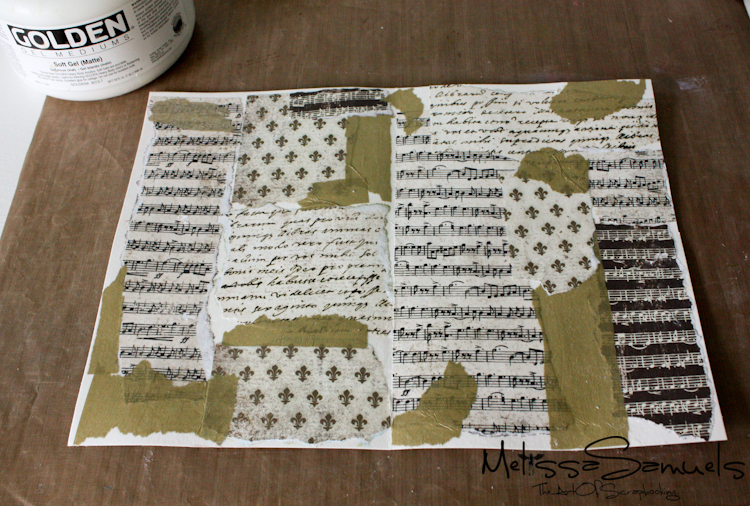
George (1 of 1)-6 Start by ripping up pieces of scrapbook paper and/or tissue paper.  Here I've used paper and gold tissue paper.  I've simply glued down the scraps of paper with gel medium.  You want to completely coat the back of each scrap with a thin layer of gel medium to avoid bubbling. With a large area like shown you can apply the gel medium directly to the page, and add your pieces.  Brush a thin coat of gel medium over the top of the scraps to seal the edges.  This is such an easy technique to start a page.  It gives great texture, and the layers add dimension.  Let it dry, or hit it with a hair dryer or heat gun.  Now you have the base for an art journal page.

Still wondering where to go next with it??  Okay, okay…  Since gel medium is paintable, let's put a coat of acrylic paint over the page for some color.

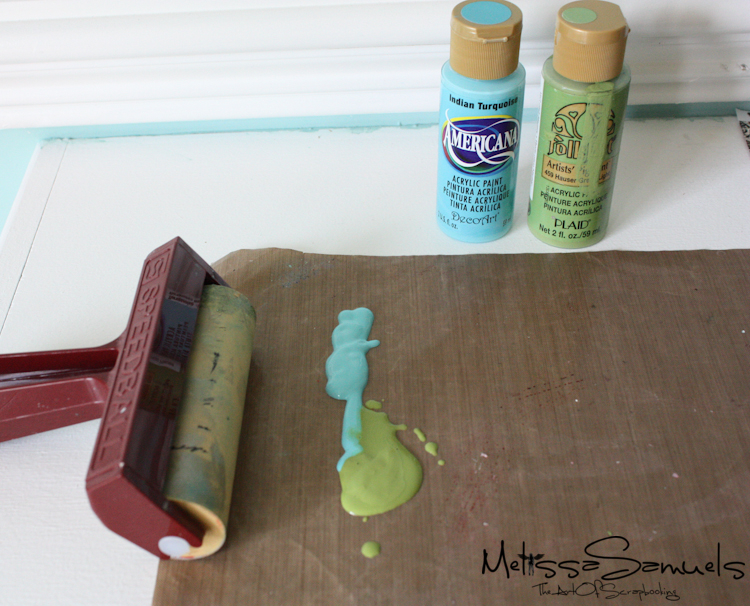
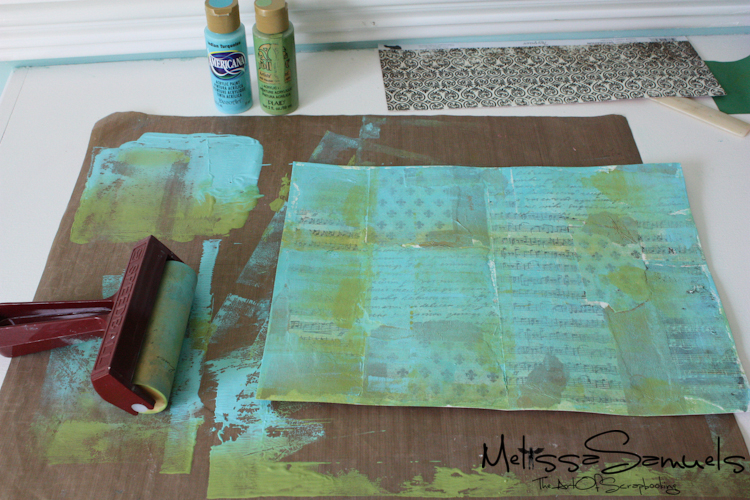
George (1 of 1)-7 On a non-stick craft mat I've added a line of blue and green paint.  This was probably WAY more than I needed, but I wanted you to be able to see it.  Next, pull out your brayer from the bottom of your scrap drawer, and dust it off.  I know we all have one, and haven't used it in the last 5 years (or more like 10)!  Run the brayer through the paint.  If you pick up globs of paint, just run it down your craft mat to remove the excess, but try not to mix the colors.  You only want a thin layer of paint because we want our images to show through the paint.

George (1 of 1)-8 Roll the brayer over your page.  Try not to go over the same place several times because it will mix the paint.  In just a few seconds your page is covered, and you have a lovely painted,  textured background.  Let it dry, and you're ready to embellish with flowers, buttons, brads, borders, keys, metal hardware…sky is the limit!  Journal your thoughts, and done!

I hope you enjoyed this technique for Tutorial Thursday!  Be sure to come back soon!

Melissa Logo 55
P.S.

Be sure to check out the clearance sale going on now in the online store!  Also, enjoy $5 FLAT RATE shipping on all Continental US orders from now until June 30th, 2011.

Linked:

HookingupwithHoH

Inspired Project-Fabric

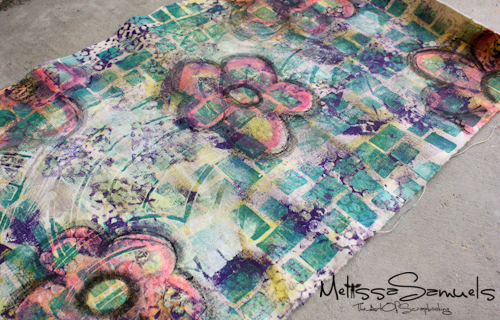
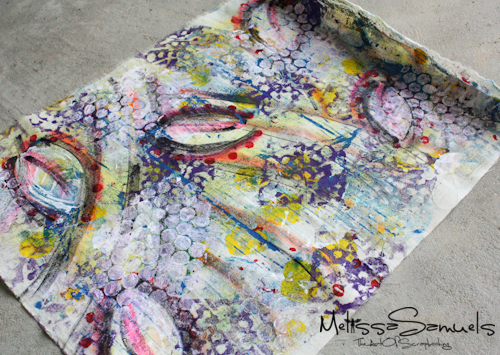
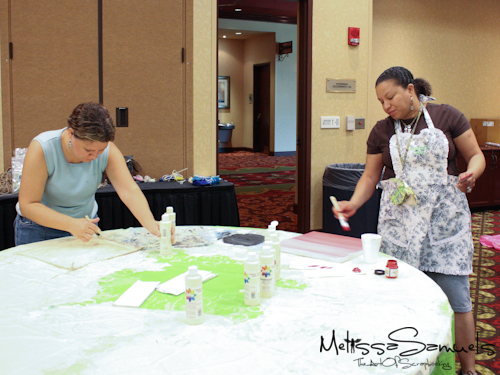
Now, we're to my favorite class, Alisa Burke's Beneath the Surface Workshop.  She's a mixed media artist with a background in fine arts.  She's the author of Canvas Remix, and has another mixed media book coming out in, I believe, August.  In this class we basically created colorful fabric out of canvas and muslin.  This was my favorite because I love working with canvas, and nothing makes me happier than painting.   Yes, I was in heaven in this class.

Inspired 5-2011 (1 of 1)-4 This is my canvas fabric.  I thought it looked like graffiti. 

Inspired 5-2011 (1 of 1)-5 Here's my muslin fabric.

I'm thinking they would make awesome art journal covers, and after sewing that tote I'm ready to pull out the sewing machine for the first time in 15 years!

Melissa Logo 55

Inspired Project-Canvas

Inspired 5-2011 (1 of 1)-17
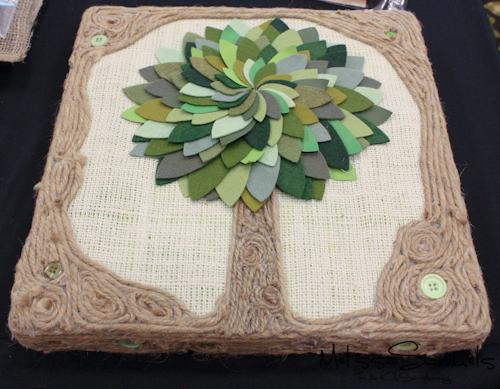
Here's some more pictures of my projects at Donna Downey's Inspired. This is a canvas taught by Lolly Chessie, who designs for Prima and Crate Paper.  This was probably the most relaxing class for me, because Lolly gave instructions on how to make the canvas and then let us have at it.  I had been up REALLY late the night before (and everyone who knows me knows I'm the worst student ever), so I did mine a little different than the sample.  It may not be as pretty and intricate as Lolly's, but it was fun.

Here's Lolly's pretty sample…

Inspired 5-2011 (1 of 1)-12
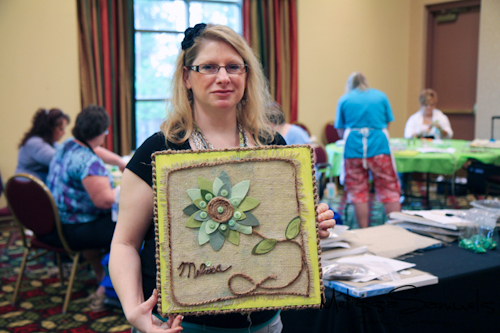
Here's mine…

RosesPosse (1 of 1) And, a little off the subject, the humidity in NC is crazy.  No matter how much I tried to straighten my hair, I had this crazy frizzy hair thing going on the whole weekend.  Nice…

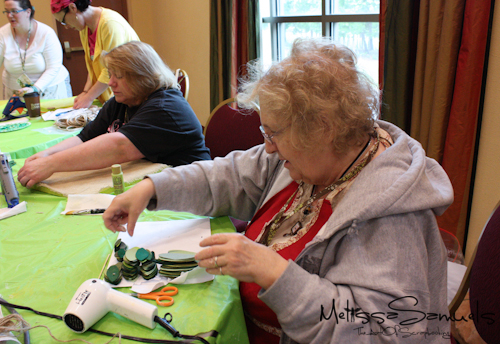
  Inspired 5-2011 (1 of 1)-16Here's my buddy Kitty.  After my late night, we decided to switch tasks.  She sorted my leaves, and I hot glued her burlap in place.  We made a pretty darn good team.

Inspired 5-2011 (1 of 1)-15 Is she not the most adorable person ever?!

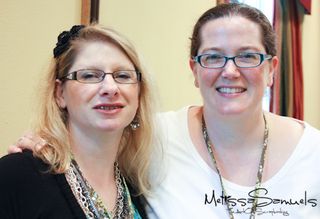
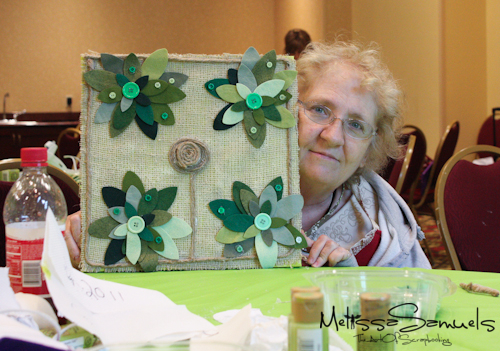
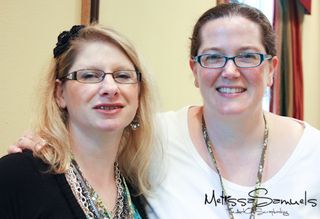
Inspired 5-2011 (1 of 1)-13 Here's some other crafty chics that were in my group for the whole event.  They were a trip (do people still say trip?)

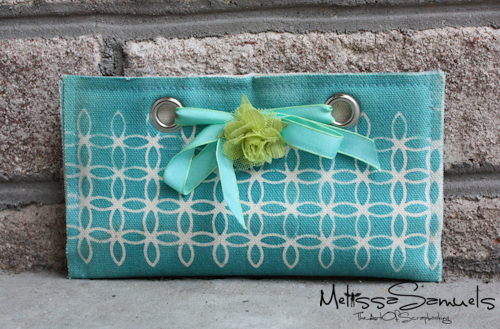
Inspired 5-2011 (1 of 1)-8 One last little project for today.  Cari Fennell from Prima did this quick little make 'n take.  It's made out of a canvas album refill page.  I may have to borrow this idea.

I still have a couple more projects to show, so make sure you come back tomorrow.

Melissa Logo 55

Inspired Project-Canvas

Inspired 5-2011 (1 of 1)-17
Here’s some more pictures of my projects at Donna Downey’s Inspired. This is a canvas taught by Lolly Chessie, who designs for Prima and Crate Paper.  This was probably the most relaxing class for me, because Lolly gave instructions on how to make the canvas and then let us have at it.  I had been up REALLY late the night before (and everyone who knows me knows I’m the worst student ever), so I did mine a little different than the sample.  It may not be as pretty and intricate as Lolly’s, but it was fun.

Here’s Lolly’s pretty sample…

Inspired 5-2011 (1 of 1)-12
Here’s mine…

RosesPosse (1 of 1) And, a little off the subject, the humidity in NC is crazy.  No matter how much I tried to straighten my hair, I had this crazy frizzy hair thing going on the whole weekend.  Nice…

  Inspired 5-2011 (1 of 1)-16Here’s my buddy Kitty.  After my late night, we decided to switch tasks.  She sorted my leaves, and I hot glued her burlap in place.  We made a pretty darn good team.

Inspired 5-2011 (1 of 1)-15 Is she not the most adorable person ever?!

Inspired 5-2011 (1 of 1)-13 Here’s some other crafty chics that were in my group for the whole event.  They were a trip (do people still say trip?)

Inspired 5-2011 (1 of 1)-8 One last little project for today.  Cari Fennell from Prima did this quick little make ‘n take.  I may have to borrow this idea.

I still have a couple more projects to show, so make sure you come back tomorrow.

Melissa Logo 55