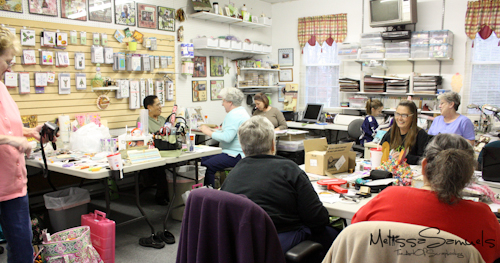
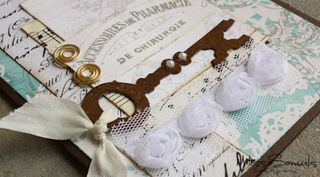
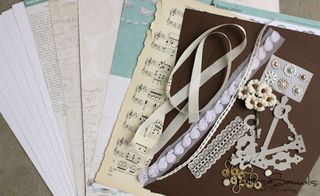
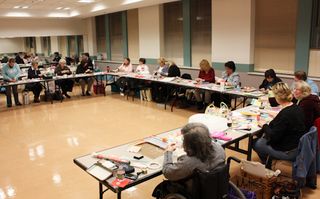
Thought I'd share a glimpse of my weekend with the Scrapbook Sorority girls. They are a fun, crazy group of ladies!! They invited me over to teach my Valentine cards. It was a great weekend! I always look forward to hanging with those girls!
More Flowers…
I have another fun flower tutorial for you today, because you know how much I LOVE flowers. They are so simple and easy!
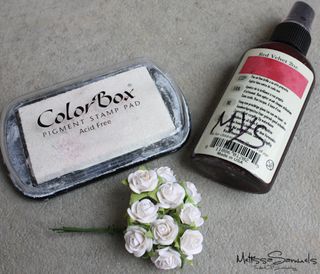 I'm using Prima flowers, Glimmer Mist (Red Velvet), and white pigment ink.
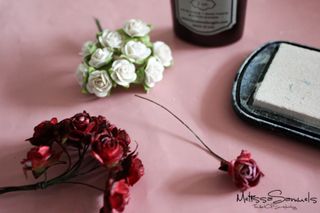 Glimmer Mist the roses, dry with a heat gun, and ink. If you don't have white ink, white/off-white acrylic paint would work great, too! Just dab a little on the tips with your finger.
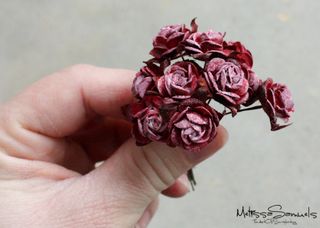 See how beautiful!?! Perfect for a card, layout, or mini album! Sweet!
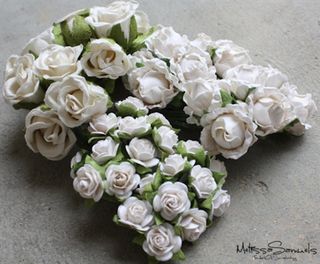 Variety packs of Prima flowers (12 large roses, 12 flowers, and 20 small roses) are available in my store for only $4.49!


Flowers are my favorite!
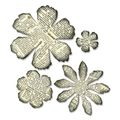
I'm really diggin' the Sizzix Tim Holtz Alterations Bigz Dies, particularly the Tattered Florals. If you know me well, and know that I'm NOT a diecut person, you're probably rereading that sentence to make sure you read it correctly. I guess I like that the Tim Holtz diecuts are so versatile and alterable (not cheesy). I used the Tattered Florals for my Valentine Cards and thought it would be good for a hundred other projects. So, I had to experiment to see what I could come up with. Here's what I did:
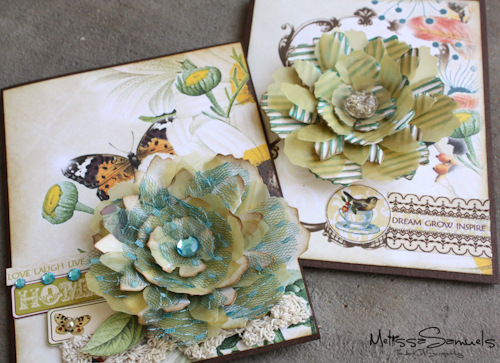
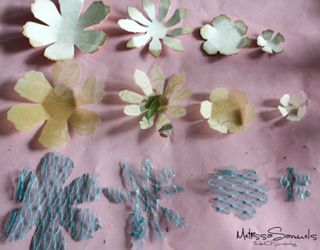 I cut a set of diecuts out of Webster's Pages Wonderfall paper, vellum, and netting. I inked the edges of the paper diecuts, layered them all together, punched the center with the Big Bite, inserted a brad, and covered the brad up with a rhinestone.
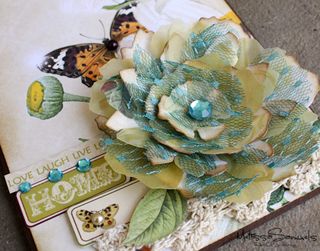 It made the perfect embellishment for the front of a card.
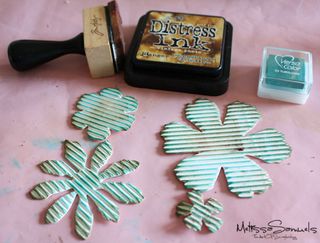 I cut another set of diecuts out of corrugated paper. I then inked the edges with Distress Ink, and ran chalk ink over the grooves.
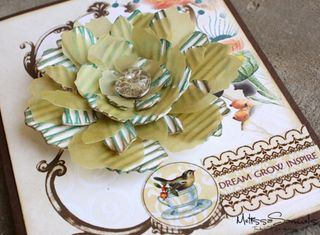 And, another flower perfect for a card. It would also be great on the front of a mini album, art journal, or even on a layout. Next I think I'm going to cut some out of transparencies…maybe alcohol ink them…or grungepaper…or a sheet of thin metal…oh yeah, lots of possibilities.
 Don't forget to enter my Giveaway! Click here




ArT PlAy
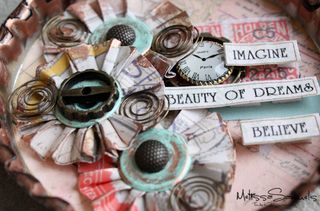
Today, I challenged myself to create something with my art supplies. It didn't have to be blog post worthy (though, here it is anyway), and it didn't have to be some great work of art. I just had to create something fun. I put aside work for a little bit, and played. I started with a bottle cap that I bought while out shopping with a friend. It was one of those things that seemed like a good idea in the store, but once I got home…what was I thinking?! It's been sitting for months, and I mean months, waiting for some great plan. I stared at it for a little bit, thinking it kinda looked like a tart pan, which just made me hungry….so, after 2 Ferrero Rocher candies later I was formulating a plan. I thought it looked like the perfect embellishment for the front cover of my next art journal! Yes, that is exactly what it was meant to be! Here's what I did:
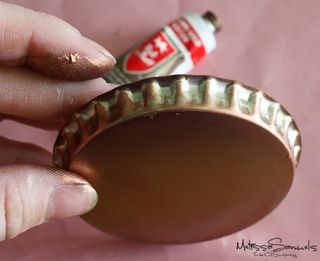 I rubbed Rub 'n Buff all over the tart pan, I mean bottle cap
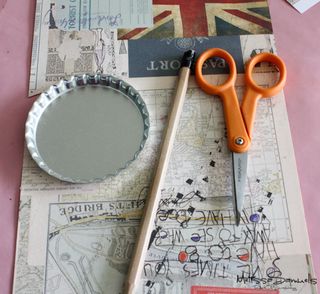 I traced the shape of the cap onto some 7 Gypsies Lille paper, and cut it out.
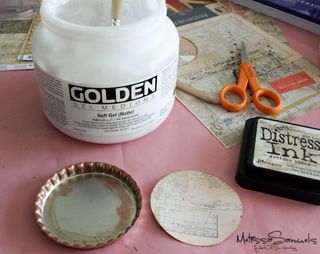 I inked the edges of the paper, and used Golden Gel Medium to adhere it to the inside of the cap.
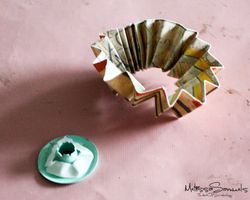
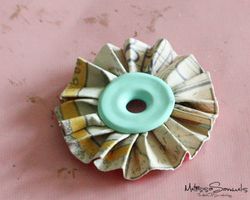
I accordion folded a 1/2" x 7" strip of paper, and Scor-taped the ends together. I added Scor-tape to the back of a wide eyelet, taped the accordion folded paper into place, and set the eyelet. This closes the eyelet over the paper, and creates a pretty little flower.
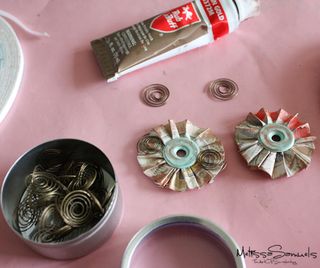 I rubbed the flowers and eyelets with more Rub 'n Buff, and added 7 Gypsies Spiral Mini Clips to the flowers.
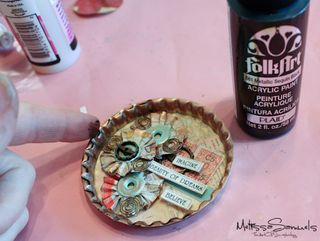 I rubbed a little black acrylic paint around the edge of the cap. I Scor-taped my flowers into place, added some hardware and phrase stickers on pop dots.
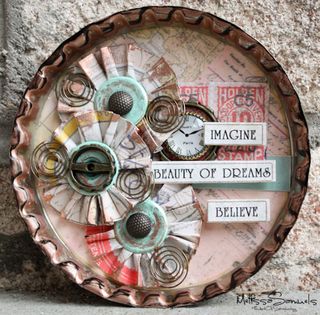
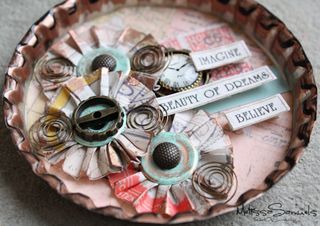 I hope you challenge yourself to create something fun today!
Be sure to check out yesterday's post for a fabulous giveaway, and a new workshop!
New Workshop and Giveaway!
Hey guys! I know, I've been terrible about blogging lately. I've been C-R-A-Z-Y busy, and I've really missed doing it! Hopefully, I'll get back on track this week. Lots of exciting things happening. I have a new card class on the calendar to show you, pictures from my class last week, lots of new product in the store, and lots of CHA goodies on the way! I was also thinking it's been awhile since I've done a giveaway, so I'm doing that today too! Soooo….let's start with the new class.
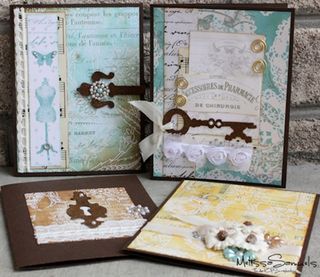
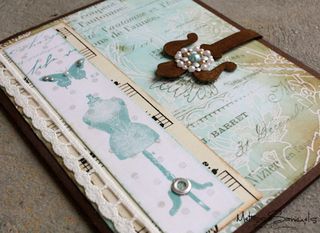
It's called Parisian Anthology Cards Workshop, and you'll be using Pink Paislee's special resist papers to ink the backgrounds of the 4 cards shown. You'll also receive enough materials to create an additional 2 cards that you design and create, and materials for 6 envelopes! The kit comes with Tim Holtz Grungepaper diecuts and magnets for creating an elegant card closure, as well as vintage sheet music, Prima Studs, clips, flowers, seam binding, lace, and more!
Class dates:
February 25th, 6-9pm Glen Allen Cultural Arts Center (click here to sign up) 10% off class fees until February 14th.
March 7th 8pm UStream (click here to sign up) Pre-order your kit from now until February 14th for a 10% discount. Kits expected to ship around February 14th. (INK NOT INCLUDED)
Visit my UStream Channel to watch the latest class recordings (click here).
Here's a peek at the Valentine Sweetness Cards Workshop I held last week at the GACAC. It was so much fun, and a fantastic group of ladies. I can't wait to do it all over again!
The next class on the calendar is my "Charming Adorable And Ever So Sweet" Envelope Mini Album that I'll be teaching at GACAC and UStream. (Click here to read more about that class)
There's lots of new goodies in the shop. I have the newly released 7 Gypsies' Lille collection (paper, tags, pads, paper clips, and paper tape). The brand new Stickles colors are in the store! The not yet released Maya Road White Organza Rose Ribbon is now in stock, too!
Okay, now, for what you've been waiting for, the giveaway!! I'm going to be carrying Somerset Studio and Art Journaling magazines in my store! Somerset has been kind enough to send me some to give away!
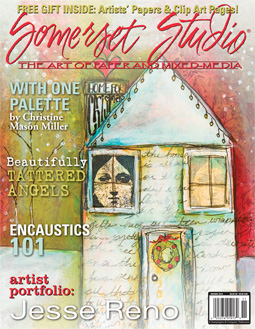
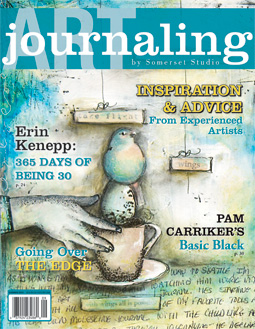
For a chance to win, become a member of my blog (with Google Friend Connect located on the right sidebar of the blog), join my "crowd" on UStream (click here), and leave me a comment (any comment) on this post. (If you're already a member or in the crowd, you can still leave a comment for a chance to win). The winner will be announced on Friday. Good luck, and come back to see if you're the winner!

