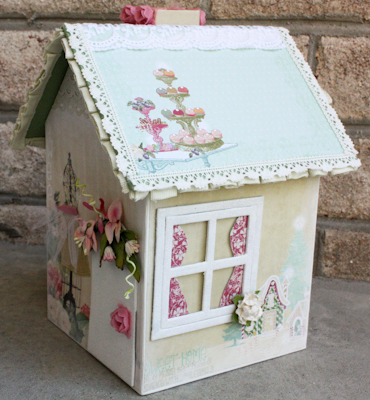
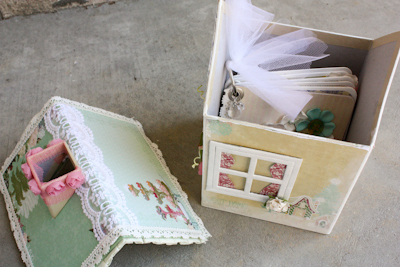
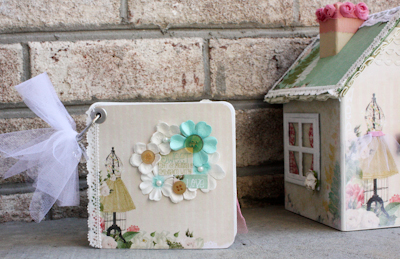
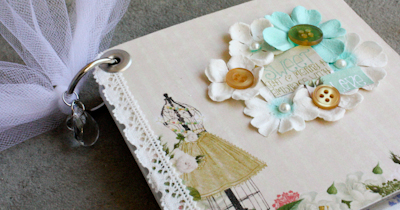
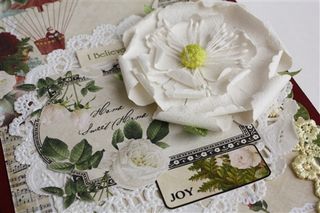
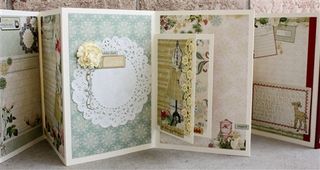
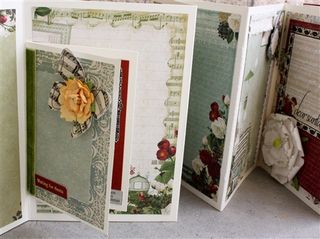
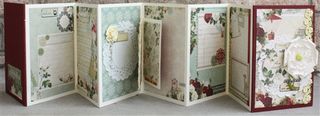
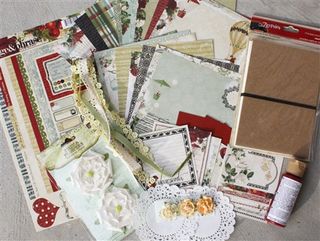
It's tutorial time!! Let's jump in, and get to it! Oh, and by the way, this limited edition kit is available in my shop.
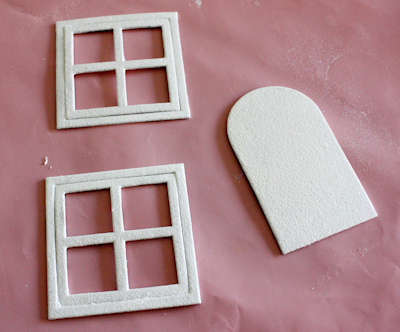
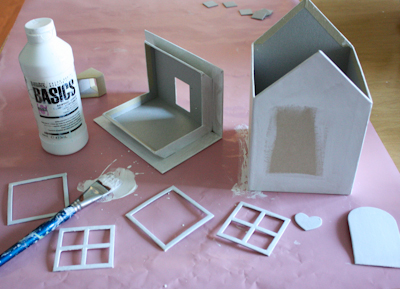 I started by painting the edges, corners, and roof of the house with gesso. I also painted the windows, door, and heart. White acrylic paint would work great (and is included in the kit). I just grabbed what I had.
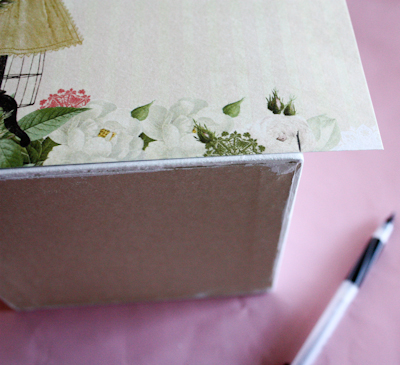 I picked the papers I wanted to use to cover the house with, made a mark with a pencil where I wanted to cut them down, and cut them in the paper trimmer.
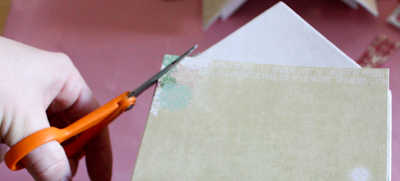 I trimmed up the top corners of the front and back of the house.
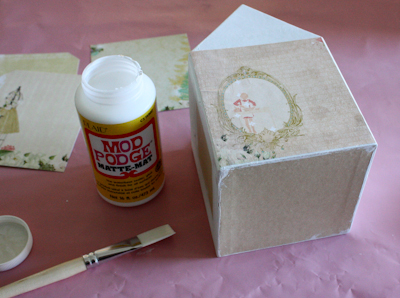 I used Mod Podge to cover the house with paper. You could also used gel medium or good old Scor-Tape for this.
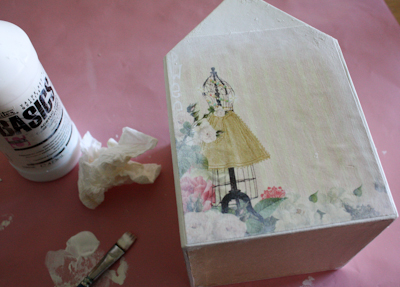 After it dried, I painted the edges with more gesso (white acrylic paint would work great) to soften the line between the paper and the house. I wiped off the excess with a paper towel , so you can still see the image.
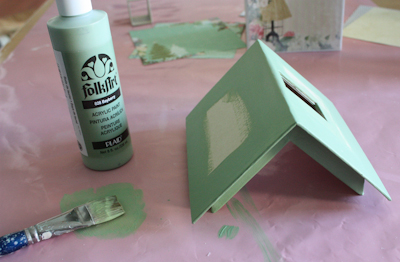 I painted the roof with Folk Art Bayberry acrylic paint (included in the kit). Can you tell it's one of my favorite colors by the ginormous bottle?!
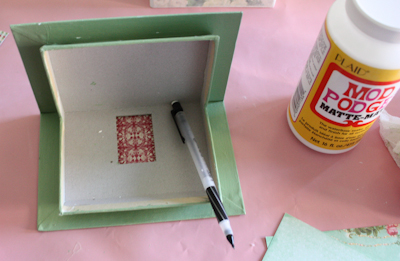 I cut paper to fit the roof, tacked it in place with a small dot of tape, traced the chimney hole on the inside, removed the paper, and cut out the rectangle I just traced.
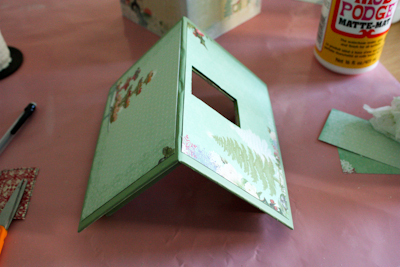 I used Scor-Tape (but you could Mod Podge or gel medium) to tape the paper for the roof in place.
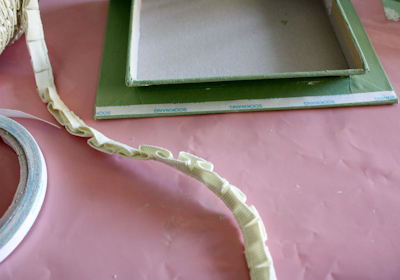 I added Scor-Tape to the underside of the roof line to attach the pleated ribbon.
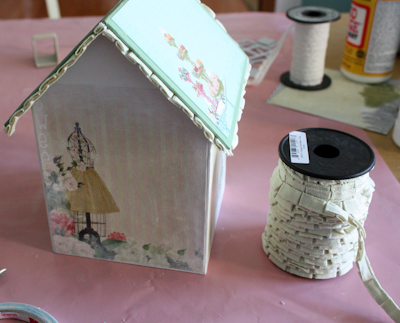 I did this all the way around the roof.
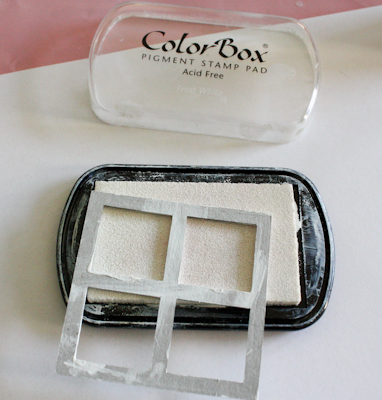 Then, onto the little parts and pieces. I heat embossed them, first by inking them with white pigment ink.
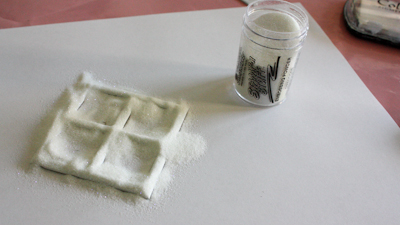 Then, I sprinkled them with embossing powder, tapped off the excess, and heat set it with a heat gun.
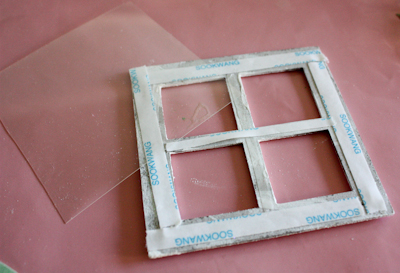 I Scor-Taped transparency to the back of the windows.
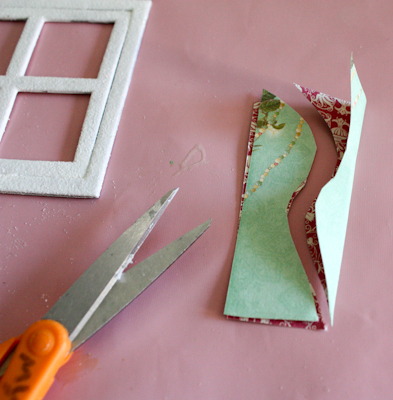 I made curtains out of the scraps.
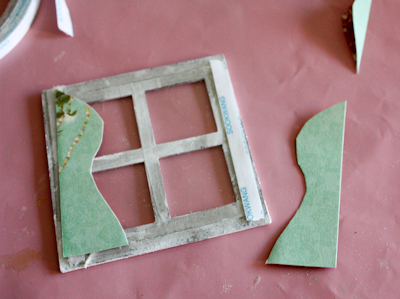 I Scor-Taped them to the transparency. Then, I taped them to each side of the house.
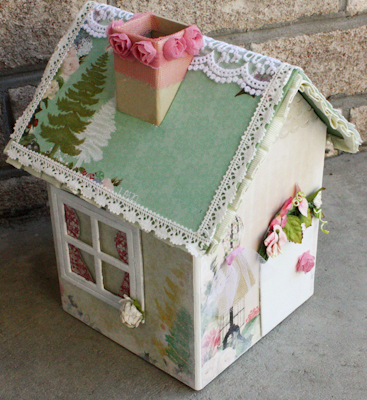
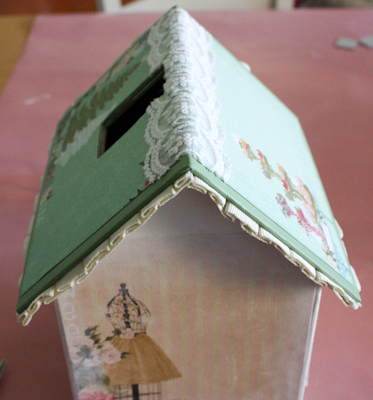 I added the strip of lace to the middle of the roof with Scor-Tape (of course), and cut out the chimney.
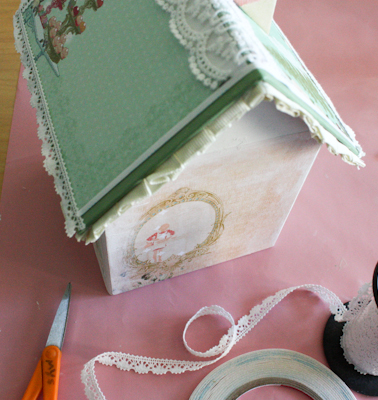 I added lace all the way around the arch of the roof (each end), and sides of the bottom roof line.
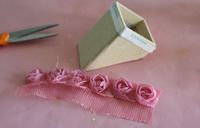
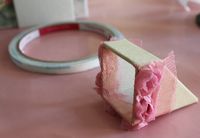
I attached pink rose ribbon to the top of the chimney.
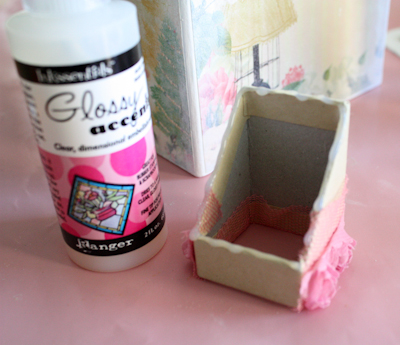 I attached the chimney to the house with Glossy Accents.
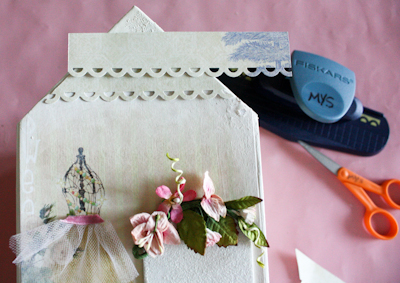 I punched the scraps with a Fiskars Apron Lace punch (lace punched strips are included in the kit), and layered the in the arch of the roof on the house. I added a flower vine at the top of the door…a little tutu for the dress form.
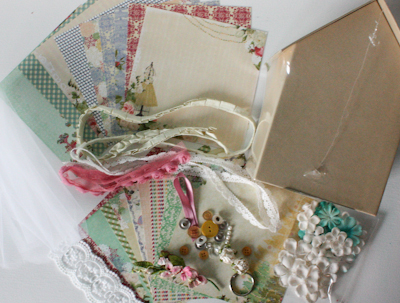 This kit is available in my shop. Click here to buy now. Quantities are limited. (I do not plan on doing this house as a UStream show. )
Update:
The Christmas Accordion Album kit for my Ustream show on November 30th is sold out, BUT it should be back in stock tomorrow. You can pre-order now, or visit my shop tomorrow. Check out my UStream Channel to view upcoming shows live, or watch the recordings.

