Cabbit

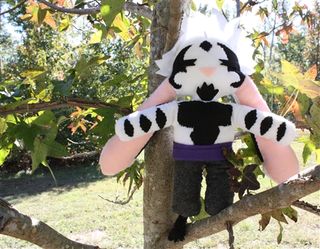
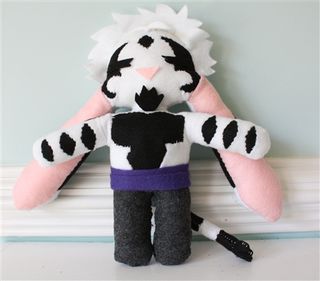
Meet Mao Laoren (translation:  Old Man Cat), one of Christin's creations.  He came to life while Christin was home on break from college this week.  He's a cabbit.  For those who you who might not know what that is (I can't imagine), he's part cat, part rabbit.  He loves to climb trees and hang out in the studio.  His hobbies include hang gliding,  martial arts, hiking, and tole painting.  He's currently in a relationship with a fennec fox, sorry girls.

Christin's plushie-1  Christin's plushie-1-3
  We plan to enjoy getting to know him better while he is visiting. 

Melissa Logo 5

Lots of unrelated news for Friday!

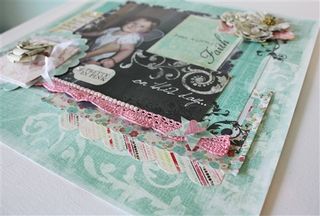
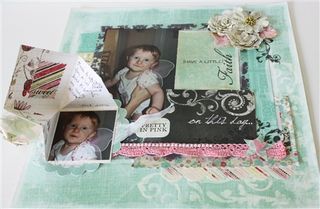
I thought I'd share another layout.  I made a cute little journaling pocket/envelope thingy…I'm not sure what to call it.  I love folding cards (and have taught MANY folding classes), so I thought it would be fun to incorporate a little folding into a layout. 
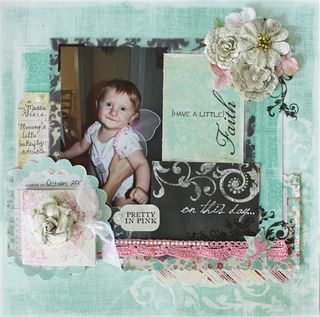
Fancy Pants Designs Layout-1-2

Fancy Pants Designs Layout-1-3

Fancy Pants Designs Layout-1
I just love this picture of Maddie when she was about 5 months old.  It was just before Halloween, and she had her fairy wings on-what a cutie!


On to other unrelated news…
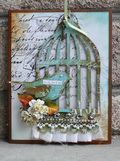
Birdcage card-10
Yesterday was the best day ever!! 

My card, Freedom, Art, Love was in the Top 3 of the Two Peas Member Gallery all day, it made Craft Gossip, and  Hero Arts tweeted about it!! Wowzers!
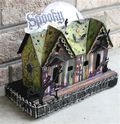
 

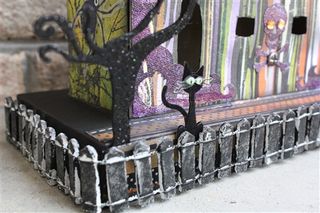
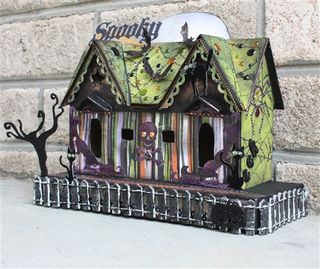
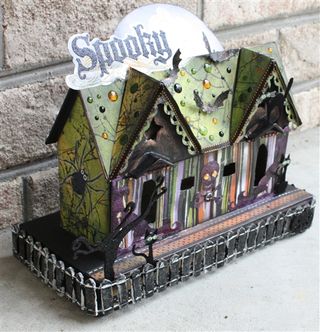
Halloween House-1-6
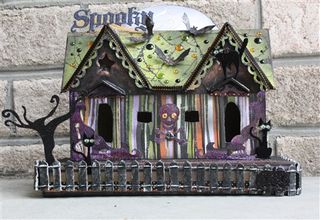
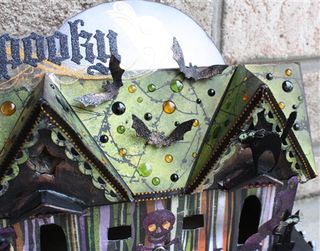
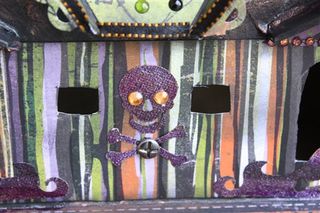
Then, if that wasn't enough, my Halloween House, which was accepted into Basic Grey's Gallery and was featured the day before, won their "Collection Pack-a-Day Gallery Giveaway" on their Facebook Fan Page!  EEEEE!!!!!  That means I get to pick a collection of my choice as a prize!!!  Awesome!!!

Yes, it was good day indeedy!


And, on to even more unrelated news…

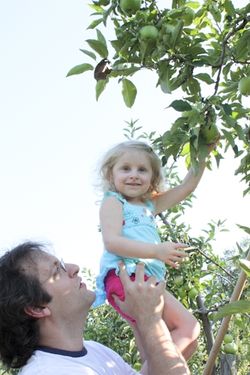
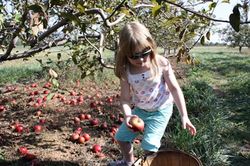
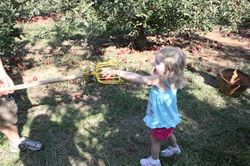
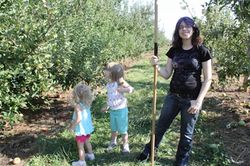
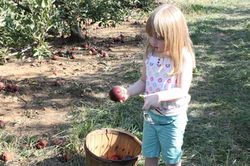
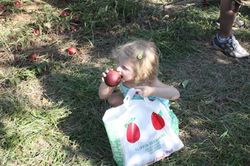
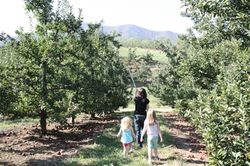
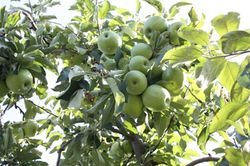
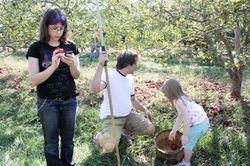
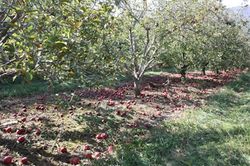
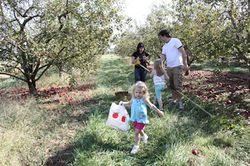
A few weeks ago we took a trip to Flippin-Seaman Apple Orchard (I swear I'm not making this stuff up!) in Tyro, Virginia.  The leaves were just starting to change, so the drive was beautiful, and the weather couldn't have been more perfect for picking apples. The girls had a fantastic time.  Chris was home from college, and she helped pick apples between texts (some things never change, lol).  They picked two giant bags of apples.  I'm not sure what we're going to do with that many apples, but it was fun!
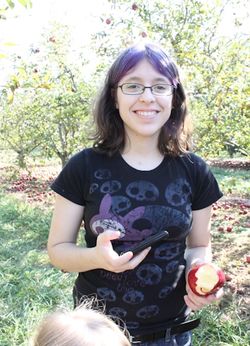
Apply orchard-1-2   Apply orchard-1-9

Apply orchard-1  Apply orchard-1-3

Apply orchard-1-10  Apply orchard-1-4

Apply orchard-1-5  Apply orchard-1-6

Apply orchard-1-7    Apply orchard-1-11

Apply orchard-1-12  Apply orchard-1-13

Melissa Logo 5

Freedom, Art, Love…

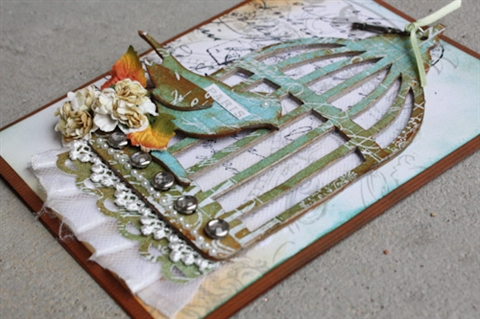
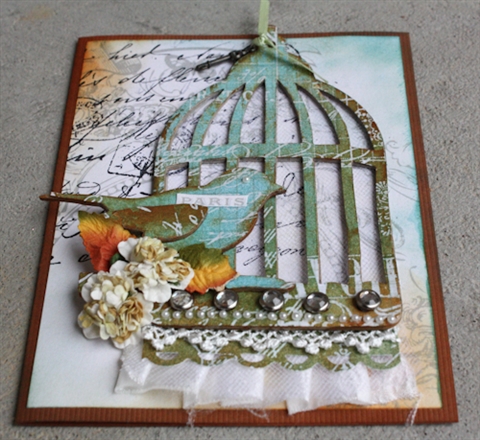
It's tutorial time!  Today I'm going to show you how to make one of my favorite things, a card!  So you may have guessed if you've seen my Birdcage Mini Album, that I have a thing for birdcages:)  I always put the bird outside of the cage which makes it okay, and to me represents FREEDOM….freedom represents ART…art represents LOVE.  Okay, enough twisted word association.  LOL!  Ready?  Let's go…
Birdcage card-1

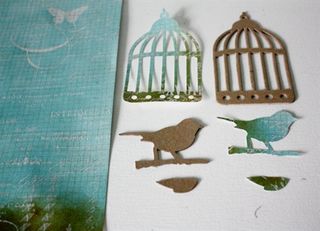
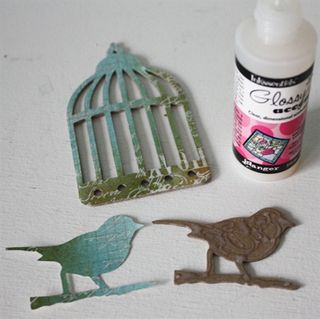
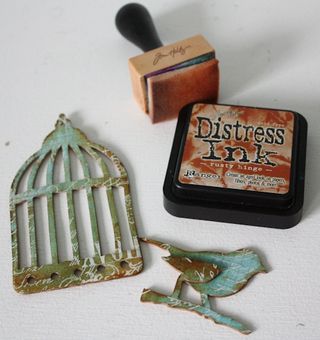
I started by using the Pink Paislee Parisian Anthology paper that I showed you how to ink the other day and naked chipboard to cut out the birdcage & bird pieces with the Tim Holtz Alterations die Caged Bird (#656634).

Birdcage card-1-2

I used Glossy Accents (one of my favorite glues, and it has a micro tip so I didn't have to get out a paint brush, yeah!) to glue the paper shapes to the chipboard pieces.  Be sure to wipe off any excess that may squeeze out the edges because once it's dry it's glossy and dimensional.

Birdcage card-1-3

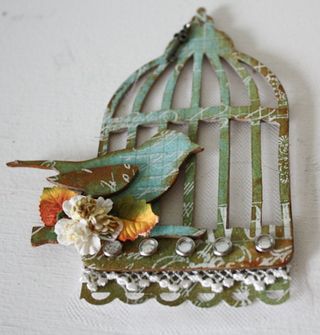
Next, I inked the edges with a blending tool with foam loaded with Distress Ink-Rusty Hinge (my fav!).  FYI, the same tool is used for applying alcohol inks and distress inks.  Remember, the foam applicator is used with distress ink, and the felt applicator is used with alcohol ink.

Birdcage card-1-4

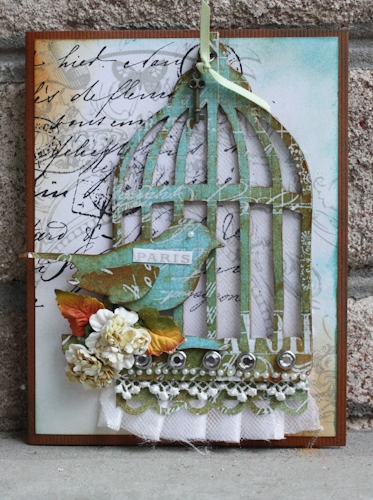
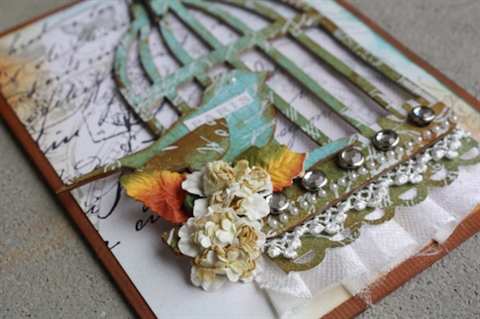
Then, embellish your cage!  I used tulle behind the birdcage, and a border punch and lace at the bottom.  I inserted sparkly brads in the holes at the bottom, and hung a mini key from the hole at the top.  Add some flowers…

Birdcage card-10
Fold a 5 1/2" x 8 1/2" piece of cardstock in half, and crease with a bone folder.  Cut the reverse side of the Pink Paislee paper to 4" x 5 1/4."  I stamped the top left corner with a Hero Arts "Old Letter" Cling stamp, ink the edges lightly with Distress Ink, and adhered it to the front of the card.  Add the birdcage, and you're done!

Birdcage card-11

Birdcage card-13

Birdcage card-14

 I hope you enjoy!  XO

Melissa Logo 5

Linked to:

Hump Day linkShow and Tell Green


“Dreams Are Whispers From Our Soul” Layout

I hate to admit it, but I can't even remember the last time I did a 12×12 layout.  I spend a lot of time making cards, mini albums, altered art, and lately crafty projects.  Somehow, layouts seem to have fallen by the wayside.  I know, many of you are gasping right now.  I guess it's partly because layouts seem to be such a huge time commitment.  Now, I'm not saying I'm a commitment phobe, it's just that I have a short attention span when it comes to projects.  Don't get me wrong, I have a traditional 12×12 album that I put my Christmas photos in, because it's something I've been doing for the last 11 years or so (though, I'm about 3 years behind!).  But, I often get overwhelmed at the 600 to 800 photos that I have developed each year for that purpose.  I'm much happier making a mini album, picking 20 to 40 photos to add to it, and stuffing the rest into pockets.

I actually started out scrapbooking doing 12×12 layouts, so I guess it's kinda like riding a bicycle…I hope… 

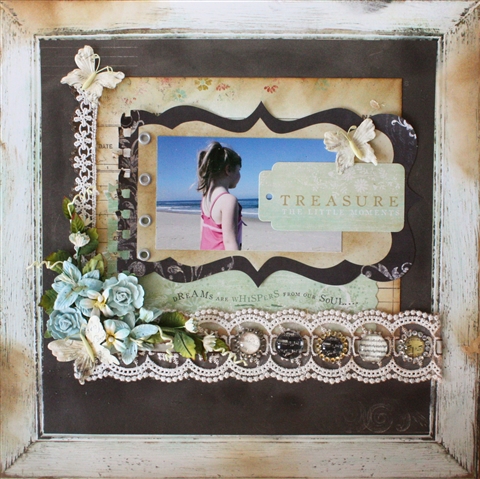
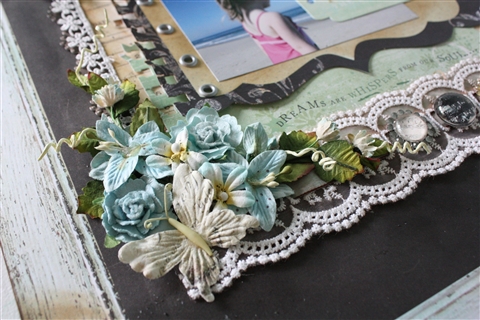
Fancy pants layout-1-2 In fear of forgetting how to do a layout altogether, I have created a few that I thought I would share with you this week. So, here goes.  This is one I did of Maddie at the beach.  She was gazing out at the ocean as if it were the most magnificent thing she had ever seen.  It's moments like that I will always treasure.
Fancy pants layout-1

Grand Finale!

I know I said I was going to post my grand finale to my week of Halloween tags on Saturday, but it took a little longer than I expected to finish (and I had a super busy weekend).  Better late than never I say:)  So, here it is.  Oh, and don't forget to check out Melissa's blog, Bursts of Creativity, to see what she did for her grand finale.

Halloween House-1

Halloween House-1-2

Halloween House-1-3

Halloween House-1-4

Halloween House-1-5

Halloween House-1-6

Thanks so much for stopping by last week (and today) to see my Halloween projects, and for playing along with my giveaway.  I really appreciate all of the comments.  You guys are the best!

Making