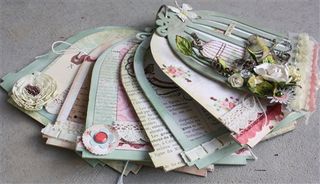
It’s just like magic!!

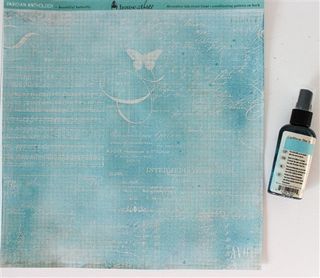
I saw Pink Paislee's Parisian Anthology collection and HAD to have it!  The papers are heavy weight white/off-white cardstock that can be inked or misted to create a beautiful background.  It has special resist images that don't take ink or Glimmer Mist, so when you ink or mist your paper, the images appear (like magic)! 

  
Pink Paislee paper 12x12-1


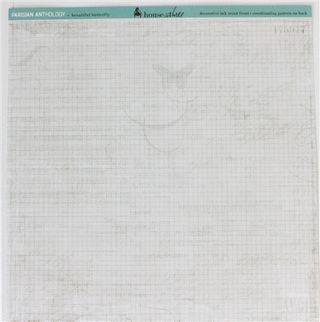
It looks fairly plain.  You can see faint images, but nothing terribly exciting.


Pink Paislee paper 12x12 gm-1


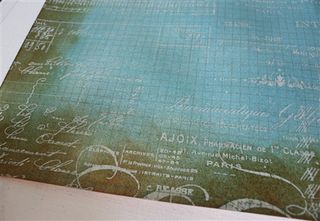
BUT, once you add Glimmer Mist (I used Caribean Blue) the resist images appear.  I used a paper towel to wipe off any excess Glimmer Mist from the images, and let it dry.Pink Paislee paper-1-3
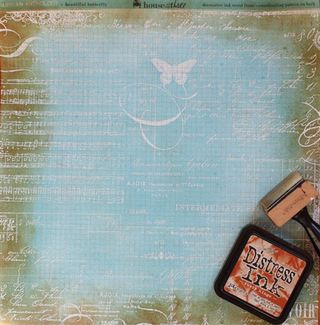


SO, then I thought, let's see how it works with inks.  I loaded up a blending tool with foam using Distress Ink-Rusty Hinge (my favorite color) and inked the edges.  Make sure you wait until the Glimmer Mist is dry or you'll get green.  I used the paper towel to wipe the images again, and bam! 


Think of the possiblities this holds?  When you want to scrap a particular set of photos you can customize the color of your paper to the photos!  Amazing!!  Great job Pink Paislee! 


Pink Paislee paper-1-4

And, the best part is the papers, along with the coordinating embellishments, are available in my shop.

A Week of Halloween Tags-Day #2

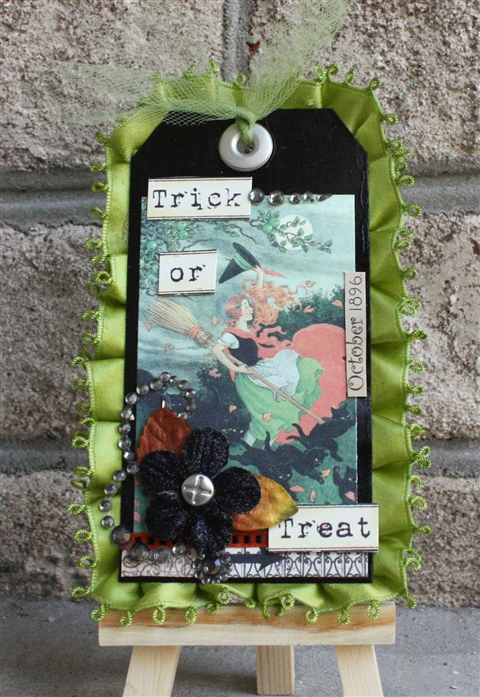
I’m really getting into this tag thingy!  What I LOVE about making cards is it’s quick and easy-not a big time commitment.  Tags are the same deal!  In under a half an hour I can make a tag, and go on with the day.  Maybe I’ll actually be able to meet the challenge of a Halloween tag a day.  Yeah, I can do this!  Dont forget to check out the “other” Melissa’s blog (yeah, I’m sure she thinks “I’m” the “other” Melissa, lol) to see her Halloween tag

Halloween Tag Day 2-1

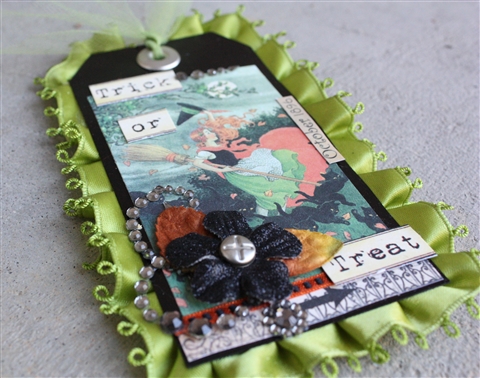
Halloween Tag Day 2-1-2 I painted the tag with Folk Art Metallic Sequin Black acrylic paint, adhered Crafty Secrets cutouts to the front, pleated wide satin ribbon to the backside, set an eyelet through the ribbon hole, and added a glittered flower and crystals.

A Week of Halloween Tags-Day #1

Halloween Tag day 1-1-8
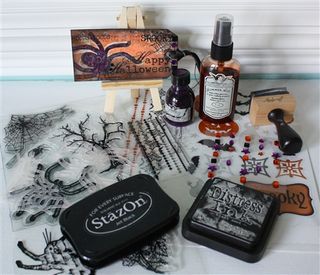
You guys probably know by now how much I LOVE Halloween!!  To celebrate one of my favorite holidays Melissa Thiesse (the "other" Melissa) and I will be posting Halloween tags all week plus a bonus grand finale on Saturday.  This was my first time decorating a tag, so I hope I did okay.  I'm sure as the week goes on the designs will improve.  Don't forget to head over to Melissa's blog, Bursts of Creativity , to see what she posted today.  I'm sure it's something pretty!

And, because I was excited about doing something Halloween themed, I included a little tutorial. 

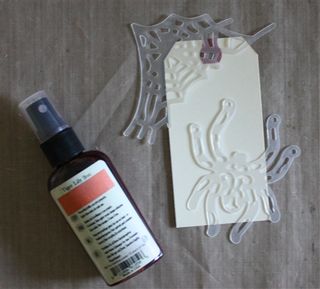
Halloween Tag day 1-1 I started by covering a tag with Tatter Angels' Halloween misting masks.  Then I sprayed it with Glimmer Mist-Tiger Lily.

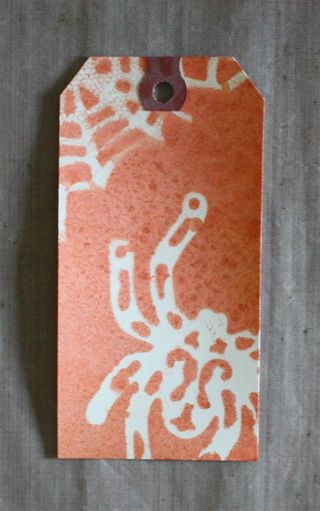
Halloween Tag day 1-1-2 Not bad…

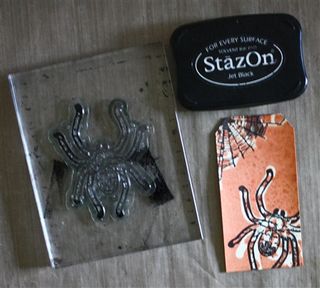
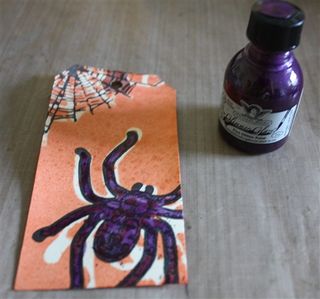
Halloween Tag day 1-1-3 I used Stazon and Tatter Angels' Halloween stamps to stamp over the masked images.

Halloween Tag day 1-1-4 I painted the spider with Glimmer Glaze-Purple Passion (gotta love the name!).

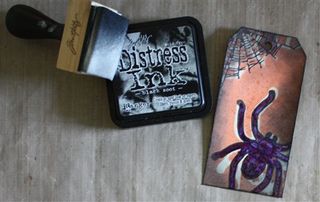
Halloween Tag day 1-1-5 I inked the edges with Distress Ink-Black Soot (a must have for Halloween).

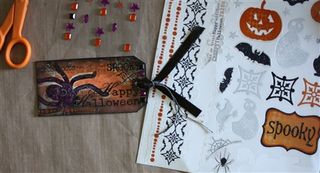
Halloween Tag day 1-1-6 I embellished with transparent stickers and bling.  I inked the string that came on  the tag, added a black ribbon, and tied it to the tag.

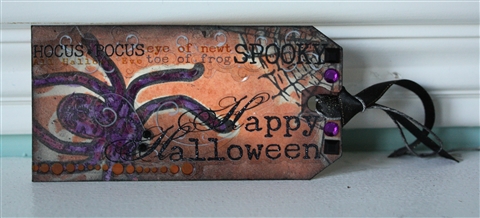
Halloween Tag day 1-1-7 And, last but not least, I'll give it a little mist of PYM II to protect & preserve it.  Love that stuff!

Don't forget to come back all week for more ideas and inspiration!  Under my profile pic to the right you can click on "follow this blog" using Google Friend Connect.

XOXO,

Melissa

Linked to:

Photobucket

Prize Giveaway!

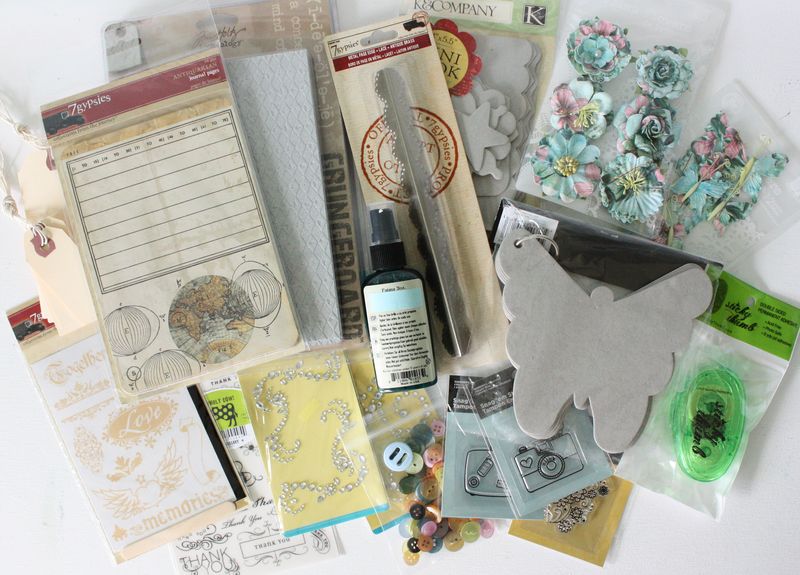
I just added the Google Friend Connect widget to my blog under my profile pic.  Click on "Join this site" to become a member.  Once I get to 5oo members one lucky winner will win the scrapbooking goodie pack shown here!  Be sure to tell your friends.  Good luck!!

  Prize-1

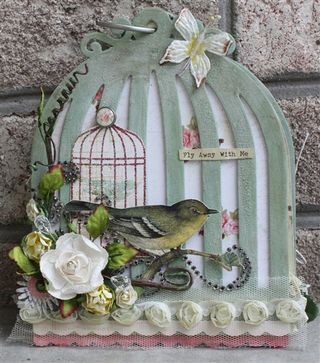
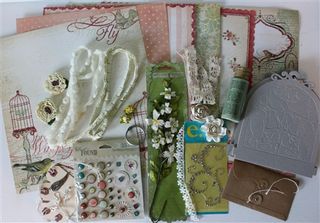
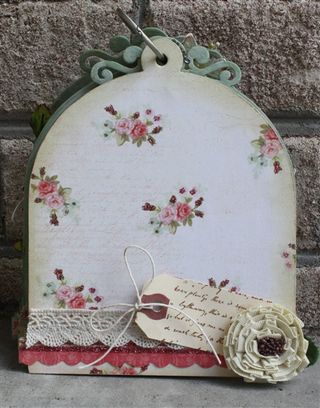
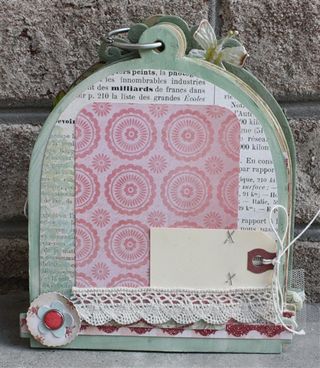
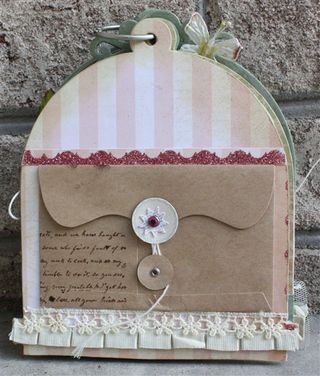
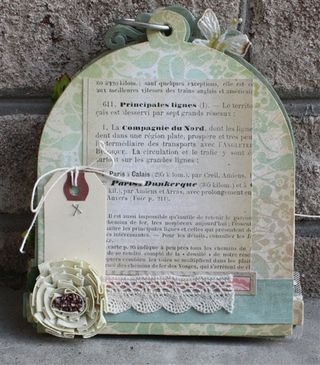
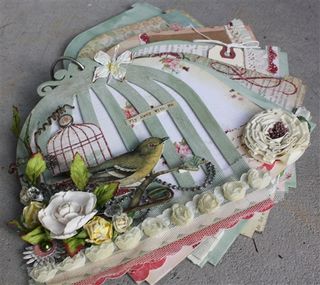
Also, I had some many inquires about my Birdcage Mini Album that I decided to do a kit.  You can purchase it in my shop.  The cost is $45 + shipping. 
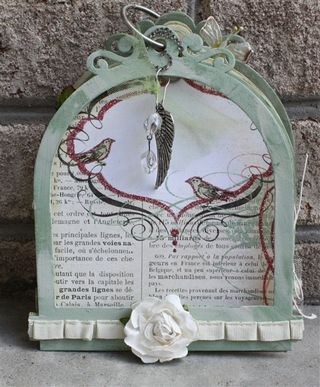
UPDATE 10/8:  SOLD OUT!   But, you can pre-order yours today.  The next batch should arrive in approximately 2 weeks.

Birdcage Album-1

  Birdcage kit-1

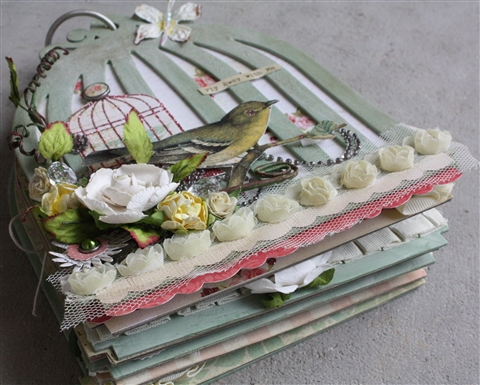
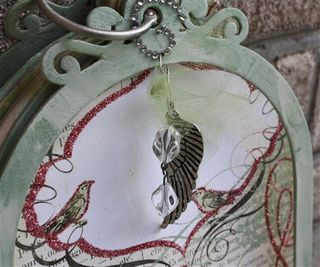
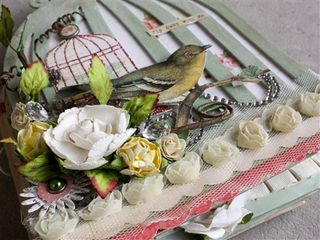
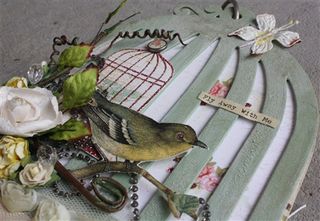
Birdcage Mini Album

Birdcage Album-1-2
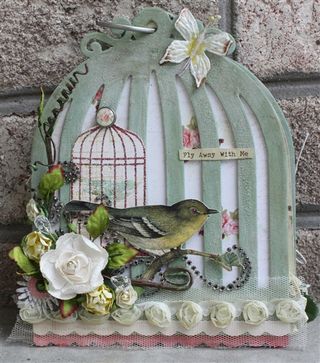
I absolutely LOVE birdcages, and when I saw this little album I had to have it for my shop!  I've been dying to work on it, but I've been really busy lately.  I finally had a chance to play, and I'm pleased with how it turned out.  Here's a brief tutorial on how I did the front.

Birdcage -1
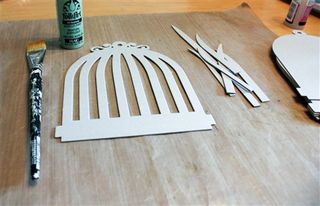
I popped out the cutouts of the cage, and painted it with Folk Art-Bayberry (one of my favorite colors).

Birdcage -1-2
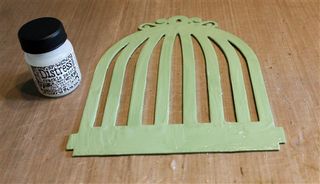
Once dried, I painted it with Distress Crackle paint Rock Candy.  This is a one step crackle paint, that is also self-leveling.  That means you slap it on, and it evens itself out as it dries.

Birdcage -4
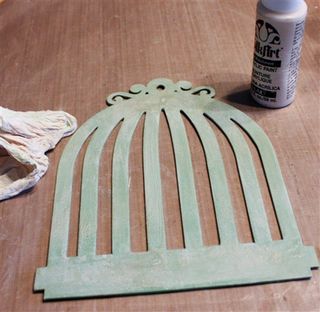
Once the crackle paint dries completely (30 minutes to an hour depending on how thick you apply it), put a little white paint (I used Folk Art-Parchment) on a paper towel and rub it into the cracks.  I added a little Distress Ink-Tea Dye with a blending tool in spots to give it an aged look.  Then you're ready to decorate!

Birdcage Album-1

Birdcage Album-1-4

Birdcage Album-1-5

Birdcage Album-1-6

Birdcage Album-1-7

Birdcage Album-1-8

Birdcage Album-1-9

Birdcage Album-1-12

Birdcage Album-1-11

Birdcage Album-1-10

Birdcage Album-1-3

A kit with instructions for this album is now available in my store.

Tutorial Linked to: