Halloween Album

HalloweenAlbum-1
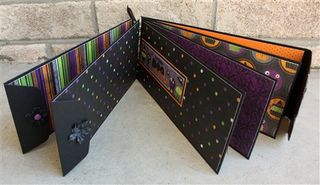
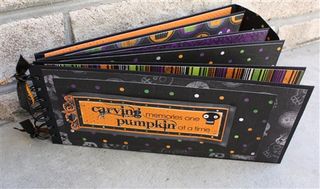
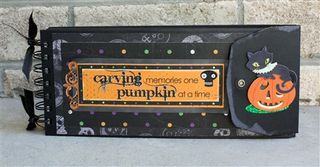
One of my favorite holidays is Halloween.  I'm not sure if it's the cool fall weather, getting the kids dressed in costumes, or just the spookiness of October 31st that makes me love it so.  For the last several years I've been making mini albums instead of doing 12" x 12" layouts to commemorate the occasion.  To me, it is much quicker and easier to knock out a little mini, than trying to get layouts done.  I do traditional layouts for Christmas, and I'm about 3 years behind. 

HalloweenAlbum-1-3
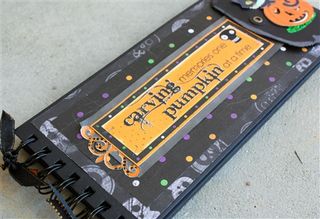
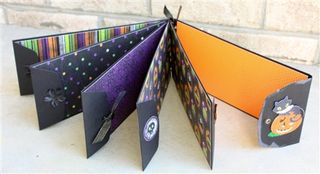
This year, I decided to do an envelope mini for Halloween.  I covered the pages with Bo Bunny paper cut to 3 7/8" x 9".   Once I have my pictures I can use the scrap paper for photo mats, and finish decorating it.  I can use the envelopes for storing extra photos, and some of the candy wrappers (stuff like that's pretty interesting in 20+ years).  I removed the string closure, and replaced it with a magnet.

  HalloweenAlbum-1-4 HalloweenAlbum-1-2

HalloweenAlbum-5

This album is made from a Graphic 45 Black Policy Envelope Album available for purchase in my shop.

Fall Classes at Memories Galore in Richmond, Virginia

Registration for fall classes at Memories Galore is now open!   You can call the Brandermill store in Midlothian, Virginia at (804) 744-6500, or the West End store in Richmond, Virginia at (804) 565-2000 to reserve your seat.  Here's what I'll be teaching.
 Halloween Cards close up-1
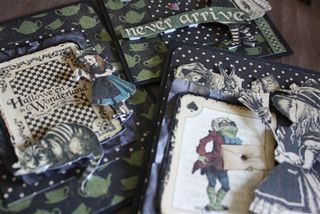
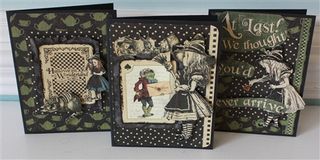
Halloween Cards with Melissa Samuels $24

Have a frightening good time while creating three spooky Halloween cards with a Graphic 45 twist. Okay, so maybe they aren't spooky, but they are oh so cute! Graphic 45’s Hallowe'en in Wonderland paper collection has just the right touch of magic and whimsy that make these cards a perfect surprise for any recipient to find in their mailbox. We'll use paper cutting, Stickles, vellum, distress ink, and Glossy Accents to add lots of dimension and details which is sure to impress.

Brandermill: Monday, Oct. 11th from 6:30-8:30pm

West End: Friday, Oct. 15th from 6:30-8:30pm
  FALL 2010 Classes-Halloween Cards-1 

Christmas Cards-1
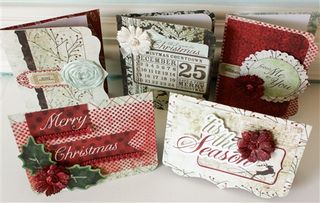
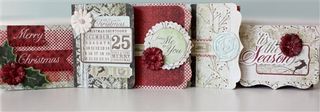
Christmas Cards Workshop with Melissa Samuels $38

Give the gift of handmade cards this holiday season! Join Melissa and Santa's elves, for some creative Christmas card creations that are sure to impress each and every recipient. Use Tim Holtz's On the Edge dies for a touch of elegance, glam it up with Glimmer Mist, and add some sparkle with Stickles. Enjoy Christmas carols and drink hot cocoa to channel the Christmas spirit while creating five cards with handmade envelopes in this workshop.

Brandermill: Saturday, Nov. 6th from 2-5pm

West End: Friday, Nov. 5th from 6-9pm

Christmas cards workshop-1 I'm excited to announce that add-on kits are available for purchase with the Christmas Card Workshop.  The kits contain all the papers, ribbons, flowers, and cutouts you will need to create an additional set of 5 cards for only $18!!  This kit is ONLY available to workshop participants who have already paid the initial workshop fee, and is completely optional.  You will be able to send everyone on your Christmas card list a beautiful card made with love.
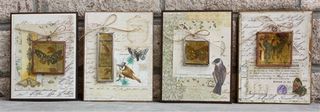
 

FALL 2010 Class Pics-1-4
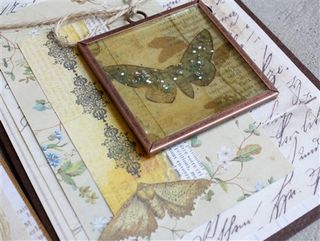
Framed Nature Notecards Workshop with Melissa Samuels $38
In this workshop you’ll create four beautiful nature themed notecards and envelopes good for any occasion or season. Use Suze Weinberg's melting pot, UTEE, and Beadazzles to make Memory Frame charms that resemble fossilized pieces of nature. The recipient of these cards are sure to treasure them as they are, or they can remove the charm to use as a sun catcher or ornament.  A great Christmas or teacher appreciation gift.  Note**Melting Pots and all materials needed to create 4 cards will be provided. 

Brandermill: Friday, Nov. 12th from 6-9pm      

West End: Friday, Nov. 19th from 6-9pm
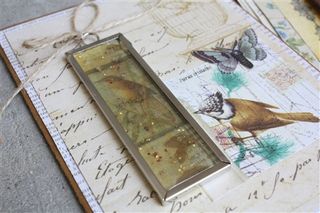
FALL 2010 Class Pics-1 FALL 2010 Class Pics-1-3

Click here to see what Suze Weinberg blogged about my cards!!
 

Art Journal Page

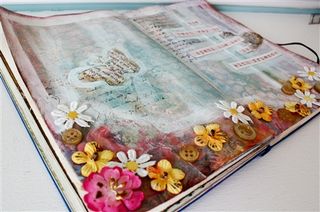
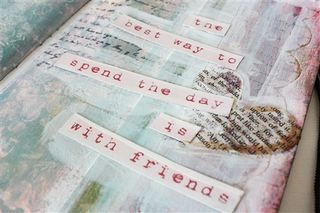
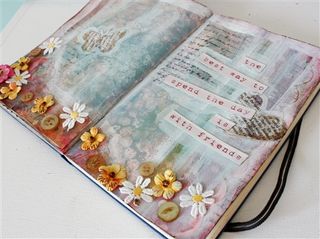
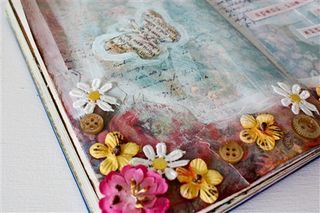
It always happens this way, I start cleaning my studio, it's going pretty good, and then I get sidetracked.  Sometimes I think my kids, ages 2 and 4, have greater attention spans than I do.  At any rate, here is what I did today after I got bored with cleaning. 

Art journaling in pink-1 

Art journaling in pink-1-3

Art journaling in pink-1-2 

Art journaling in pink-1-4

“The Key To Time” Townhouse Tutorial


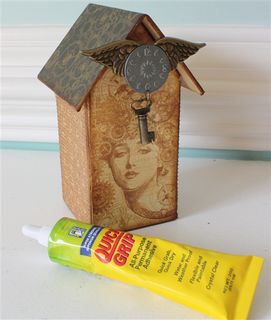
Altered birdhouse-1

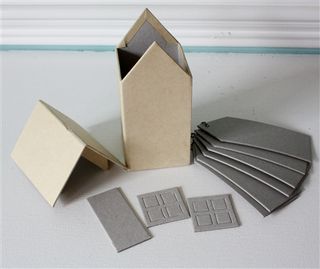
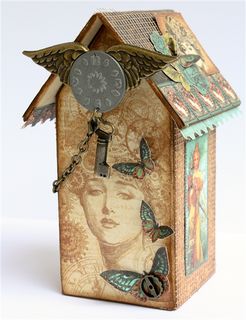
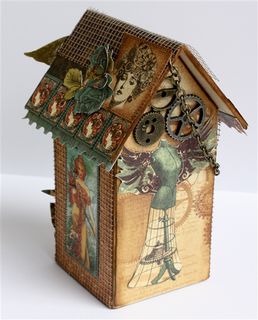
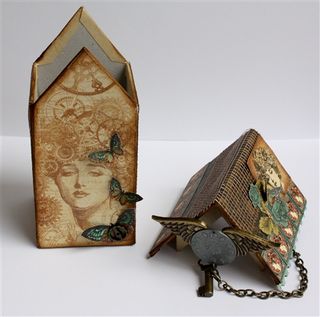
Hello All!  I have a little tutorial I thought I'd share with you!  I bought these super cute chipboard Townhouses at CHA for my shop, and I've been dying to make one to show you some of the possibilities.  At first I was going to paint it, but then I thought I would cover it in paper.  Of course, 7 Gypsies' Conservatory was the first paper to pop into my head, because it has a beautiful nature theme that would be perfect for a birdhouse.  BUT, that would be WAY too predictable.  So, going against the grain, I decided on my fav Graphic 45's Steampunk Debutante.  OH YEAH…
So, here we go…

Altered birdhouse-1-2 

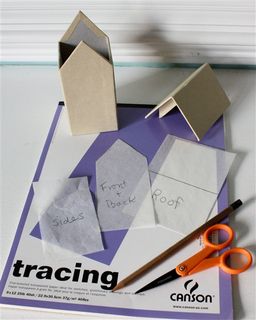
Use tracing paper to create templates of the side, front, and roof.

Altered birdhouse-1-3 

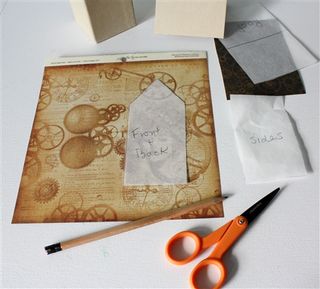
Pick an image on the paper that you would like to use on the front of the Townhouse.  Use the template to trace and cut it out.  Trace and cut out the back, two sides, and roof.

Altered birdhouse-1-4
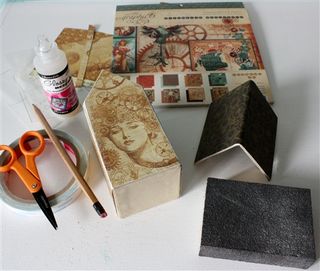
Adhere cutouts to the Townhouse.  I used a combination of Scor-Tape and Glossy Accents, but whatever your favorite adhesive is will work.  (Gel medium or Modge Podge would work great, too!)  Carefully sand edges to get a clean look, and to reveal the white of the paper.

Altered birdhouse-1-5
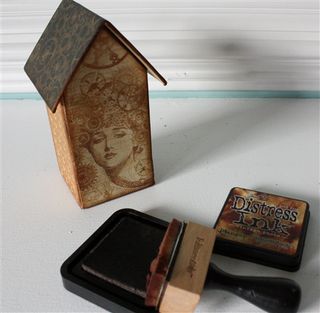
Using distress ink and a blending tool, ink the sanded edges.  (If using Modge Podge or gel medium sand and ink first.)

Altered birdhouse-1-6 

Embellish!  If you are using hardware like I did, Beacon Quick Grip is a wonderful all-purpose adhesive great for metal and holds fantastically.
Altered birdhouse-1-7 

Altered birdhouse-1-8 

Altered birdhouse-1-9 

Altered birdhouse-1-10 

Altered birdhouse-1-11
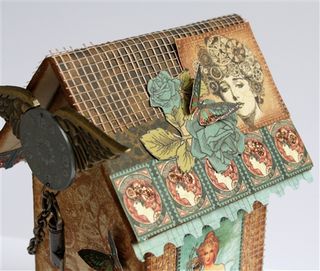
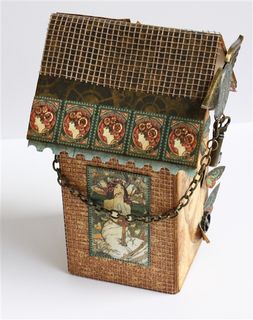
I added cutouts from the paper, Magic Mesh, and Stickles as a finishing touch.  I haven't finished the mini album that was included with the Townhouse, but when I do I'll post pics.

The Maya Road Townhouse, Graphic 45 paper Steampunk Debutante paper, and 7 Gypsies Charm used in this project are available for purchase & ready to ship in my store.

Tutorial linked to:

ArT JoUrNaLing by the river

Art journal-Shenandoah-1-10
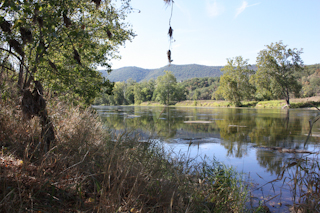
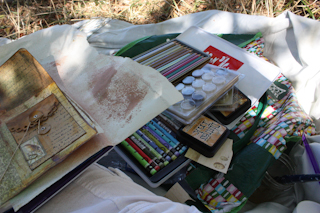
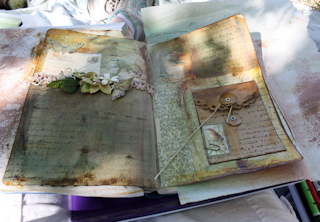
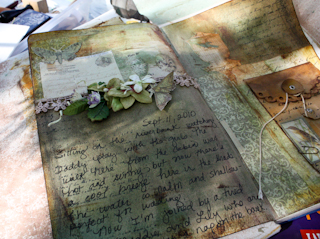
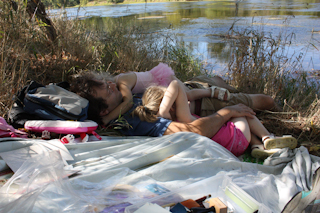
If you read my post about our weekend getaway at Shenandoah River State Park, you may have caught the part about me art journaling on the riverbank.  My DH packed my art supplies in his backpack, and took them on our hike to the river.  While he and the kids played (and then napped), I did a couple art journal pages.  It was so peaceful and serene to be fully immersed in nature, listening to the splash of the minnows breaking in the water, smelling the sweetness of the grass, and watching butterflies floating through the air.  I could have sat under that cool shade tree all day. 

Art journal-Shenandoah-1-5
Art journal-Shenandoah-1-6

Here's what nature inspired in me…

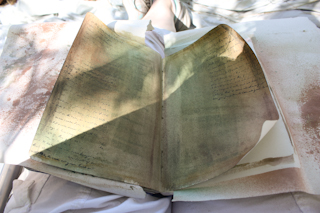
Art journal-Shenandoah-1 I stamped, then sprayed the page with Glimmer Mist.  I used a couple colors of watercolor crayons to get the color I was looking for.

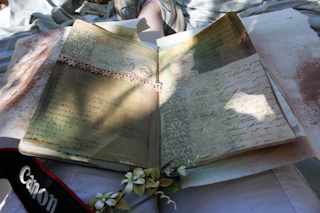
Art journal-Shenandoah-1-2 I collaged some of the page with 7 Gypsies' Conservatory paper.  I sprayed lace with Glimmer Mist, and added it to the page.

Art journal-Shenandoah-1-3 I inked the pages with distress ink, and added a flower.  I stamped and ink a pocket, added a cutout from the paper, and attached it to the page.

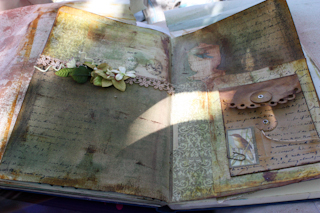
Art journal-Shenandoah-1-4 I added some butterflies and a cutout from the paper.

Art journal-Shenandoah-1-8 I finished the page with some journaling.  Maddie found some shells in the river to go in the pocket, and I picked a piece of grass.

Art journal-Shenandoah-1-7
It was a beautiful day!