Accordion Fold Mini Book Finished Project – PART 2

Hi Everyone!  Today I have the finished project from last week’s accordion fold mini book tutorial.  If you miss it, you can find the post here.  I have already seen some seriously awesome books you guys have made!  Thanks for sharing as I always enjoy seeing what you all create from ideas here.
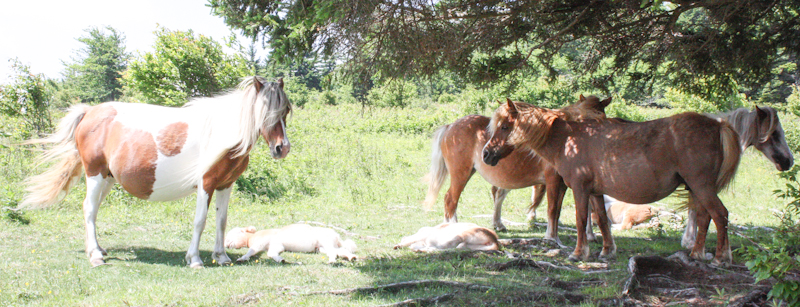
Accordion Mini BookAccordion Mini Book Melissa SamuelsThis is a very special little journal book for me as it showcases some of our adventures on our recent family vacation to Grayson Highlands, one of my favorite scenic destinations.  We hiked the Rhododendron Trail to see the wild ponies, one of the most exciting events of the trip for the girls.  It is quite an experience to have wild ponies walk right up to you.  We were fortunate enough to find a large group of Momma ponies that had just given birth.  It was a beautiful moment.
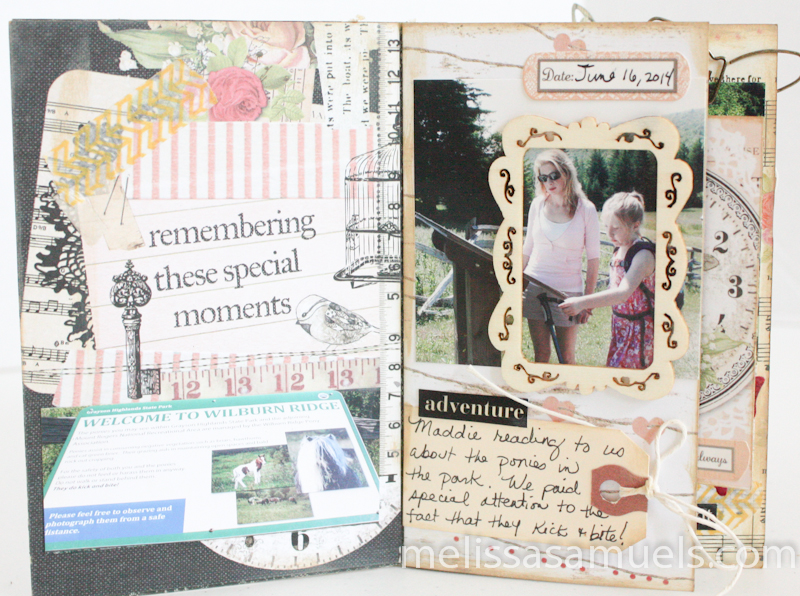
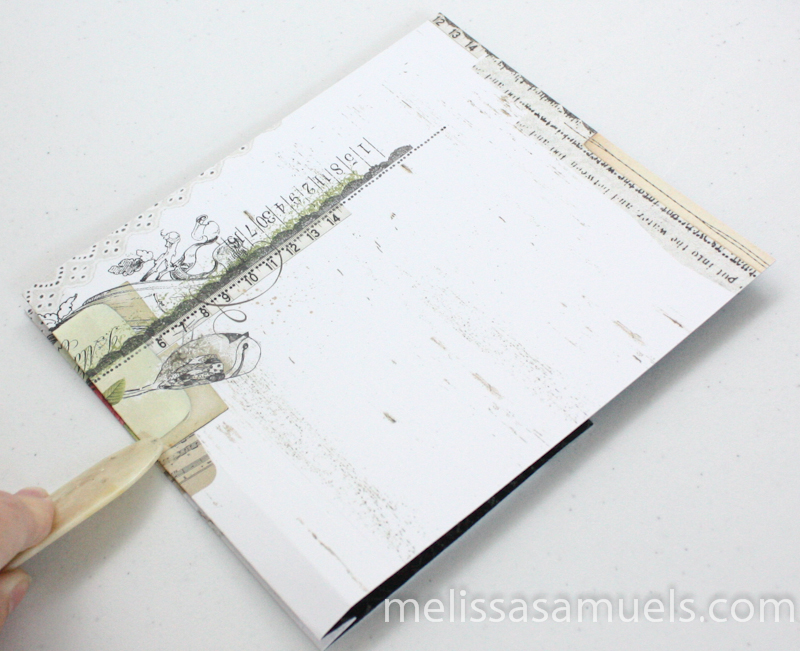
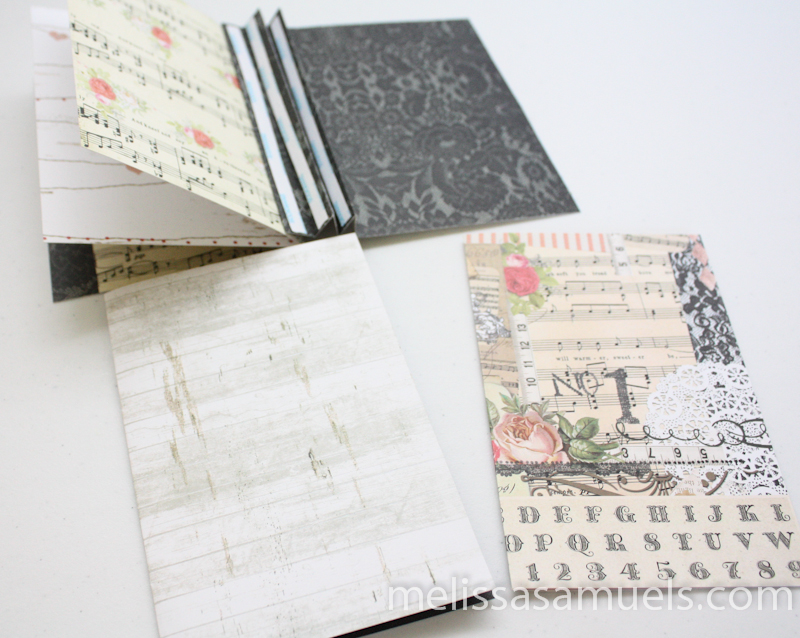
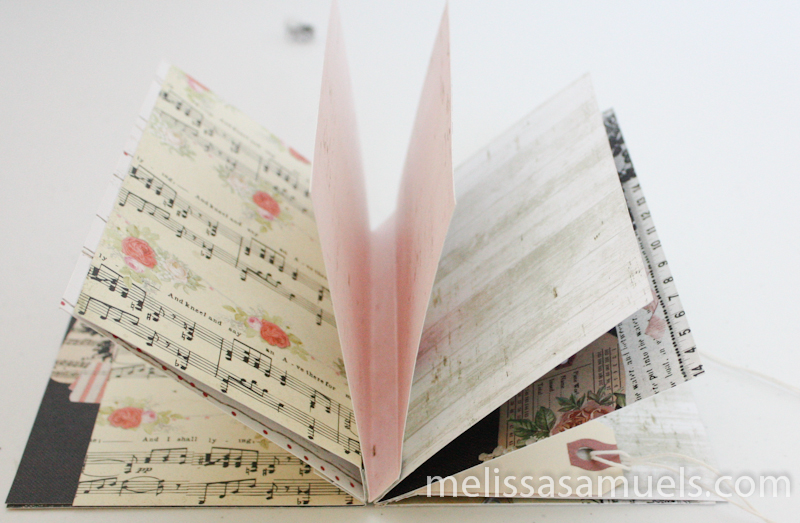
grayson-1-2Accordion Mini Book Melissa Samuels Here is the first set of pages in the book.  The page to the right is the small page we scored at 3/4″.  I added a wooden frame, and jouraling tag.  Oh, and I inked the entire book with Prima Shabby Tote chalk edger.
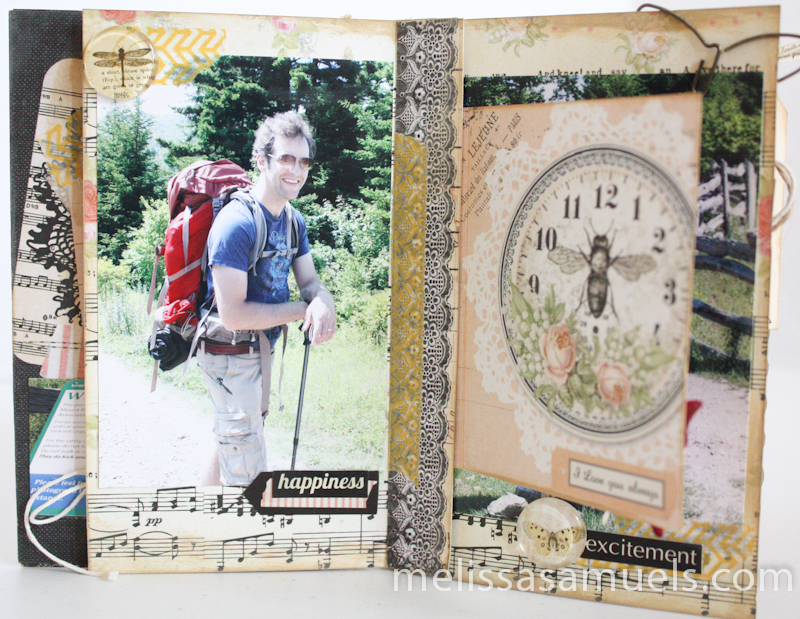
Accordion Mini Book-1Remember we had an overlap on the right side of the page?  I scored and added a flap underneath the overlap.  I adhered a border over the 1/2″ score.
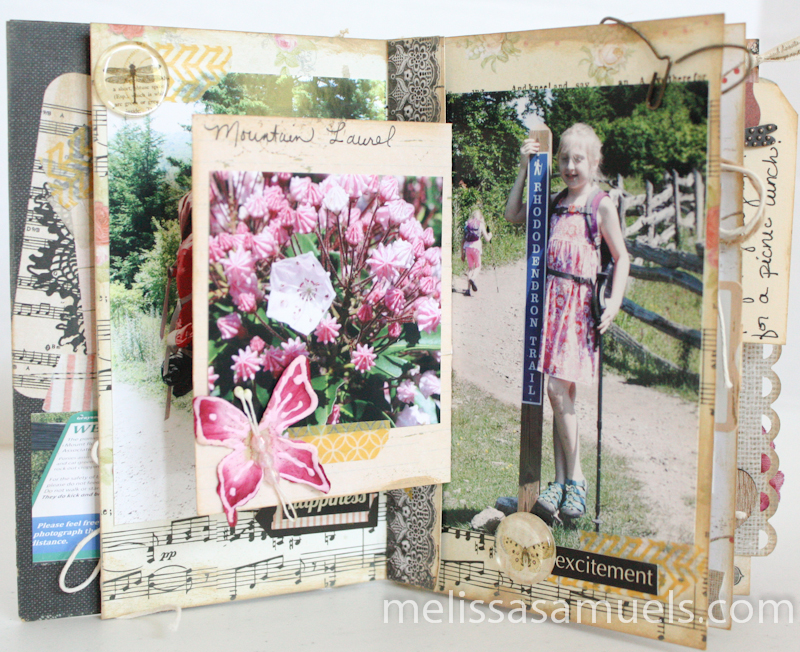
Accordion Mini Book-1-5The flap gave me extra space to add a photo.  I love adding layers with the yellow washi tape.
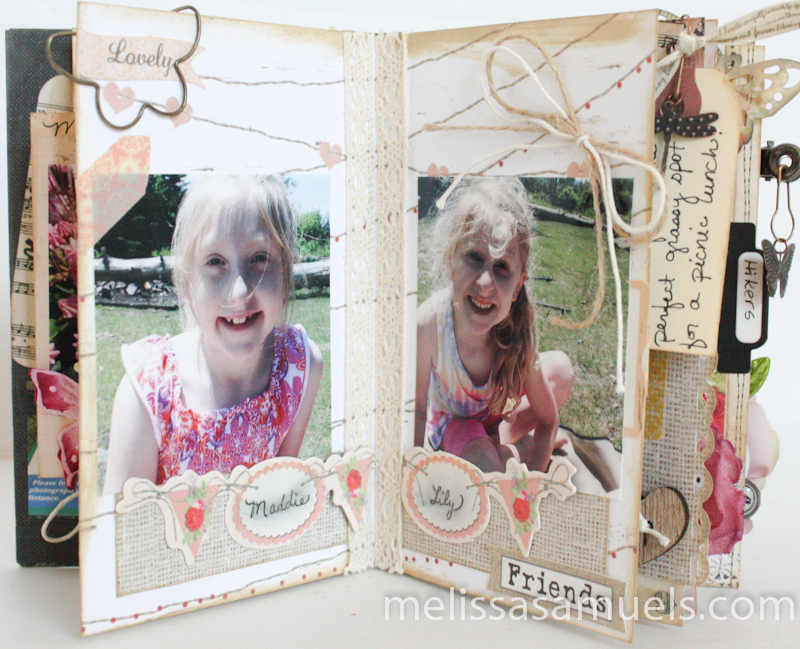
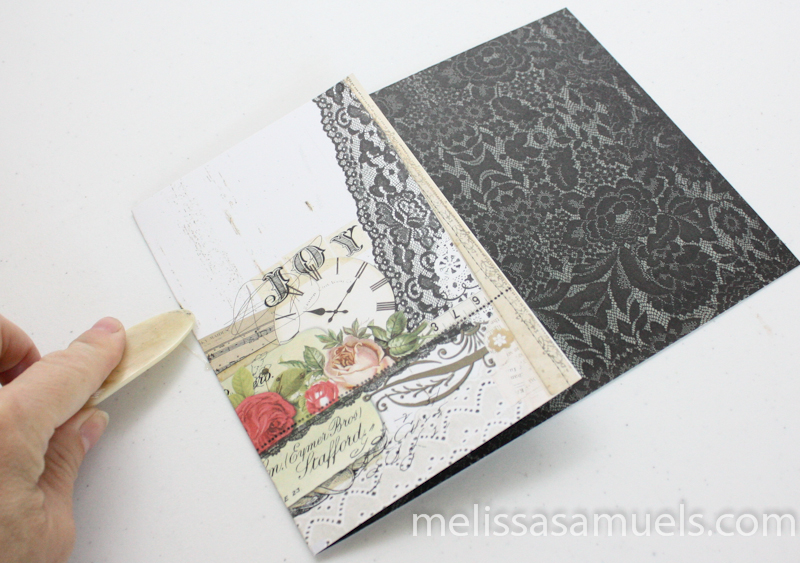
Accordion Mini Book-1-6This page consists of a full size page, and scored page (see tutorial)  I added 1/2″ Prima lace trim over the scored page on the right (against the seam) to give the illusion that it is 2 full size pages.  I added lace to the left to match.
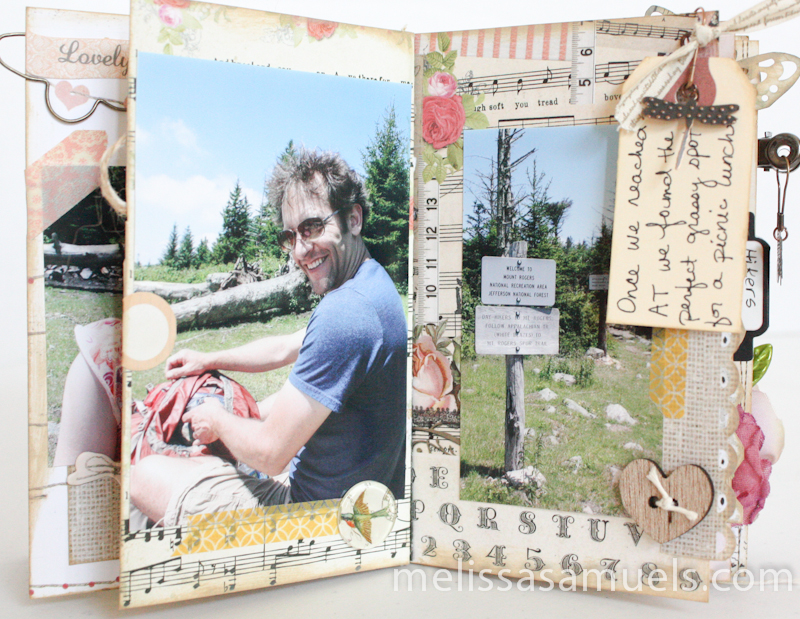
Accordion Mini Book Melissa SamuelsOn the right page, I added an eyelet at the top right corner for hanging a journaling tag and charm with an artist pin.  I tied a small piece of Prima ribbon to the pin.  I also added a punched border to part of the edge of the page.
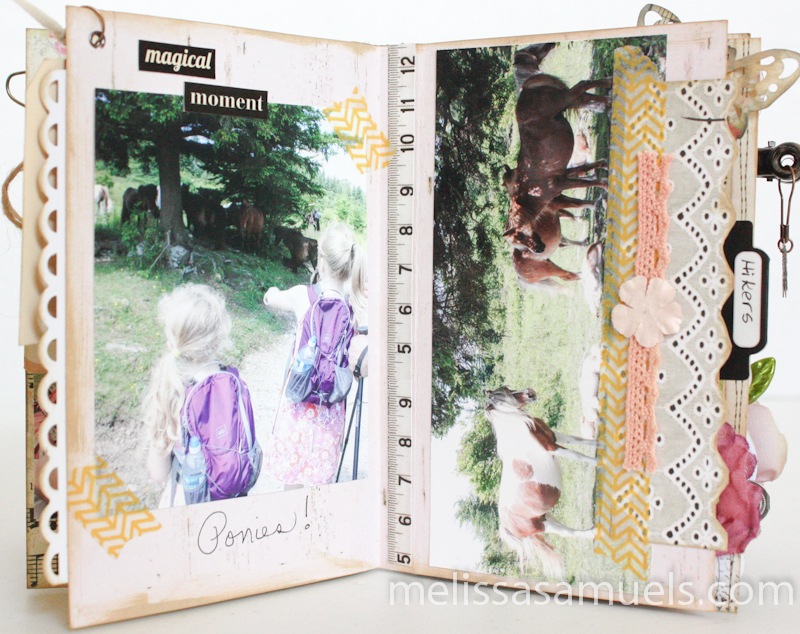
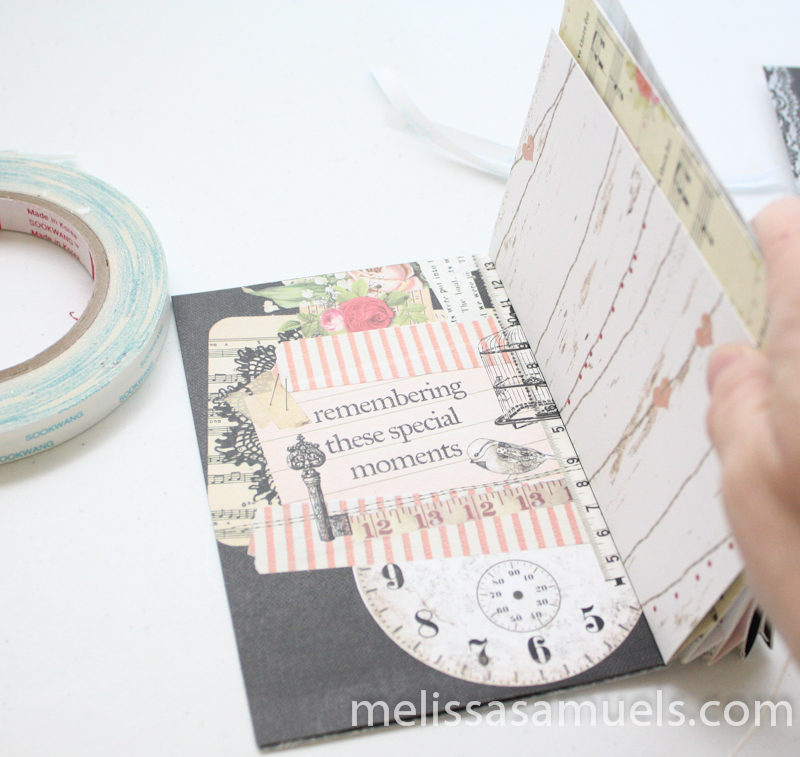
Accordion Mini Book-1-14On the left page you can see the punched border overlapping from the previous side, love it!  On the right I adhered a ruler border I cut out from paper to the scored page to again give the illusion of a full size page.  More washi tape :) !

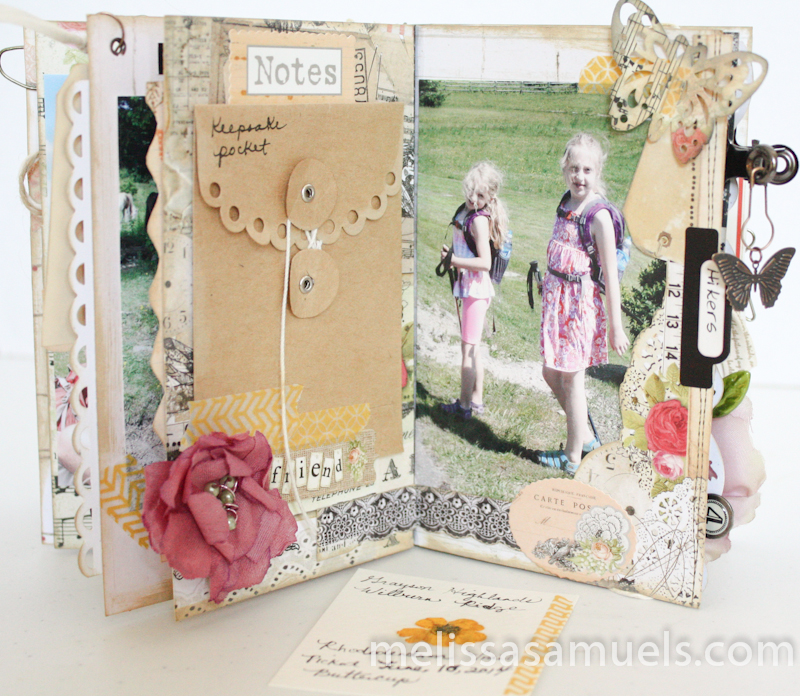
Accordion Mini Book Melissa SamuelsOn the left, I added a kraft pocket, and inserted a little dried flower we picked along our walk.  I adhered the flower to watercolor paper with gel medium.  On the right, I cut out images and overlapped them over my photo.  The butterfly is from a punch.
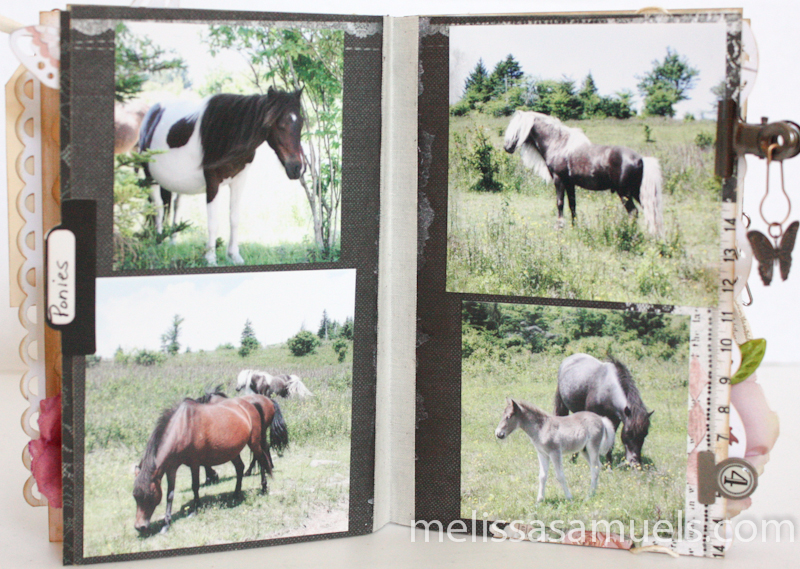
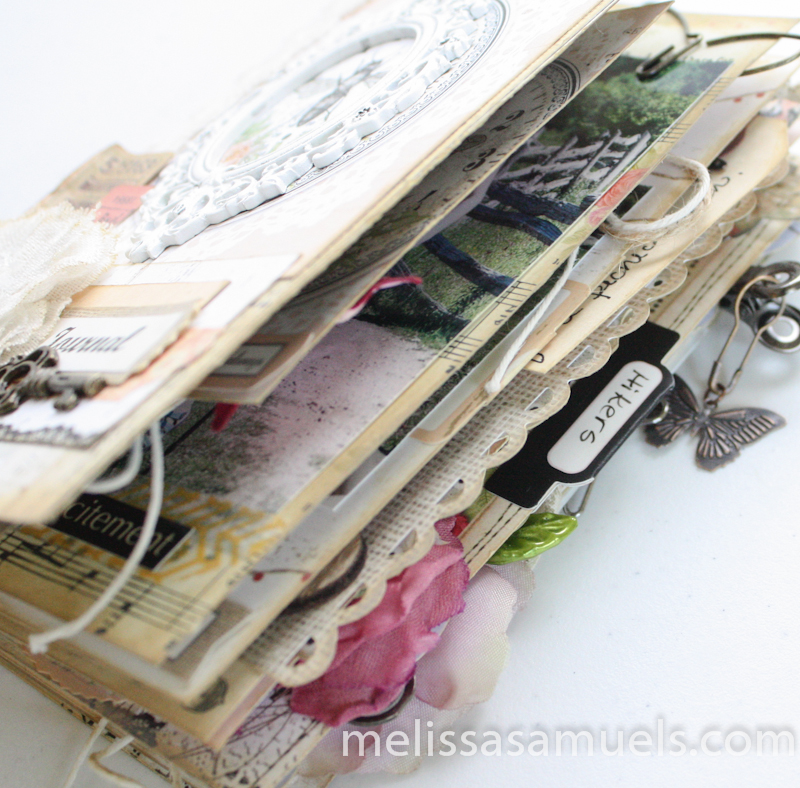
Accordion Mini Book-1-9I kept this page pretty simple.  I added canvas tape down the seam.  I placed tabs along each edge of the page.
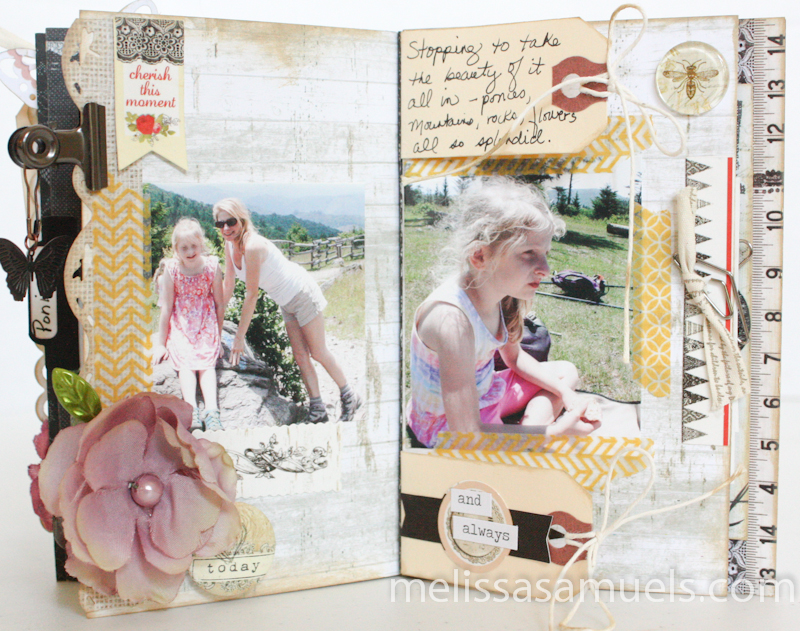
Accordion Mini Book Melissa SamuelsI added some journaling to my tags we made into the book, but plan to go back and add more to each side.  I used more washi tape, my fav, and a flower with a leaf pin.
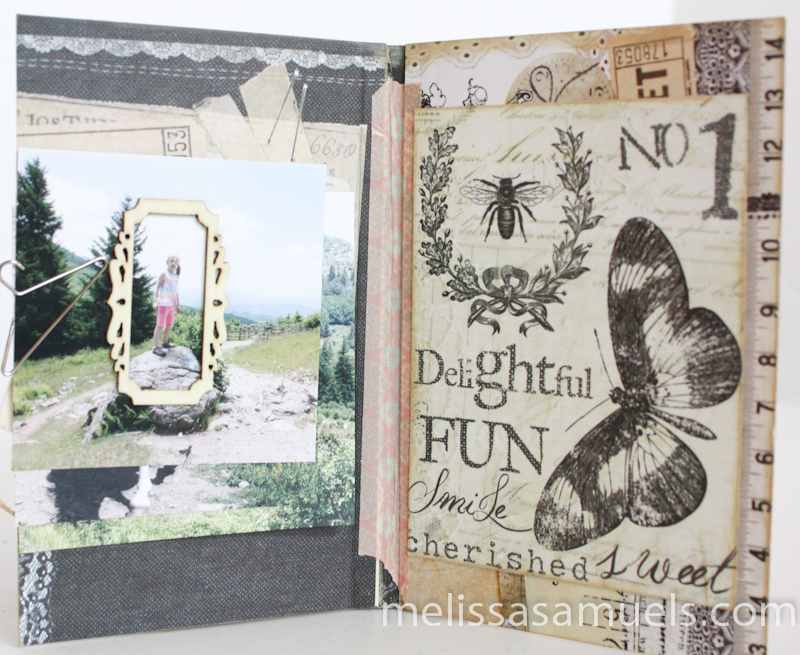
Accordion Mini Book Melissa SamuelsI may change this later, but for now I have paperclipped a few photos I liked to the page.  I added washi tape to the seam.
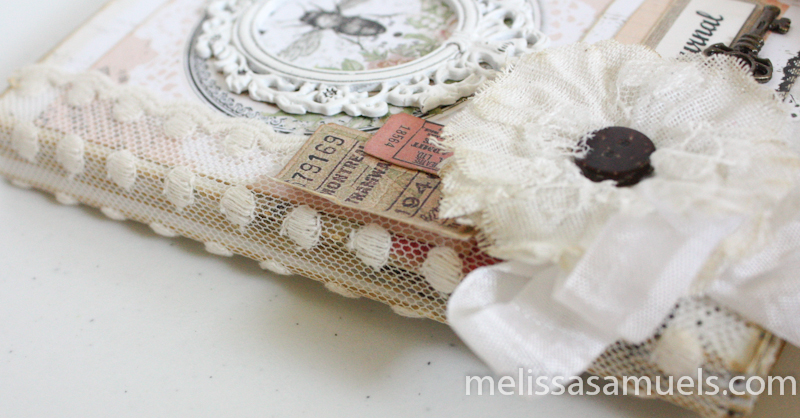
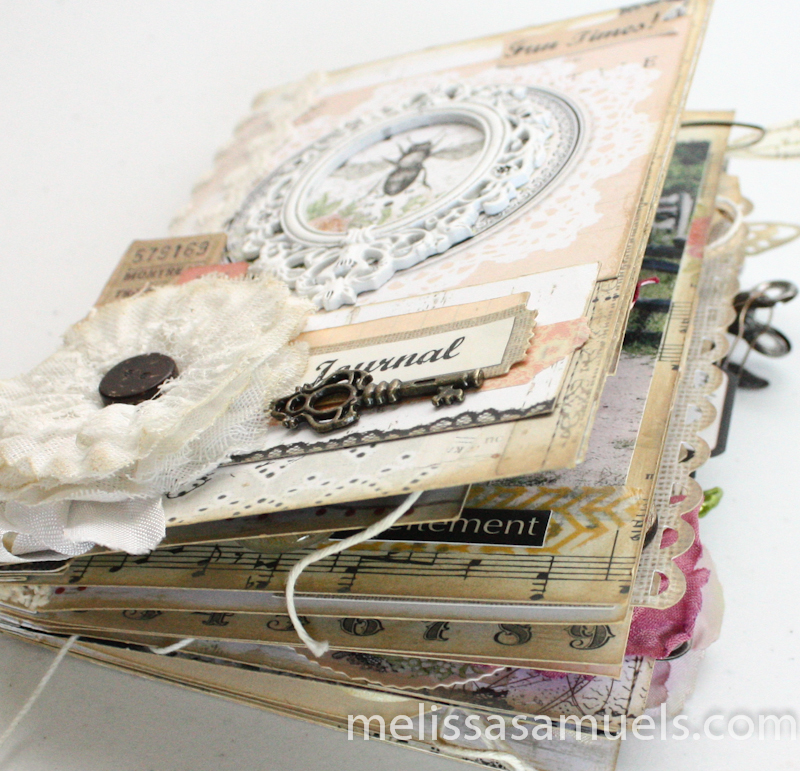
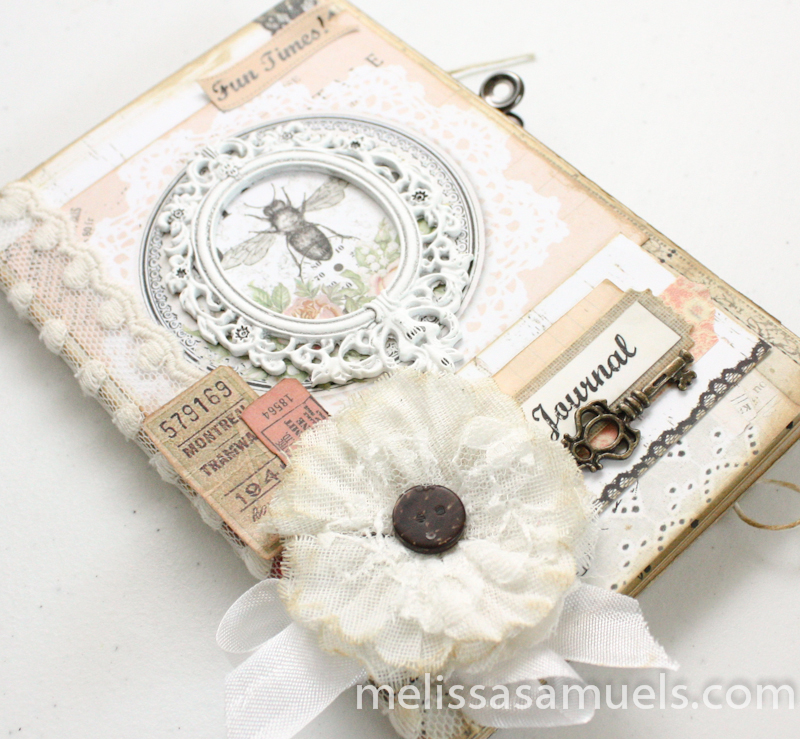
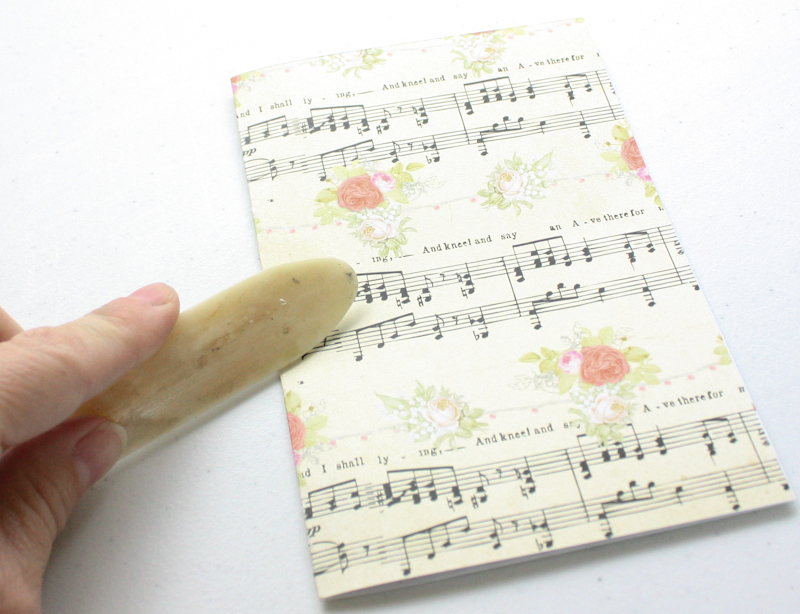
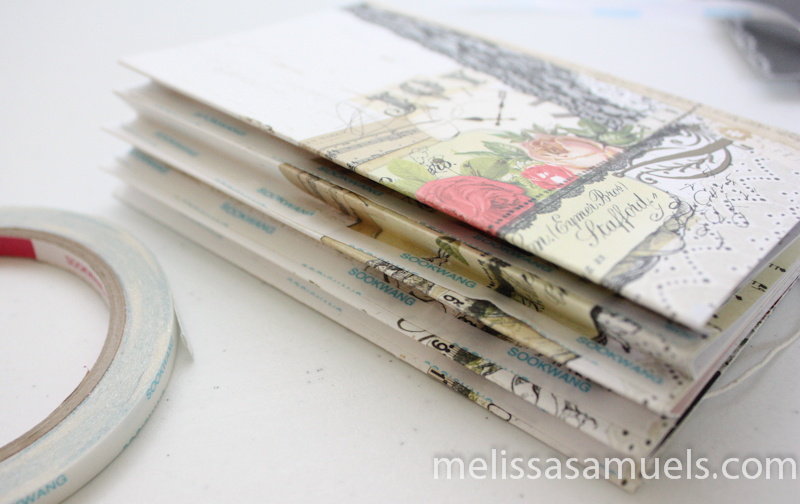
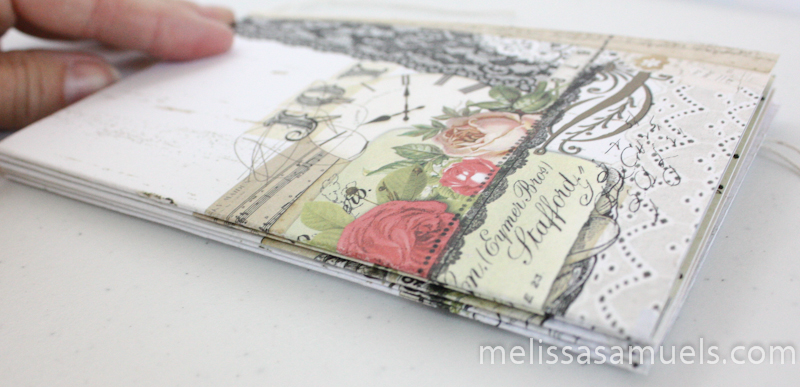
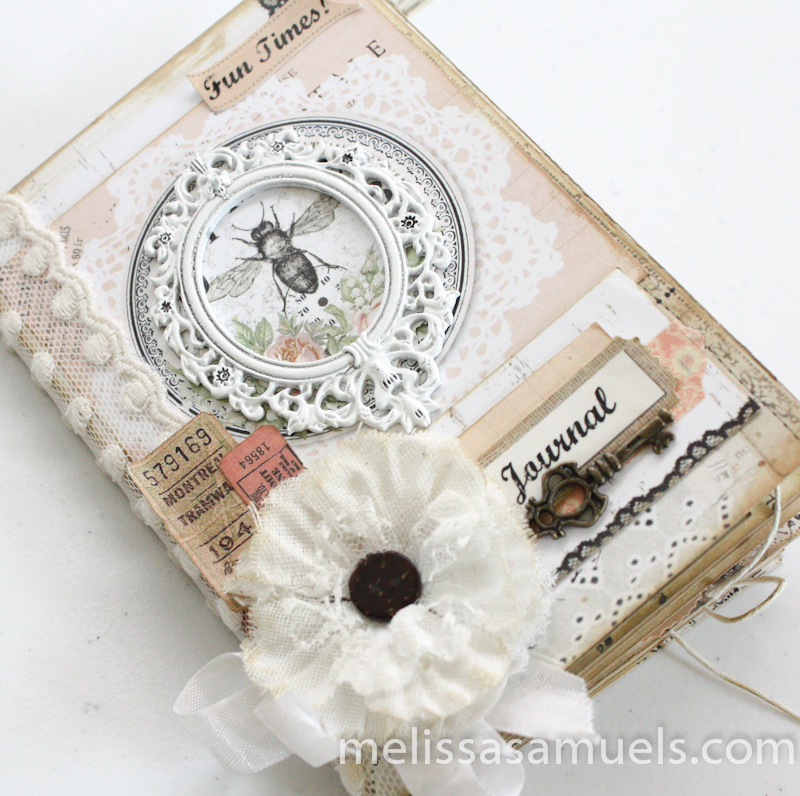
Accordion Mini Book Melissa SamuelsI added wide Webster’s Page lace to the spine to add interest.  On the front, the flower is Prima canvas and burlap and the key is Graphic 45 metal ornate keys.
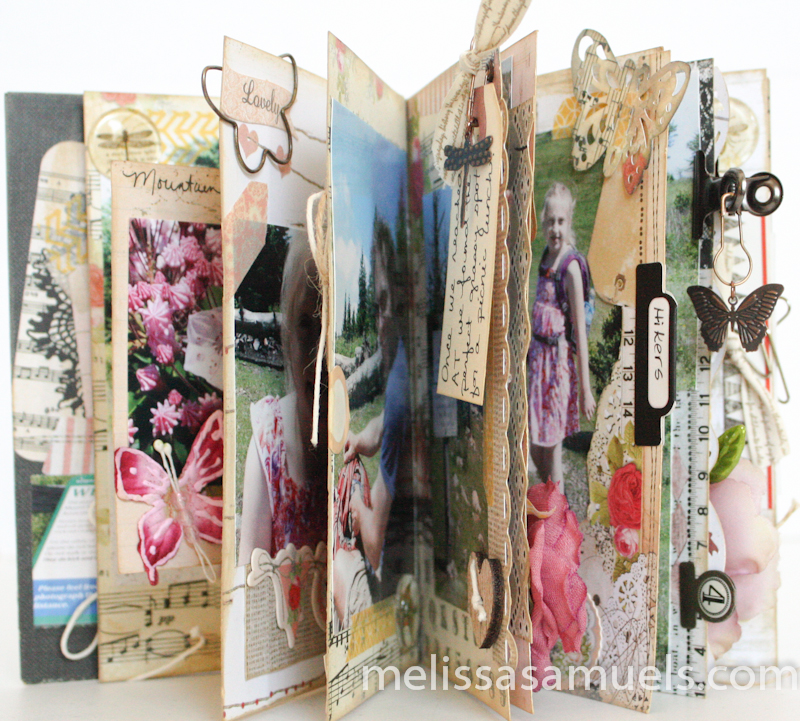
Accordion Mini Book Melissa SamuelsAccordion Mini Book Melissa SamuelsI love how this quick, easy little book turned out.  I am sure I will go back and add more journaling and perhaps more photos.  Sometimes is it difficult to “finish” a book you love.

I hope you enjoyed seeing the finished project, and use the Part 1 Tutorial to create your own keepsake, or gift for a friend.

6a0115711511ff970b017c34442733970b-pi


Accordion Fold Mini Book Step-by-Step Tutorial – PART 1

To all of my paper folding, mini book addicts, have I got a project for you?!  If you like creating your own customized little mini books, this is a tutorial you do not want to miss!  Can you tell I am just a wee bit excited?!

Summer is the time of year when we are all traveling or having some type of wonderful adventure.  My favorite way to document my trips is little mini books.  I do not know about you guys, but I have been becoming increasingly frustrated lately with the selection of books (or possibly the fact that I have decorated every pre-made book under the sun).  I am taking matters into my own hands, throwing caution to the wind, and winging it!  The fabulous thing about making your own books, is you can dictate the size, type of paper, tag & pocket placement, etc. to meet your needs for a specific project.

Here is a look at the super duper cute book I made for a recent trip.  And, we are going to make it together!!  FUN, FUN!  Get out your bone folders girls (and guys) we are bookmaking!

accordionbook-1-4You will not believe how easy peasy this book is!  All you will need is a paper trimmer, bone folder, 12″x12″ paper, and Scor-tape!  Shall we begin?

I started with a 12″x12″ sheet of Prima Lyric paper (now discontinued, sorry :( ), and cut it to 6″x12″.  Of course, any 12″x12″ paper will work.  I like working with this size, and I will have enough paper for another book if I really like the pattern.  The nice thing about teaching classes is I am always thinking about coming up with measurements that avoid waste.  If you wanted a really small book you could do 4″x12″ and get 3 covers per sheet.
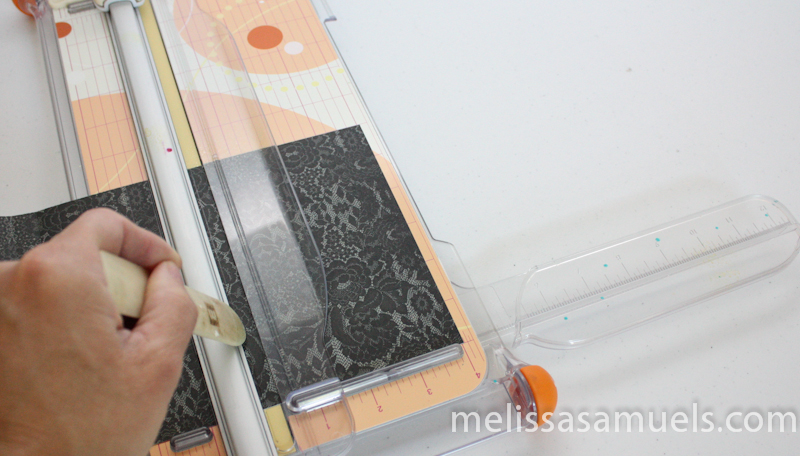
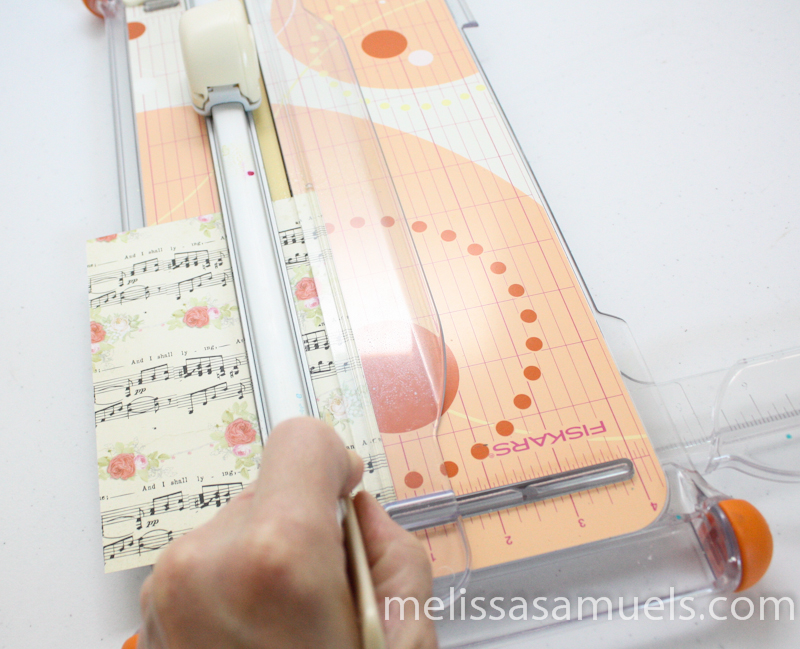
AccordionFoldBook-1Place your 6″x12″ paper into your trimmer, moving your cutting blade out of the way, and score with a bone folder at 4″, 4 1/2″, 5″, 5 1/2″, 6″, 6 1/2″, 7″, 7 1/2″, and 8″.  (This will give you a 4″x6″ book.)

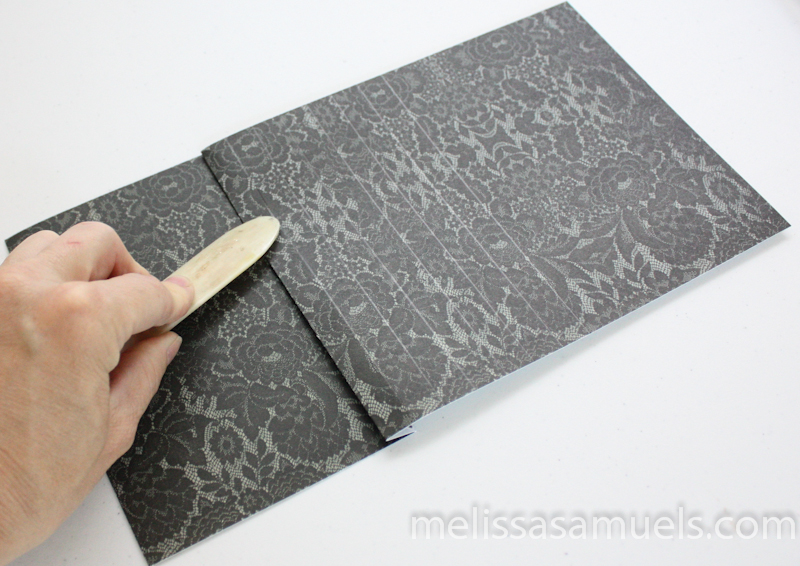
AccordionFoldBook-1-2Fold down the first scoreline at 4″ to create the cover, and smooth with a bone folder.

AccordionFoldBook-1-3Turn the book over, fold the paper back at the next scoreline, and crease with a bone folder.

AccordionFoldBook-1-4Flip the book over again, and repeat the process of folding and creasing at every 1/2″ scoreline until you get to the last score line at 8″.

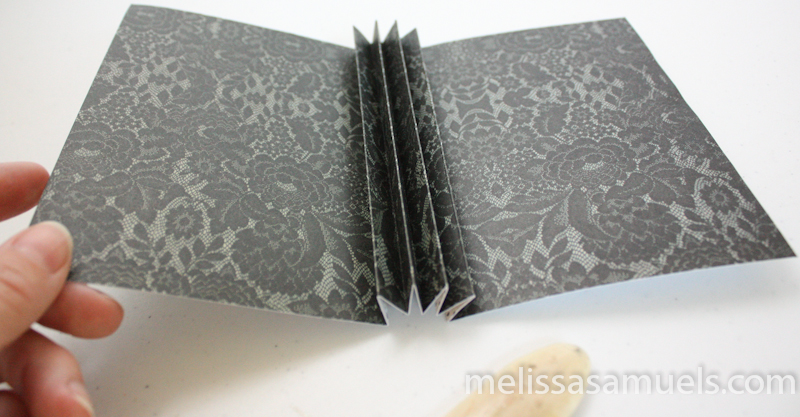
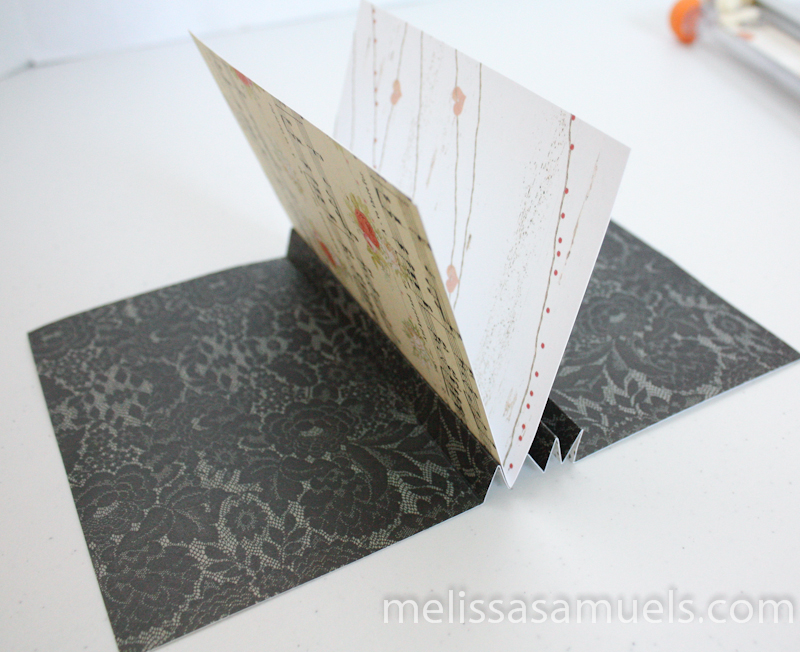
AccordionFoldBook-1-5Once you have creased all of the folds, or accordion folded your book, it will look like this.

AccordionFoldBook-1-6The inside of your book will look like this.  We are going to use the folds to adhere pages.

AccordionFoldBook-1-9In the first set of folds, shaped like a “V,” apply 1/4″ Scor-tape.

accordionbook-1-2For your pages, cut paper to 6″ x 8″.  Fold in half on the 8″ side.  Do not discard the 6″x4″ piece, you will need it later.

AccordionFoldBook-1-10Remove the backing from your Scor-tape, and insert your folded page into the “V” of your book.

AccordionFoldBook-1-11See easy, right?!

AccordionFoldBook-1-12Using the 6″ x 4″ piece that you saved back, score at 3/4″ (on the 4″ side).

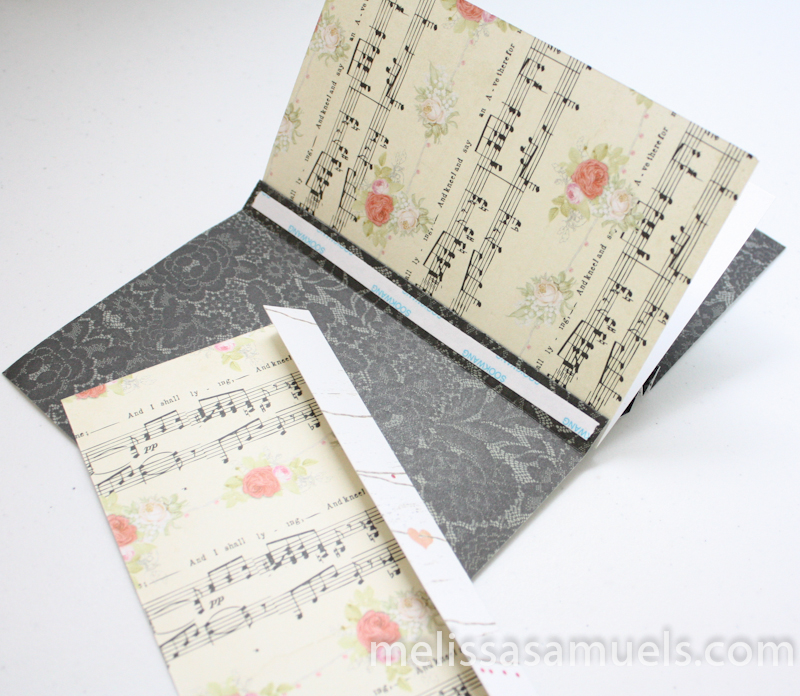
AccordionFoldBook-1-14Crease the 3/4″ scoreline, and apply Scor-tape to the front of your “V”.  This is going to give you your first page.  It is a smaller size, which creates interest in the book, and allows you to add borders, trim, etc.  It would be boring if all the pages were the same!

AccordionFoldBook-1-15Adhere into place.  You will have 1/4″ overlap, but we are going to take advantage of that space later.

AccordionFoldBook-1-16Cut 2 more pages to 6″ x 8″, fold in half on the the 8″ side, and adhere to the rest of the “V’s.”

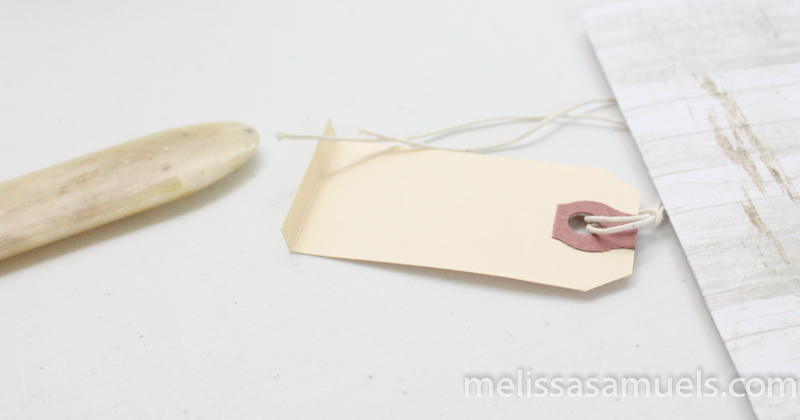
Accordion BookUsing a small shipping tag, score and crease at 1/4″.

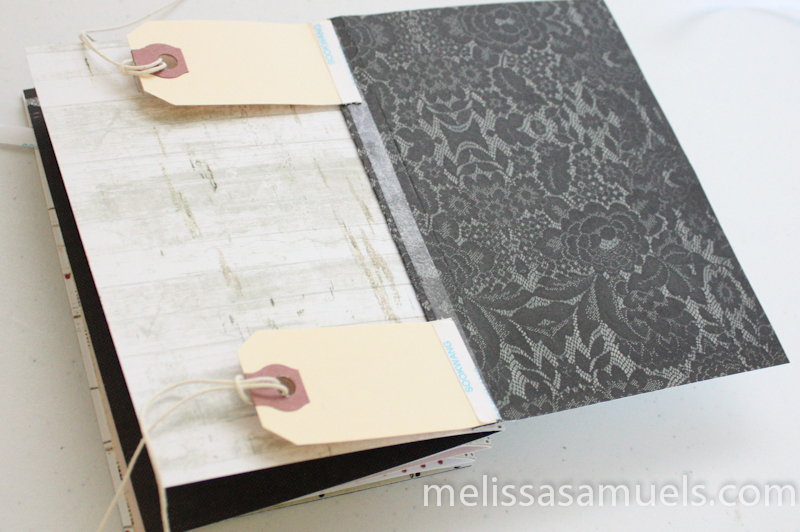
AccordionFoldBook-1-18Add tags to the back of the last “V” and apply Scor-tape over it to adhere the last page.

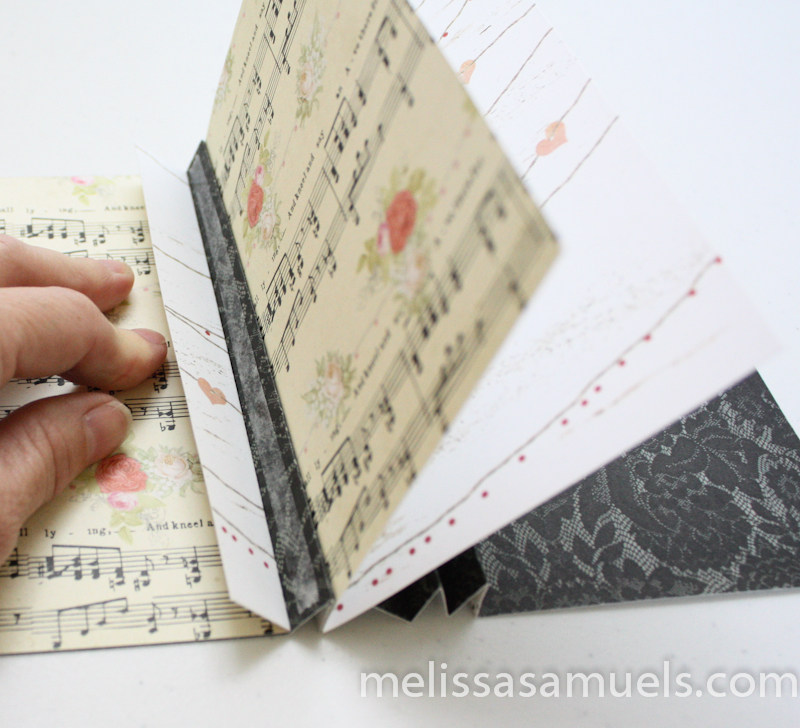
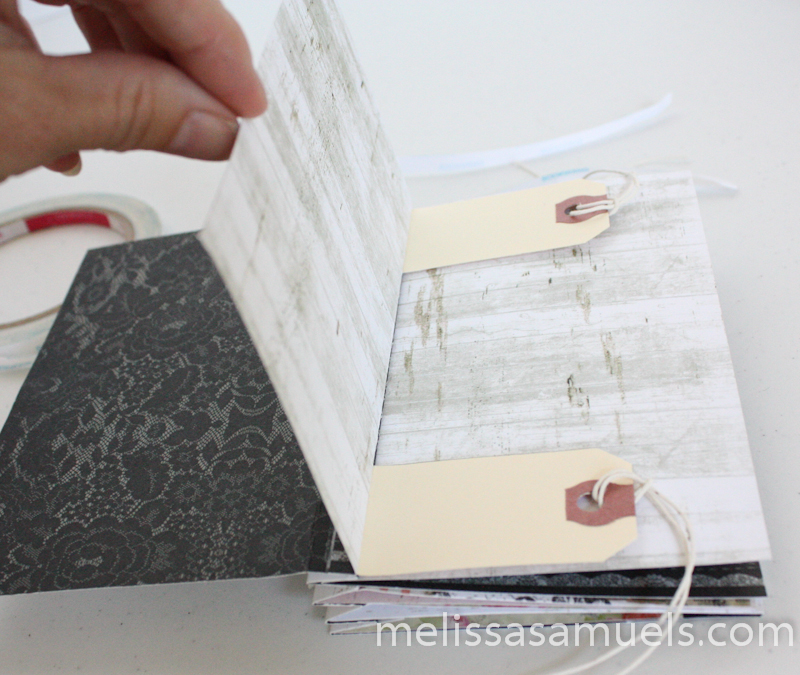
AccordionFoldBook-1-19Score a 6″ x 4″ piece of paper at 1/2″ and crease.  Adhere over the tags.  Now, go back through your book, and fold and crease the 2 full size inner pages at the 1/2″ accordion fold “V” that are back to back sets.  In the 2 folded sets of pages that we made, they are the pages on the right.  You want to fold them inward, or to the left.  You will know which ones when you flip through the book because they are back to back with the other full size pages.  (Basically, you are doing the same thing inside of the book as you did with the first and last page only bending and folding instead of scoring.)

AccordionFoldBook-1-20Add another 6″ x 4″ scrap of paper to the inside of the back and front cover to make it sturdier (optional).

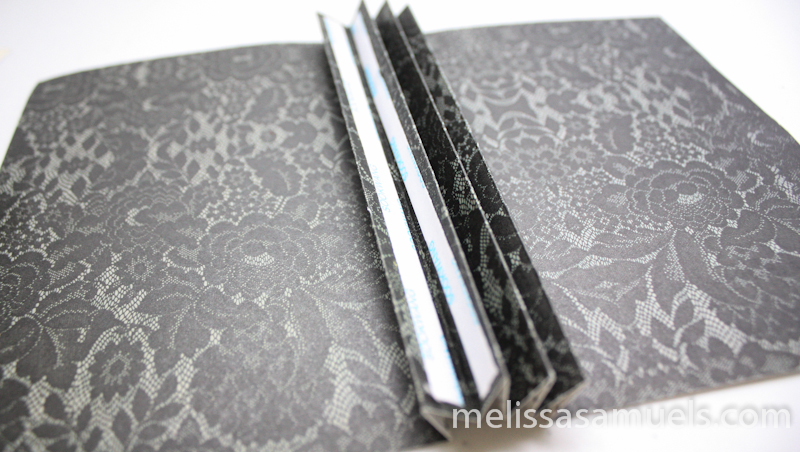
AccordionFoldBook-1-21Let’s turn our attention to the outside of the book.  Apply Scor-tape to the inside of each “V” on the spine of the book.

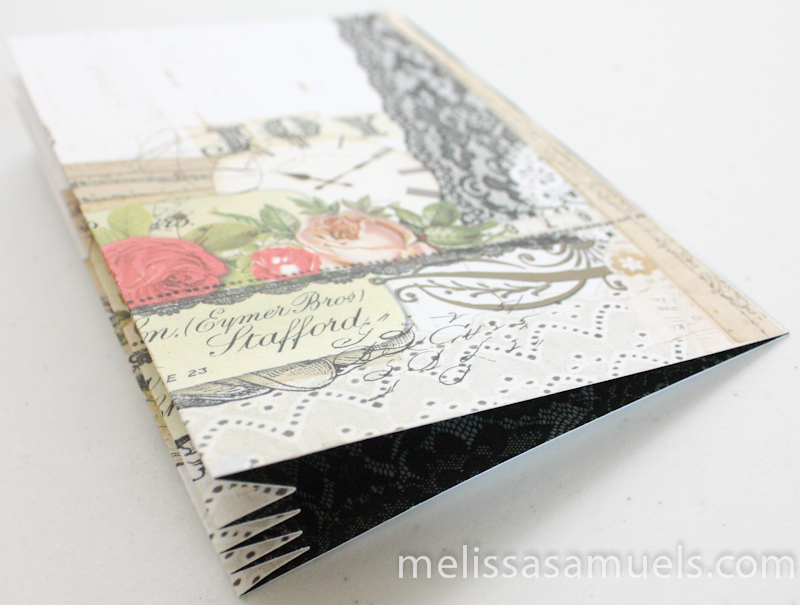
AccordionFoldBook-1-22Remove Scor-tape backing, and adhere folds together.

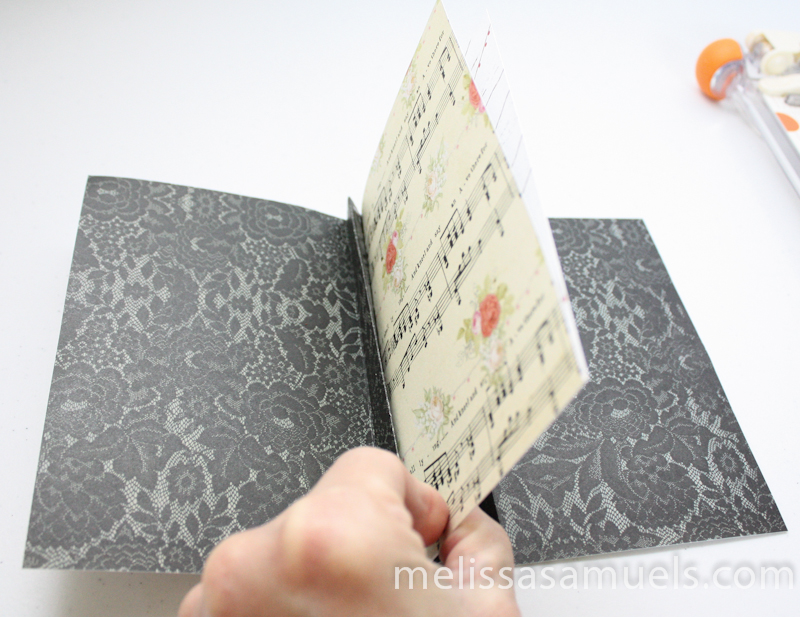
AccordionFoldBook-1-23Now we have the workings of a little mini book!

Wasn’t that fun?!  And, you thought it was going to be hard!

Come back later this week to see the finished product, and how I decorated mine.  In the meantime, get busy folding 😉

signature

Mixed Media Tag From Leftover Paints & Parts – “Cherished Friends”

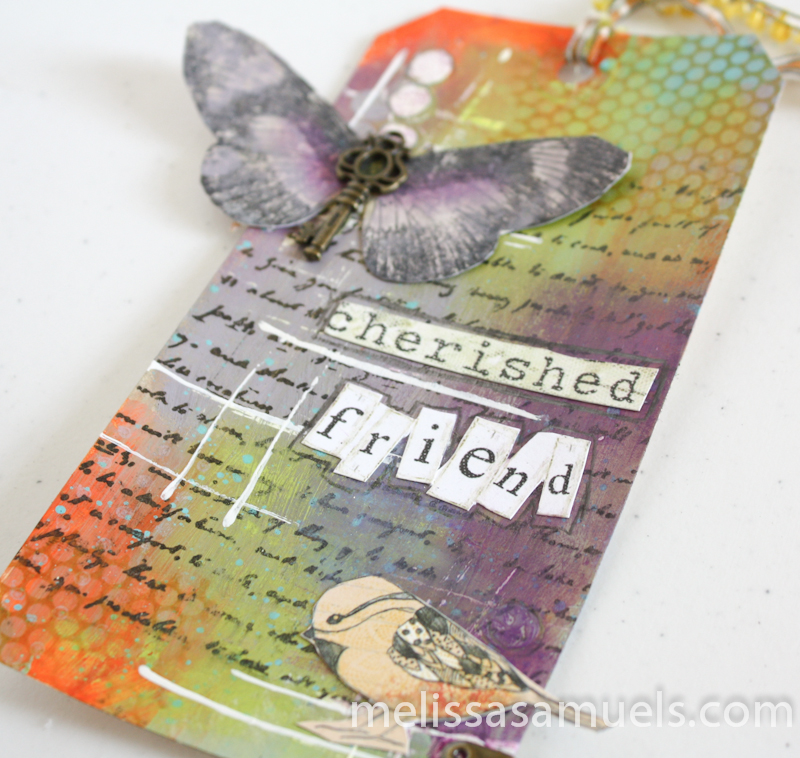
Hey Everyone!  After I finished the canvas from my last post, I made a little tag with the leftover acrylic paints and my yummy Tropical Gelatos (they look and sound like they should be edible!).  It was fun to do a quick mini project.  Honestly, a lot of what I make is from whatever happens to be on my desk.  Whether it is leftovers or something that I pulled out for a particular project but never used, often my creativity starts with whatever is in front of me.  Hopefully, I am not alone.

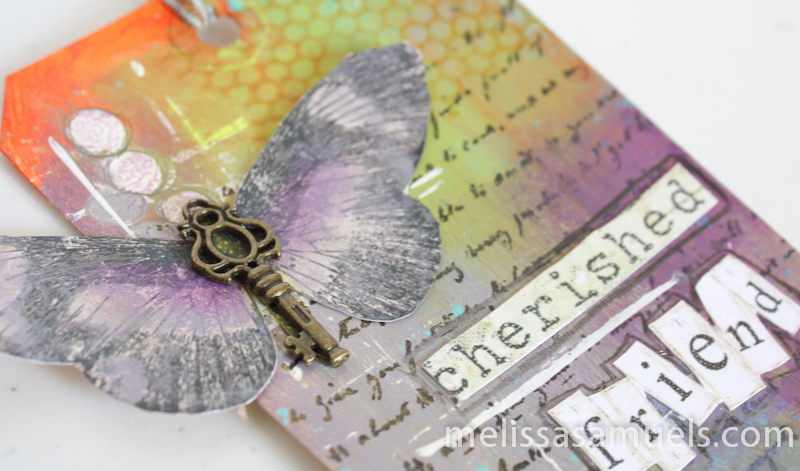
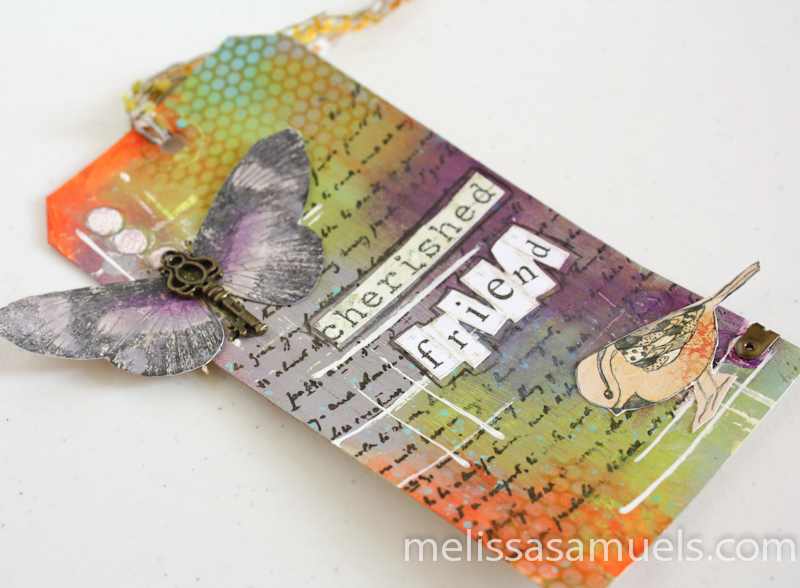
It was pretty simple to make.  I painted the tag, then stamped it with a script stamp.  I used a thick piece of scrap paper to make the white lines by dipping it into gesso, and “stamping” it onto the tag in both directions.  Also, I made the white circles with an unsharpened pencil dipped in gesso, then outlined them with pencil (a sharpened one, lol).  I stamped the honeycomb image with Prima’s Finnabair Honeycomb mini acrylic stamp in Dandelion Archival Ink.  The butterfly, bird, and words are from Prima’s Lyric 12×12 paper pad.  I added the Graphic 45 metal key to the butterfly, and done!  Super simple!  I love how bright and cheerful it is.

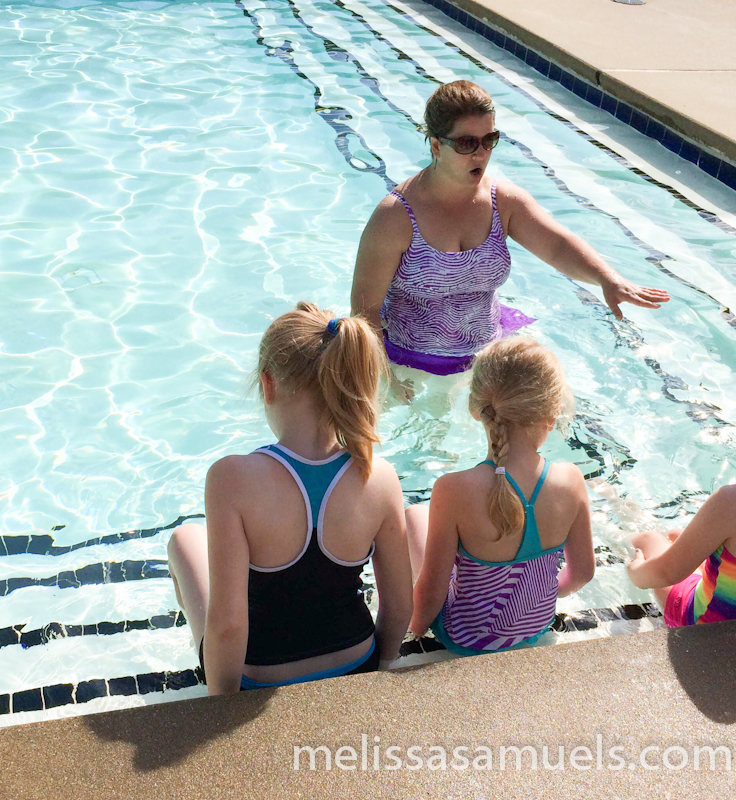
Tag-Butterfly-1-2Tag-Butterfly-1-4 Tag-Butterfly-1-3On a personal note, I hope you all are having a wonderful summer!  Last week we took a peaceful family vacation in the mountains.  I brought the girls’ journals I told you about recently.  They had a blast.  I will be sharing more about our trip in the weeks to come.  In the meantime, we are now on to swimming lessons again this summer.  Last year was a bit of a fiasco.  I made the mistake of buying Groupon lessons, and the instruction was, let’s say, less than stellar.  This year we picked a wonderful facility, and the girls have already learned so much more in 3 lessons than they did in 2 weeks last year.  And, best of all, they are having fun learning!

swimmingcropped-websitelogo.png

Acrylic Painted Girlie Face on Canvas

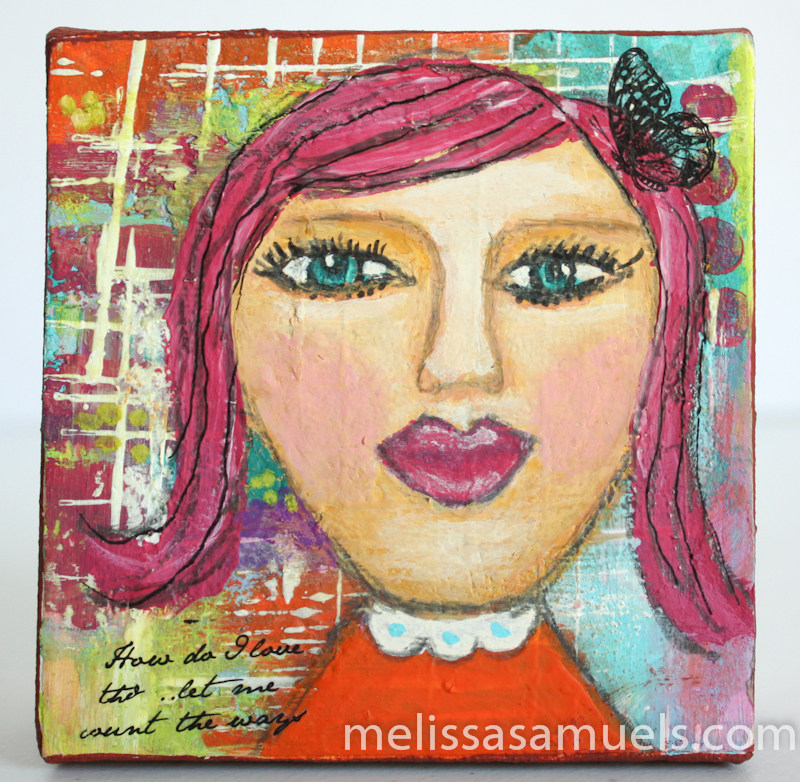
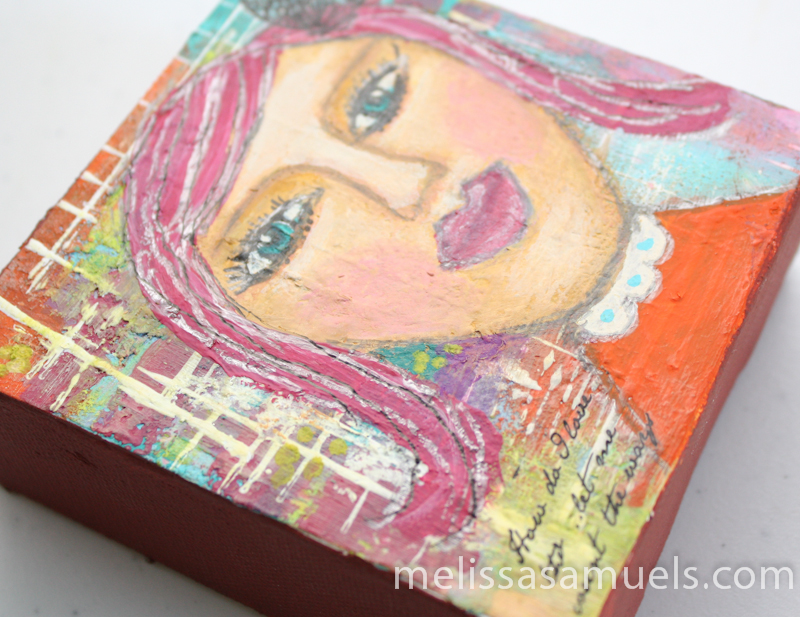
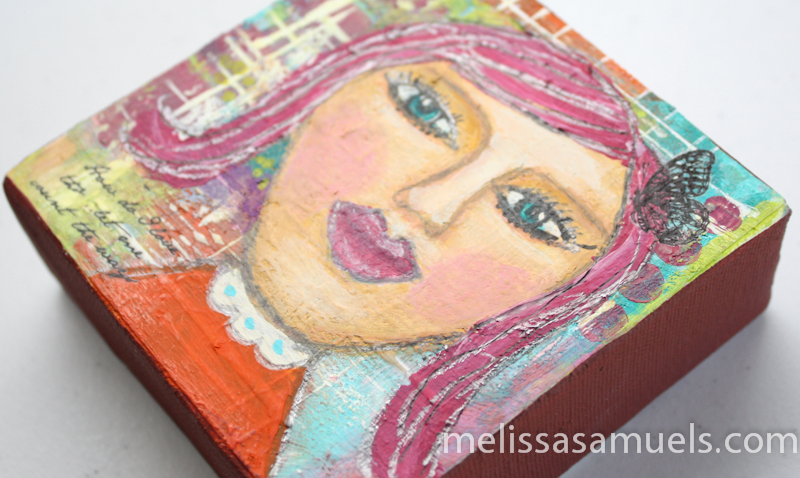
Today I wanted to share with you a little girlie face I created on a 4×4 canvas.  I have been trying to challenge myself more, and create the type of art I find enjoyable.  I love little girl faces, and have sketched them in my art journal for quite some time.  I usually do them in graphite pencil, colored pencils (my favorite method), and I have even done a few in pastels.  I often cut them out and collage them onto an acrylic painted background, but rarely do I paint them directly onto the background.  I know, I have been taking the easy, safe way out.  In my effort to challenge myself, and remembering I have a bucket of gesso on standby, I created a background using acrylic paint and Tropical Gelatos, then painted the girl directly onto it with acrylic craft paint.  The craft paint did not have good coverage, but I made it work.  I can definitely see the benefit to investing in good quality Golden paints for faces on painted backgrounds.  You can probably guess where my next trip will be :)

She is not perfect, and I know I could use more practice to get her just right, but overall I am pleased with my first attempt.  And, it wasn’t half as scary as I thought :)

Canvas-ButterflyGilr-1-4Canvas-ButterflyGilr-1-3 Canvas-ButterflyGilr-1-26a0115711511ff970b017c34817aa1970b-320wi

One woman’s trash is another woman’s treasure – Ephemera Card

I am a collector, accumulator, or my husband might say hoarder.  I call it having a skillful eye at recognizing usefulness.  I know the second I throw away that little scrap of paper or tidbit of lace that has been taking up space in one of my drawers for possibly years (or more realistically approaching decades) I will need it desperately for a project I just started.  That is why I have a very difficult time throwing things away.  I am not a discriminating collector, either.  I collect it all, new paper collections, ribbons, buttons, brads, and flowers, as well as anything vintage that I can envision fitting on/in a mini book, card, layout, journal, or other piece of altered art.  I especially love ephemera.  I save things like movie tickets, cards, travel brochures, newspaper from a trip, the price tag to my favorite fleece top from REI, the pretty kraft paper insert that came inside the locally grown carton of eggs I buy explaining what makes a happy chicken…you get the idea.  I like old ephemera, too.  I collection old book pages, maps, postcards, dictionaries, letters, and stamps.  To me, these are things that are not only pretty, but are apart of history, whether mine or someone else.  They tell a story even if we do not know what it is.  When I am collecting ephemera, it is because I found something that I love, or an experience I do not want to forget.  When I look at vintage ephemera, I think of all of the people that may have encountered it and had fond memories surrounding that item.

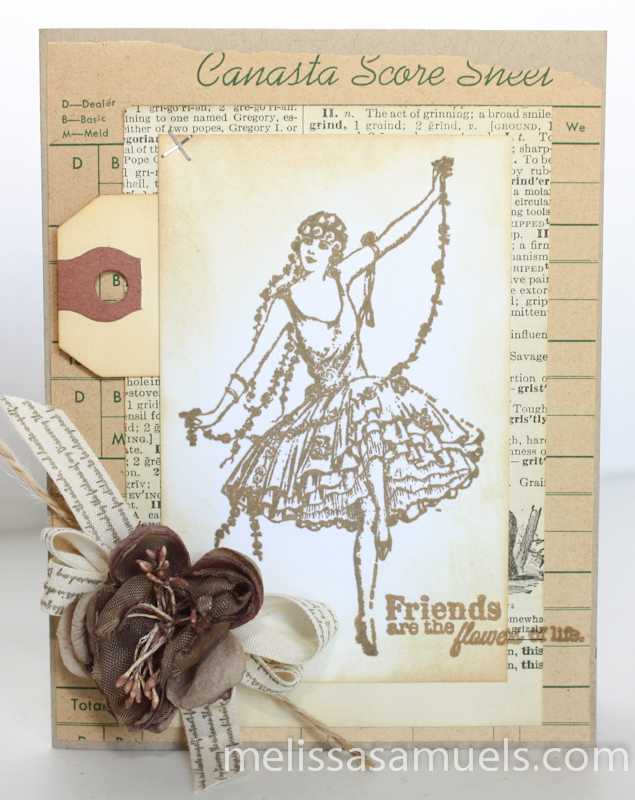
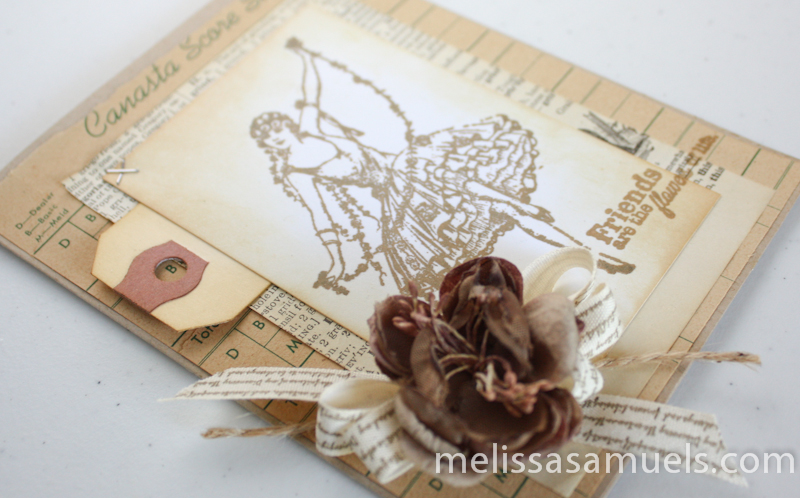
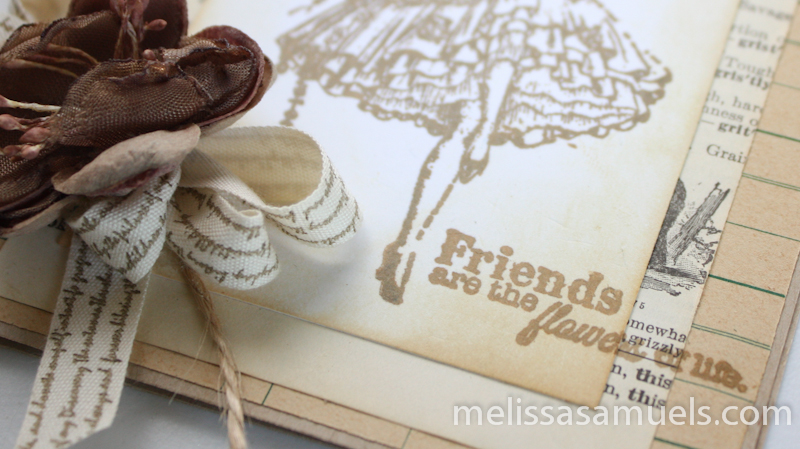
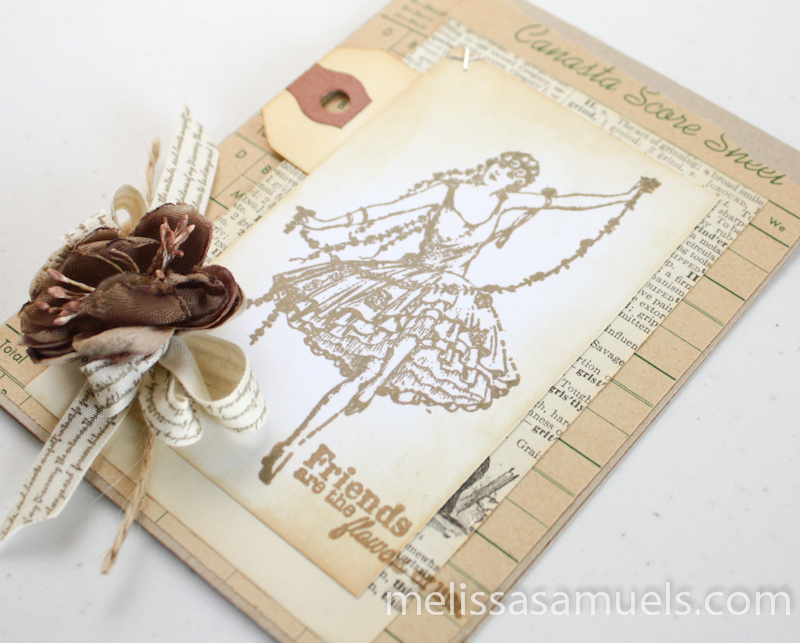
That brings me to my card.  I have some vintage Canasta score sheet cards that came from God only knows where.  I have never played Canasta, and honestly do not know what it is other than it involves cards.  BUT, I look at those old sheets of paper and envision a group of beautiful ladies sitting around a table playing, laughing, and having a wonderful time.  They may have been Moms having an evening alone with girlfriends, possibly having a hot toddy or even a smoke (I hate smoking, it’s bad for you, but there was a time when it was viewed as trendy).  It might have been family who sat around the kitchen table giggling, though with watchful eyes making sure their siblings did not cheat.  They are old, and almost crumbling apart, so I know they would have stories to tell if only they could speak.  So, I have saved them for I am not even sure how many years.  They are the perfect size for cards, so I pulled them out of the shoebox they have called home for so many years, along with some vintage dictionary pages.  I stamped a pretty girl in toffee ink on plain cardstock, and distress inked the edges.  I layered it all together, added a ribbon and flower, and stamped it with a phrase.  I think it is a beautiful place for those score sheet cards to call home…for now.

Card-Canasta-1 Card-Canasta-1-3 Card-Canasta-1-2Card-Canasta-1-46a0115711511ff970b017ee63eb181970d-320wi