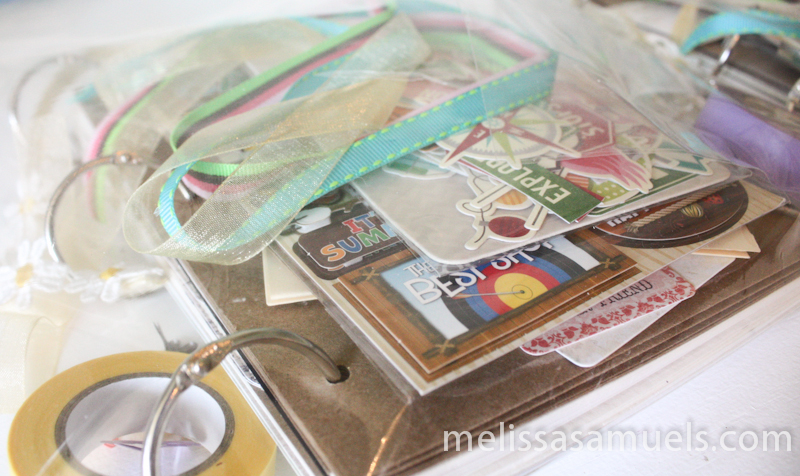
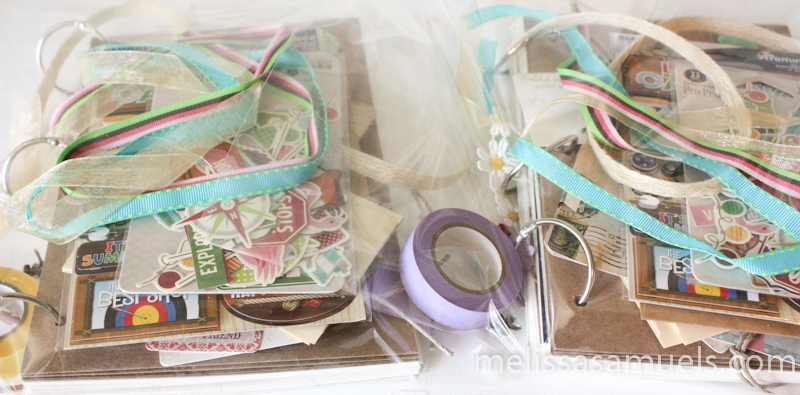
Hey Guys! It has been a busy week, so this is going to be a super quick post. We are planning a family vacation, and I am working on little journal kits for our journey. I thought it would be fun to put together travel journals for the girls to document our trip, and to have a place to put some of the super cool projects I have planned. Since I couldn’t find the perfect journal for my purpose, I decided to make one. I used bristol, watercolor, charcoal, kraft, and scrapbooking paper bound with spiral rings. I created folder pockets out of our large sheets of kraft paper we used to use for kit labels. I added lots of extra large journaling tags as pages. I am stuffing their bags full of embellishment goodies that they might want to use to decorate pages. Here is just a sneak peek. Stay tune for the outcome…
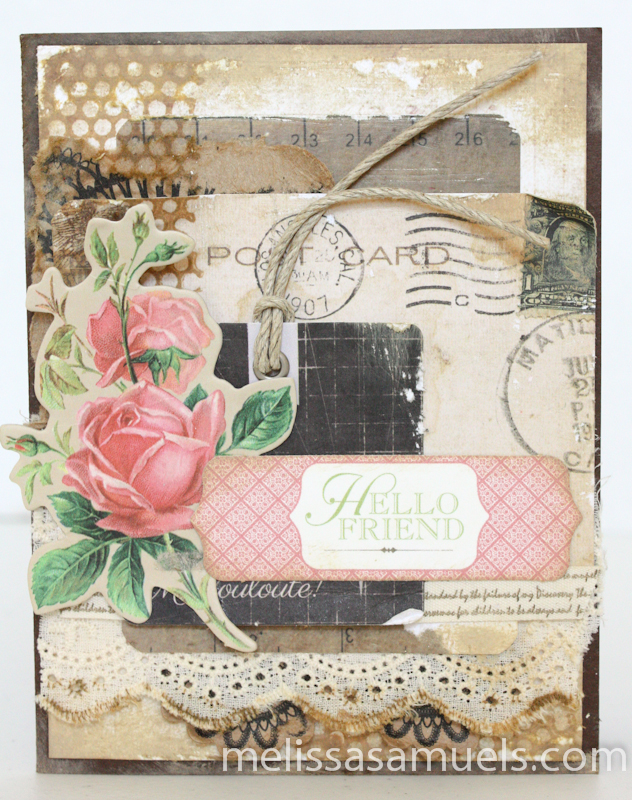
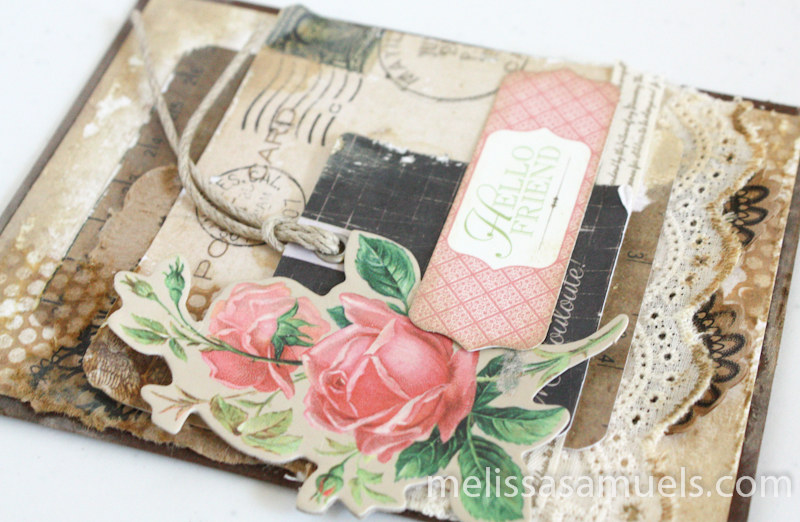
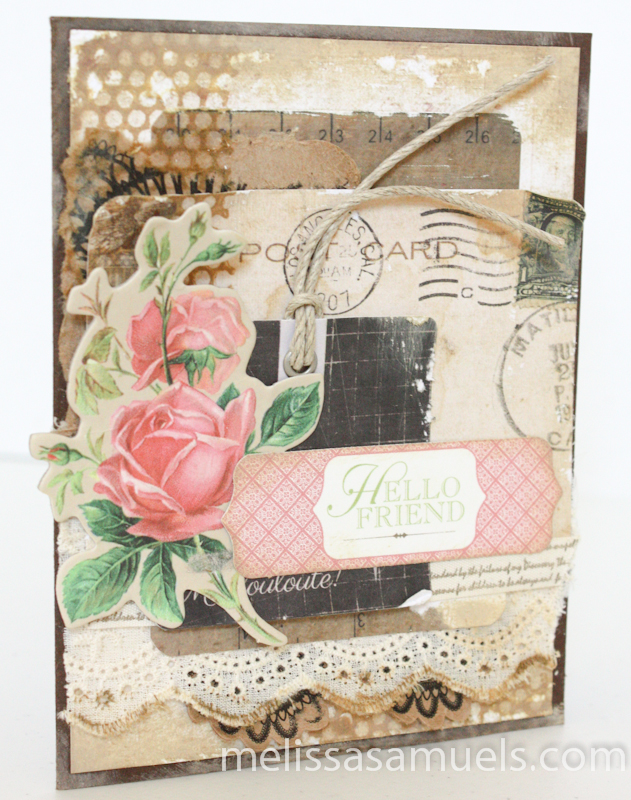
Vintage Inspired Card – Hello Friend
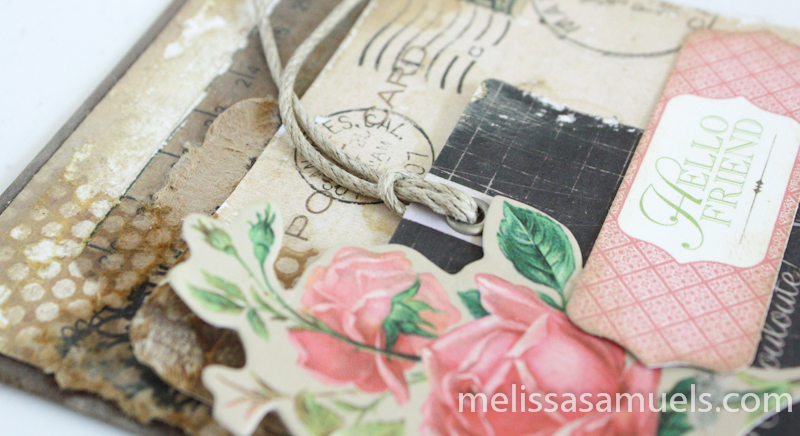
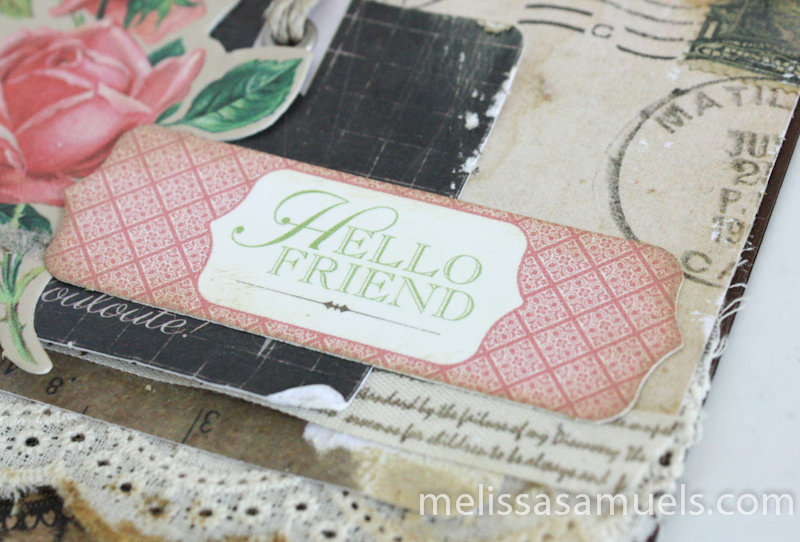
Hello Everyone! School is finally out here, and the girls are home for the summer. Yay! I have so many activities planned. I can hardly wait! You can be sure there will be lots of posts to come about our adventures. Until then, I wanted to share a card with you guys that I made using the Prima Cartographer ATC pad and Tag Me pack. Love it! I have been doing a lot of shabby chic projects lately, but I thought a little vintage style might be good to mix things up a bit. I love the beautiful layers, and think it will be a great all occasion card to have in my stash. I hope you enjoy!
“Thinking of You” Card Using Fabric Scraps
Hi Everyone, and happy Wednesday! I have been feeling extremely creative lately, and starving to try new things & challenge myself. A couple of days ago I shared with you guys a tutorial of a mixed media fabric journal cover (click here if you missed the post). I do not work with fabric a lot, so it was fun to try something different. I LOVE the the journal, especially the blue and white color combination (a kick I seem to be on recently) and the texture of the fabric. Once it was finished, I had all of the scraps sitting on my desk yet again destined for the trash bin…or so I thought. Of course, I did not want to throw them away, so I challenged myself. What if I could make a card using the same concept as I did with the journal cover?! It’s not everyday you see a fabric card, right?! The challenge was on! I basically used the same technique of layering paper, fabric, and lace as in the journal tutorial. I used Scor-tape and Glossy Accents as adhesives (instead of gel medium). I used white acrylic paint to soften the paper edges, and Tarnished Brass Distress Stain around the edges of the card to match the flower edges. I hope you enjoy!
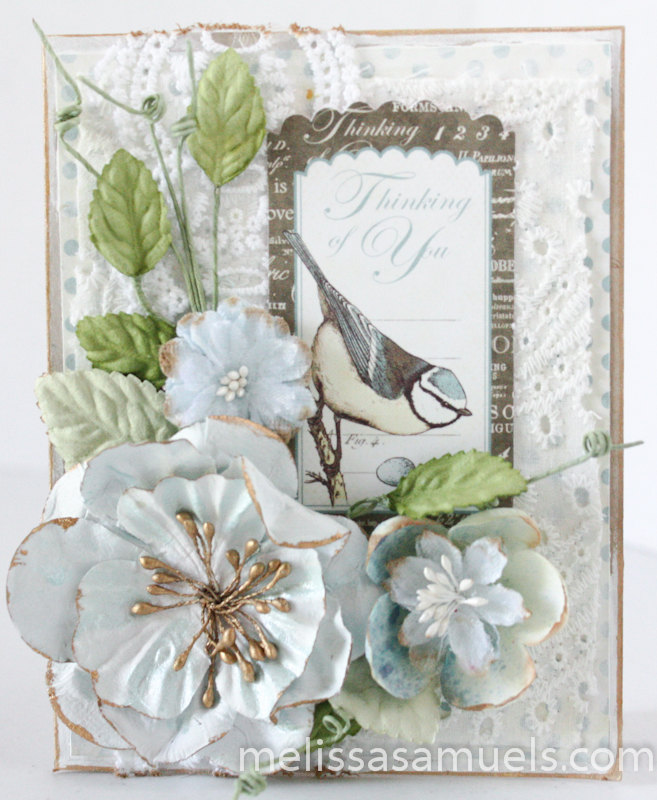
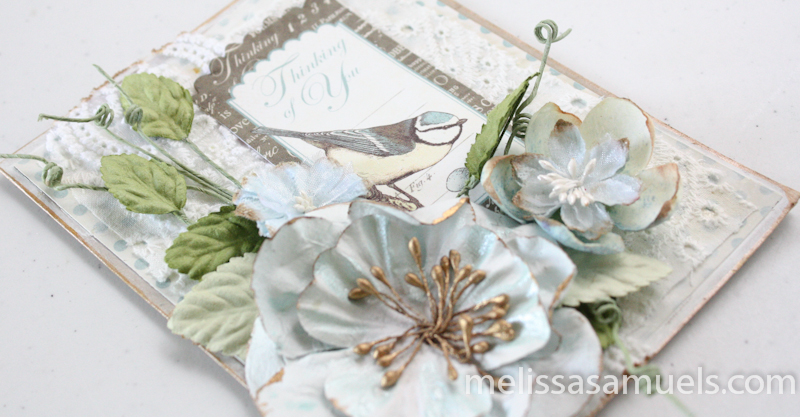
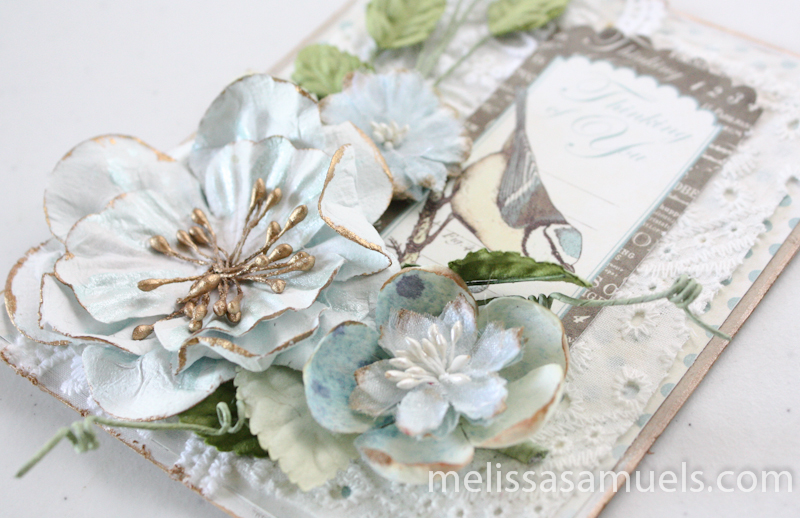 The flower on the right is the outer petals of a flower I pulled apart to use the center, and accidentally ink sprayed the discarded piece. I threw it in my flower bin hoping someday it might be of some use. I am glad I did not toss it. I placed another flower in the center of it, and I think it looks great!
Paper tag used is from Graphic 45 Botanical Tea Pockets and Tags and flowers are by Prima.
Thanks for stopping by!
Mixed Media Fabric Covered Journal Tutorial
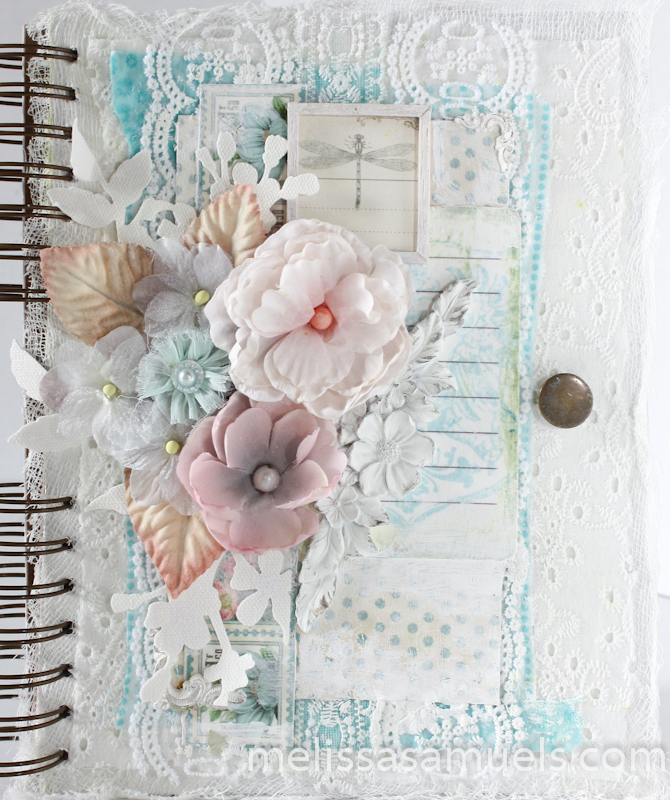
Today I have a tutorial for you that I am uber excited about! I was on a hunt for something in the studio last week ( I can’t even remember what now), when I came across an old bin of fabric scraps. I was getting ready to toss them because they have been there for so long I forgot that I even had them. However, I loved the pretty textures and designs and could not do the deed. Naturally, this meant I had to stop everything because the challenge was on to create something! I sat down at my studio table and made a beautiful journal using those otherwise discarded pieces of scrap fabric.
This year I have been gardening again, and even restarted my garden pond that has been sitting filled with bags of sand waiting for the girls to be old enough to enjoy it. They have been helping me weed and plant in the flower beds, and feed the fish and clean the pond. I thought it would be nice to have a little journal of some of the things I have been growing, and a place for pics of the girls helping. So, when I started this book using it as a “garden book” was in the back of my mind.
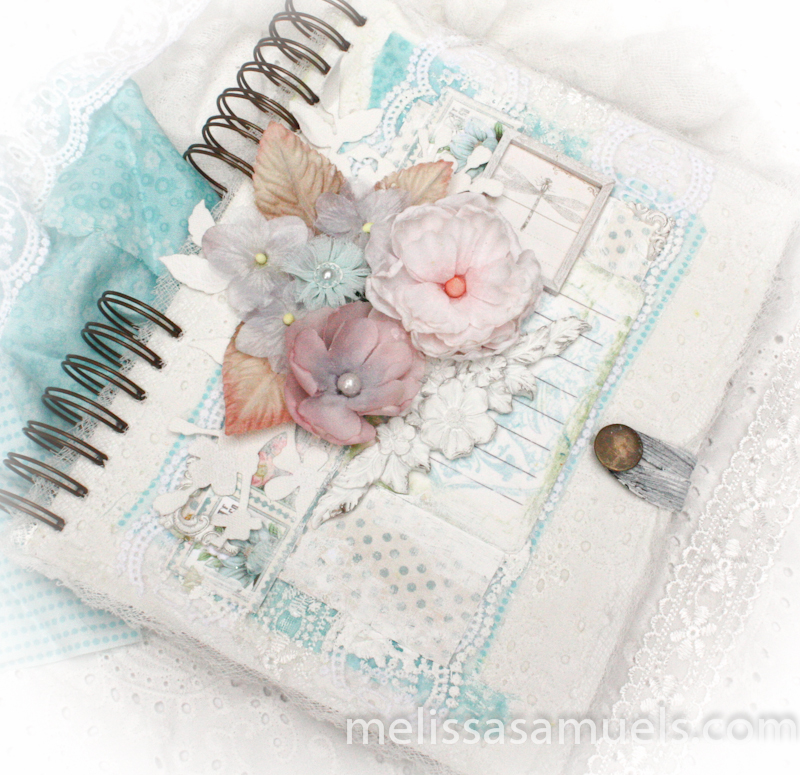 I loved it so much I thought I would share the tutorial with you guys. Here is what you will need: a spiral bound journal with chipboard covers (I used Prima Finnabair Mixed Media Journal), gesso, white acrylic craft paint, soft gel medium (Mod Podge would work), paint brush, scraps of your favorite fabric and lace, scraps of scrapbook paper (I used Graphic 45 Botanical Tea), flowers, and resins (optional). Let’s get started!
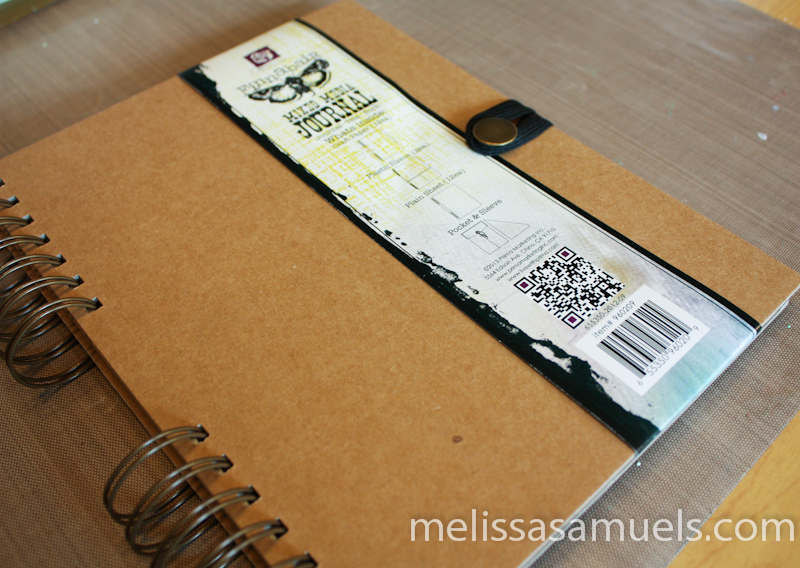 I am using the Prima Finnabair Sunrise Sunset Spiral Bound Mixed Media Journal. It measures 7.5″ x 9.5″ (the perfect size) and includes cardstock, craft paper, photo sleeves, and pockets. Love it!!
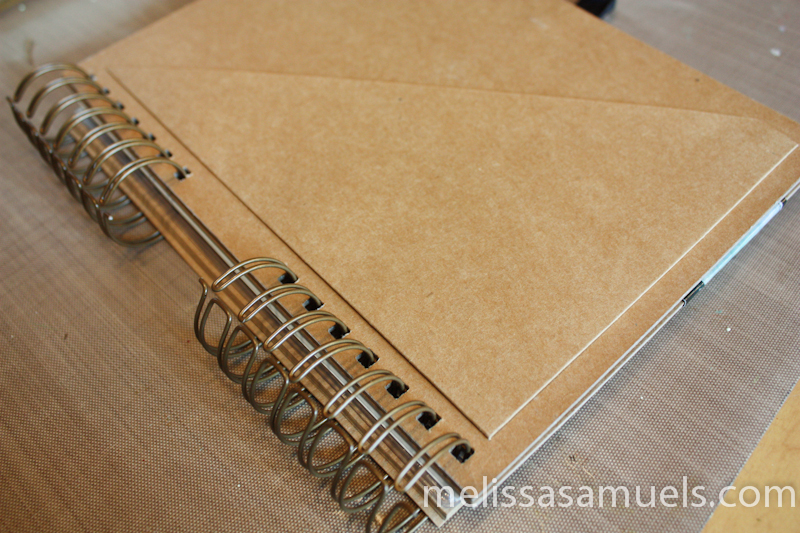 Start by opening your book up to the inside of the back cover. This is where the spiral binding comes together. When working with a spiral bound book remember the seam binding is always hidden in the back cover.
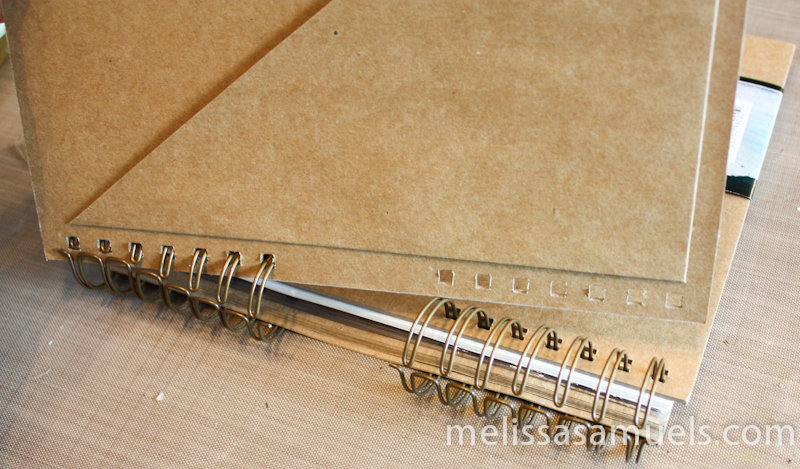 If you have ever used the Zutter to bind books, it is the same concept for taking the covers off and later putting them back together after decorating. Just slightly loosen the spiral binding (just enough to get the covers off). Take the back cover off, then the front. Remember when you reassemble the back of the back cover faces/touches the front of the front cover. Then insert the wire through the back of the front cover (the reverse of taking it off).
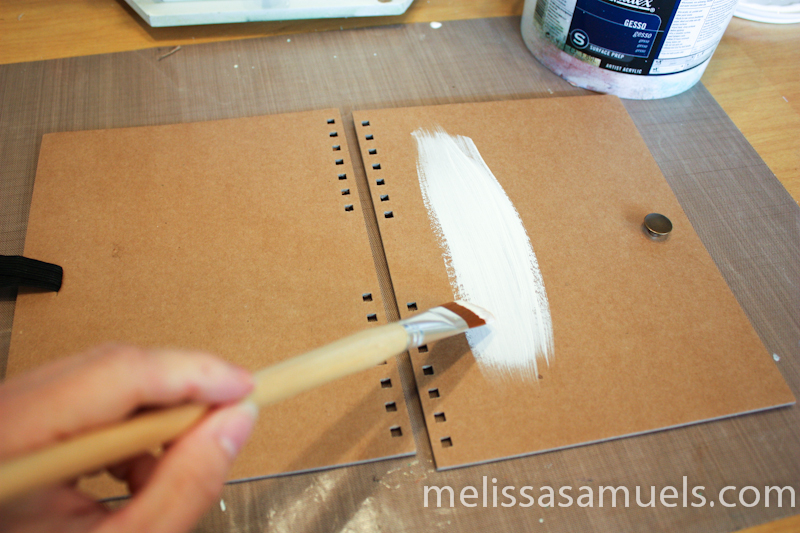 Now your covers are ready for decorating. Start by gessoing (or priming) the covers. This may take a couple of coats. Use a heat gun or hair dryer to speed things along between coats. If you would like, you can add a layer of acrylic paint, but because I want my cover white anyway, and much of it will be covered with fabric, I just used gesso. If you do not have gesso, use white acrylic paint. It will just take more coats to cover the chipboard.
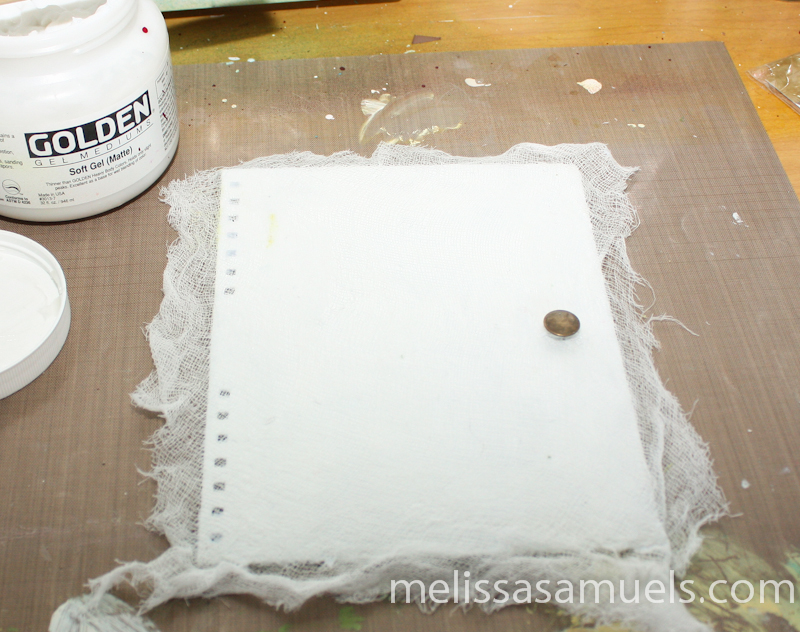 Apply a generous layer of gel medium over the front cover making sure the entire page is covered, and add a layer of fabric. (When working with gel medium and a large surface area, make sure you get your fabric down before the gel medium dries or you may have bubbles). I used thin muslin as my first layer because I love the texture, and it will make cutting out the holes for the binding wire easier when it dries. You could also use cheesecloth. I stretched it out, then placed it over the cover coated in gel medium.
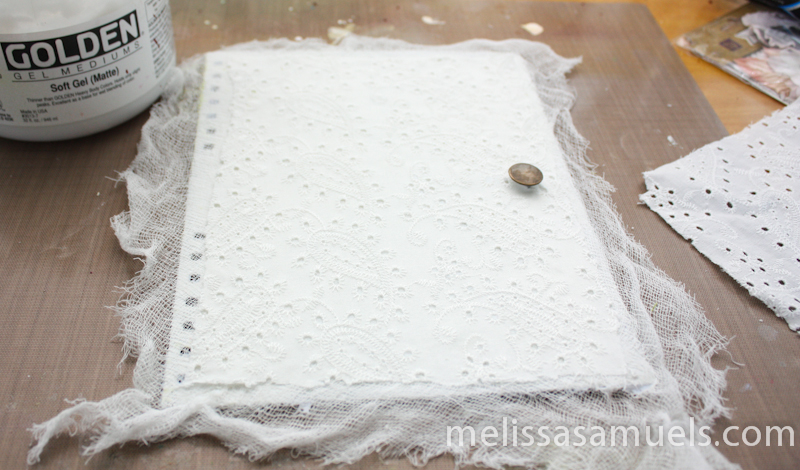 Apply gel medium to the back of your next layer of fabric, and glue into place taking care not to cover the binding holes. I used a pretty eyelet fabric. If needed, use a bone folder or popsicle stick to smooth out the fabric.
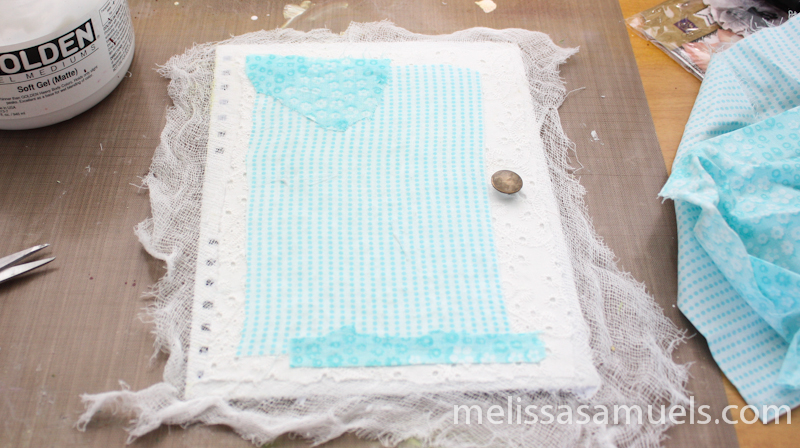 Add another layer of fabric. I used cotton scraps.
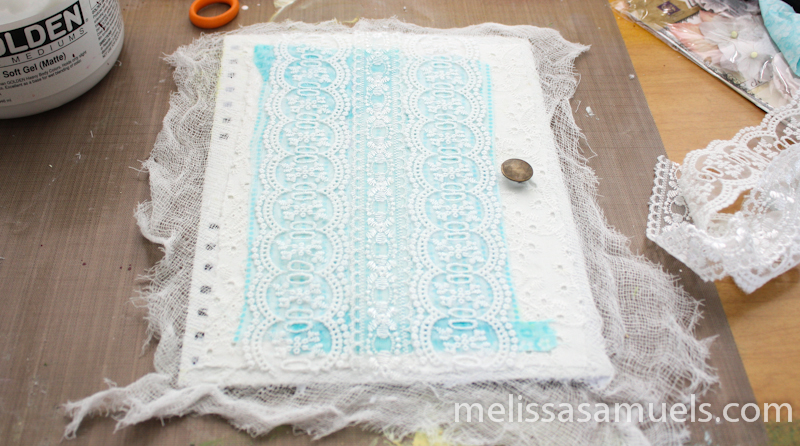 Using gel medium, apply pretty pieces of lace. The lace allows the previous layer to show through creating lots of gorgeous layers.
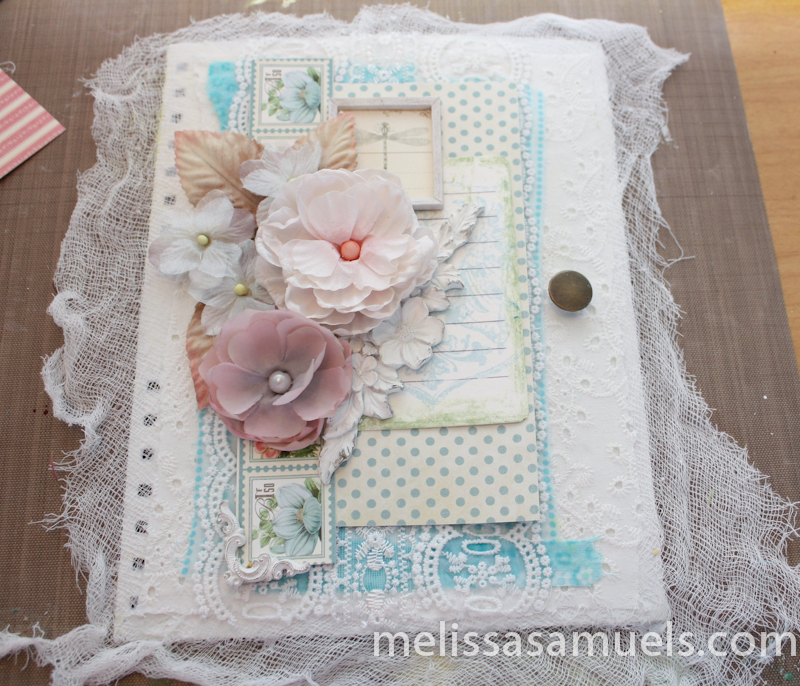 Lay out your design using scrap papers, flowers, resins, whatever strikes you. Once you like the design apply each piece with gel medium. I started with a base layer of paper. I applied a layer of gel medium over the top of the paper, as well as the bottom to create a nice seal. I used Glossy Accents to glue down the larger flowers.
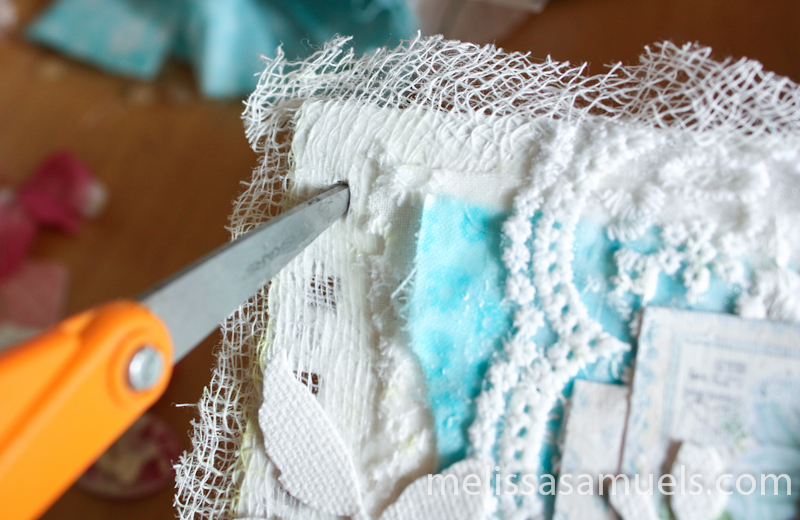 Once it is completely dried, cut out the wire binding holes with a pair a sharp pointed scissors. Trim up the fabric edges. I left about a 1/2″ or so border around the book for texture.
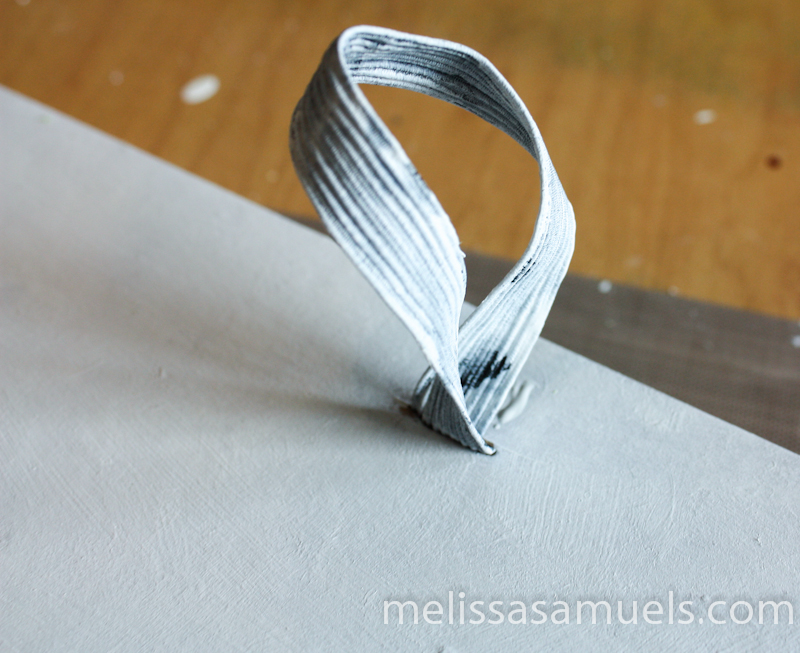 I did not like the contrasting black closure so I painted it white with gesso.
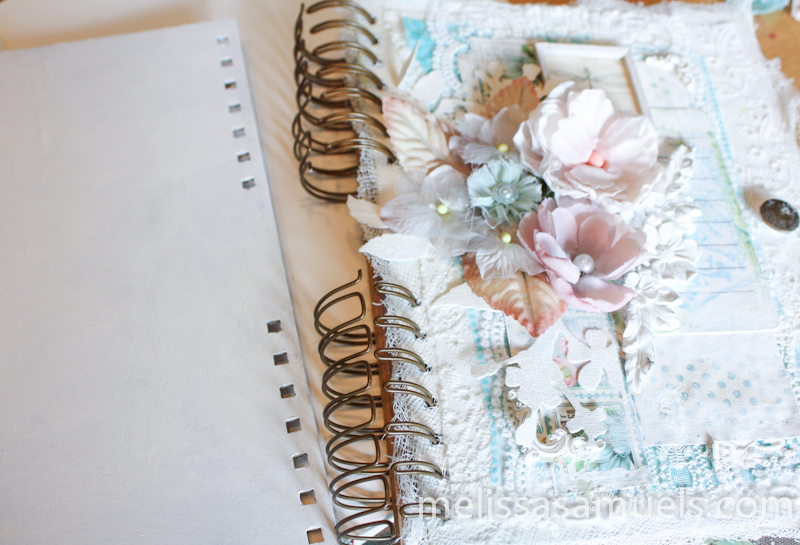 Smear a little white acrylic paint around the edges of the paper to soften it just a bit. Put the book back together by adding the front cover first, then the back cover with the outside of the cover facing the front of the front cover.
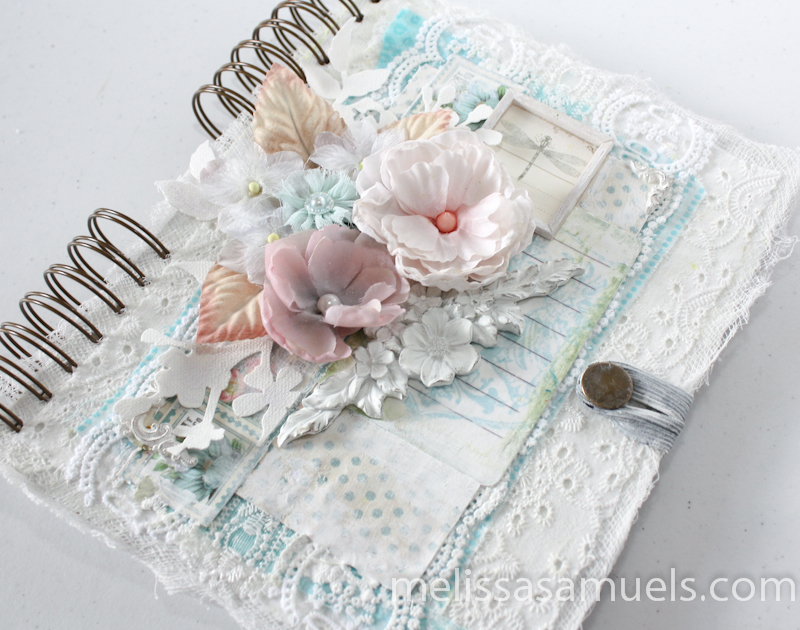 Done! I love the beautiful fabric layers, and soft colors!! It was incredibly easy to make, but has wonderful visual impact.
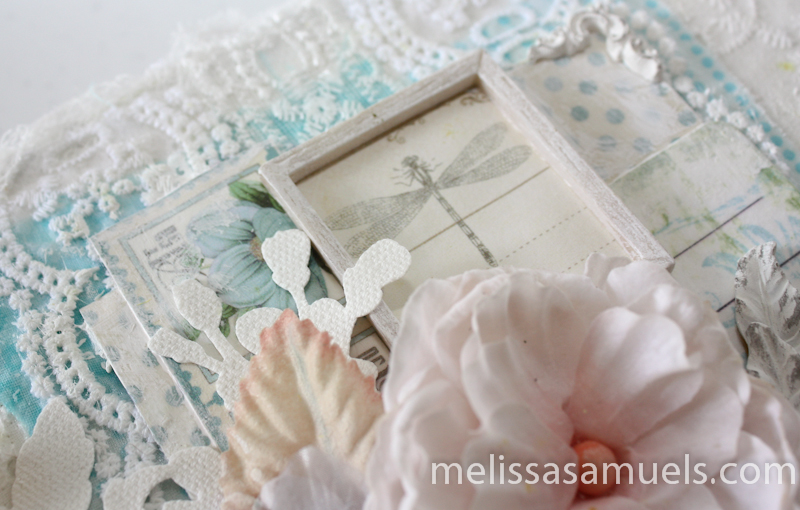
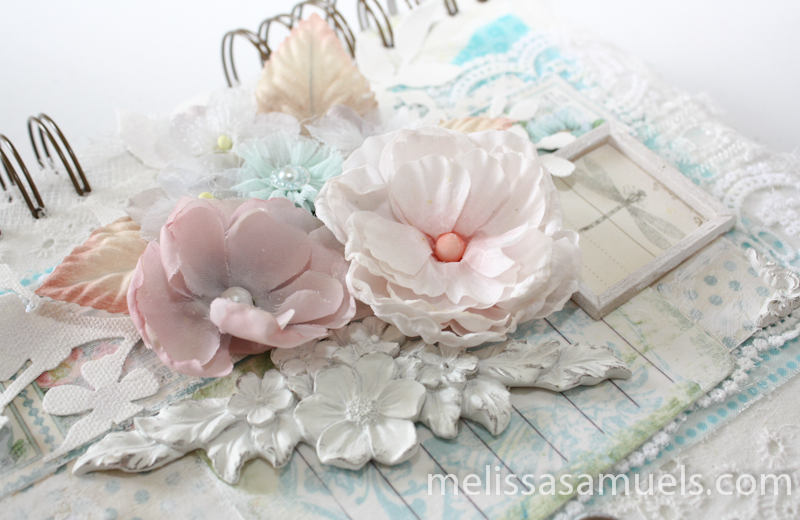
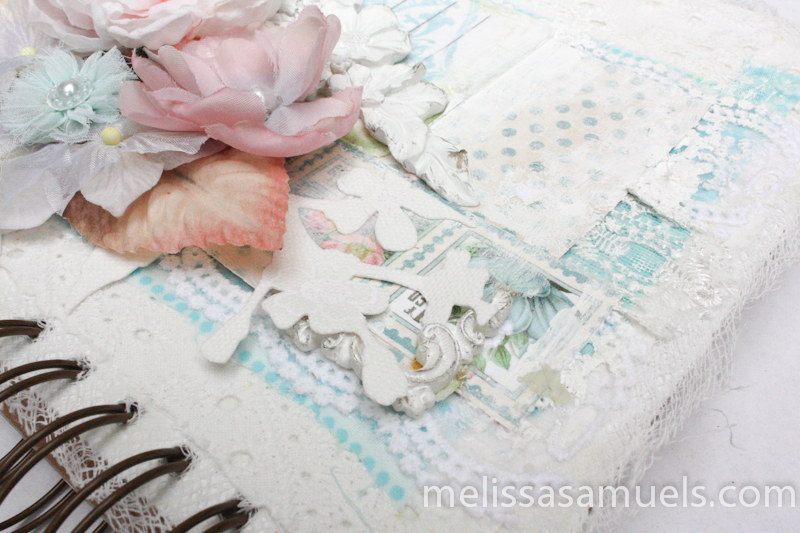
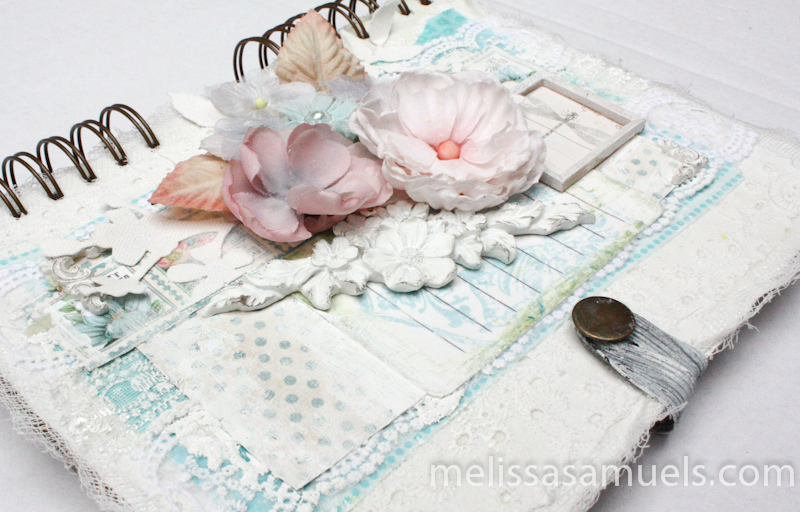
 I hope you enjoyed my tutorial. The next time you are cleaning out your fabric bins maybe you will think twice about those little scrap pieces that were headed to the trash.
Don’t forget to subscribe to my blog by scrolling to the bottom of the page, entering your email address, and clicking “subscribe.”
DIY – Burlap Wreath
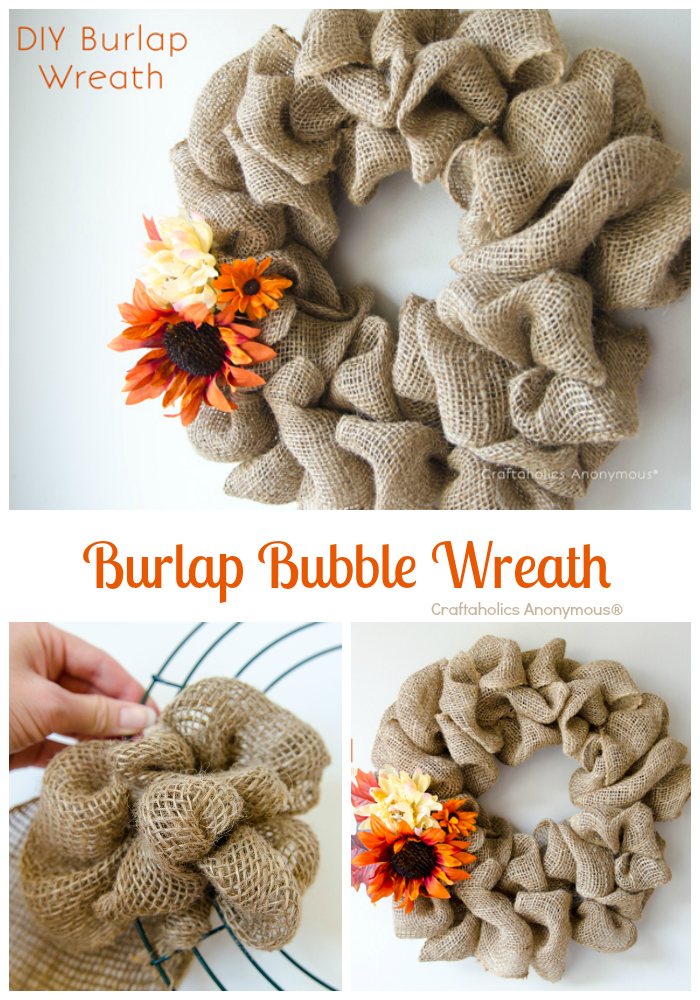
Hi Everyone! I recently joined Pinterest. I know, I know, I’m probably the last person in the free world to join. I have had a great time slowly building my boards. I have also been doing a little spring cleaning, and sprucing up around my house. I really wanted to change out the wreath on my front door, and I was thinking burlap because I love the earthy, natural feel of it. So, off to Pinterest I went to get some inspiration. I came across the wreath I had pictured in my head. When I went to the source website, I was delighted to find a tutorial that was done my friend Linda from Craftaholics Anonymous who is local. She is definitely the Queen of all things crafty.
I bought my wreath form and wired burlap from Wal-mart of all places. I think I used 4 rolls, a little more than expected, but I love how it turned out. My intention is to decorate it for each season by adding either a bow or some pretty flowers.
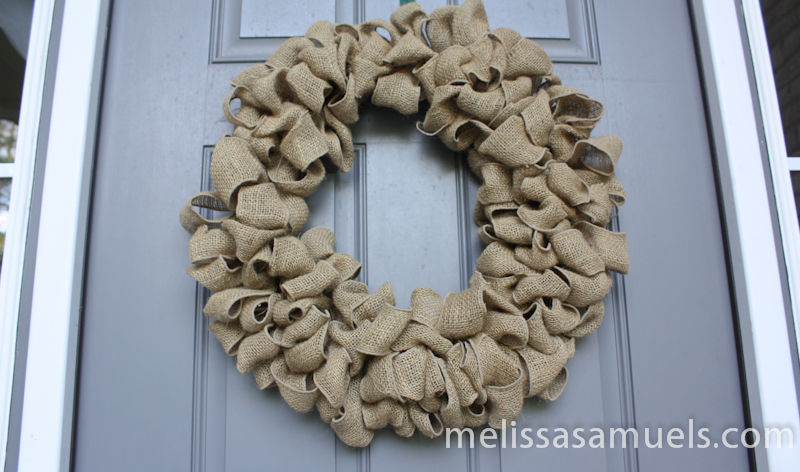
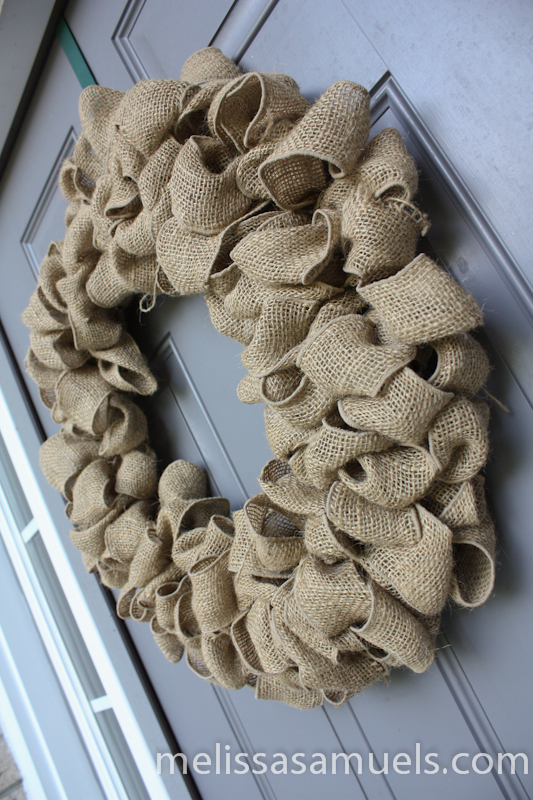
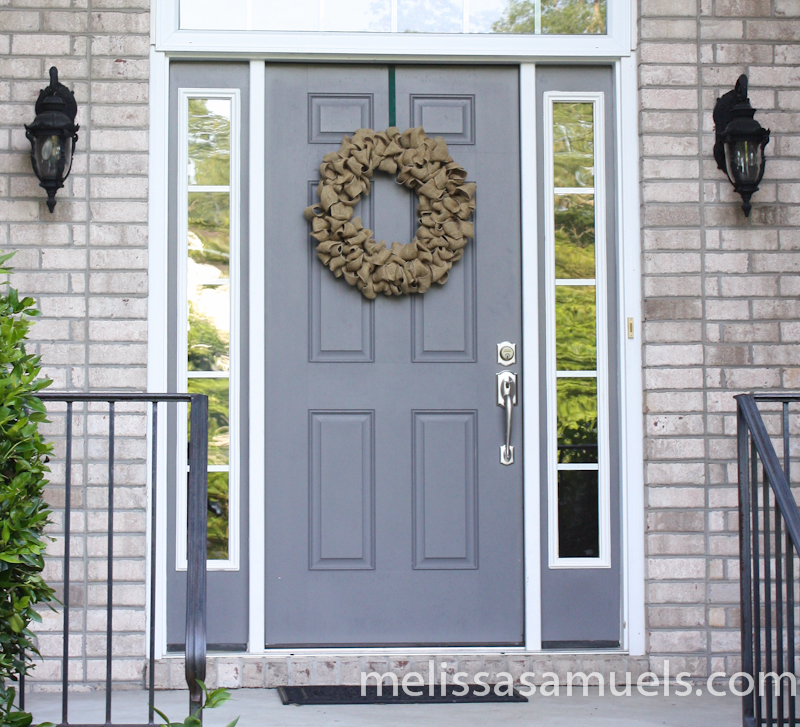 Of course, now that I have a pretty wreath on my door, I had to pick out a new door color. When I get the time, it will be getting a fresh coat of “Black Raisin” paint.
Here is Linda’s tutorial that I used. Click here or on her image below to take a peek.
 Be sure to come back next week because I have a fabulous, fabulous new fabric journal I created that I will be posting a tutorial for that you won’t want to miss! Have a great weekend!

