Let’s Get Crafty – Candy Bouquet Tutorial

As school is winding down, it is time to create those teacher appreciation gifts.  I thought a candy bouquet would be a perfect gift, because let’s face it, who doesn’t love candy?!  They also make great gifts for other occasions, such as birthdays, Father’s Day, get well soon, house warming, etc.  Just tailor the container and candy to the specific occasion and recipient’s tastes.  I used a large candle holder as my container, but you could use a vase or jar.  Depending on the size of the container, vary the number of full size candy bars you add (i.e. for a taller, larger container add more candy bars for a fuller arrangement).  Mix it up by picking different color containers, patterned cellophane papers, and different types of ribbons.  Let’s get crafting!
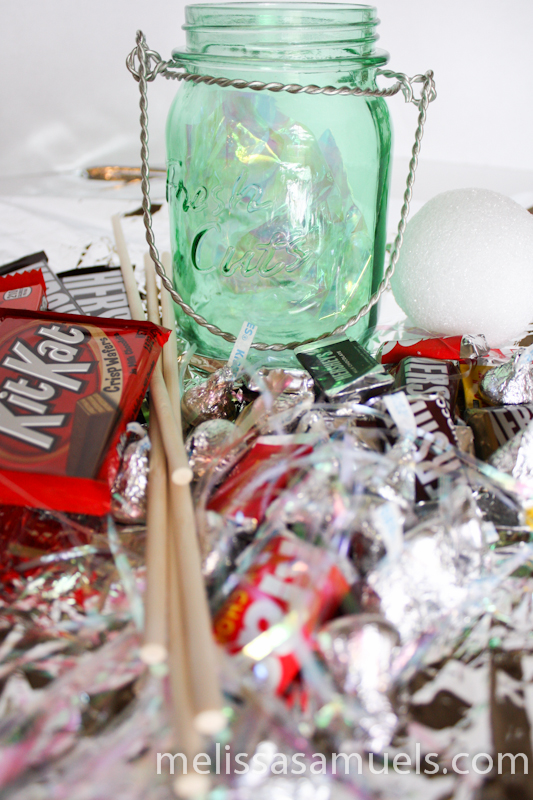
candybouquet-1All you need is a container, wooden dowels, packaging tape, cellophane paper, tinsel (optional), styrofoam ball, ribbon, full size candy bars, and assorted miniature candies.
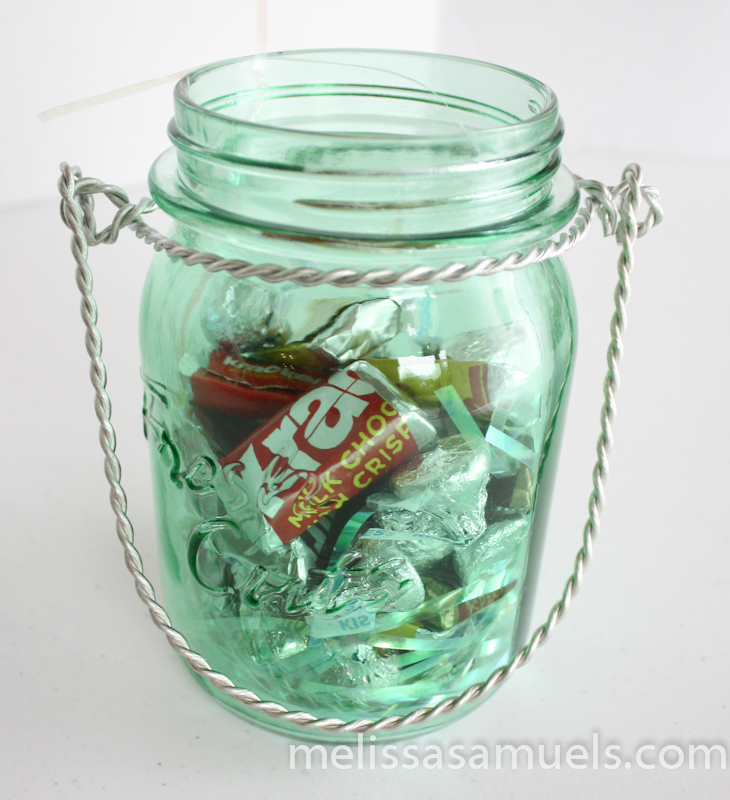
candybouquet-1-3Add tinsel, then miniature candies to the bottom of the jar.  I used assorted Hershey miniatures and Kisses.  If you have a large jar you can add cellophane paper in order to add less candy.
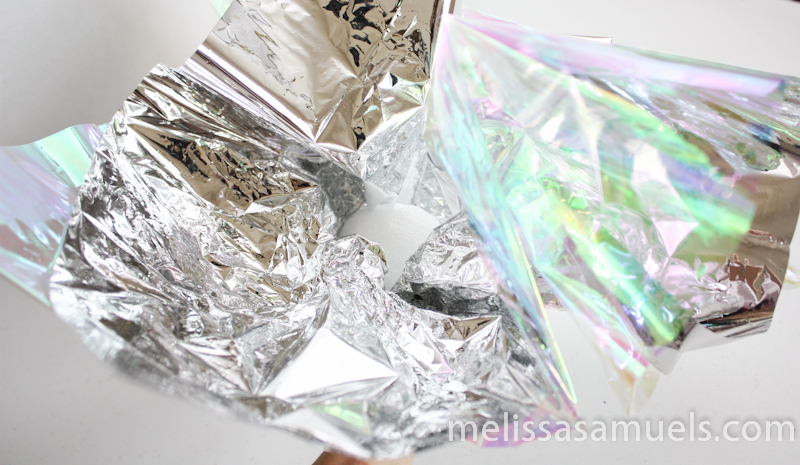
candybouquet-1-5Wrap the cellophane paper around the bottom and sides of the styrofaom ball, gathering if needed (depending on the opening of your jar).
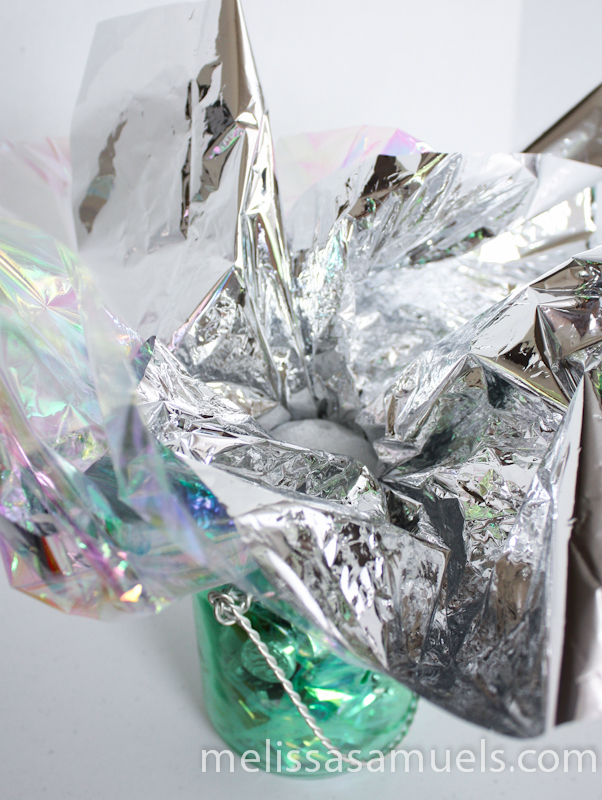
candybouquet-1-6Insert the ball with cellophane into the mouth of the jar pushing the ball until the fit is very tight.  If you have a very large mouth jar, and can’t find a ball that fits, you can purchase sheets of thick styrofoam and cut to size if you don’t already have some sitting around from left over packaging (it doesn’t have to be a ball, it just has to fit tightly into the mouth of the jar and be thick enough not to break when the dowels are inserted).  If you have styrofoam balls that are slightly too large, trim with scissors or a piece of wire.  If your fit isn’t quite tight enough, add an extra sheet of cellophane paper around the ball.
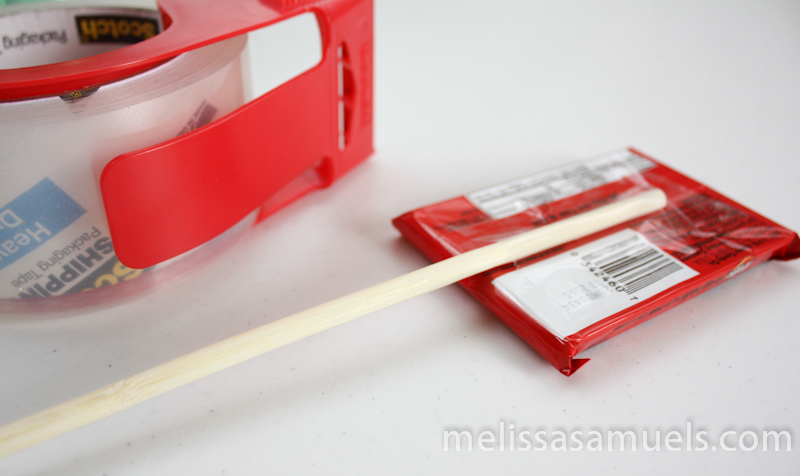
candybouquet-1-2Attach wooden dowels to the back of the full size candy bars with packaging tape.
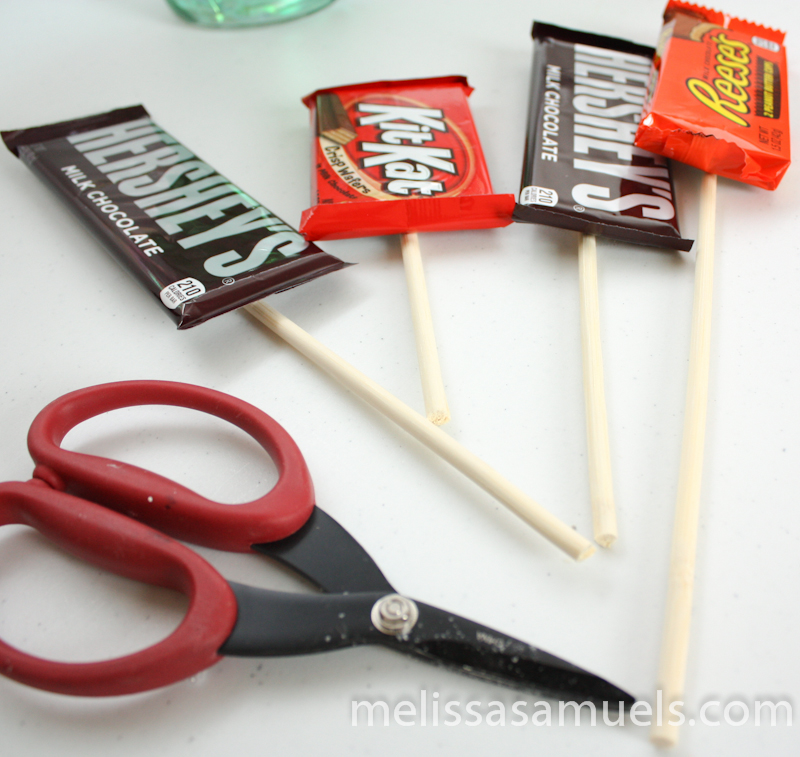
candybouquet-1-4Cut dowels to varying lengths by hold against the container to get an estimate of where the dowels need to be trimmed.
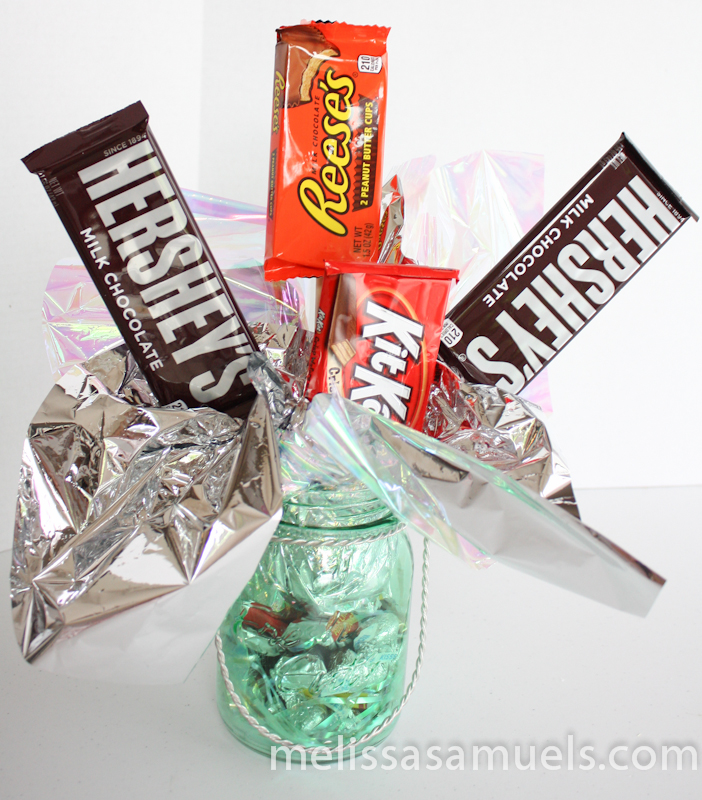
candybouquet-1-10Arrange the candy  bars by inserting the dowels into the styrofoam ball.  When adding the bars on the sides of the container (the milk chocolate Hershey bars in our tutorial) slightly angle the dowels when you insert them.  Tuck some of the cellophane around dowels to hid the ball.
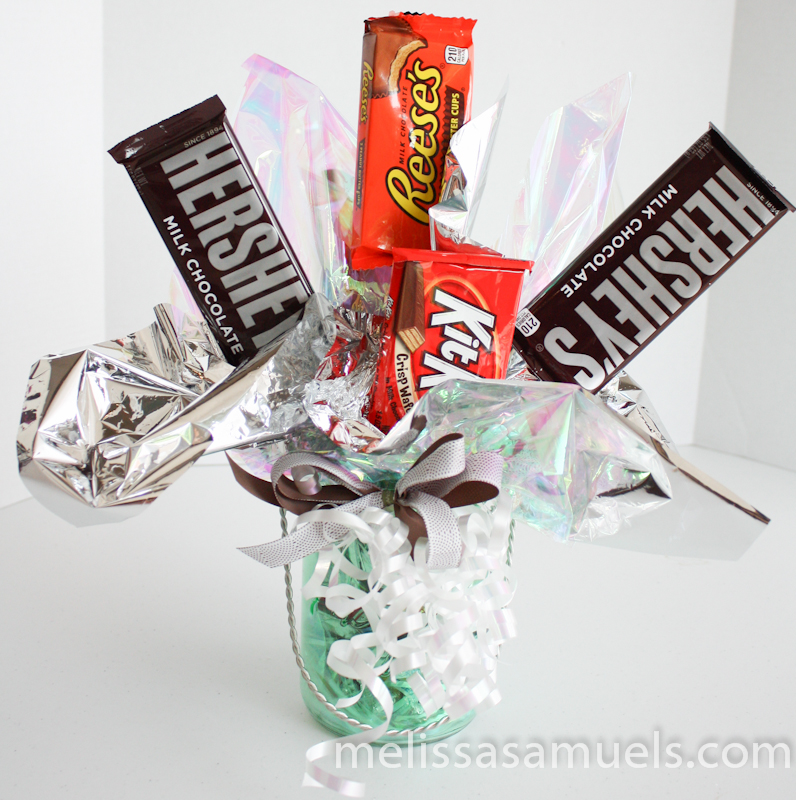
candybouquet-1-11Add a ribbon, and you’re done!

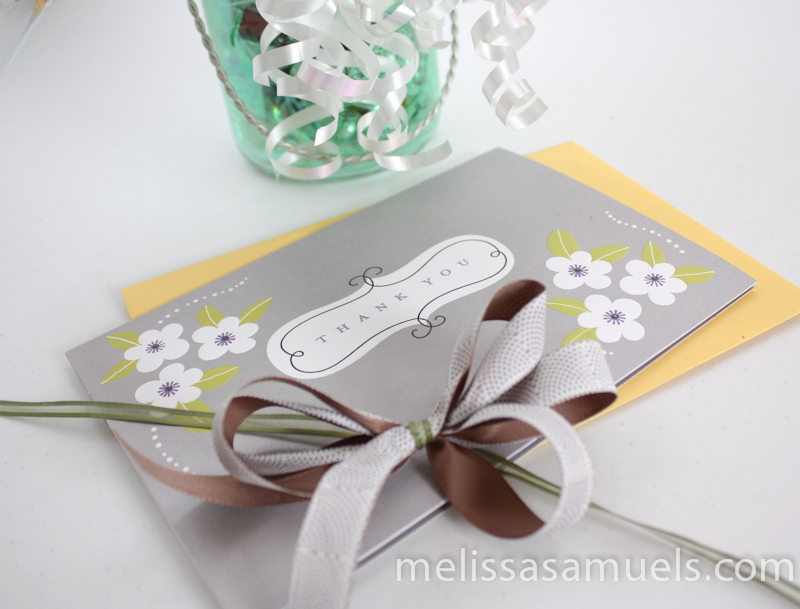
candybouquet-1-7Give with a nice thank you card, and even gift card inside.

I hope you enjoyed this tutorial as much as I enjoyed doing it.  Oh, and don’t forget to save a piece of candy for yourself! 😉

If you would like to subscribe to my blog so you don’t miss a post, scroll to the bottom of this post, enter your email address, and click “subscribe.”  THANKS!! xx

6a0115711511ff970b017c3479e2d9970b-pi

It’s all about the doily…

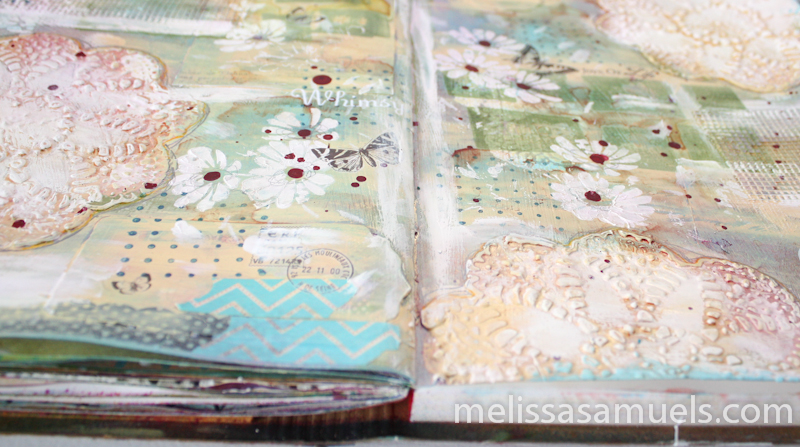
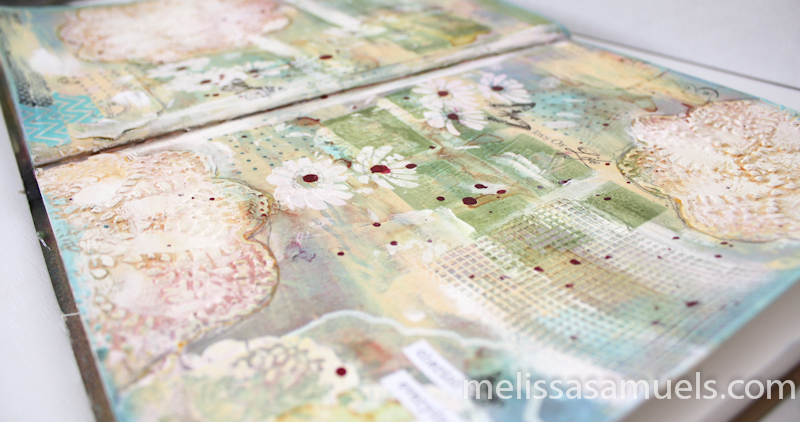
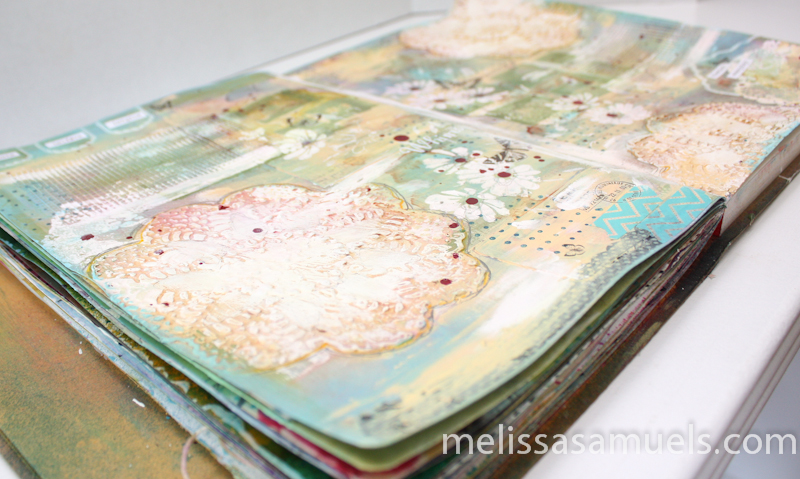
Hi Everyone!  I have another art journal page to share with you that I worked on last week.  I have really been enjoying stenciling with modeling paste more.  I taught this technique years ago in an art journaling class, but sometimes you forget what is in your toolbox of tricks, as I like to call it.  I have often thought I should keep of a book of all the different techniques I have learned over the years, and open it to a random page when I am ready to work on a project and let the book be my guide as to what I do.  Someday…

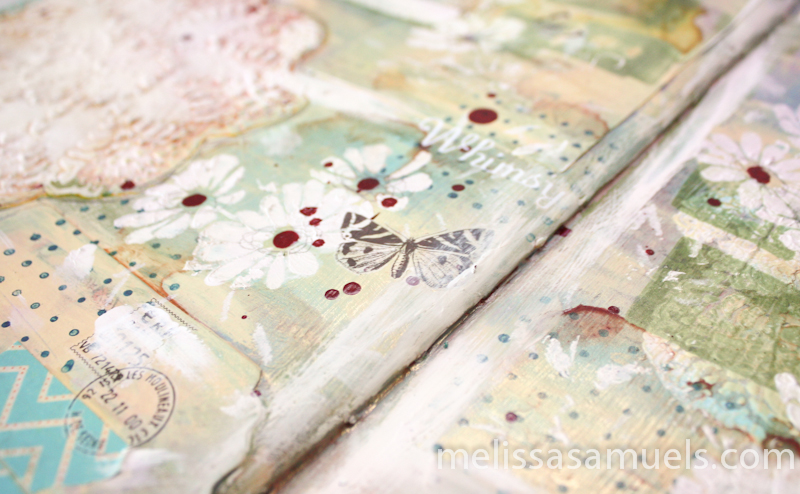
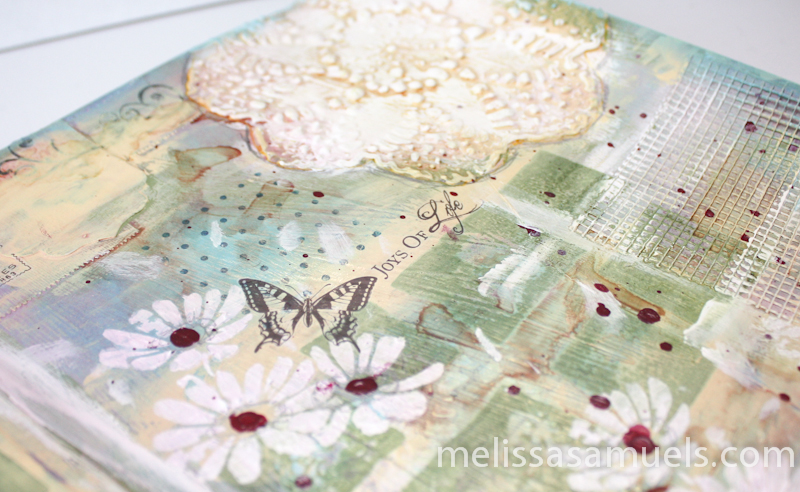
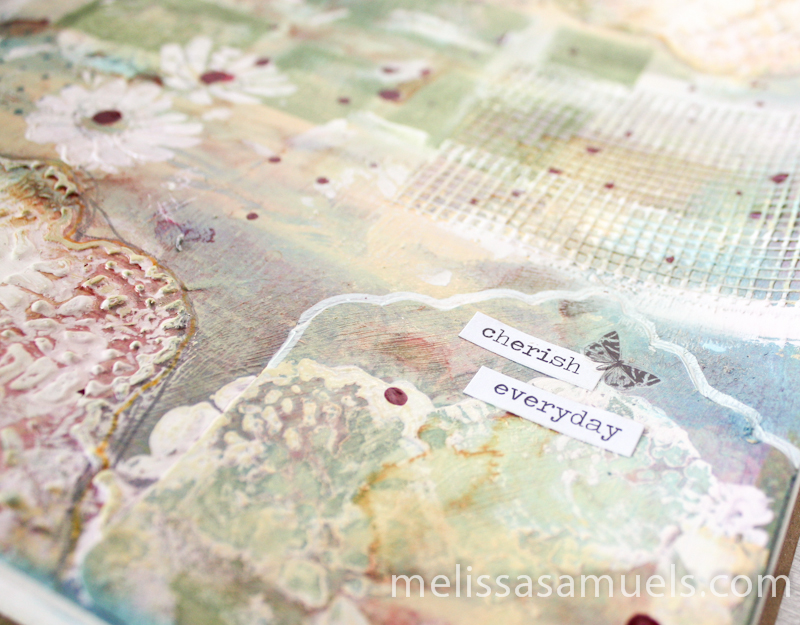
I found a Prima Doily stencil in my stash that I wanted to make the focal point of my art journal page.  It looks so delicate and beautiful.  I love the texture of the modeling paste, and the depth the multiple ink sprays and acrylic paint add.  I used my foam stamps that I showed you guys how to make in a blog post last week (click here).  I found some discard bits of Magic Mesh (drywall mesh works just as well) and rub-ons being neglected in a drawer.  I think one of the reasons I love art journaling so much is I usually just use the scraps and leftover pieces from other projects to create a page. It is a great way to use up leftovers taking up space, which gives me an excuse to buy more things that I now have room for in my drawer :)

I think this page is so cheerful and bright.  I hope you enjoy!

dollies-1-4dollies-1-3dollies-1-2dollies-1dollies-1-6dollies-1-5signature

Just a little card to start the day…

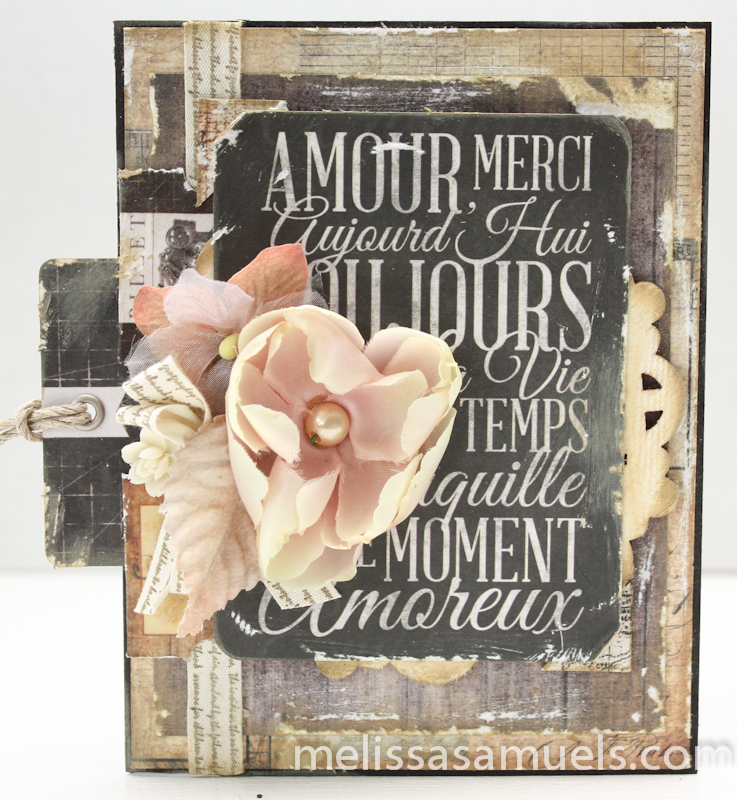
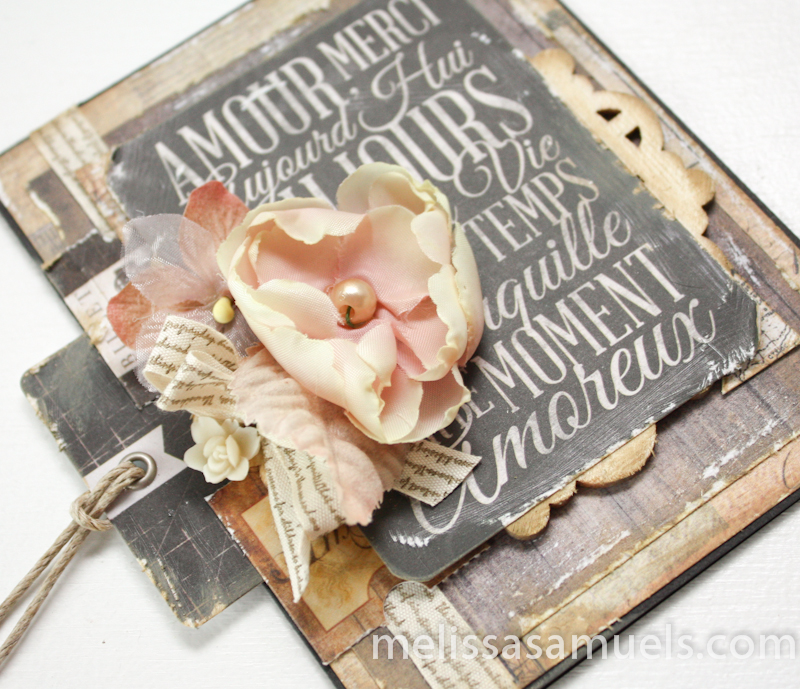
Happy Friday Everyone!  I just wanted to share a pretty card with you that I made this morning.  Starting the day with a quick card is how I center myself.  I had a rough day yesterday in the studio with my art journal.  It was one of those days where everything I touched just did not go as planned.  This morning I went back to my old standby method of jumping starting my day with creativity-cardmaking.  I am not sure why, but I can almost always regroup and reset my creativity with a little “cardmaking timeout.”  I do not know if it is because it is so quick…that little burst of instant gratification…but it works for me.  I am pleased with how it turned out, and I know today will be a better day!  I hope you enjoy! xx
cart-joulee-card-1-8cart-joulee-card-1-7 cart-joulee-card-1-4 cart-joulee-card-1-3 cart-joulee-card-1-2cart-joulee-card-1-11Products used:  Prima Cartographer 6×6 paper pad, Prima Script Trim, Prima Cartographer Tag Me tag

6a0115711511ff970b017d3e7b87bd970c-pi

How To Make Abstract Background Foam Stamps

Hi Everyone!  I have been working a lot in my art journal lately.  To reduce the amount of bulk in my journal so that I can get it closed, but maintain dimension, I have been stamping.  I find myself drawn to foam stamps, but the selection is limited.  I did a tutorial awhile back on how to make your own foam stamps using the Vagabond (click here to view).  I love using specific shapes, but for my art journal I have been focusing more on creating backgrounds.  I thought it would be neat to create my own custom background stamps so that I can get the patterns that I want and control the size of the image.  You will not believe how simple they are to make, and extremely versatile.  They are very inexpensive, and you are only limited by your imagination.  Today, I am going to show you how to make a brick pattern background stamp that I made specifically for my art journal, but don’t feel limited.  These stamps are great for minis, layouts, and even cards.

foamstamptutorial-1-16Let’s get started!

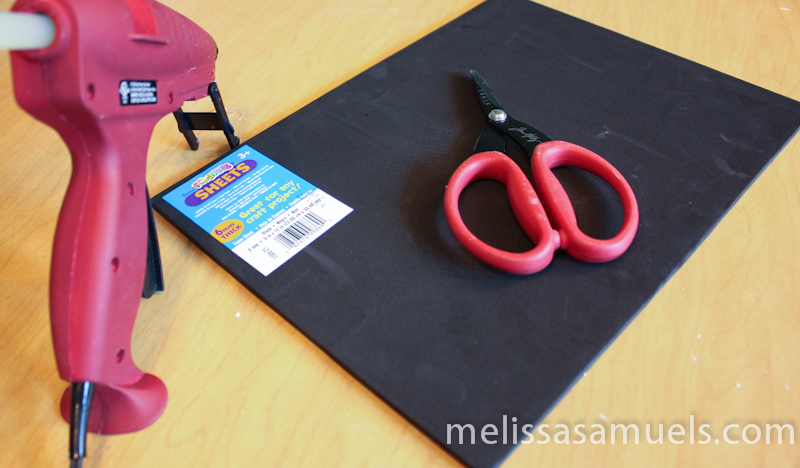
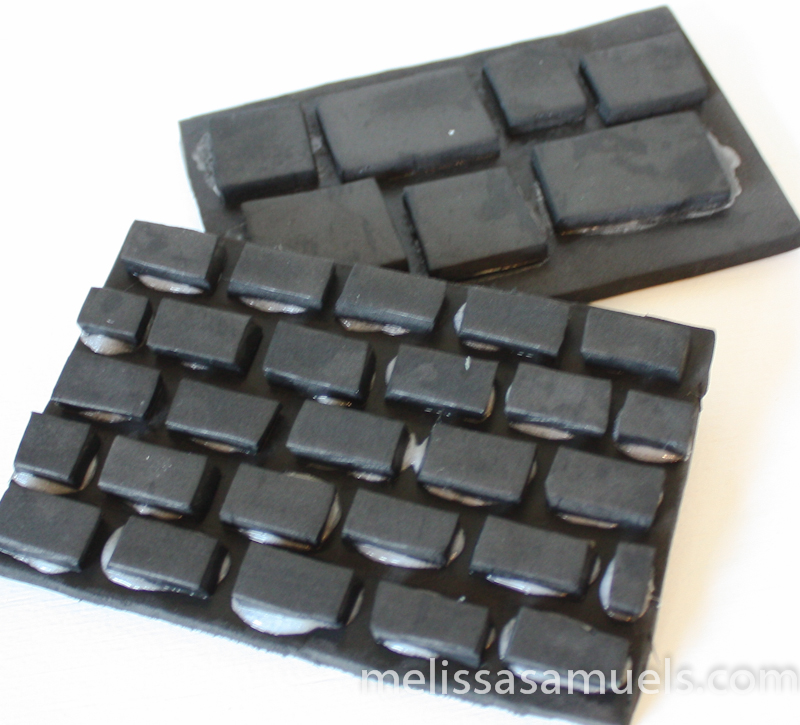
foamstamptutorial-1All you need is a sheet of 6mm foam (I used 9×12), hot glue gun, and scissors.  It’ that easy!

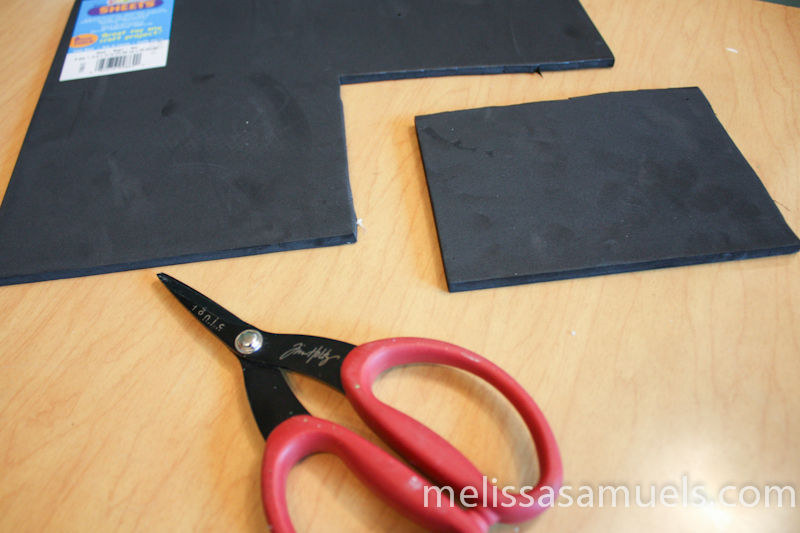
foamstamptutorial-1-2Start by cutting the mount for your stamp.  The fun thing about this project is you can do any size you would like.   Customize it for your project.  For example, if you are a card person, make the mount the size of a card, and maybe decrease the size of the bricks.  Let your imagination be your guide.  For this demonstration, I cut mine to 5 3/4″ x 3 3/4″.
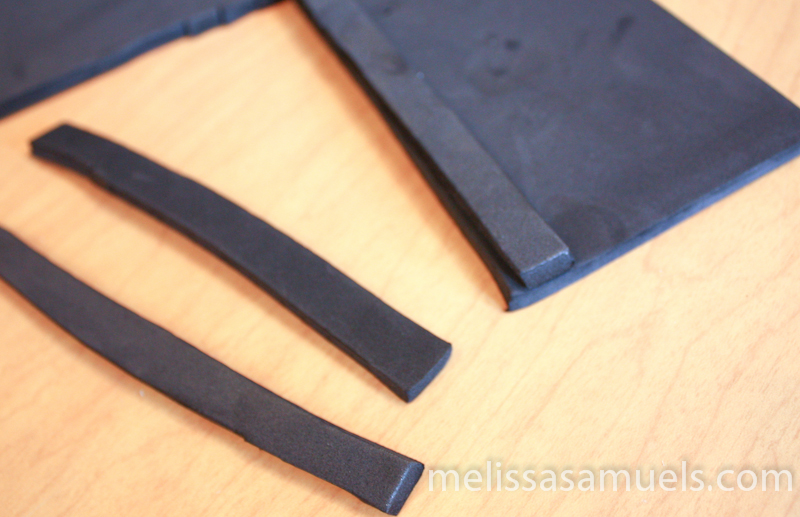
foamstamptutorial-1-3Cut 4 approximately 1/2″ wide strips from the remaining 5 3/4″ foam.  Use the first strip as a guide for cutting the other 3 strips to get them close to the same size, but it doesn’t need to be exact.

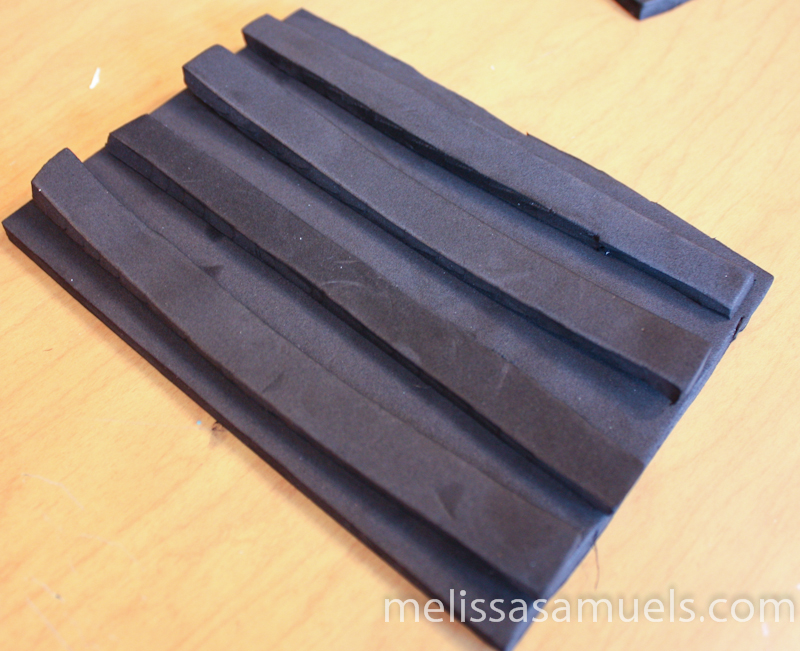
foamstamptutorial-1-4Line up all of the strips on the mount for spacing purposes.

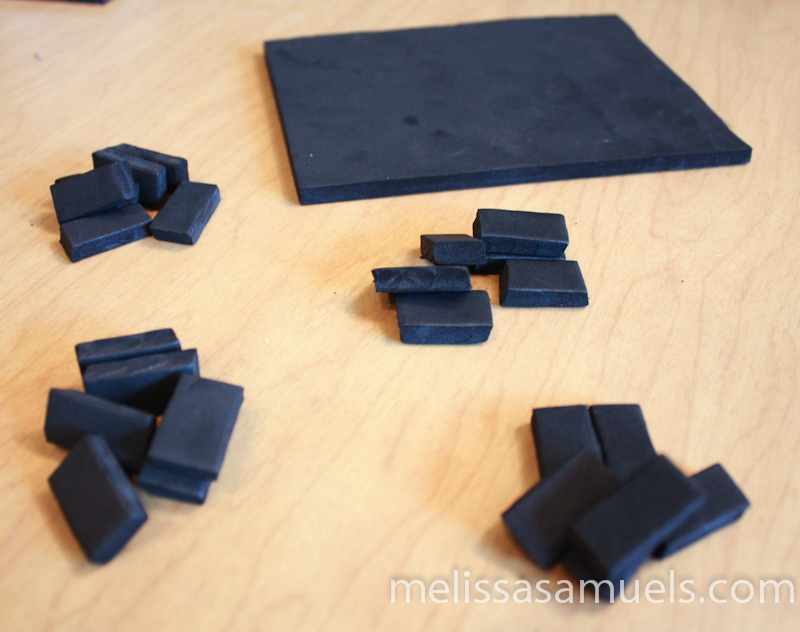
foamstamptutorial-1-18Once you know you have a good fit, cut the strips into little bricks approximately 7/8″ long.

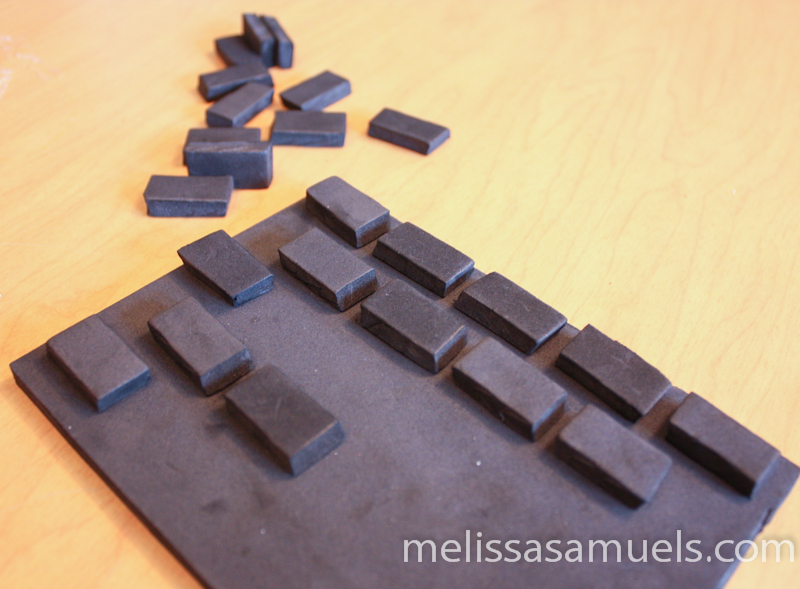
foamstamptutorial-1-6Line up the first horizontal row of bricks, and the vertical edge for spacing, staggering every other row of bricks.

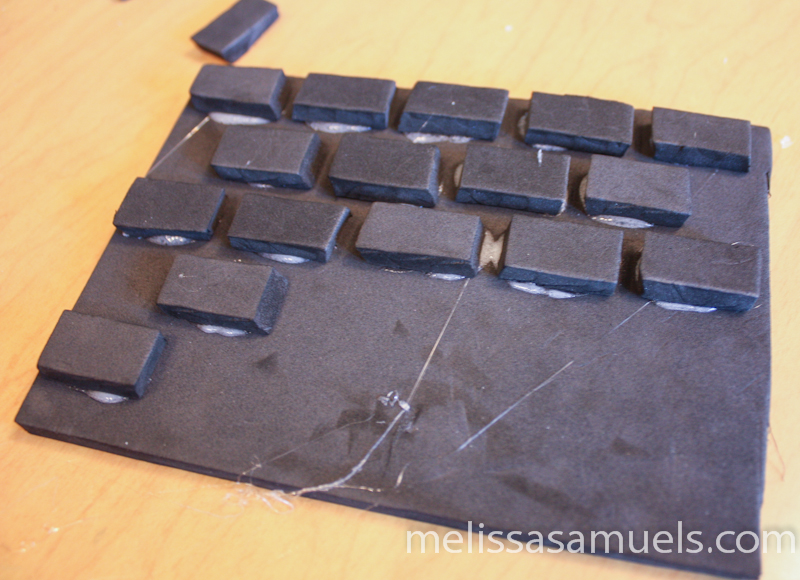
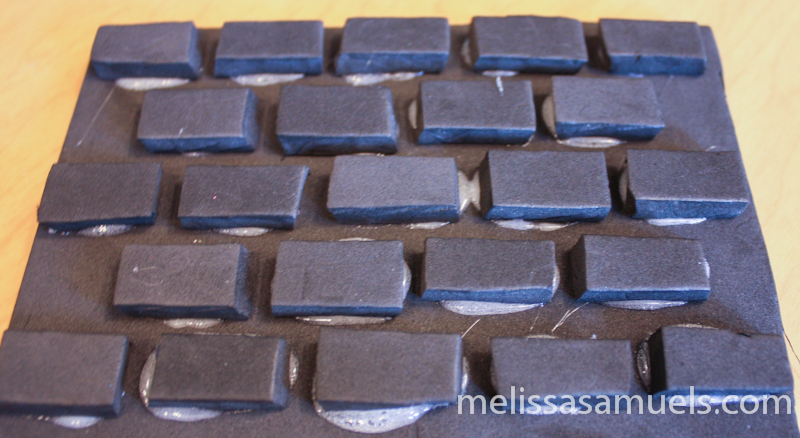
foamstamptutorial-1-7Glue the bricks into place using a hot glue gun.  If the glue oozes out, that’s okay.  It won’t effect how it stamps.  The great thing about hot glue is that you have a few seconds to reposition the foam before it cools, if needed.

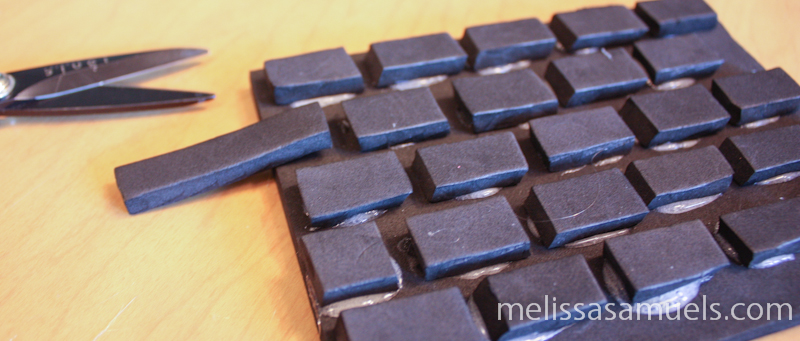
foamstamptutorial-1-8foamstamptutorial-1-9Once all the bricks have been glued into place, go back and cut the end pieces for the staggered rows.  Get rid of any hot glue “webs.” Done!  Now you have a custom made stamp.  Here are some ideas on using your foam stamps.

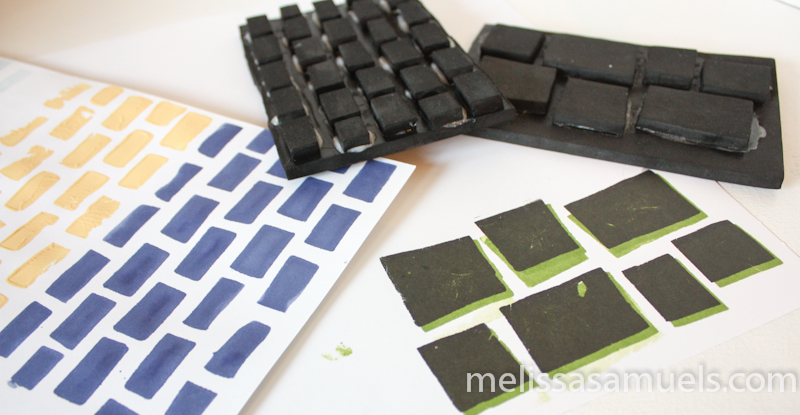
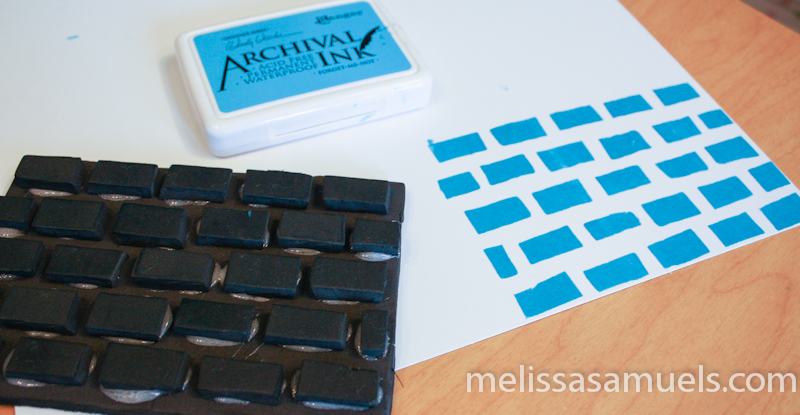
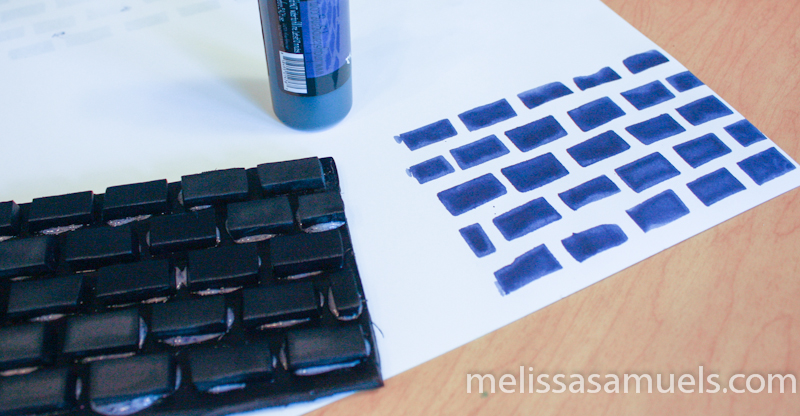
foamstamptutorial-1-10Here is an example using Forget-Me-Not Archival Ink.  The wonderful thing about Archival Ink is it is a permanent, waterproof ink, so once you stamp & dry it you can add wet media over it.

foamstamptutorial-1-11Here is an example of using ink spray for a watercolor effect.

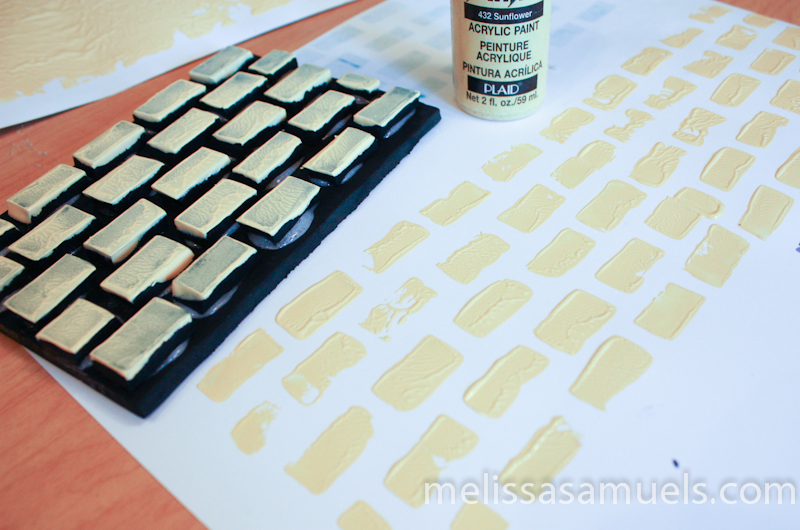
foamstamptutorial-1-12Here is an example of using acrylic paint.

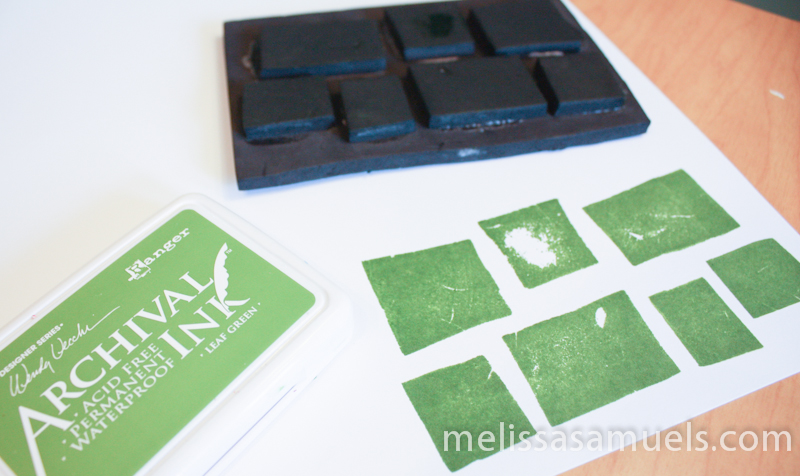
foamstamptutorial-1-13Here is another pattern I created and stamped with Leaf Green Archival Ink.

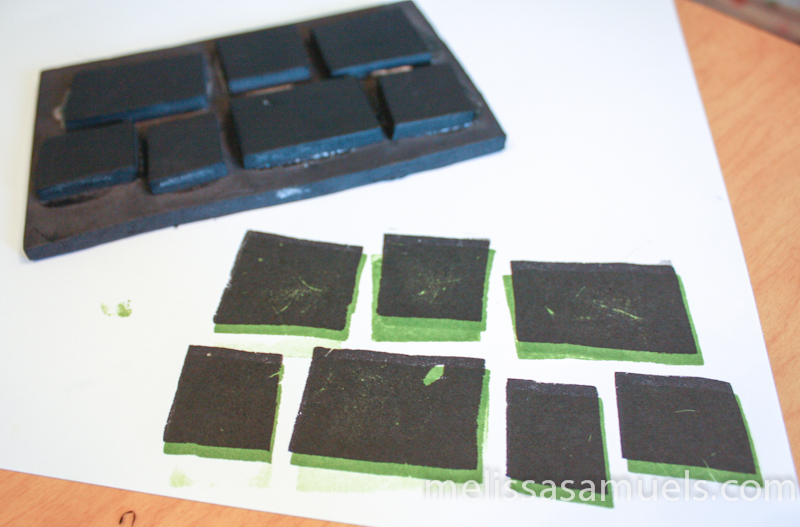
foamstamptutorial-1-14To get a 3D effect, I stamped over the green with black ink, off-setting it just a bit.

foamstamptutorial-1-15Also, cleanup is a cinch.  For all of the mediums I used, I just rinsed my stamp with soap and water while it was still wet.  Once dried, it’s ready to go again.

The next time you are looking for the perfect background stamp, but just can’t find it, make your own!  The possibilities are endless!

6a0115711511ff970b017c348a41ac970b-pi

Art Journaling – Circles and Inspirational Quotes

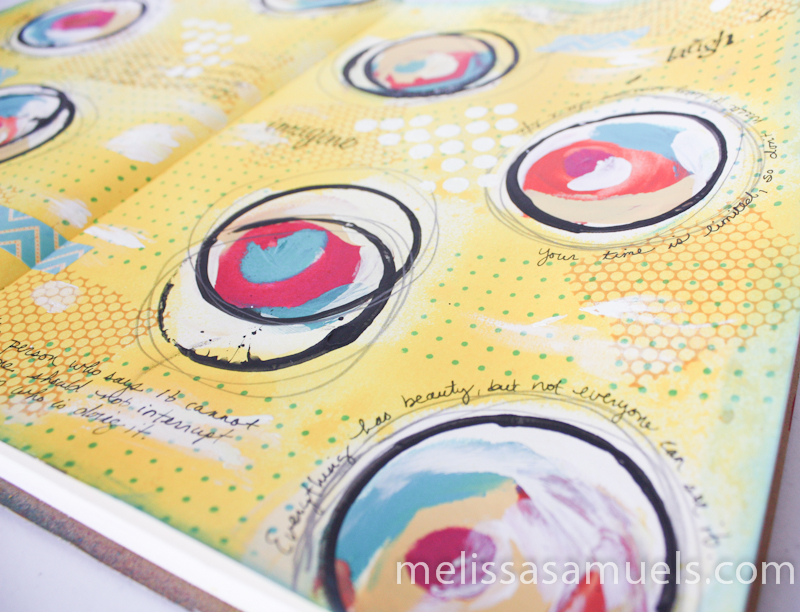
Hi Everyone!  I have been in the studio creating, and having a blast experimenting.  I feel like my work is evolving…changing.  I don’t know if it is just the gorgeous spring we are having here in Virginia after a very long, cold winter, or if it is me.  But, I find myself craving bright, bold colors and new mediums to work with.  I have been experimenting more in my art journal, my place of self-discovery and expression, and my work looks brighter and, well, happier.  Maybe it is figuring out how to juggle it all…making time for my children, husband, work, and myself.  Not to sound cliche, but turning the BIG 4-0 has been a time of reflection for me.  Maybe it is taking the time to learn about myself.   Or, it could be that I am thinking too much, and it is just the pretty spring flowers.  :)  Whatever it is, I like it.

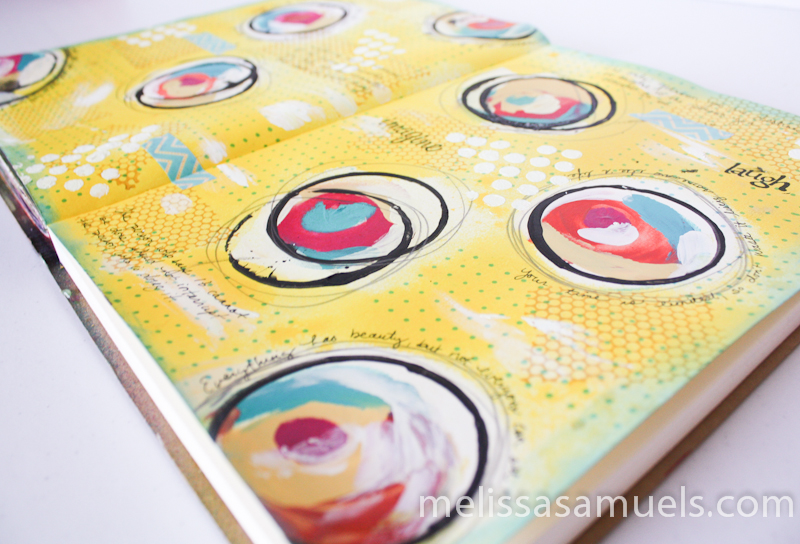
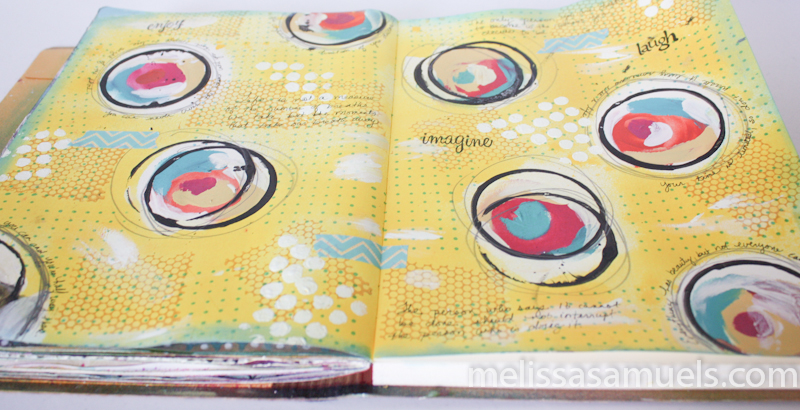
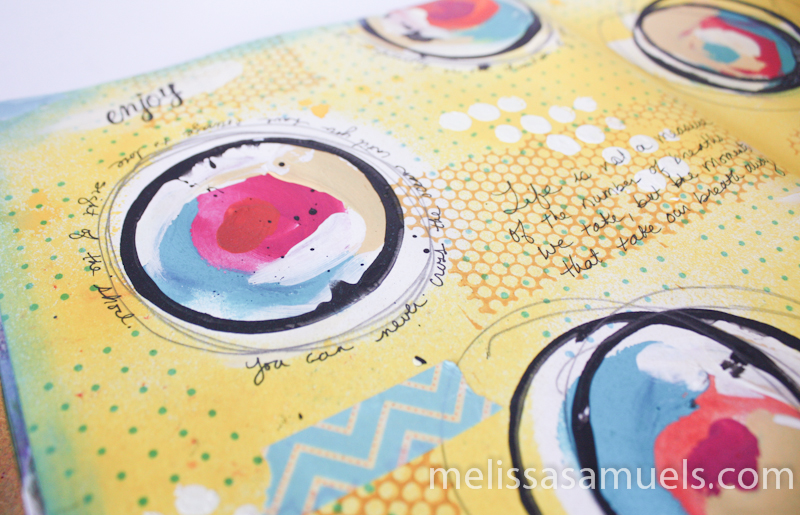
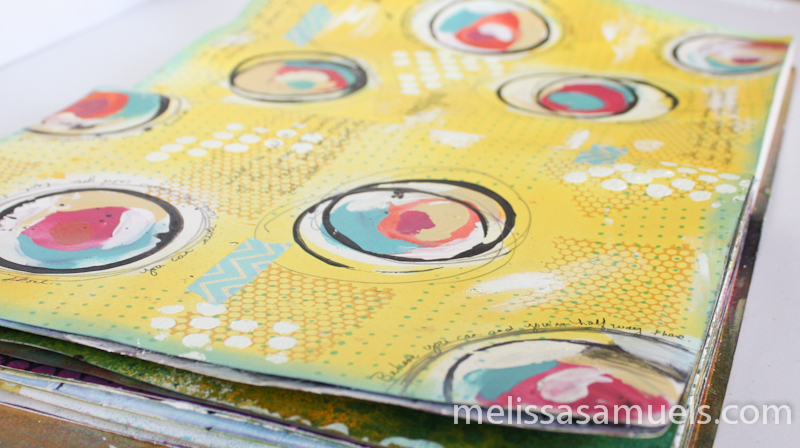
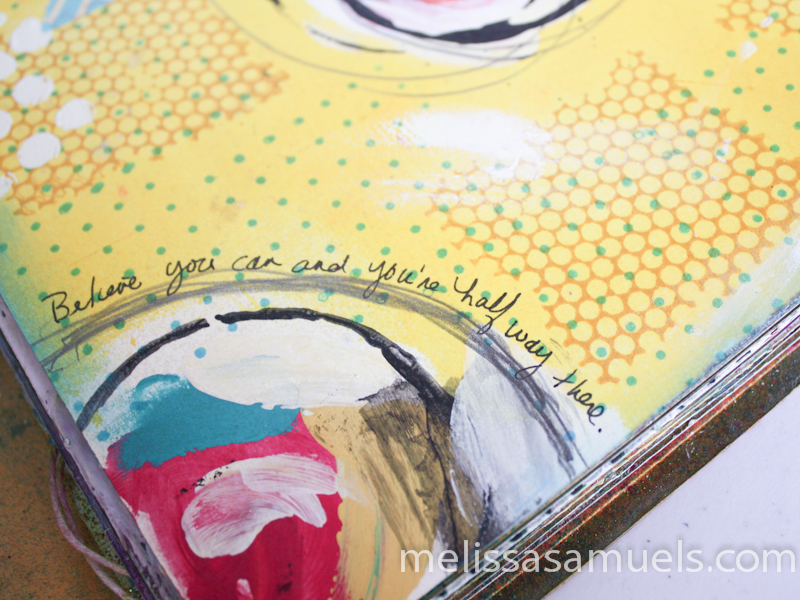
I love circles, as you maybe able to guess from previous art journaling pages.  I thought I would go with it, and do an entire art journal page of circles with some of my favorite inspirational quotes written around the outside of them.  I just started painting circles, not knowing where I was going or how it would turn out.  I took a chance, not unlike life, and it fell into place.  Some are a little wonky or smudgy, but that is what experimenting is all about.  It doesn’t have to be perfect, especially on the first pass, but rather it is more about giving it a try.  Since it turned out not so bad, I ink sprayed the background (while covering the circles with jars), and did some stamping.  I think next time I will cut out paper circles, place them on the page where I want them, create the background, remove the paper circles, and then paint circles on the page.  Still, it makes me happy, so I like it.  It looks like sunshine on a page to me.

Just a little note, you can now subscribe to the blog.  Just scroll to the bottom of the page, enter your email address, and click “SUBSCRIBE.”  Then, you won’t miss a post!  THANKS!

aj-circles-1 aj-circles-1-5 aj-circles-1-4 aj-circles-1-3

aj-circles-1-6 aj-circles-1-26a0115711511ff970b017c34817aa1970b-pi