Recently, I purchased a Big Shot because I had to have the Tim Holtz dies and embossing folders! Since I have a defunct Epic 6, and I'm not at all a diecut person, I was a little apprehensive about investing in another diecutting machine. However, the Big Shot is a work horse of a machine-it's nice and sturdy, and cuts so smooth and easily. Tim Holtz has made a believer out of me with his dies and embossing folders! His Alterations line is da bomb!
I thought I'd do a quick and easy tutorial on one of the many uses of the Alterations embossing folders.
Here's what you'll need:
Sizzix Tim Holtz Alterations Texture Fades-Sheet Music & Diecutting Machine
Acrylic Paint & Pigment Ink
Distress Ink-Vintage Photo & Blending Tool with Foam
Crop-a-dile & Wide Large Eyelets
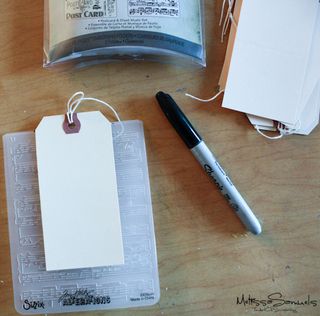 To make embossing the tag easier, make a slit in the fold of the folder and pull the top of the tag through. Do this by making a mark on the folder where the tag is square.
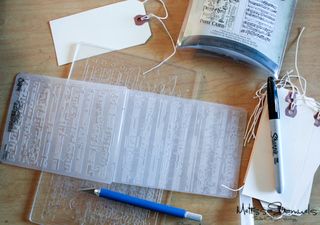 Using a craft knife, cut a slit in the middle of the folder where the marks are.
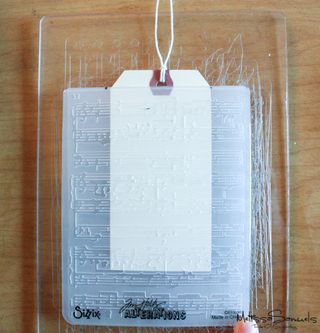 Insert your tag, and you're ready to embossing! Put your folder between two cutting mats.
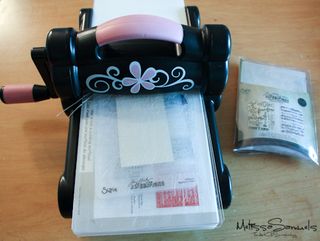 Place your "sandwich" on the platform and crank it through.
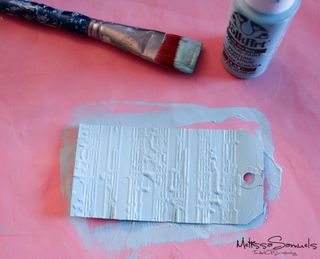 Paint the tag with acyclic paint. For those of you who are like me and can't wait for it to dry, you can use a heat gun. Not too close though!
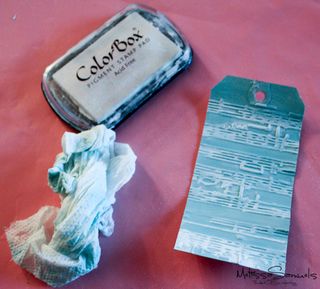 Rub white pigment ink over the raised embossed area. If you get too much on the flat surface just wipe it off with a wet paper towel before the ink dries. Heat set the ink with a heat gun.
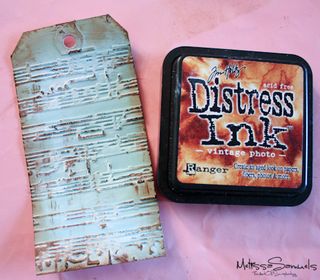 Using a blending tool, distress the edges with Vintage Photo Distress Ink. To get more color variation, rub the ink pad over the raised embossed area. Pretty simple, uh?!
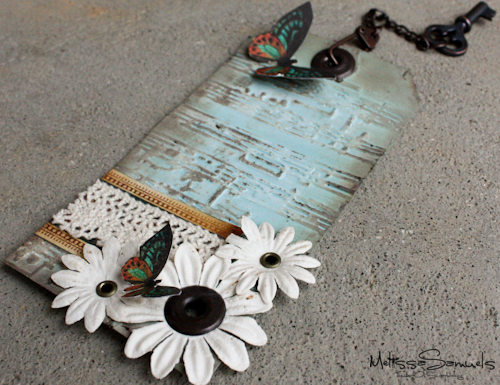
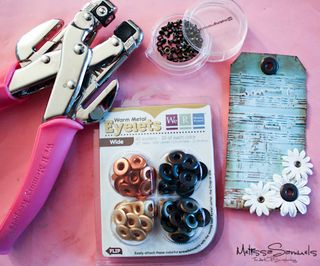 To decorate, I used some Prima flowers that I set with wide eyelets, and I set one through the string hole, too. I used some scrap pieces of paper from my 8×8 Steampunk Debutante pad, scrap lace, and hardware to add some finishing touches.



This turned out BEAUTIFULLY!!! tfs! -sam
OMGness! I’ve been wanting a Big Shot myself! This tag is gorgeous and another reason for me to want the Big Shot! I love what you create Melissa!!!
~Vanessa W
Your tag is beautiful! I was wondering if you have a hard time getting the white color box ink to dry? I feel like mine takes FOREVER to dry even when I use a heat tool. Any suggestions? Thanks for all the inspiration
Very nice tutorial. And thanks for the TH review. Your tag is gorgeous.
Melissa! This is fabulous!! I love my Big Shot!!!! Tim Holtz makes everything irresistible.
I really like this tutorial! I also am a huge fan of Tim Holtz & love using his products! Thanks for sharing!
Gorgeous, as usual!!!
Gorgeous! Now I have to buy a Big Shot….LOL!!!
My big shot is arriving this month, and I am really looking forward to trying new projects with it, having only had the side kick up till now.
I might just try a little tag of my own ….
Thanks for the inspiration :o)
Shelly
Melissa, your originality is fantastic. My sister-in-law and I are fans!
Hi from Portugal.
Melissa OMG, this tag is plain gorgeous, I just love it!!
Many thanks for sharing, you are an inspiration…
Take care,
Mónica