Today I have an awesome Tutorial Thursday post! You guys know how much I love flower embellishments. I think I enjoy them so much because in addition to be so much fun to make, they are extremely versatile, as you can use them in mini books, layouts, cards, and altered projects.
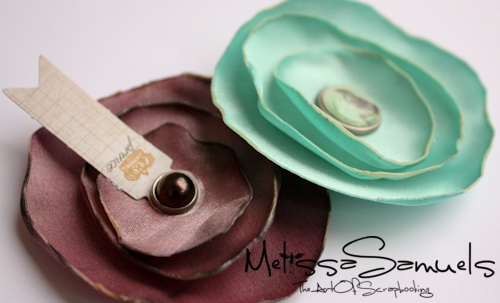 Today we’re going to make these adorable burnt edge flowers, that we’ll Glimmer Mist to customize to go with any project. To get started you’ll need a synthetic fabric, such as polyester, rayon, or nylon. 1/4 yard is more than enough to get you started. You’ll also need scissors, Big Bite, a candle, Glimmer Mist, and brads.
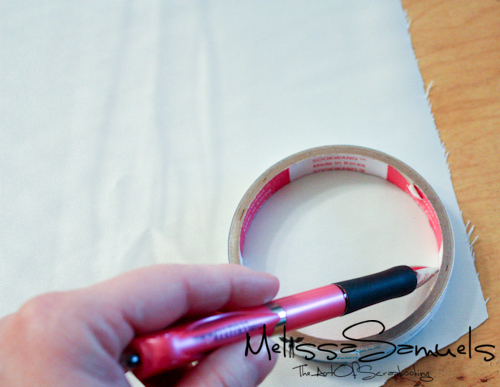 Cut assorted size circles out of the fabric. I cut the first circle by tracing inside a roll of 1/2″ Scor-tape. I then cut 2 smaller sized circles using the first one as a guide.
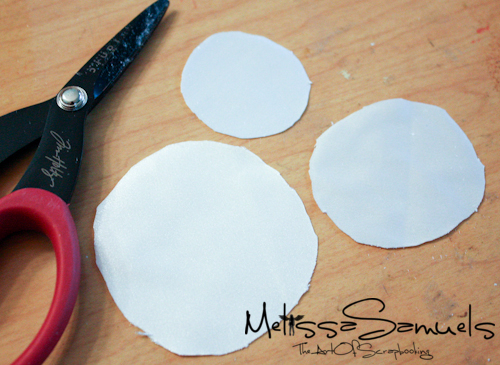 I used a total of 3 circles, but you could certainly do more layers. Notice they don’t have to be cut perfectly round.
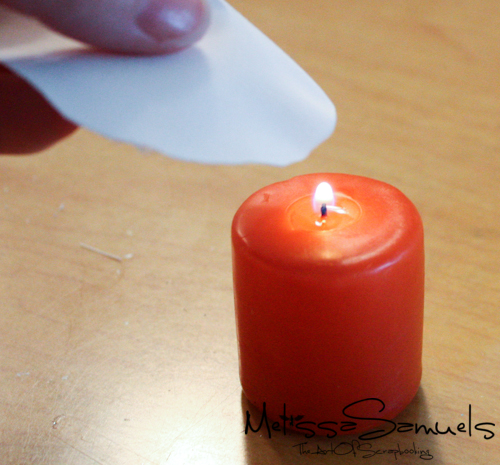 Next, you’re going to kinda “melt” the edge of the circle to prevent unraveling, and to create a finished edge. Hold the edge of the circle over a candle. You don’t want to get too close, because you’ll scorch the edge and it will turn black. However, if you don’t get close enough it won’t “melt.” With a little practice, you’ll quickly figure out the perfect distant from the flame. Also, the more you melt the edges, the more the flower curls which an awesome effect.
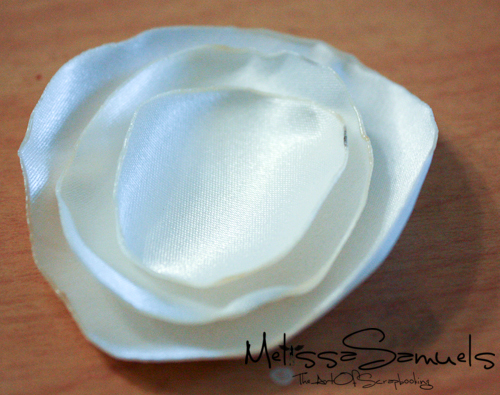 Repeat with all 3 circles. They’ll look like.
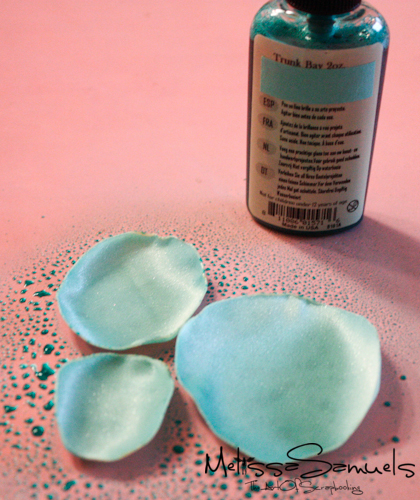 I used white fabric so I could Glimmer Mist it whatever color I like. For this flower I’m using Trunk Bay. Be generous in misting it. Also, if it looks a little splotchy at first, just keep spraying until it’s evenly coated. Let dry (using a hair dryer or heat gun is fine).
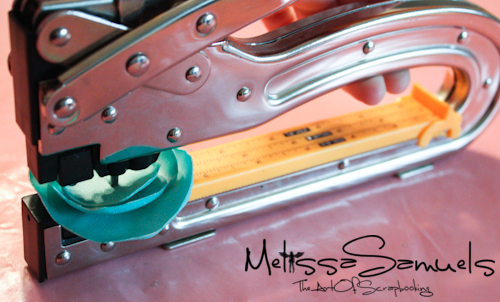 Stack your layers, and punch a hole in the center to insert a brad. You could also use a button or sparkler.
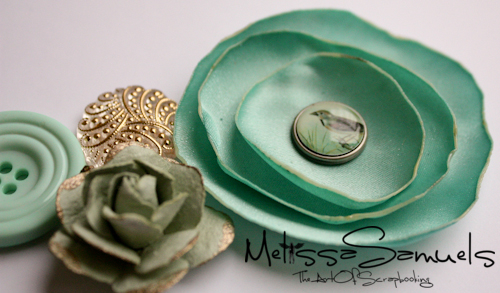
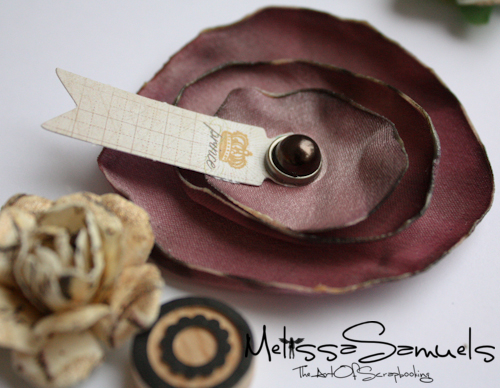 The burgundy flower was made using Blackberry Cordial Glimmer Mist. You’ll be amazed at how easy and fun these little flowers are to make! I hope you enjoy!
________________________________________________________________
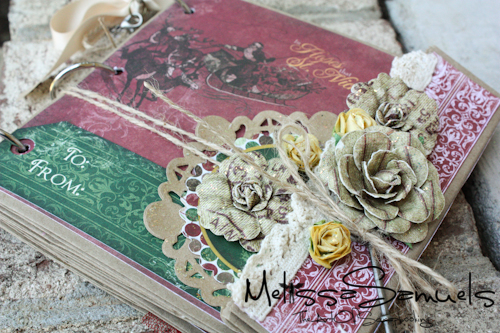
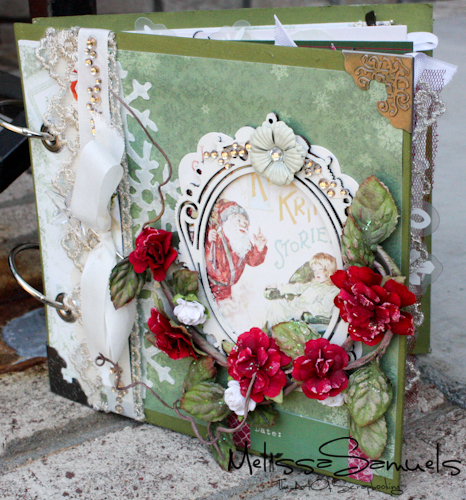
Yesterday was my Father Christmas Pocket Lunch Bag Mini Album UStream show. Thanks to everyone who joined me. The chat is always entertaining. If you missed the live show, you can view the recording below. The kits can be found here. We only have a few left.
My next show is November 30th at 2pm (EST). I’ll be making the Spirit of Christmas Book. We sold out of this kit twice, but we have a couple left. Click here for kit details.



I like your lolli flowers, and sorry I missed your U stream project.
You always are entertaining.
It was great to see you again, Melissa! I can’t wait to make a paper bag album! So many different occasions I can make these for! That will be fun! Lovely flower tutorial too! Gotta try that as well! I’m super excited to look for your classes on Wednesday afternoons! That’s a much better time for me!!! 1 p.m. central time 😀
~Vanessa W
aka baboo7192
First off. Fabulous tutorial as always!!!
The fabric flowers are beautiful and I love the brad you used with the bird!
Great new technique too!
I will be trying to burn everything now, hopefully not my art room! LOL!
Cheers! ox
I found really some fascinating stuff you have shared here. Keep sharing more informative stuff.
This stuff is really amazing! Thanks for sharing this great stuff. Keep sharing more informative stuff.
Wonderful work, I really admire a well constructed post that is pulled together by some beautiful images.
This blog stuff is really amazing! Thanks for sharing this great stuff.
Great post. I do not have any experience with this field, but I have little bit idea about. I think you have done really incredible and remarkable job. I would like to thanks for sharing this precious stuff.
I just found your blog so creative!Thanks for sharing thiswonderful tutorial!
Thanks for sharing this great stuff. Keep sharing more informative articles like that.
Great blog post. It’s useful information.
I just couldn’t leave your website before saying that I really like this article.
Every weekend i used to go to see this web page, for the reason that i want enjoyment, for the reason that this this weeb sitee conations actually fastidious funny material too.
You’re so awesome! I do not believe I have read through something like that before. So great to find somebody with a few original thoughts on this topic. Seriously.. many thanks for starting this up. This website is something that’s needed on thhe internet, someone with a little originality!
Hi Dear, are you truly visiting this website daily, if so then you will without doubt get nice knowledge.
What’s up everyone, it’s my first visit at this web page, and piece of writing is genuinely fruitful for me, kewp uup posting these types of content.
There is cerdtainly a great deal to know abhout this topic. I really like all the points you made.